Chapter 2 | MODELING
If we were to end up in a world without shadow, it would seem that nothing had any mass. any substance. (Roberto Casati, The Discovery of Shadow, 2004)
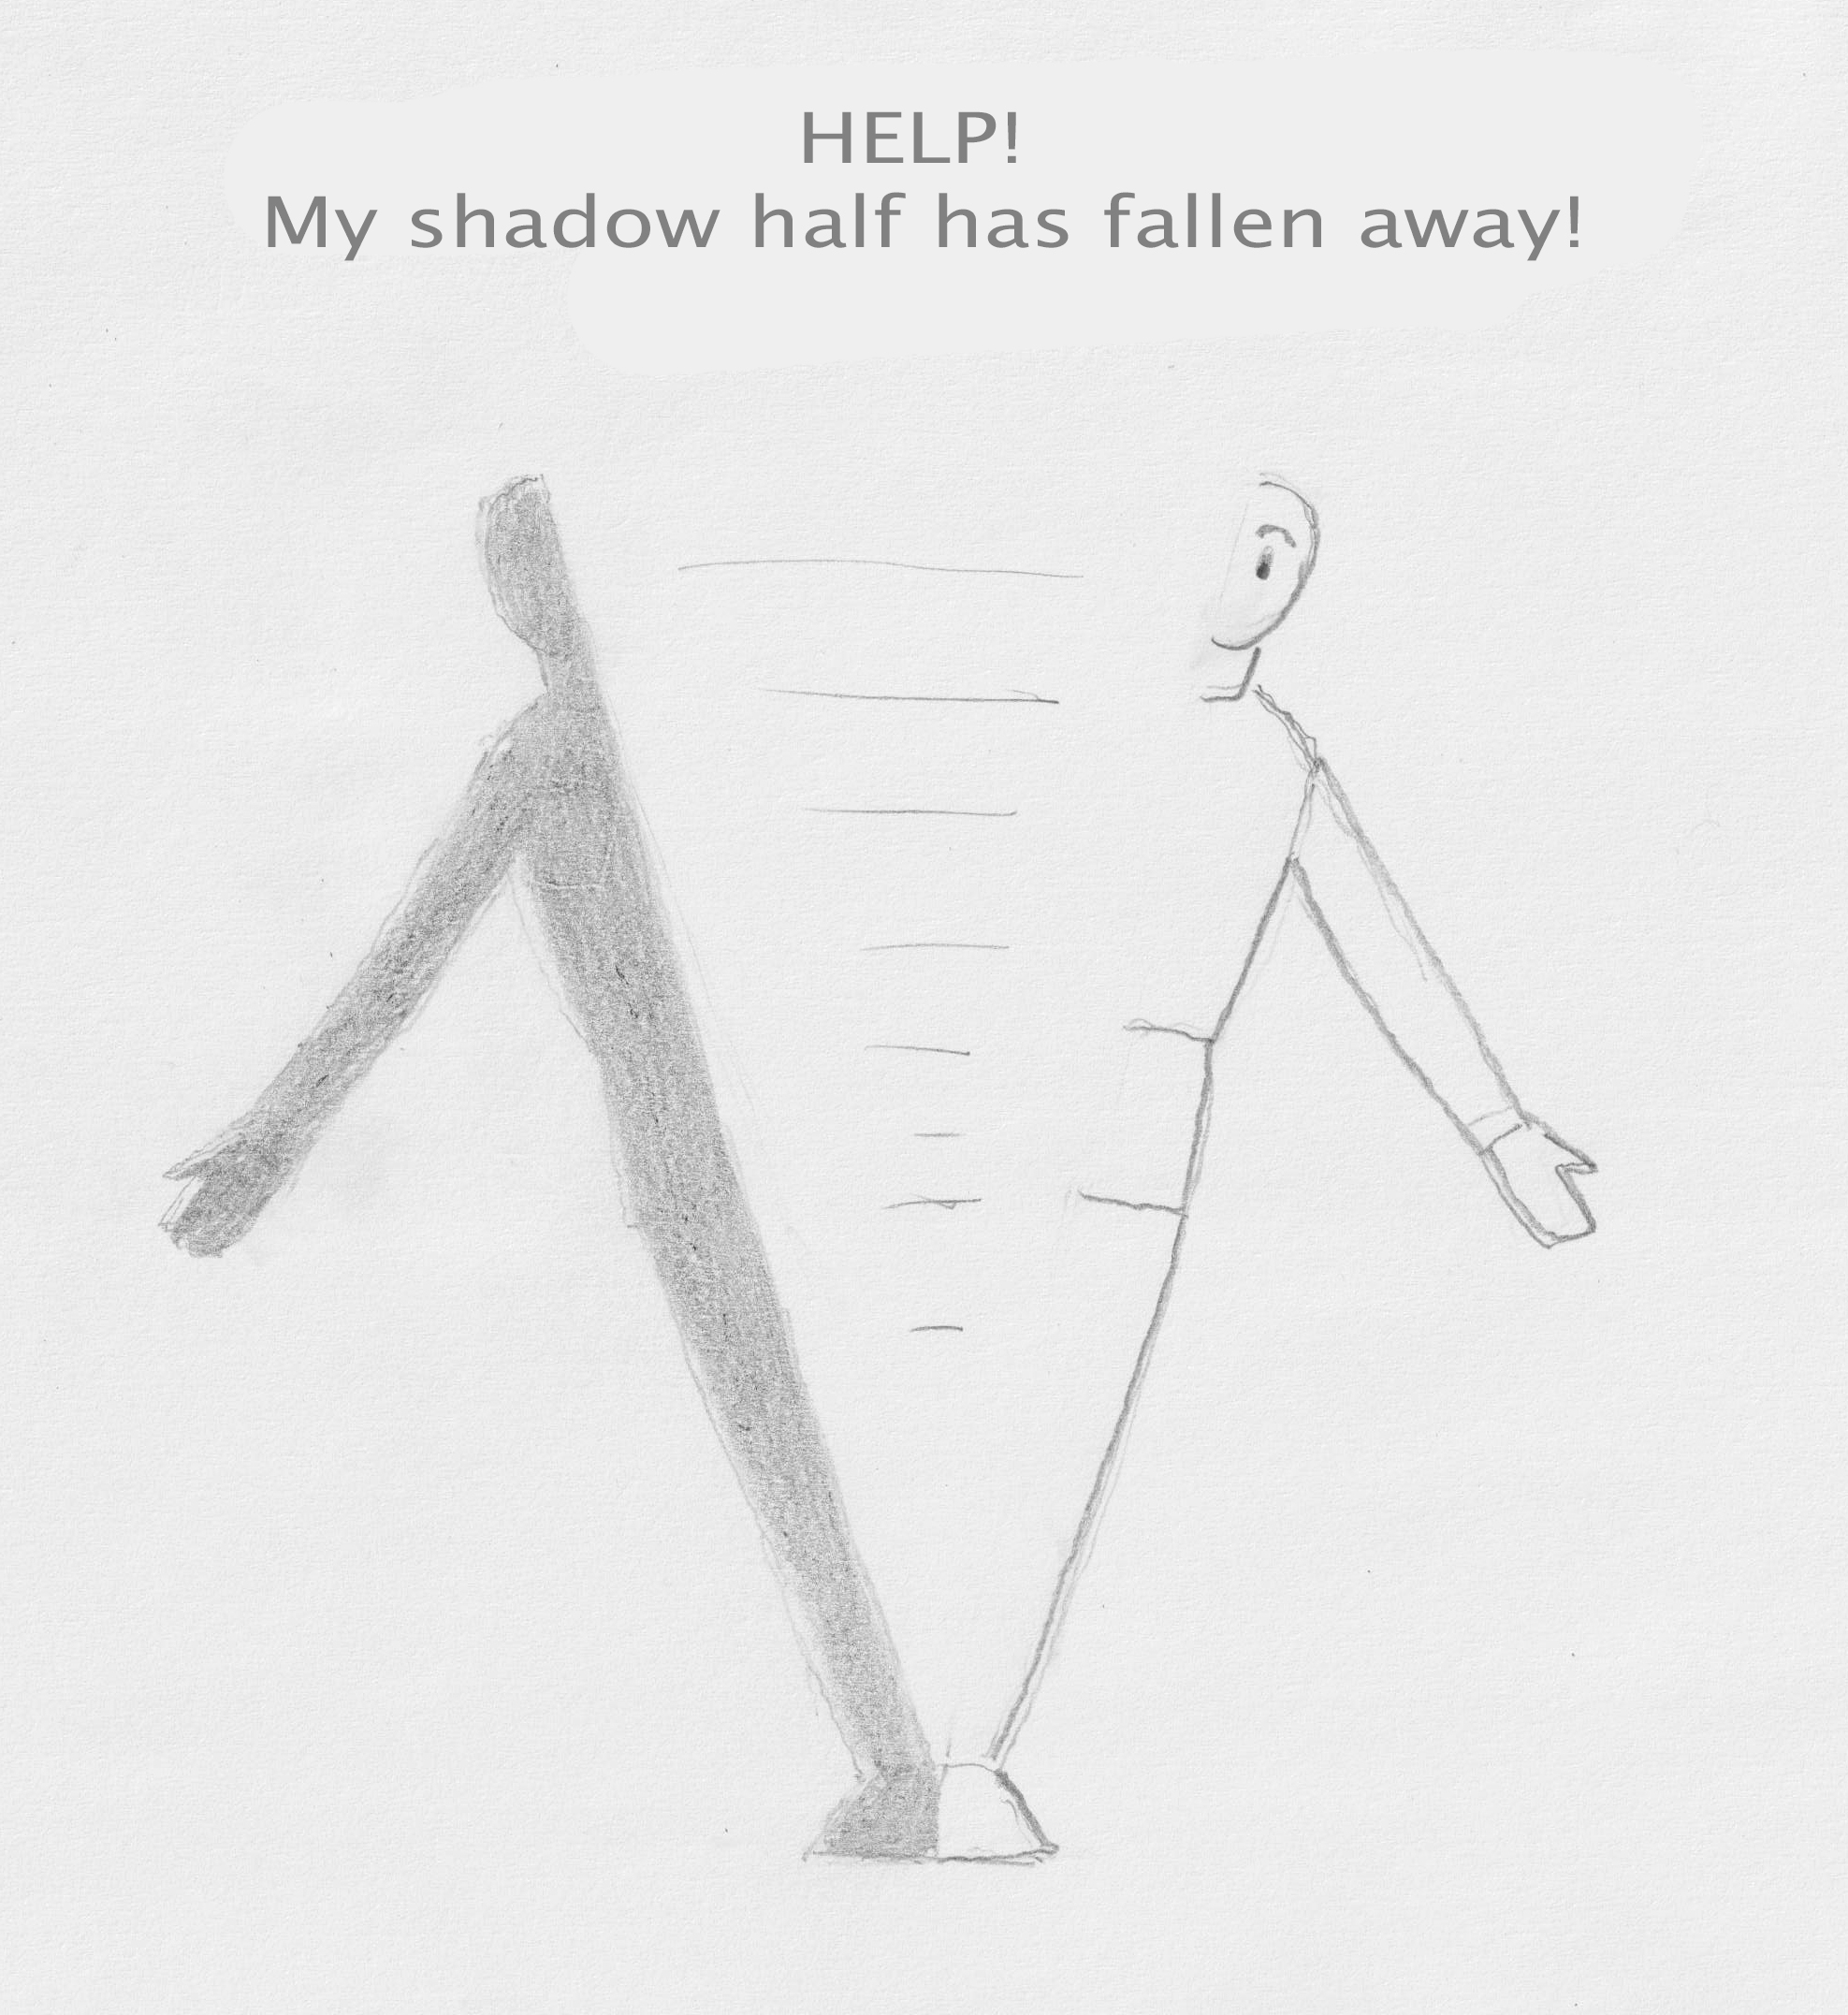
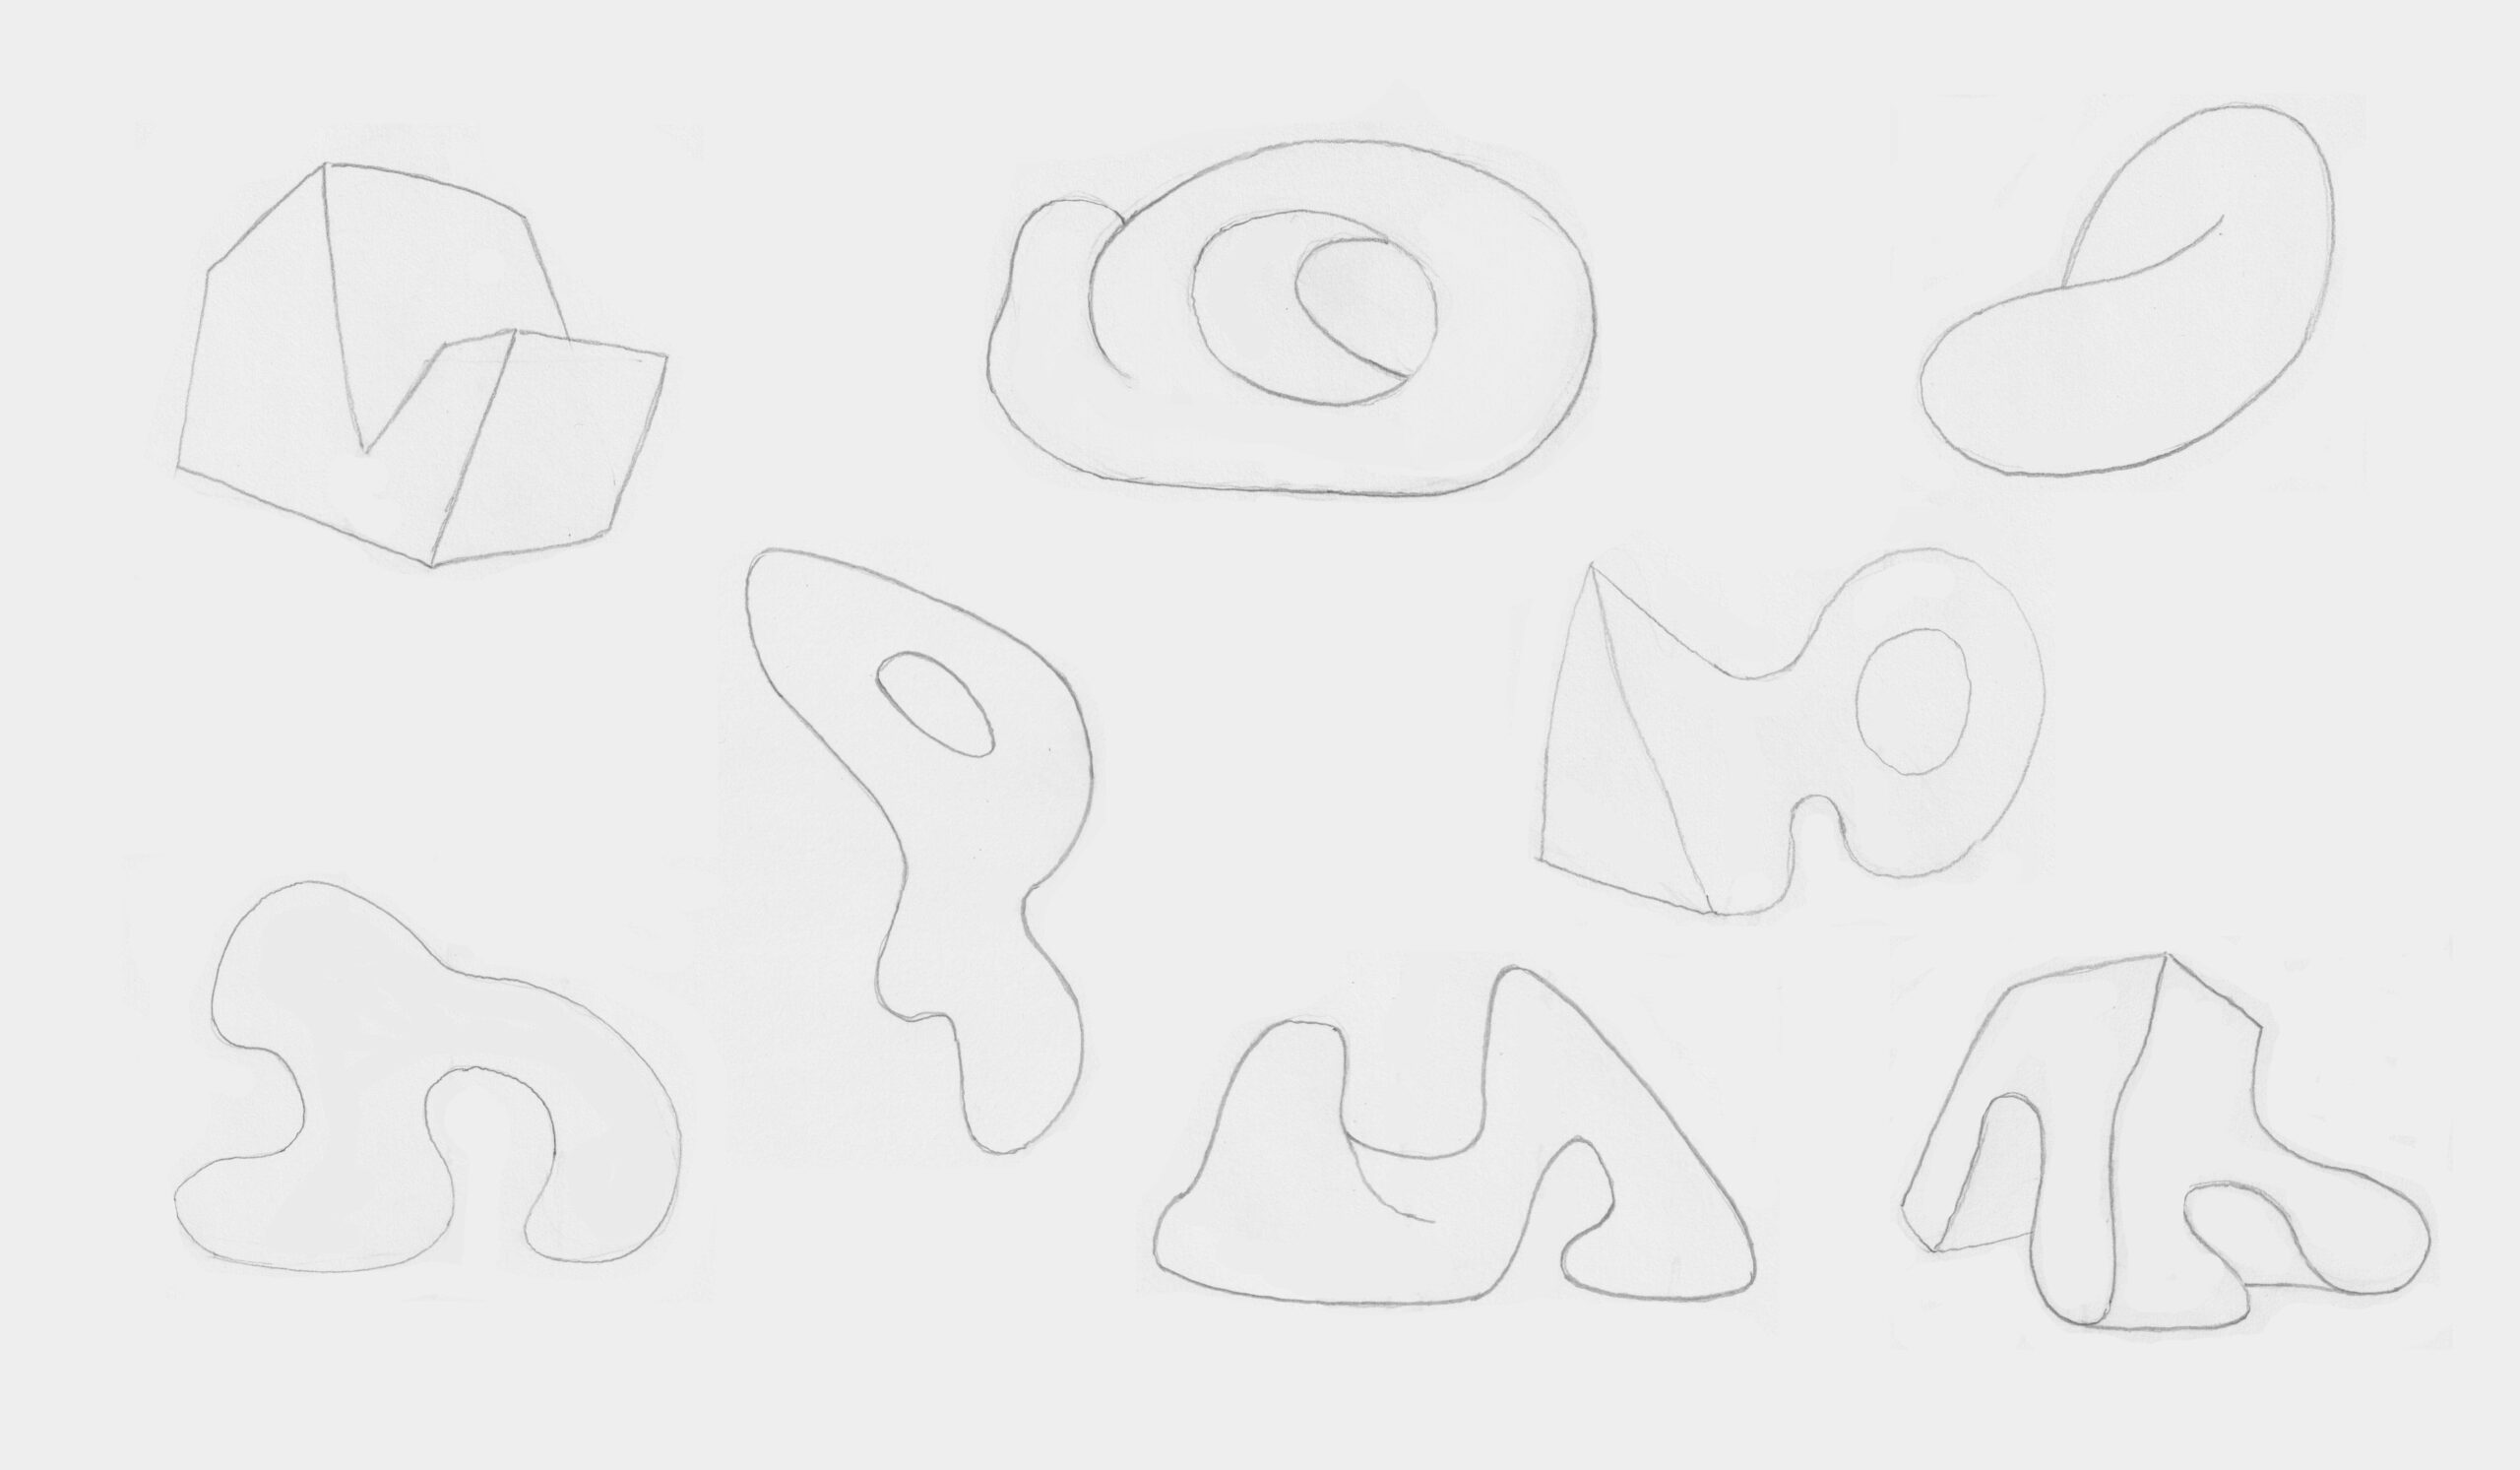
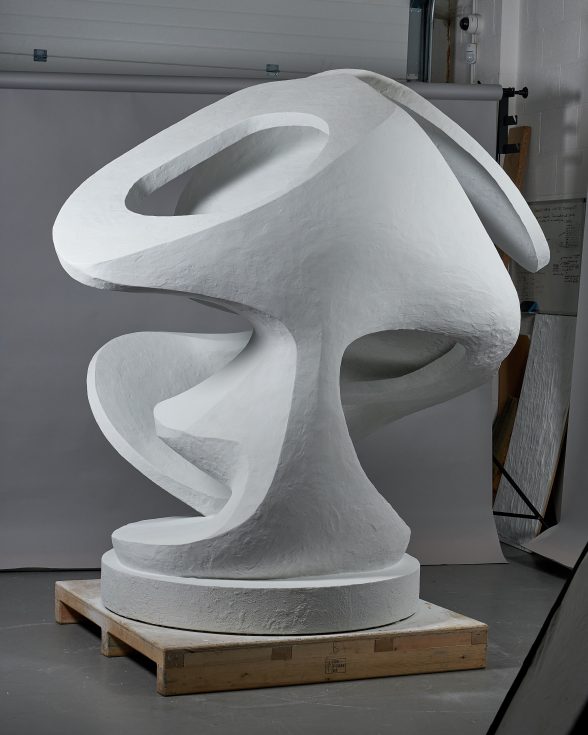
Shadow in drawings and paintings is most of all used to model shapes. This gives them mass and makes them appear three-dimensional instead of flat (image). Modeling also allows you to conjure up curves, folds, convex and concave shapes on paper, just as a sculptor can do by sculpting in clay.
Let’s start practicing modeling with hatching. For hatching, see also the lesson Handy Drawing Tips Part 1, Level 1.
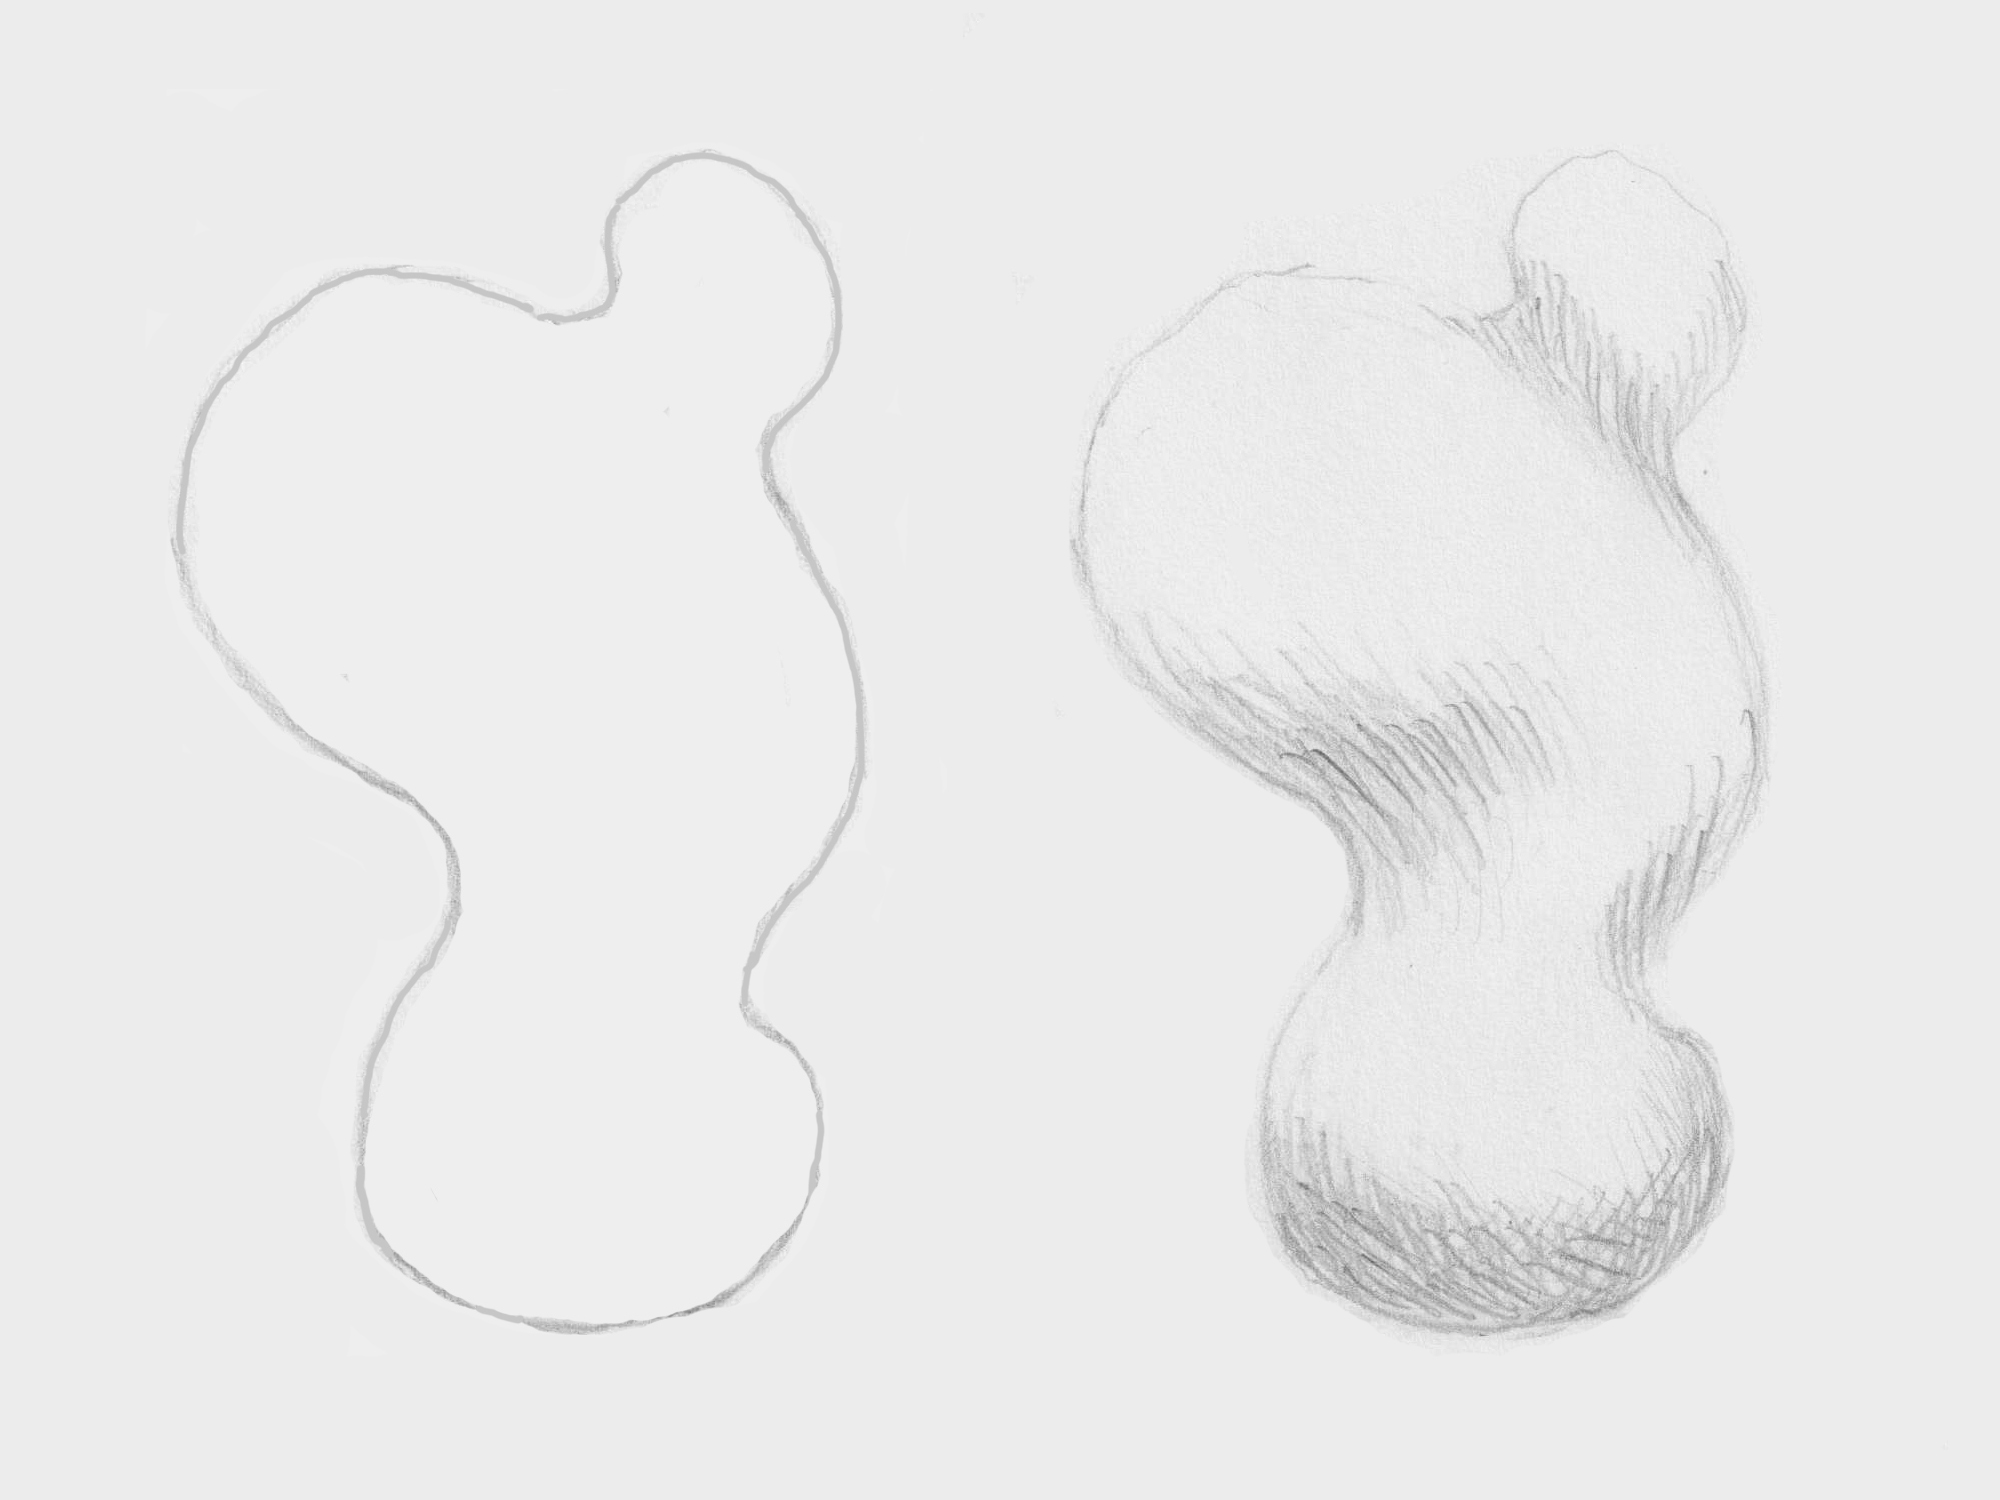
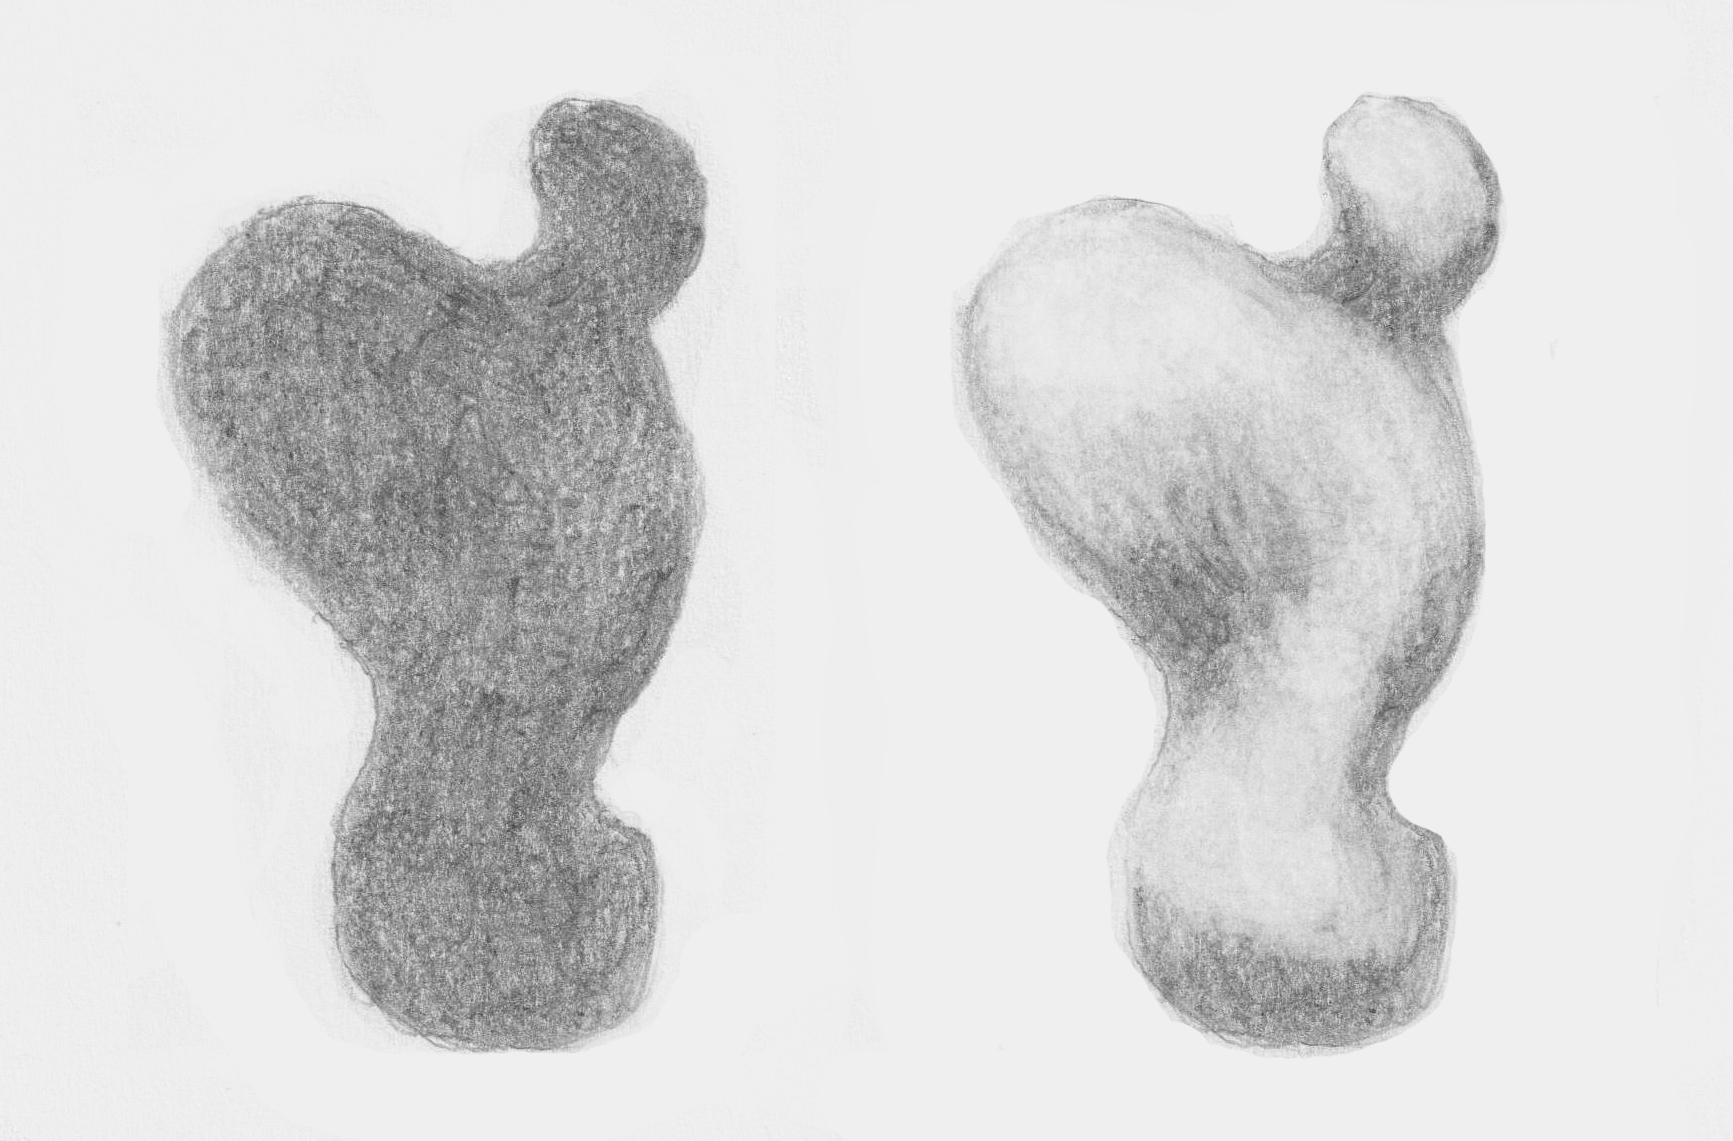
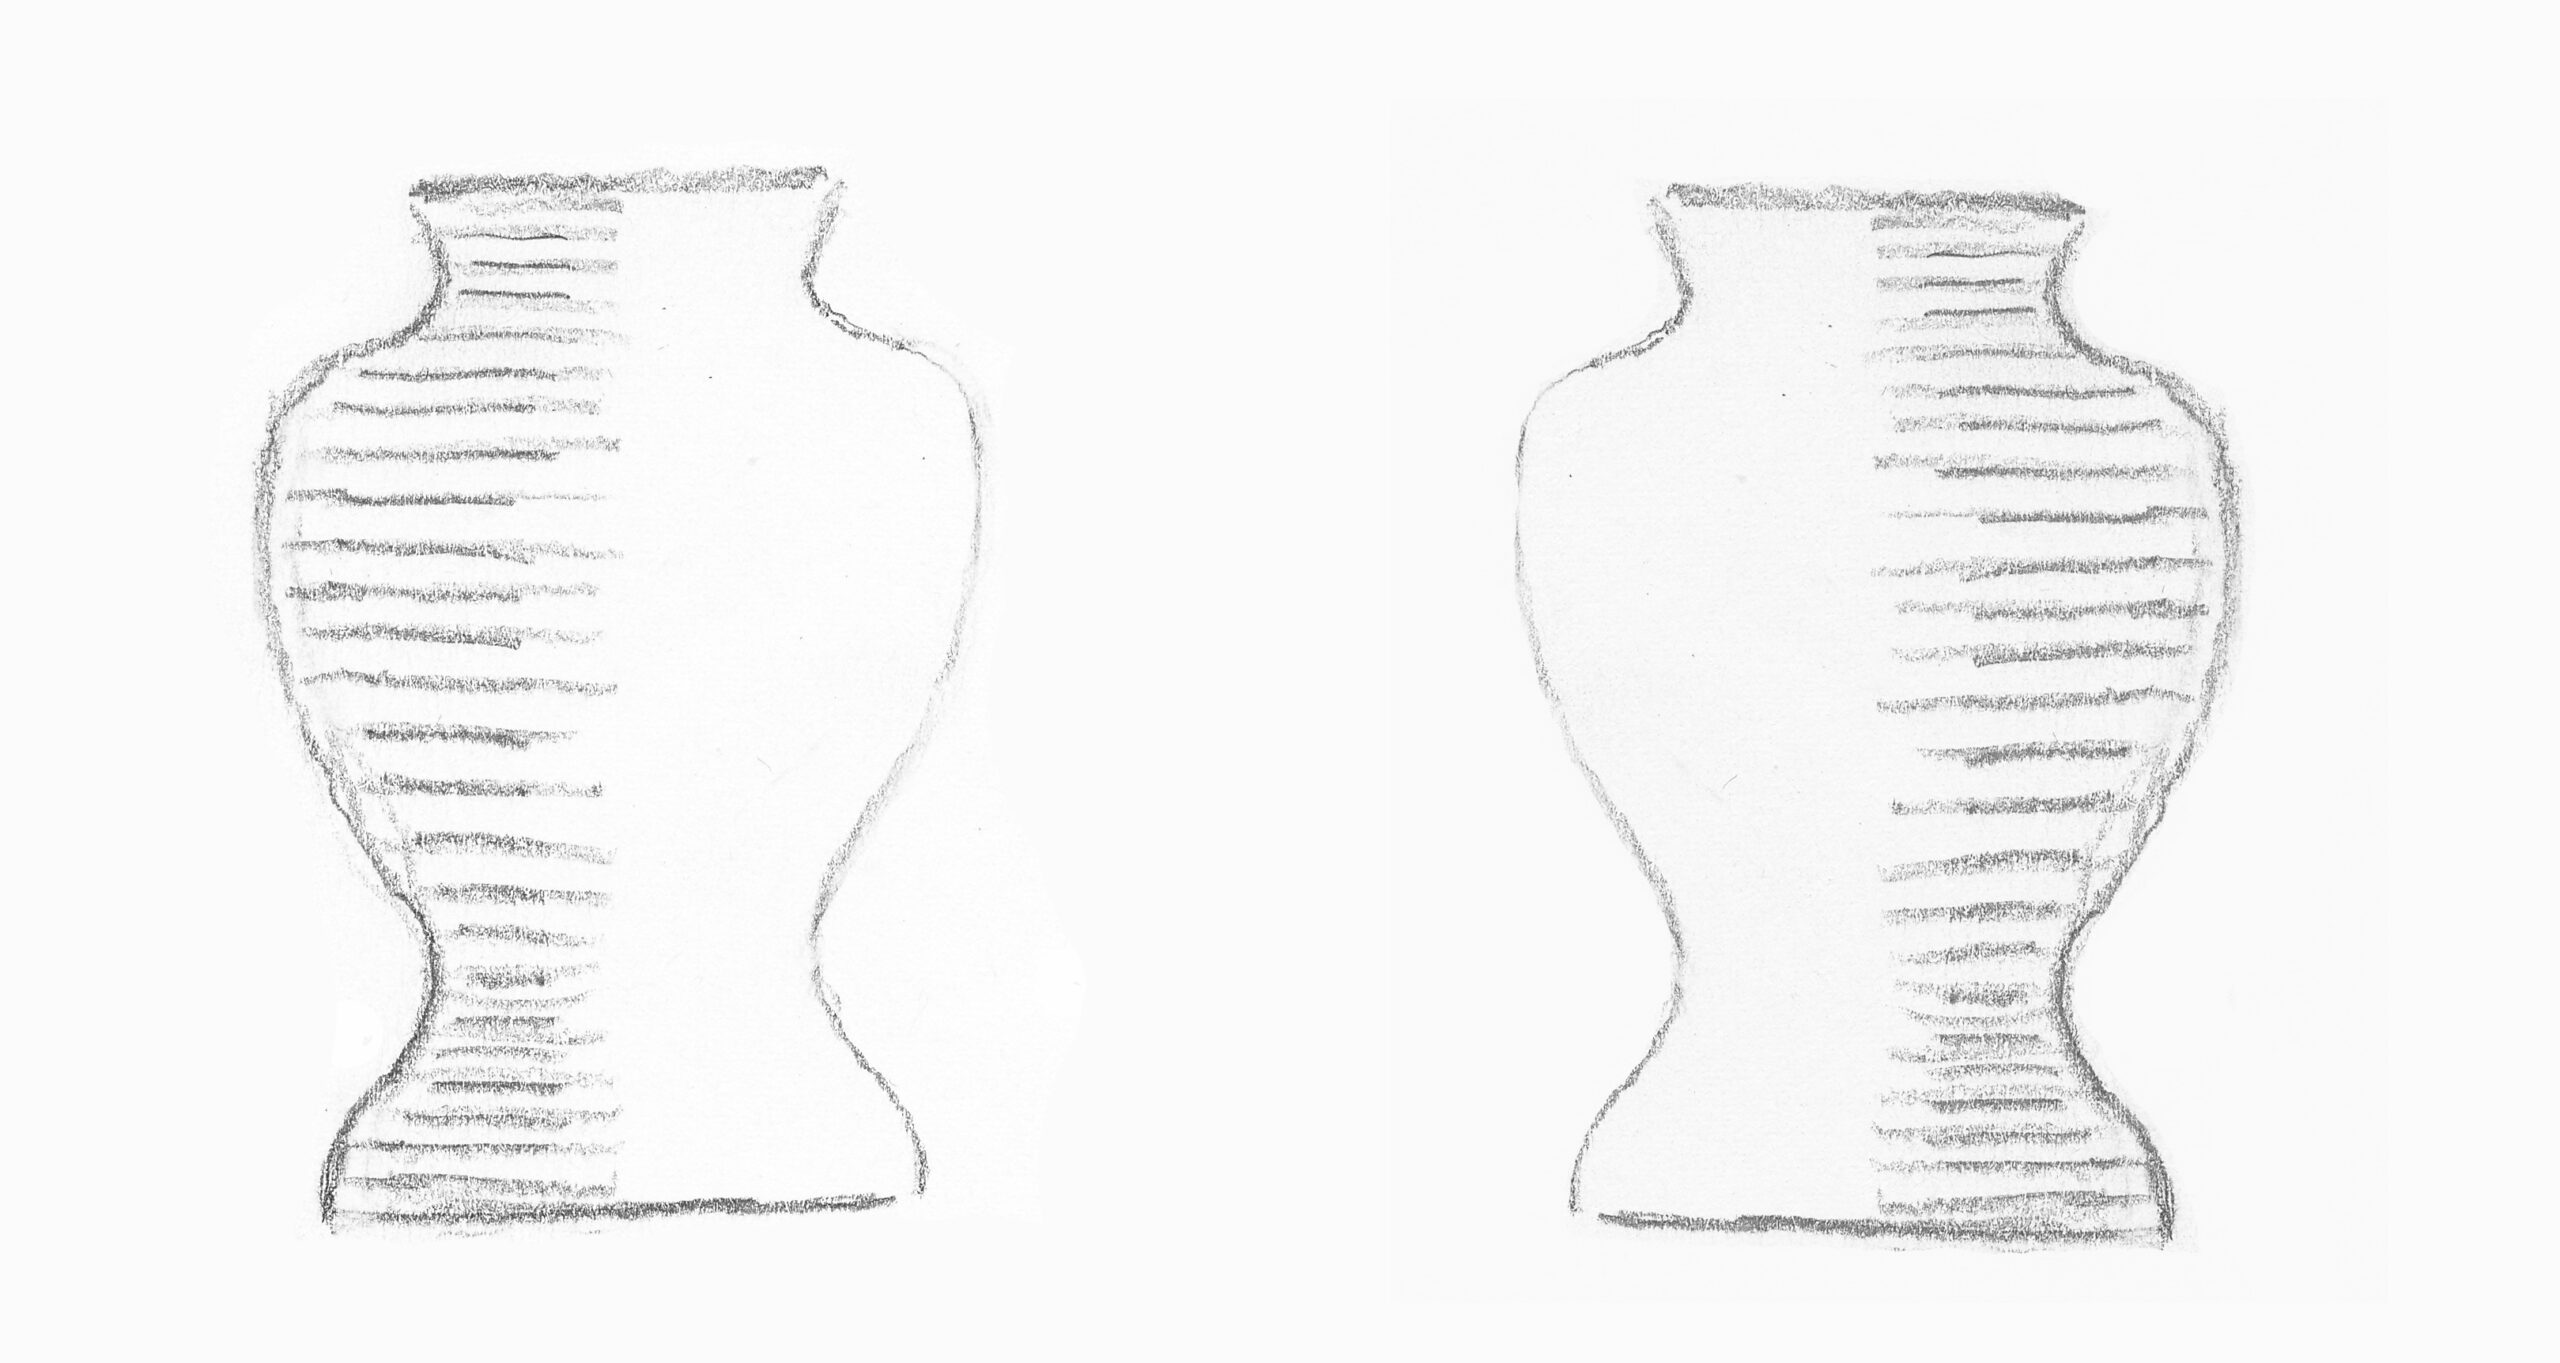
Exercise 1: Look at the two vases. In the left vase, the shadow is created by sidelight from the right, and in the right vase by sidelight from the left. Draw one or both vases. Begin the shadow with light horizontal lines and repeat it a little darker in the same direction (parallel). Use an eraser to make the outline on the light side a little ‘blonder’ (lighter).
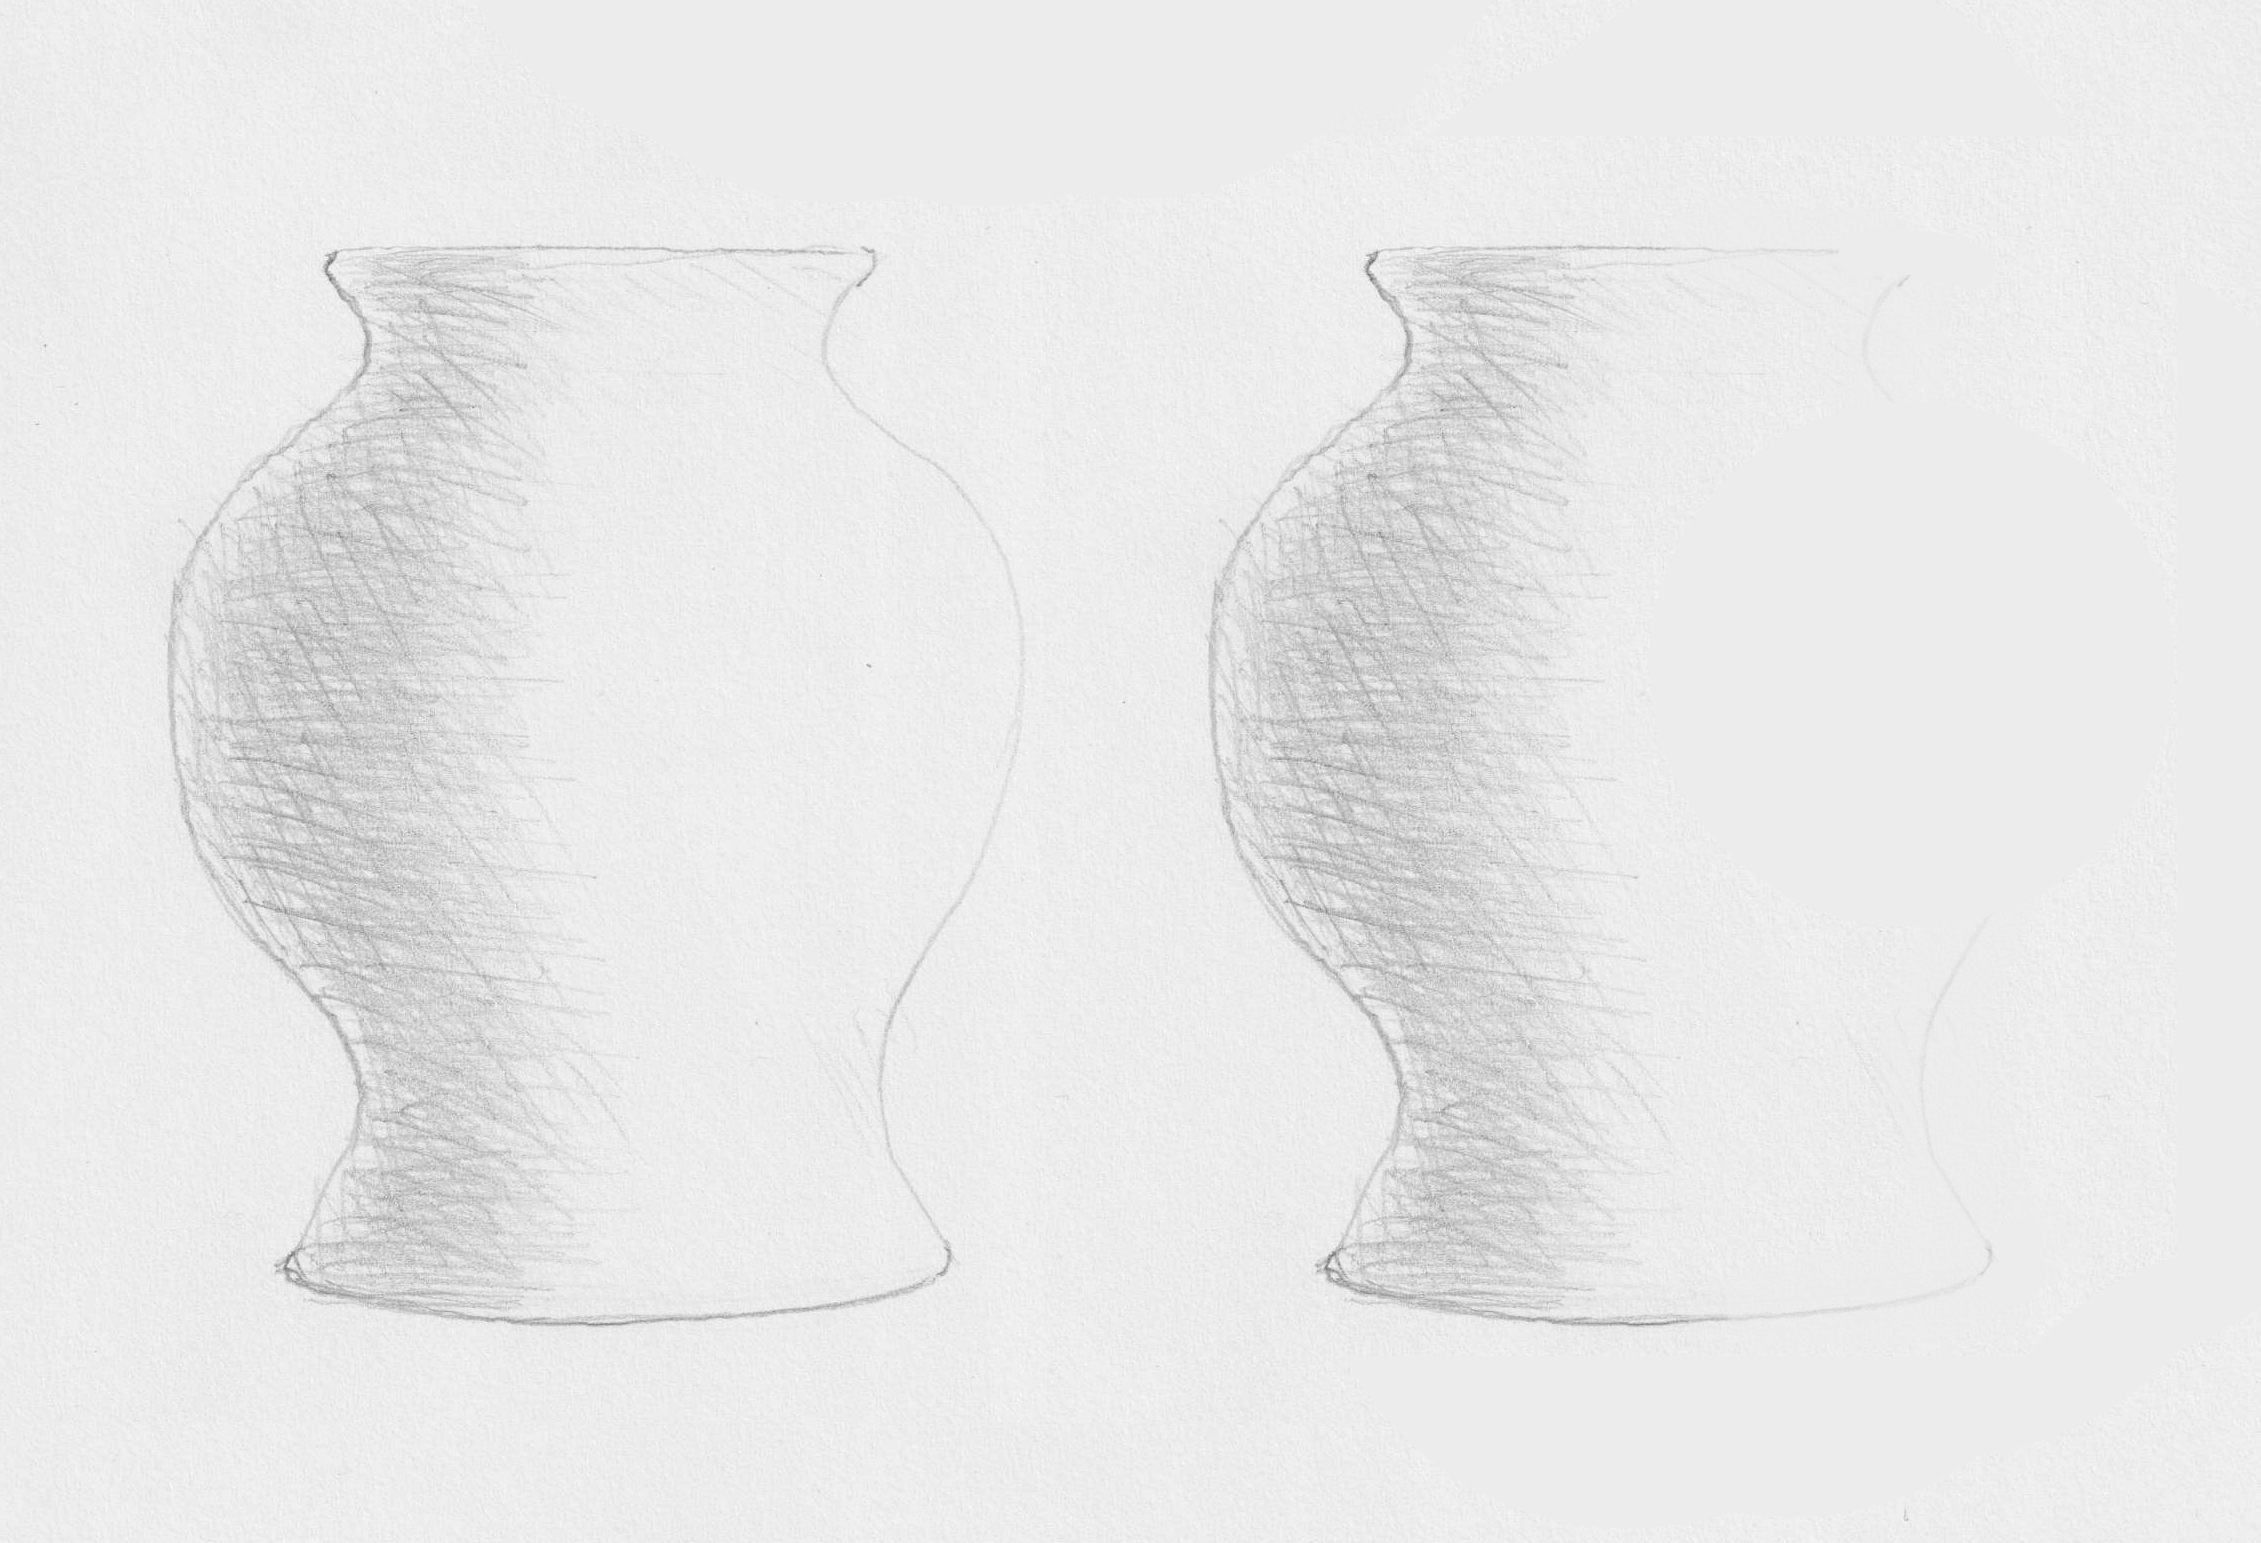
Exercise 2: Draw another vase like this. Again, choose sidelight from either the left or right. This time, model the vase with hatching in different directions, rather than strictly parallel as in exercise 1. Keep the boundary between light and shadow vague. The darkest part of the shadow is in the center (core shadow), so that’s where you gradually press a little harder. Experiment with how lightly you can make the outline on the light side without losing the shape of the vase.
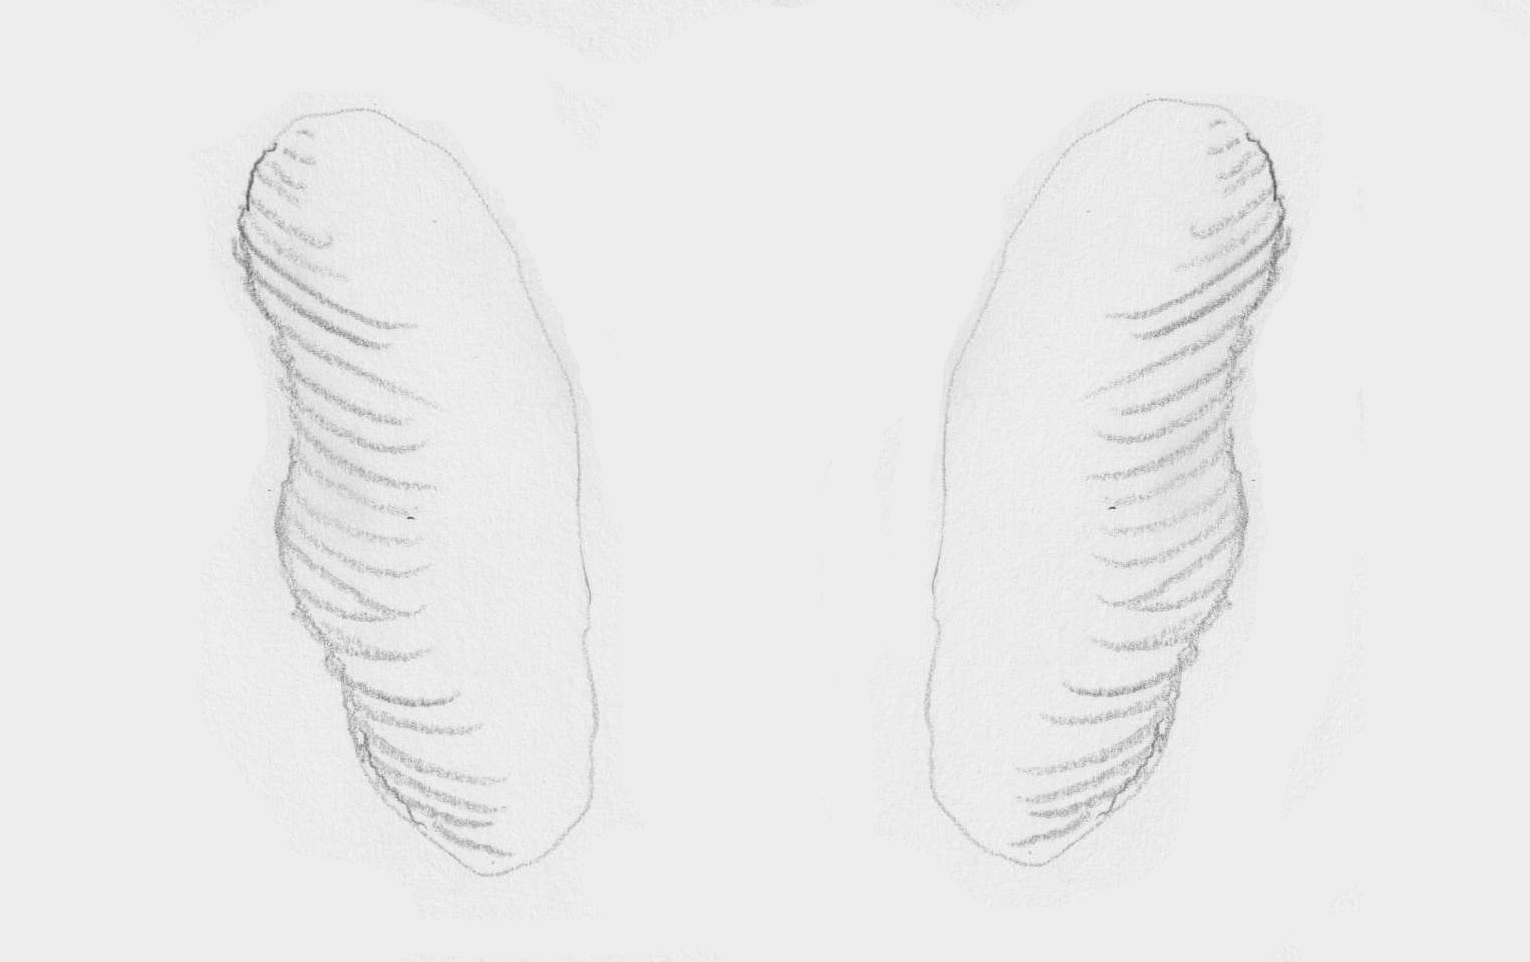
Exercise 3: Model a few of these pistolet sandwiches. This time make sure the hatching follows the curves of the shape. Also, make it look like the hatching starts just around the curve, rather than glued tightly to the outline.

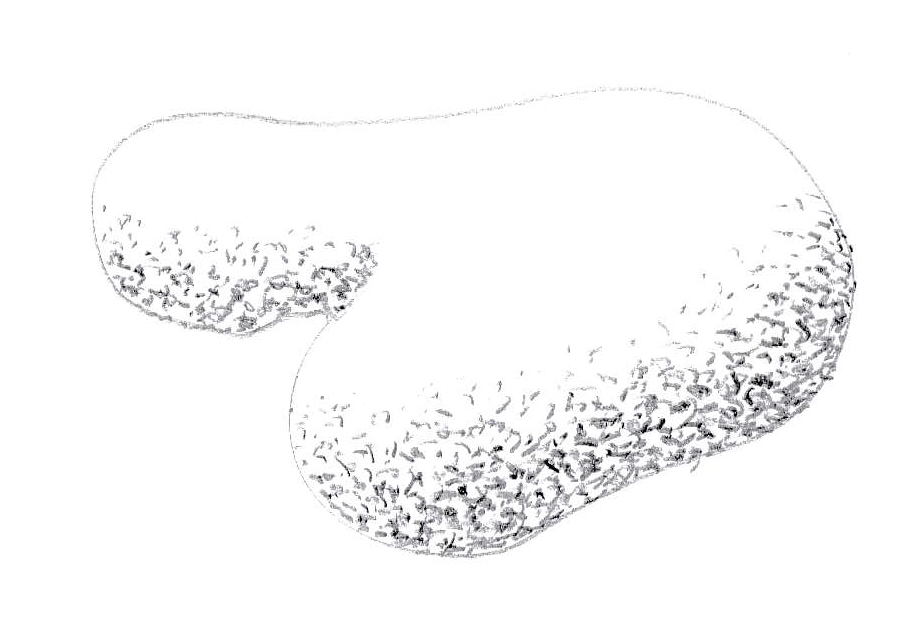
Exercise 4: Even with just dots, you can sculpt a shape. The transition between light and shadow can be kept nice and soft. Try it with the shape below or a similar object. This exercise works also well with a pen/fine liner. The closer the dots to each other, the darker it gets.
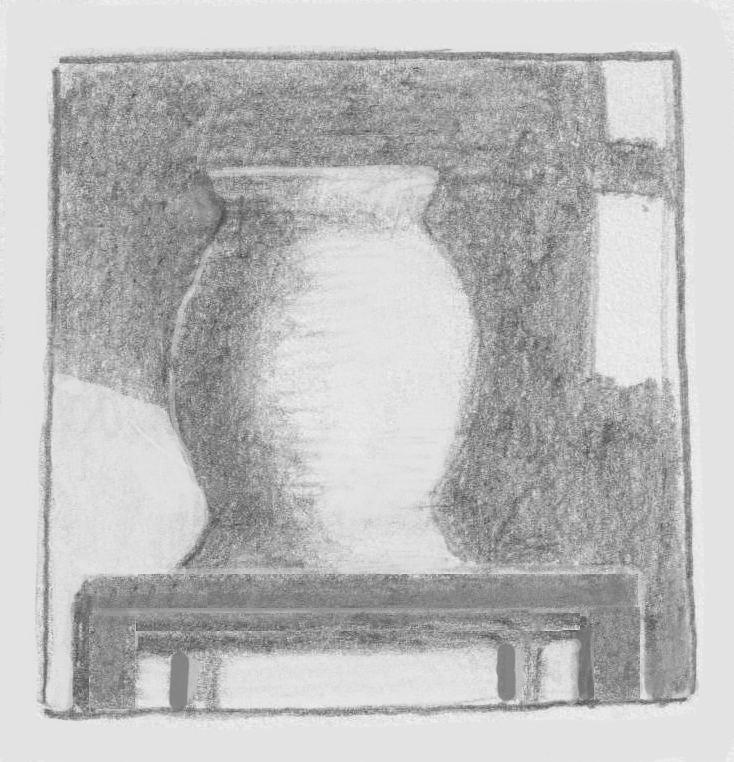
Of course you can also draw shadows/gray tones without hatching, using a rounded pencil tip or the side of your pencil tip. It was already shown in the vase on the table above.
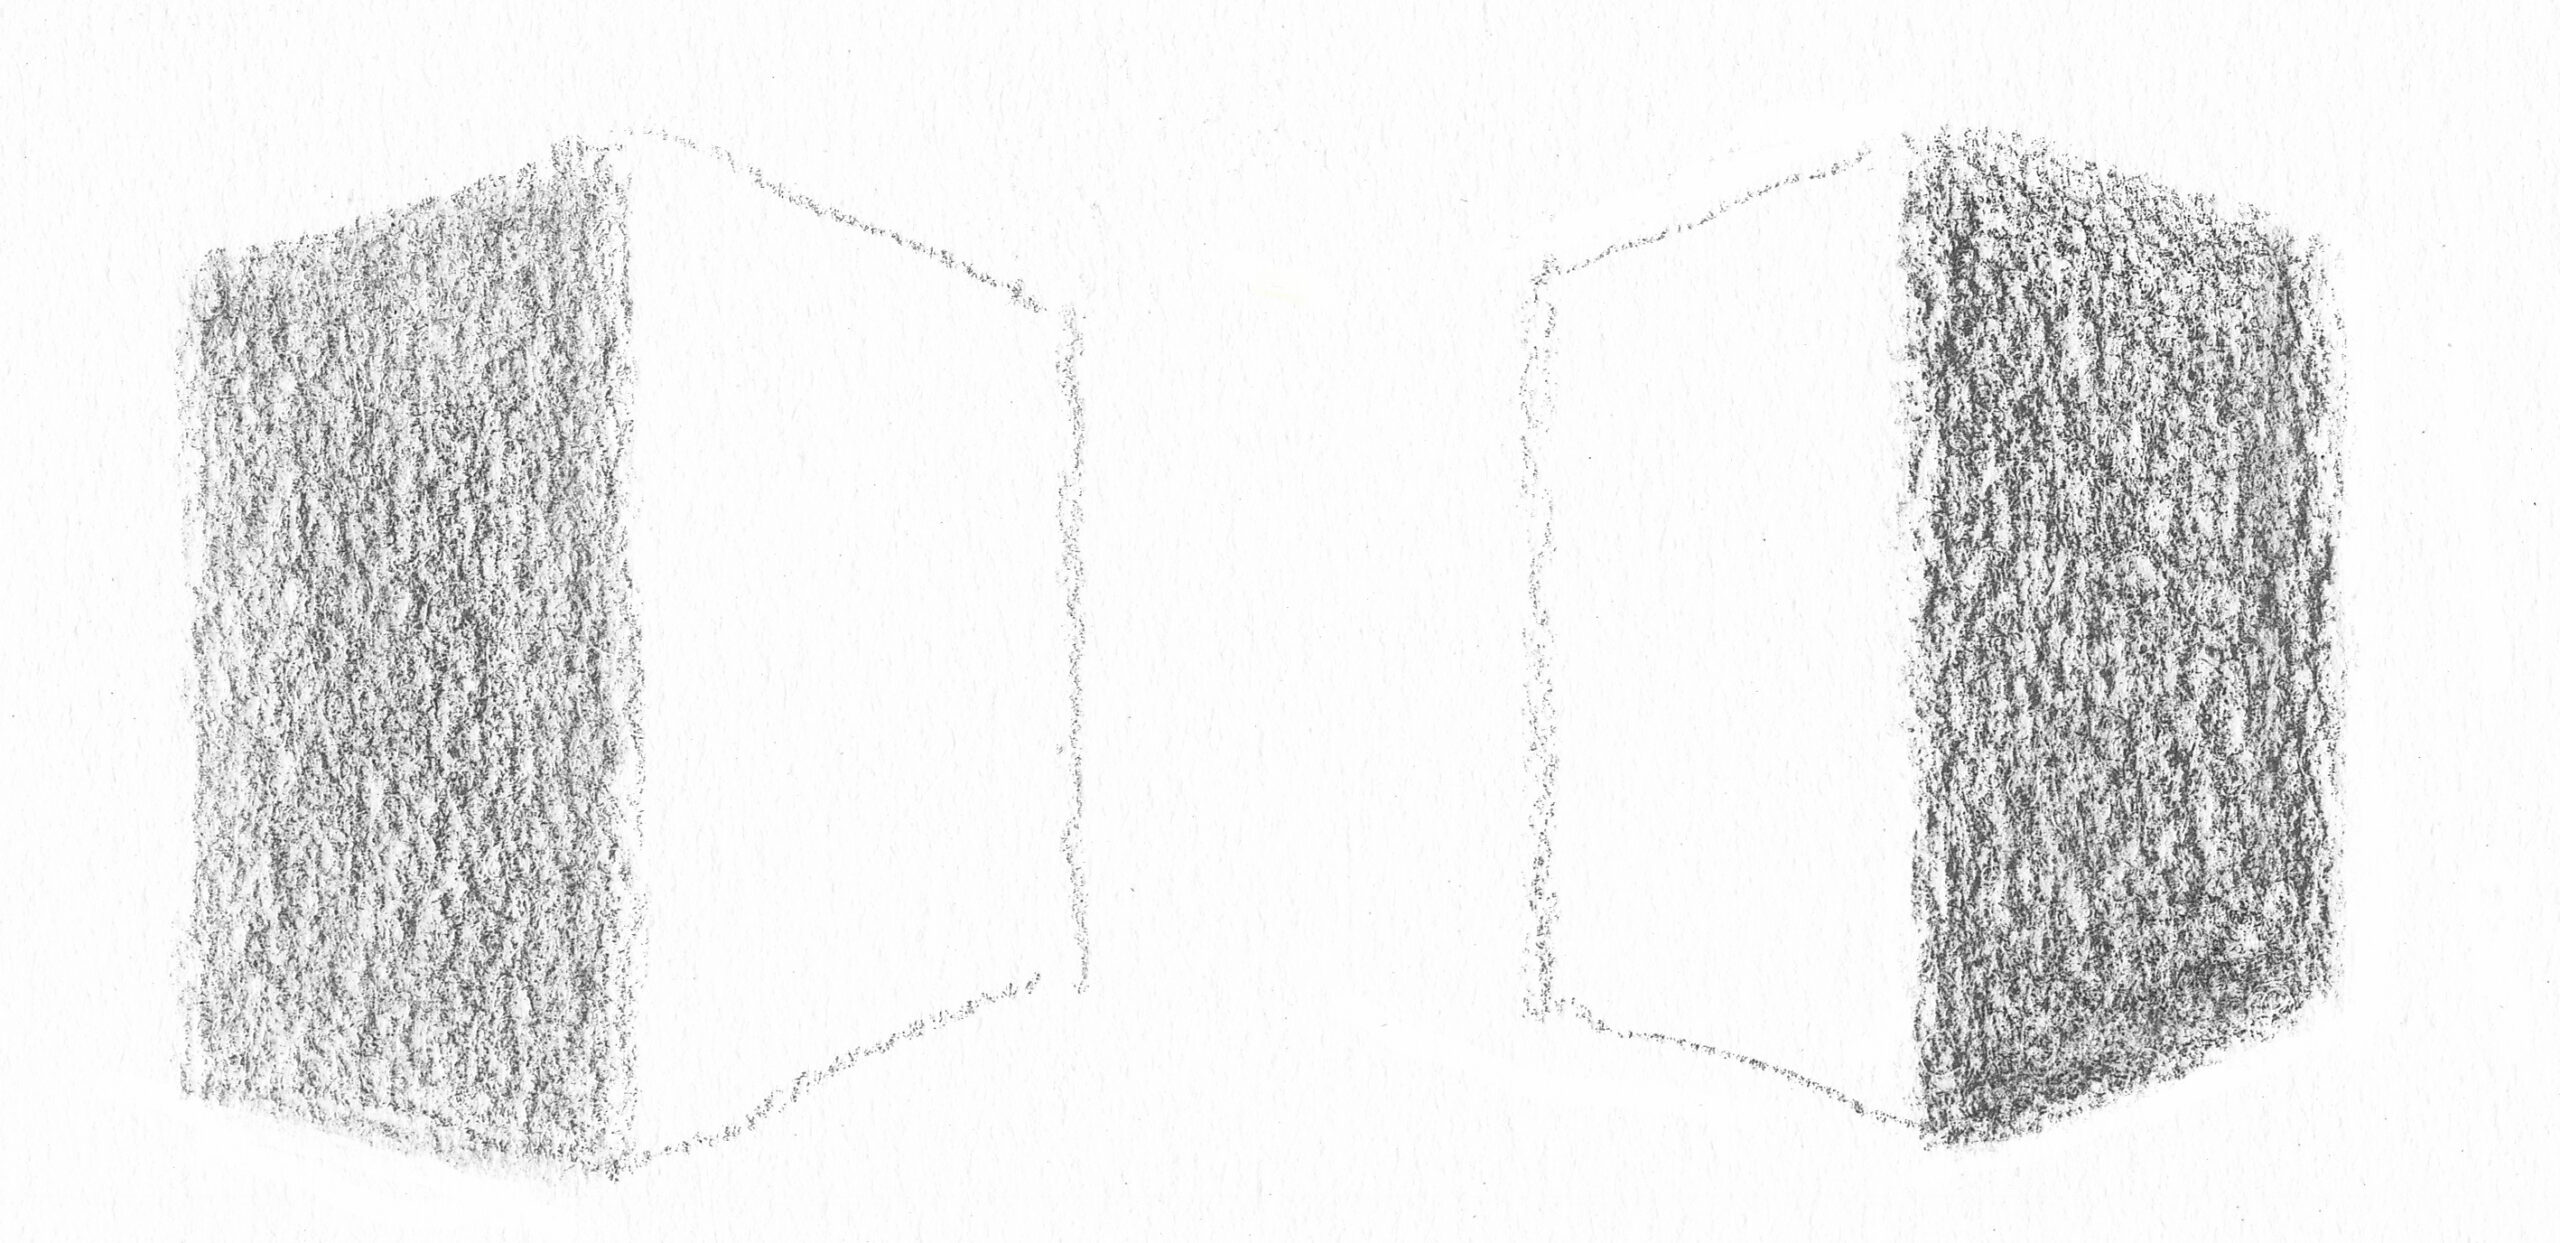
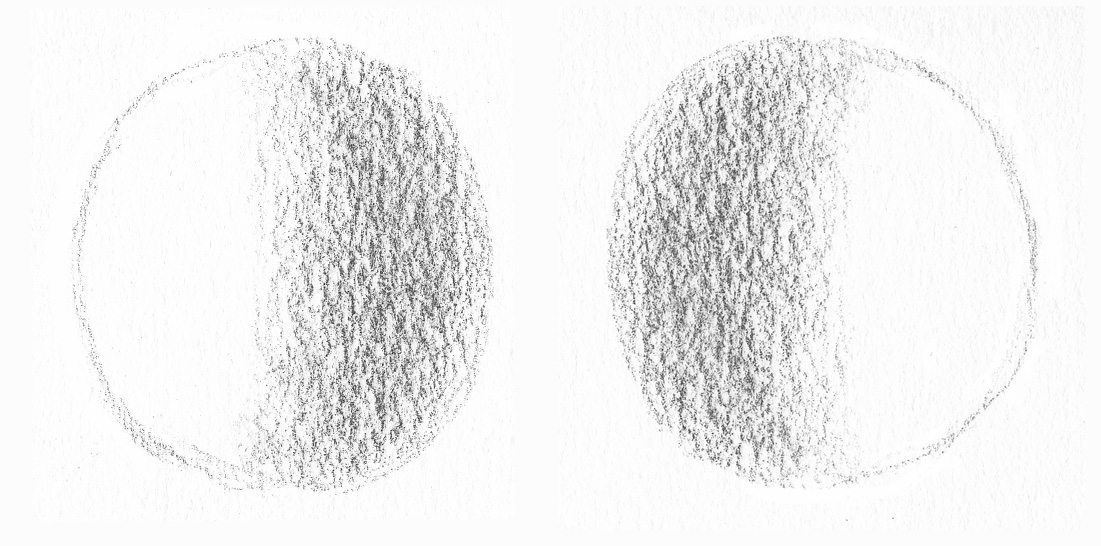
Exercise 5: Give a block and a sphere a shadow side without hatching. Use a 2B pencil or softer. Avoid hard lines. To make the shadow darker, press gradually a little harder. Use smooth as well as coarser paper to find out what you prefer.
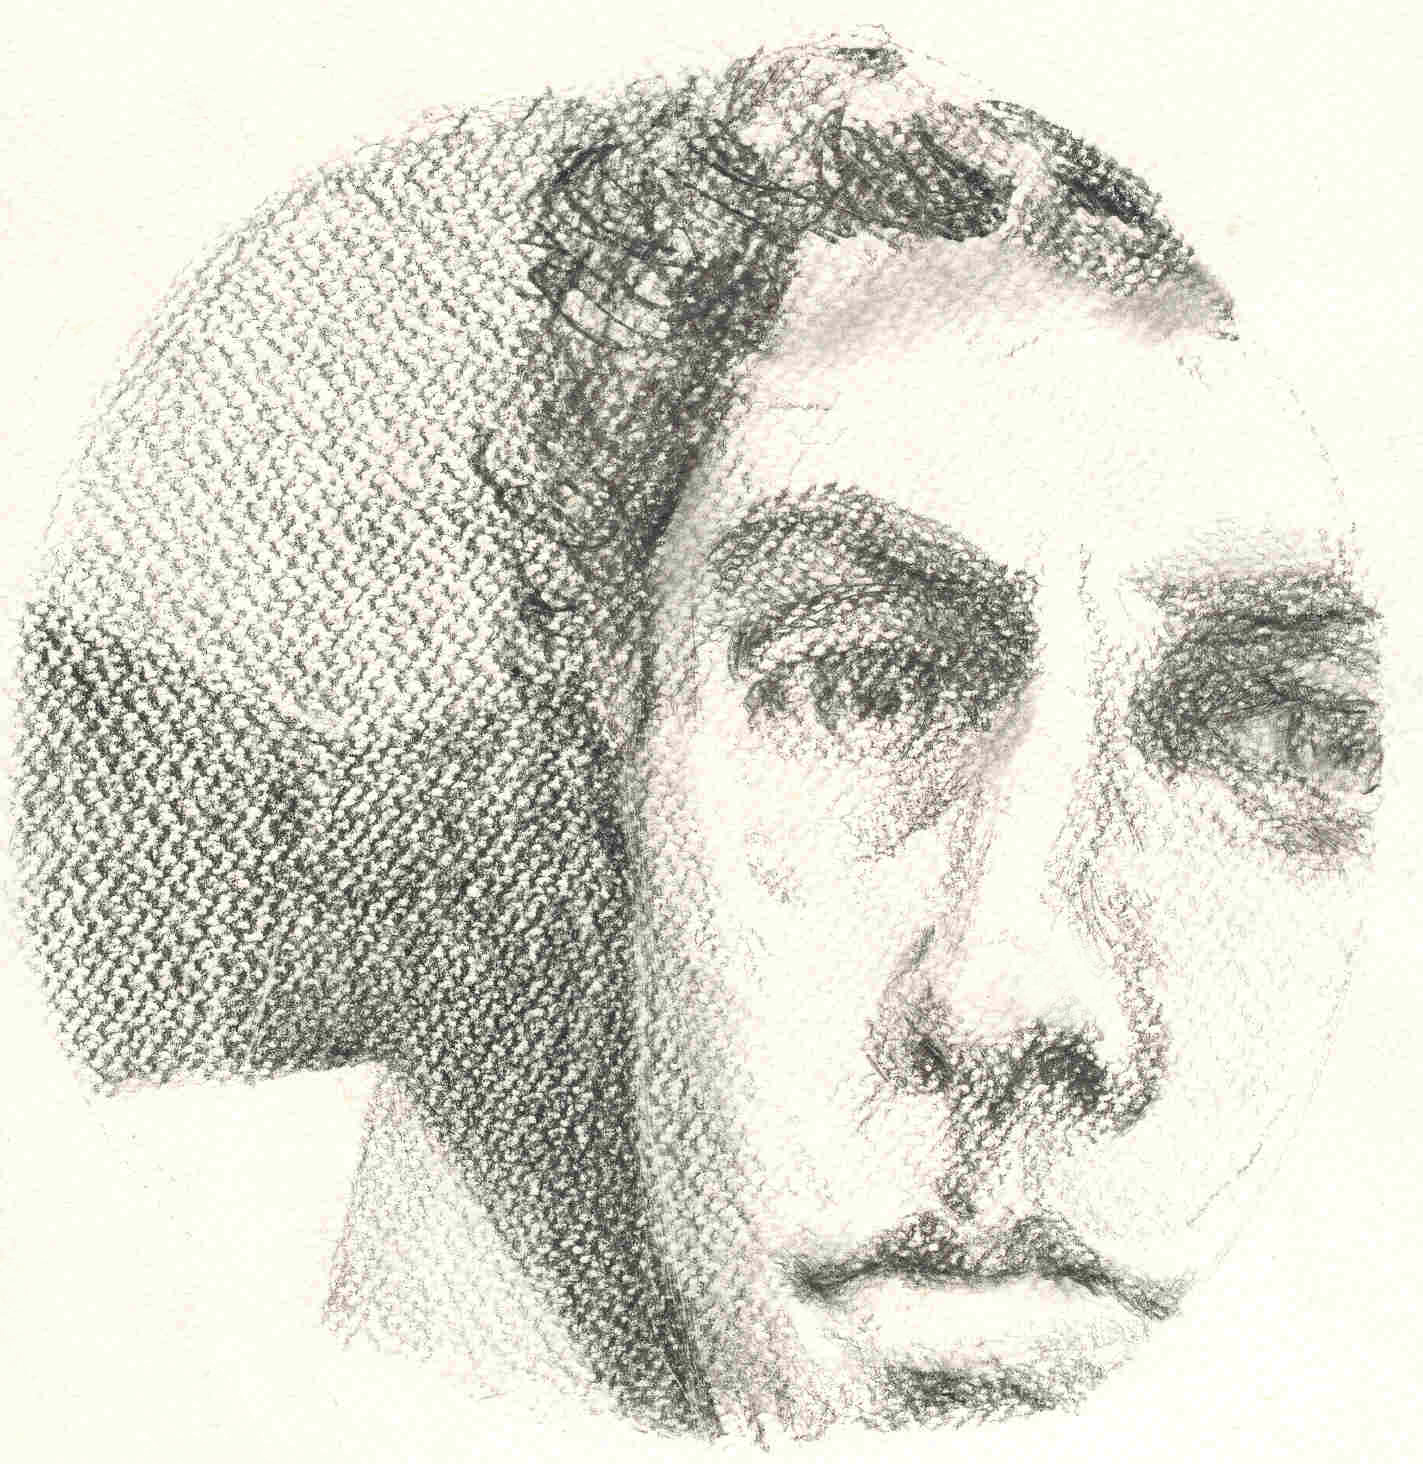
Such a streak-free way of drawing shadows is used, for example, in this circular portrait and in the vase on a table.
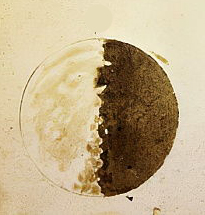
The next drawing was made in 1610 by the Italian scientist Galileo Galilei. He studied the moon through a telescope. Thanks to the shadow, he was the first scientist to discover that the moon was not a flat disk but a sphere with mountains and craters! It’s especially visible on the border between light and shadow. That was a sensational discovery at the time!
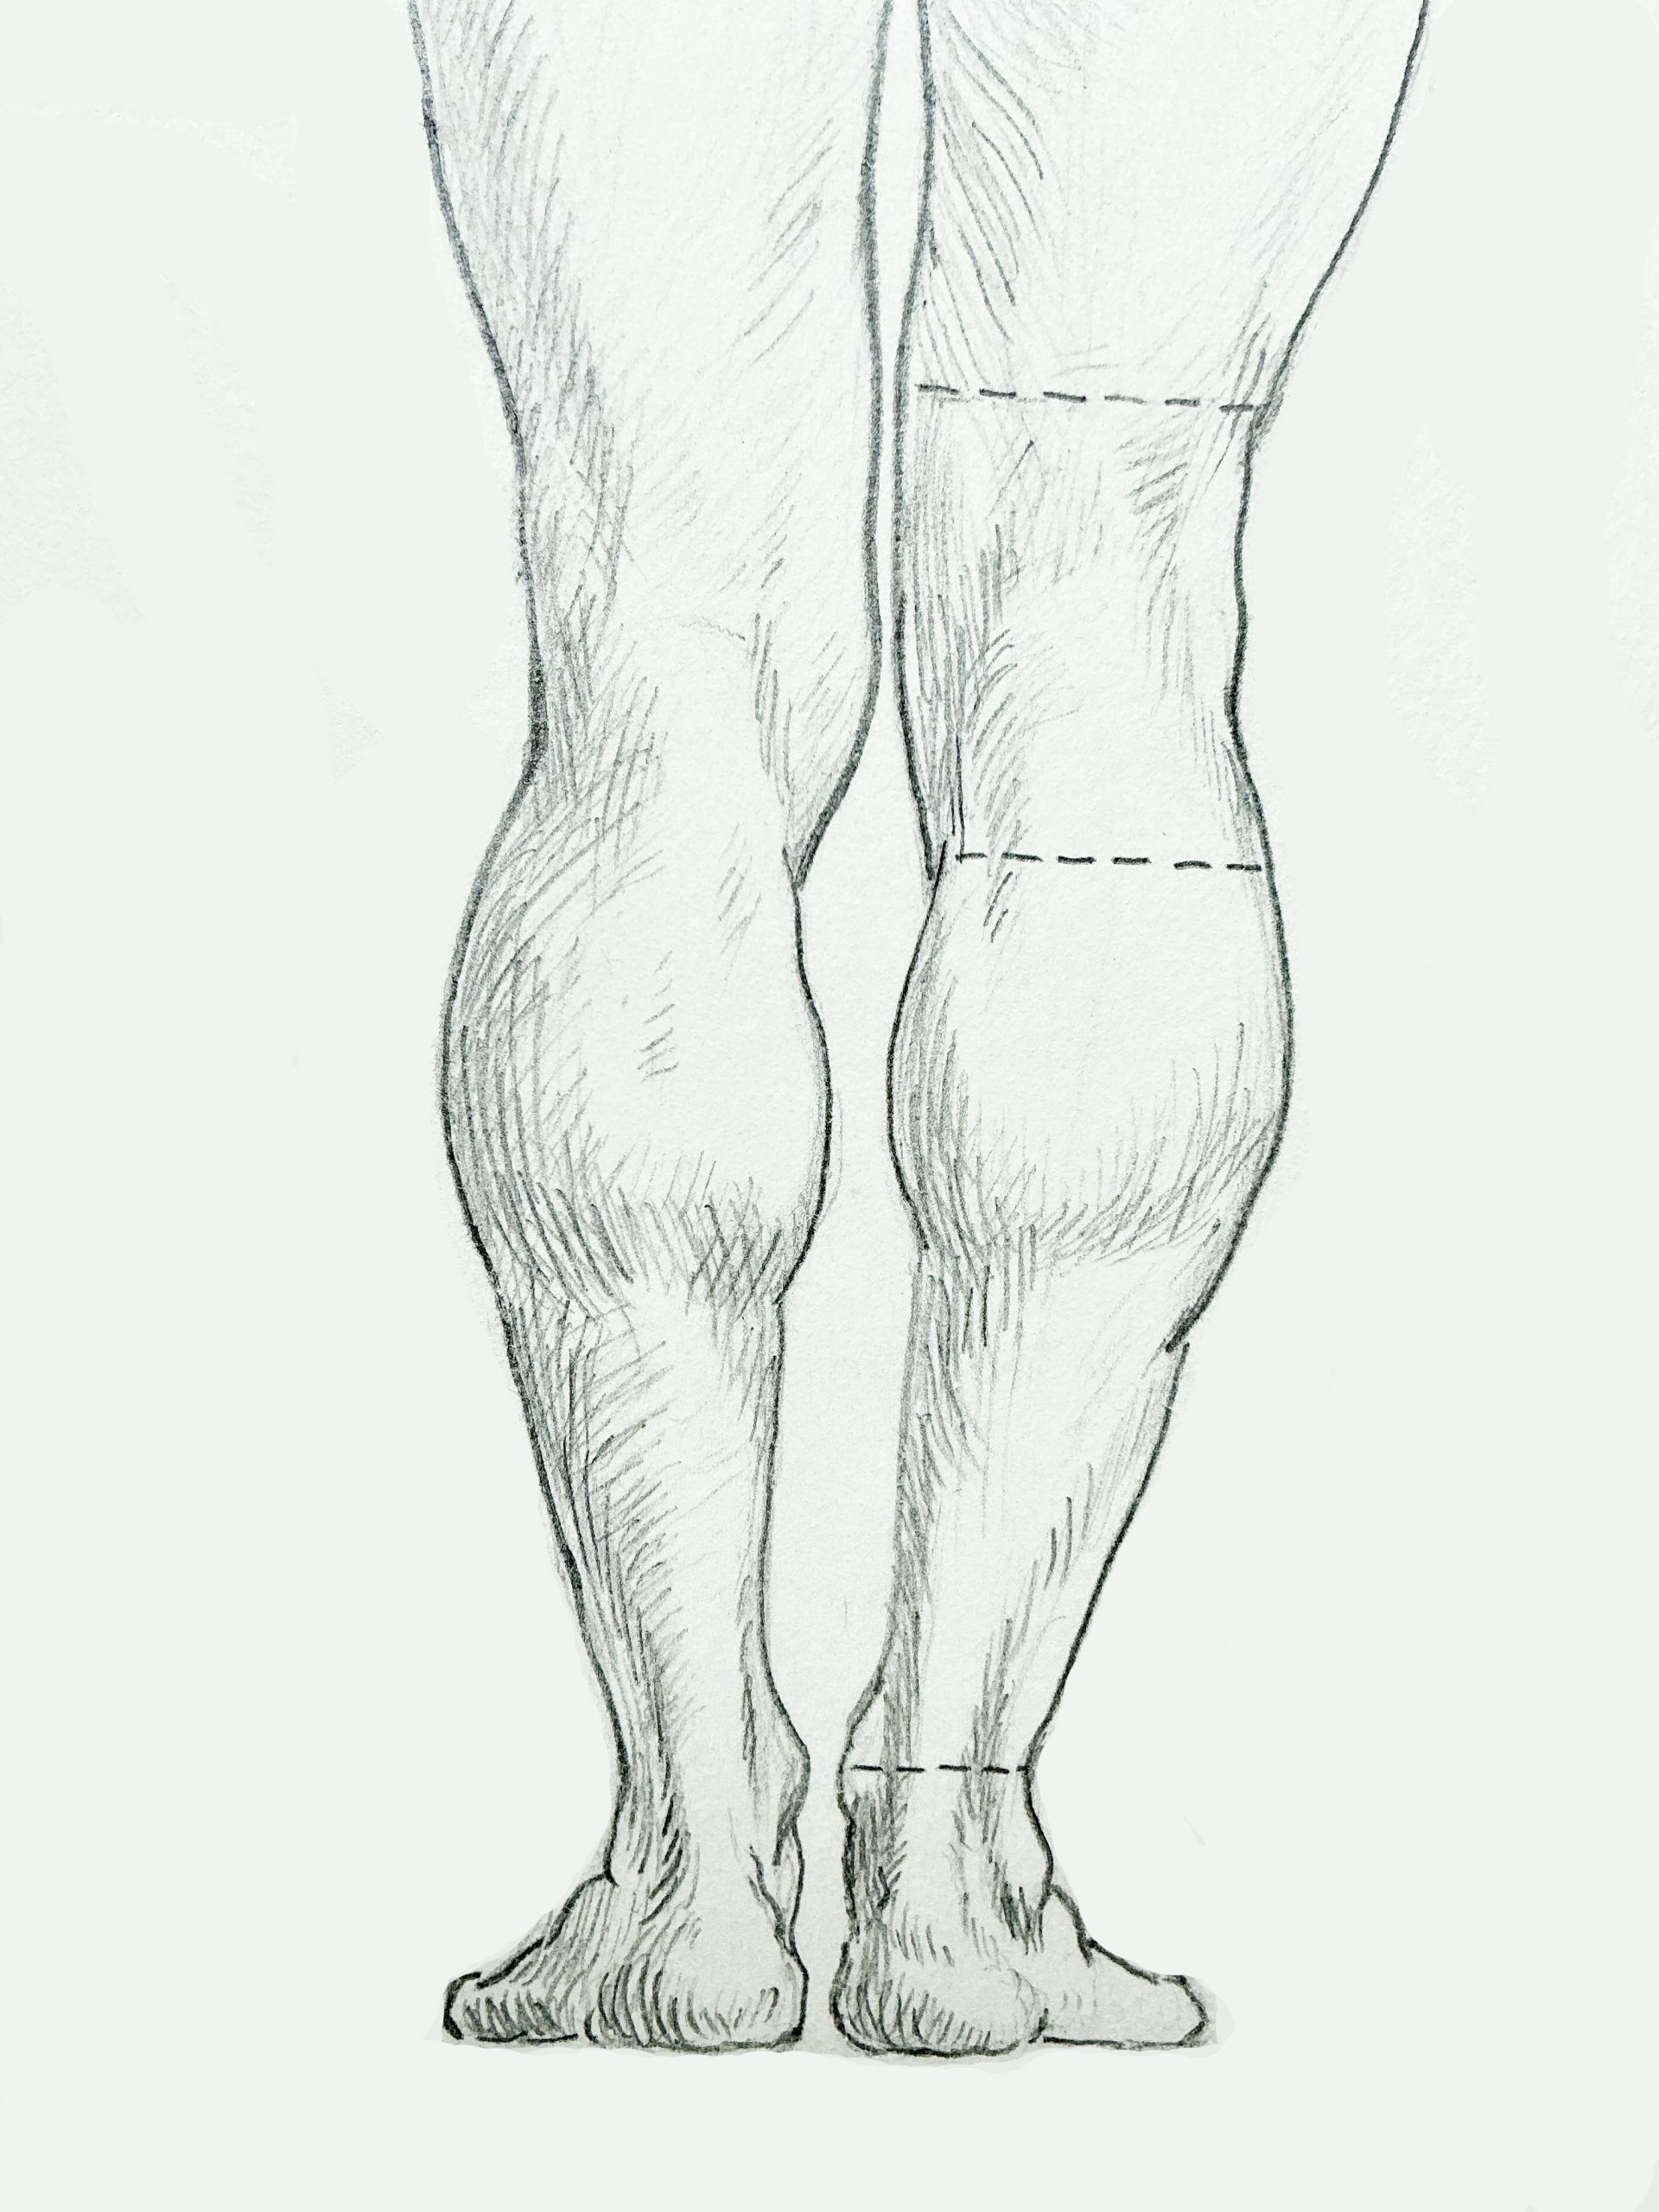
Modeling is also a part of anatomical studies. These studies formed the basis for paintings of people in all sorts of poses for centuries.