Chapter 1 | BIRDS

In this chapter I would like to teach you how to draw bird wings.
Exercise 1:
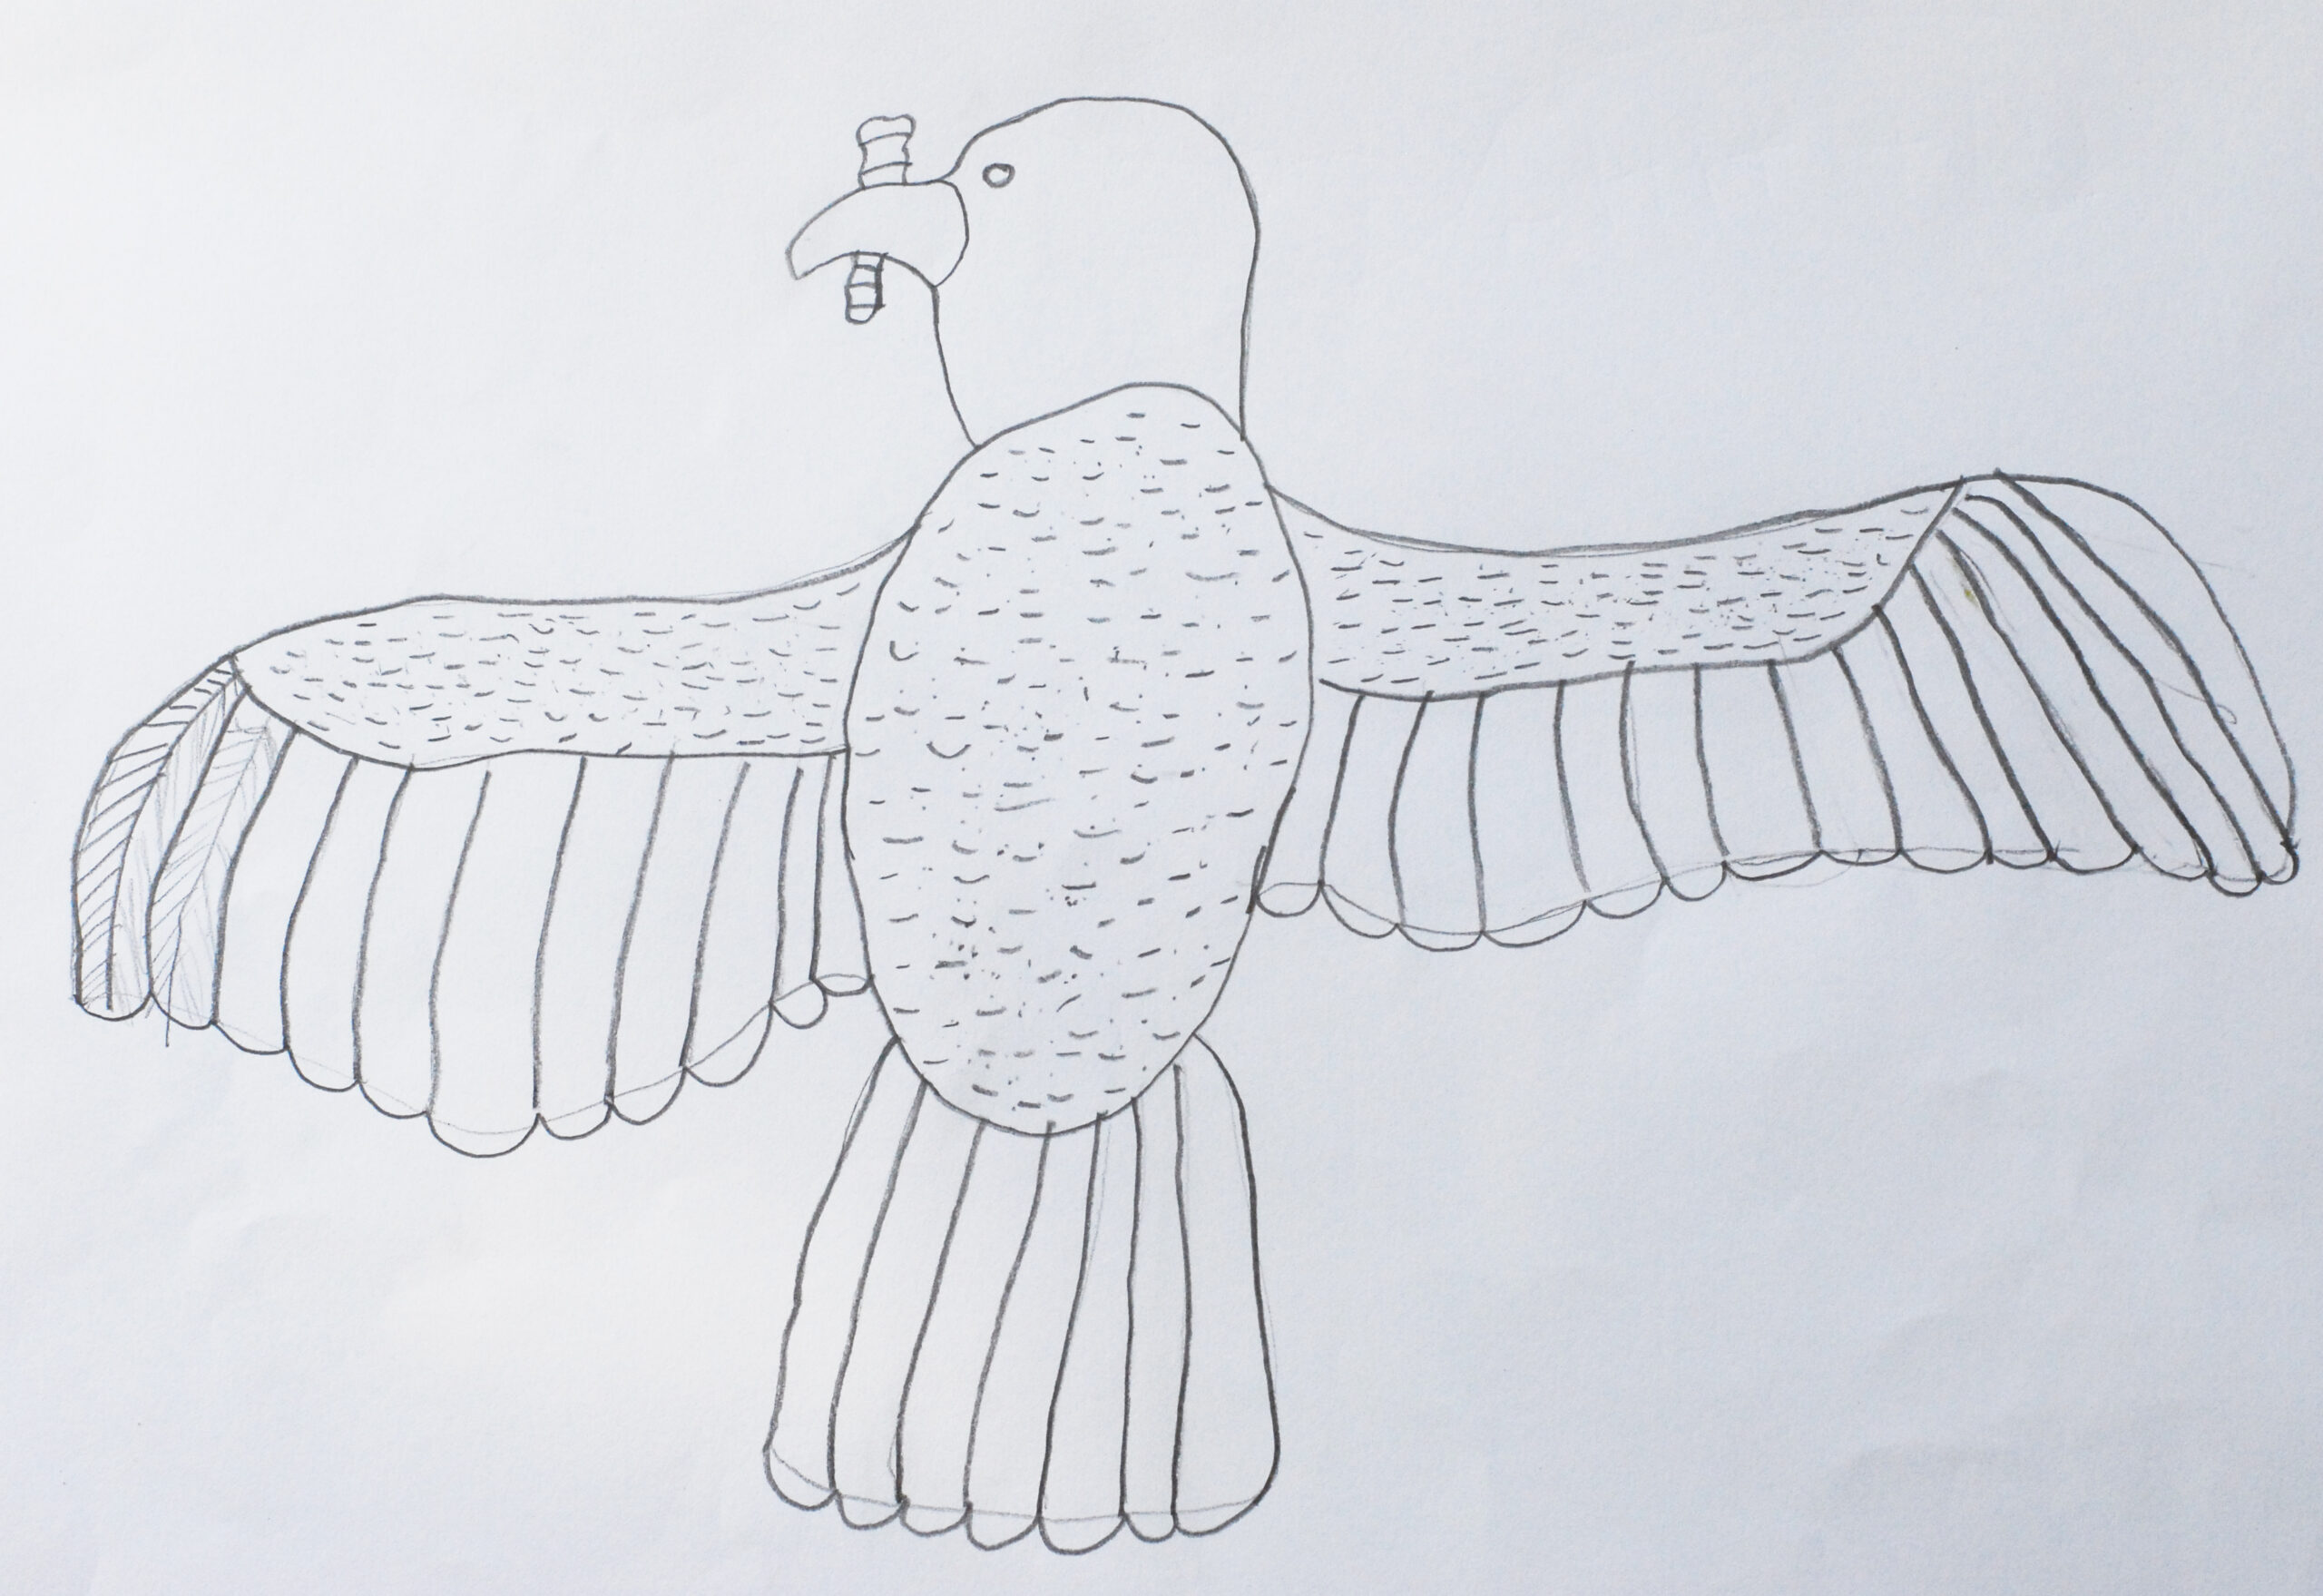
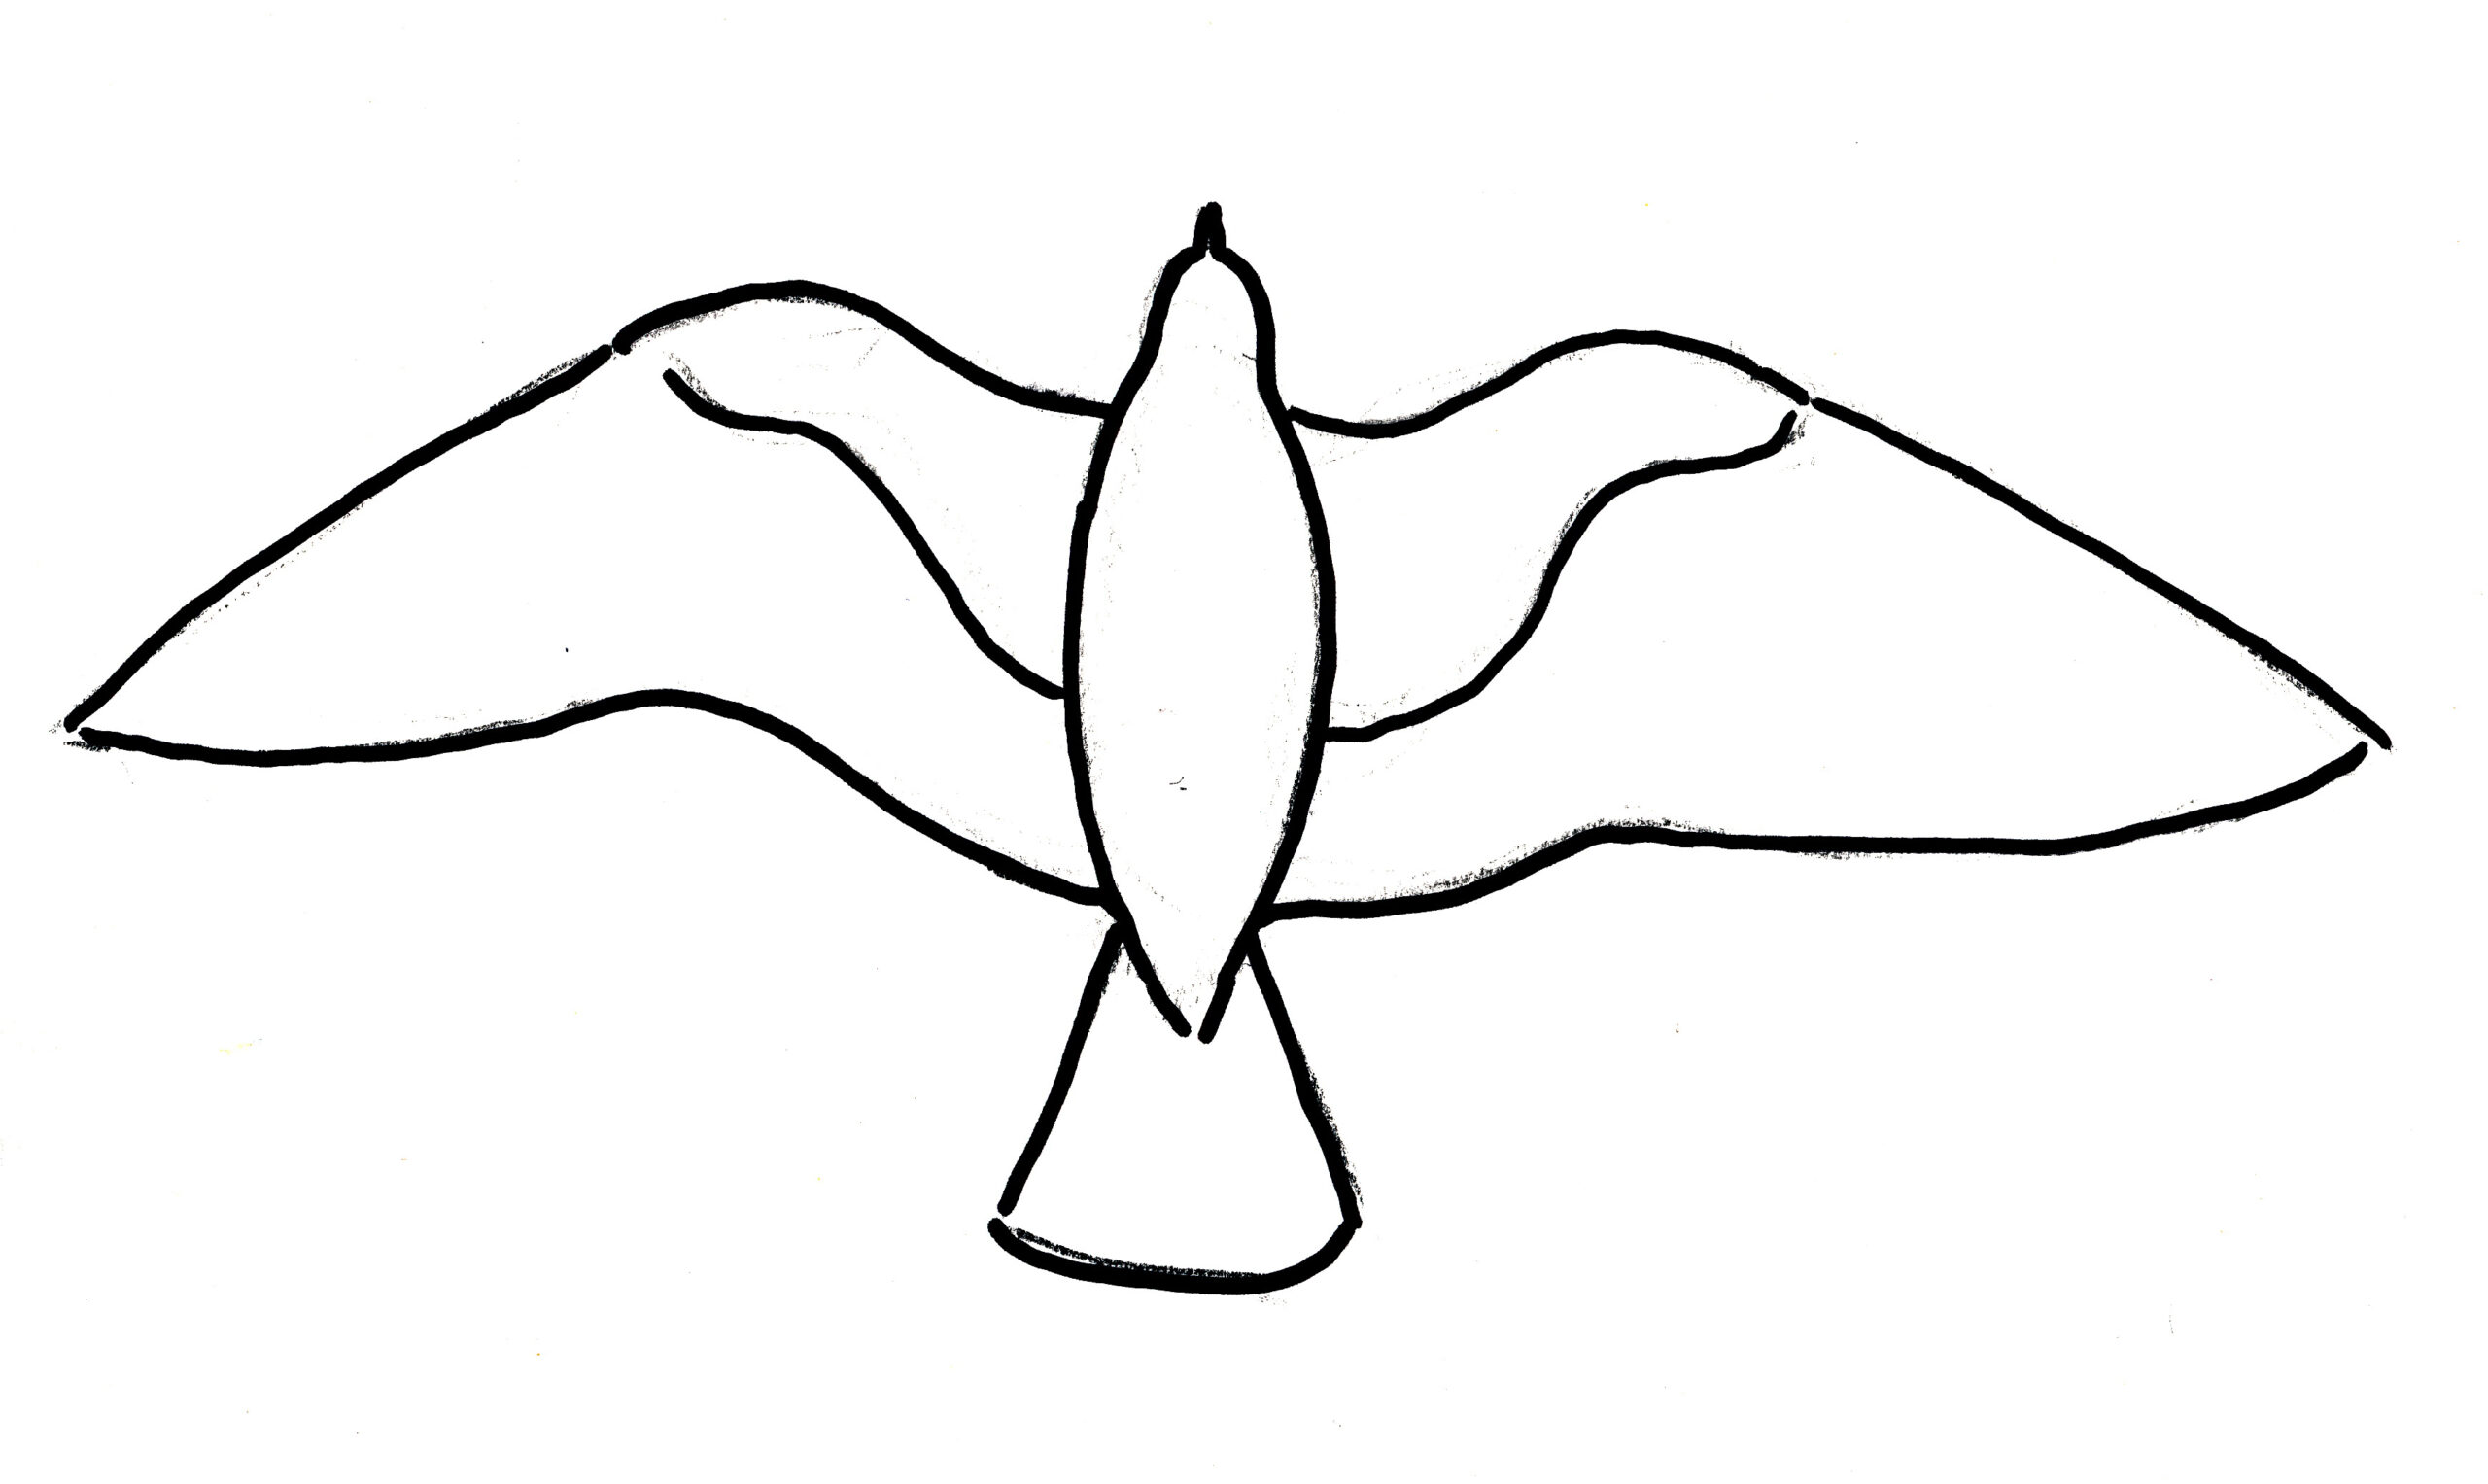
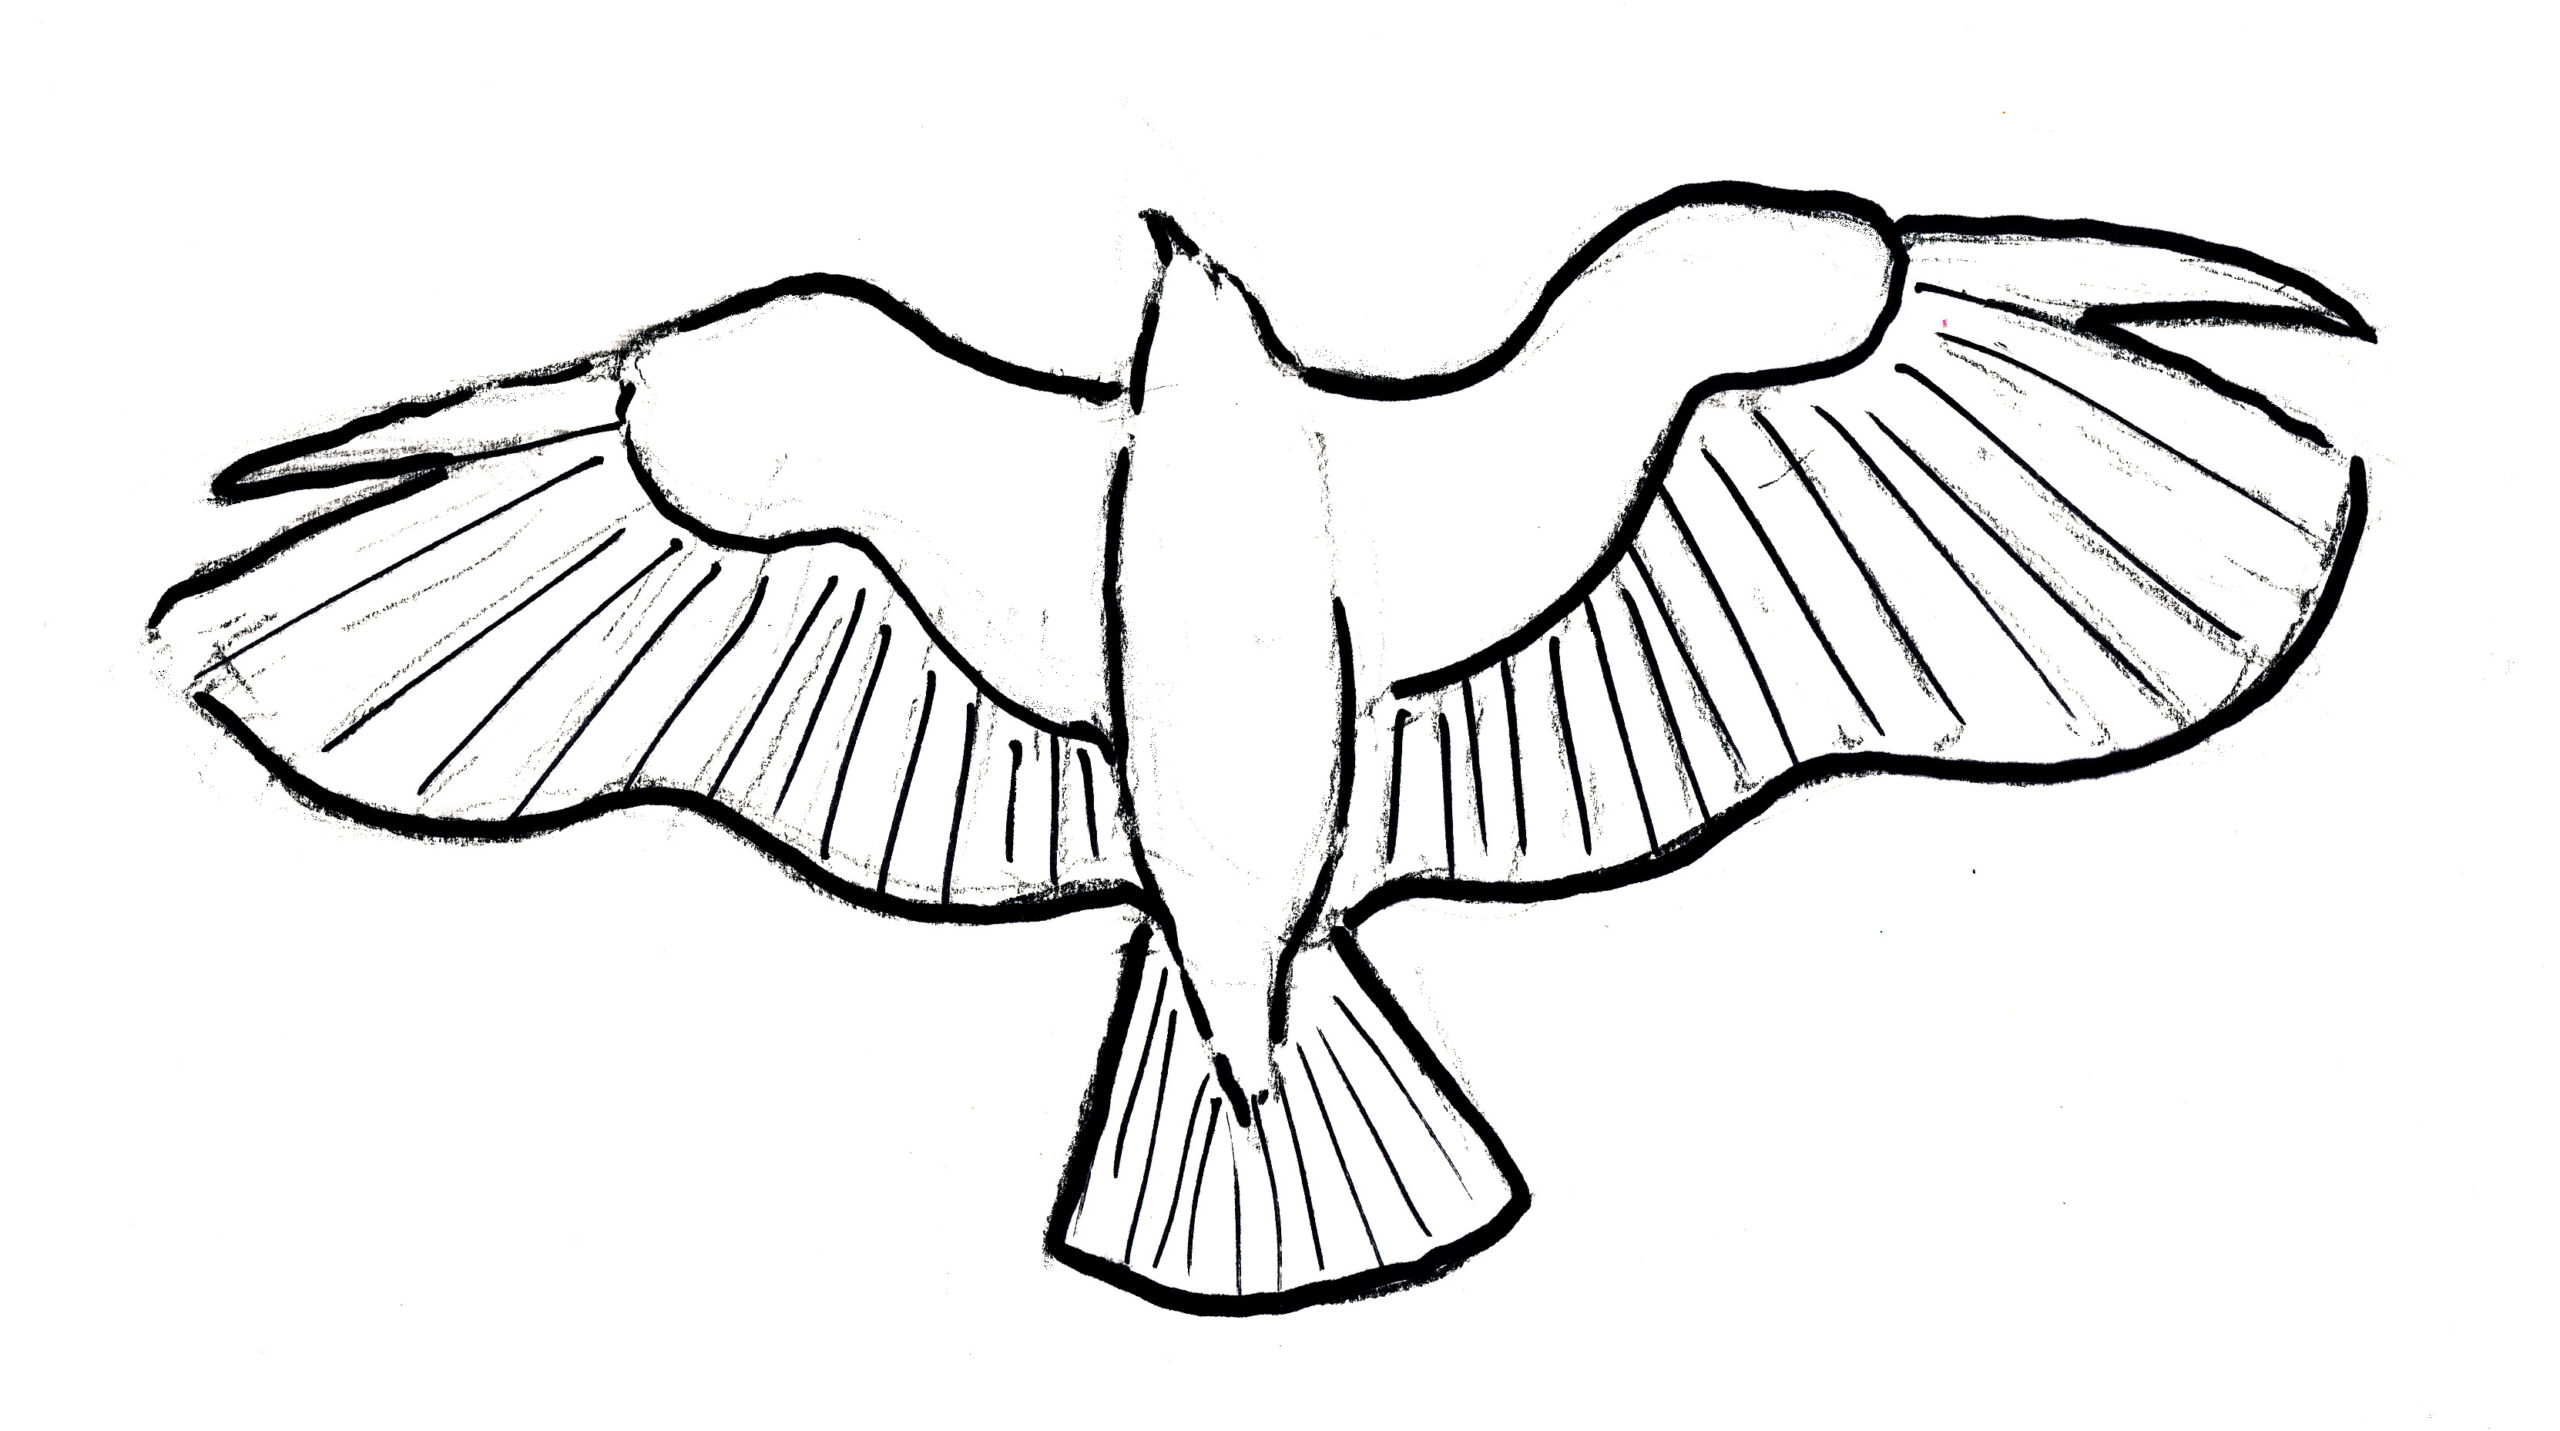
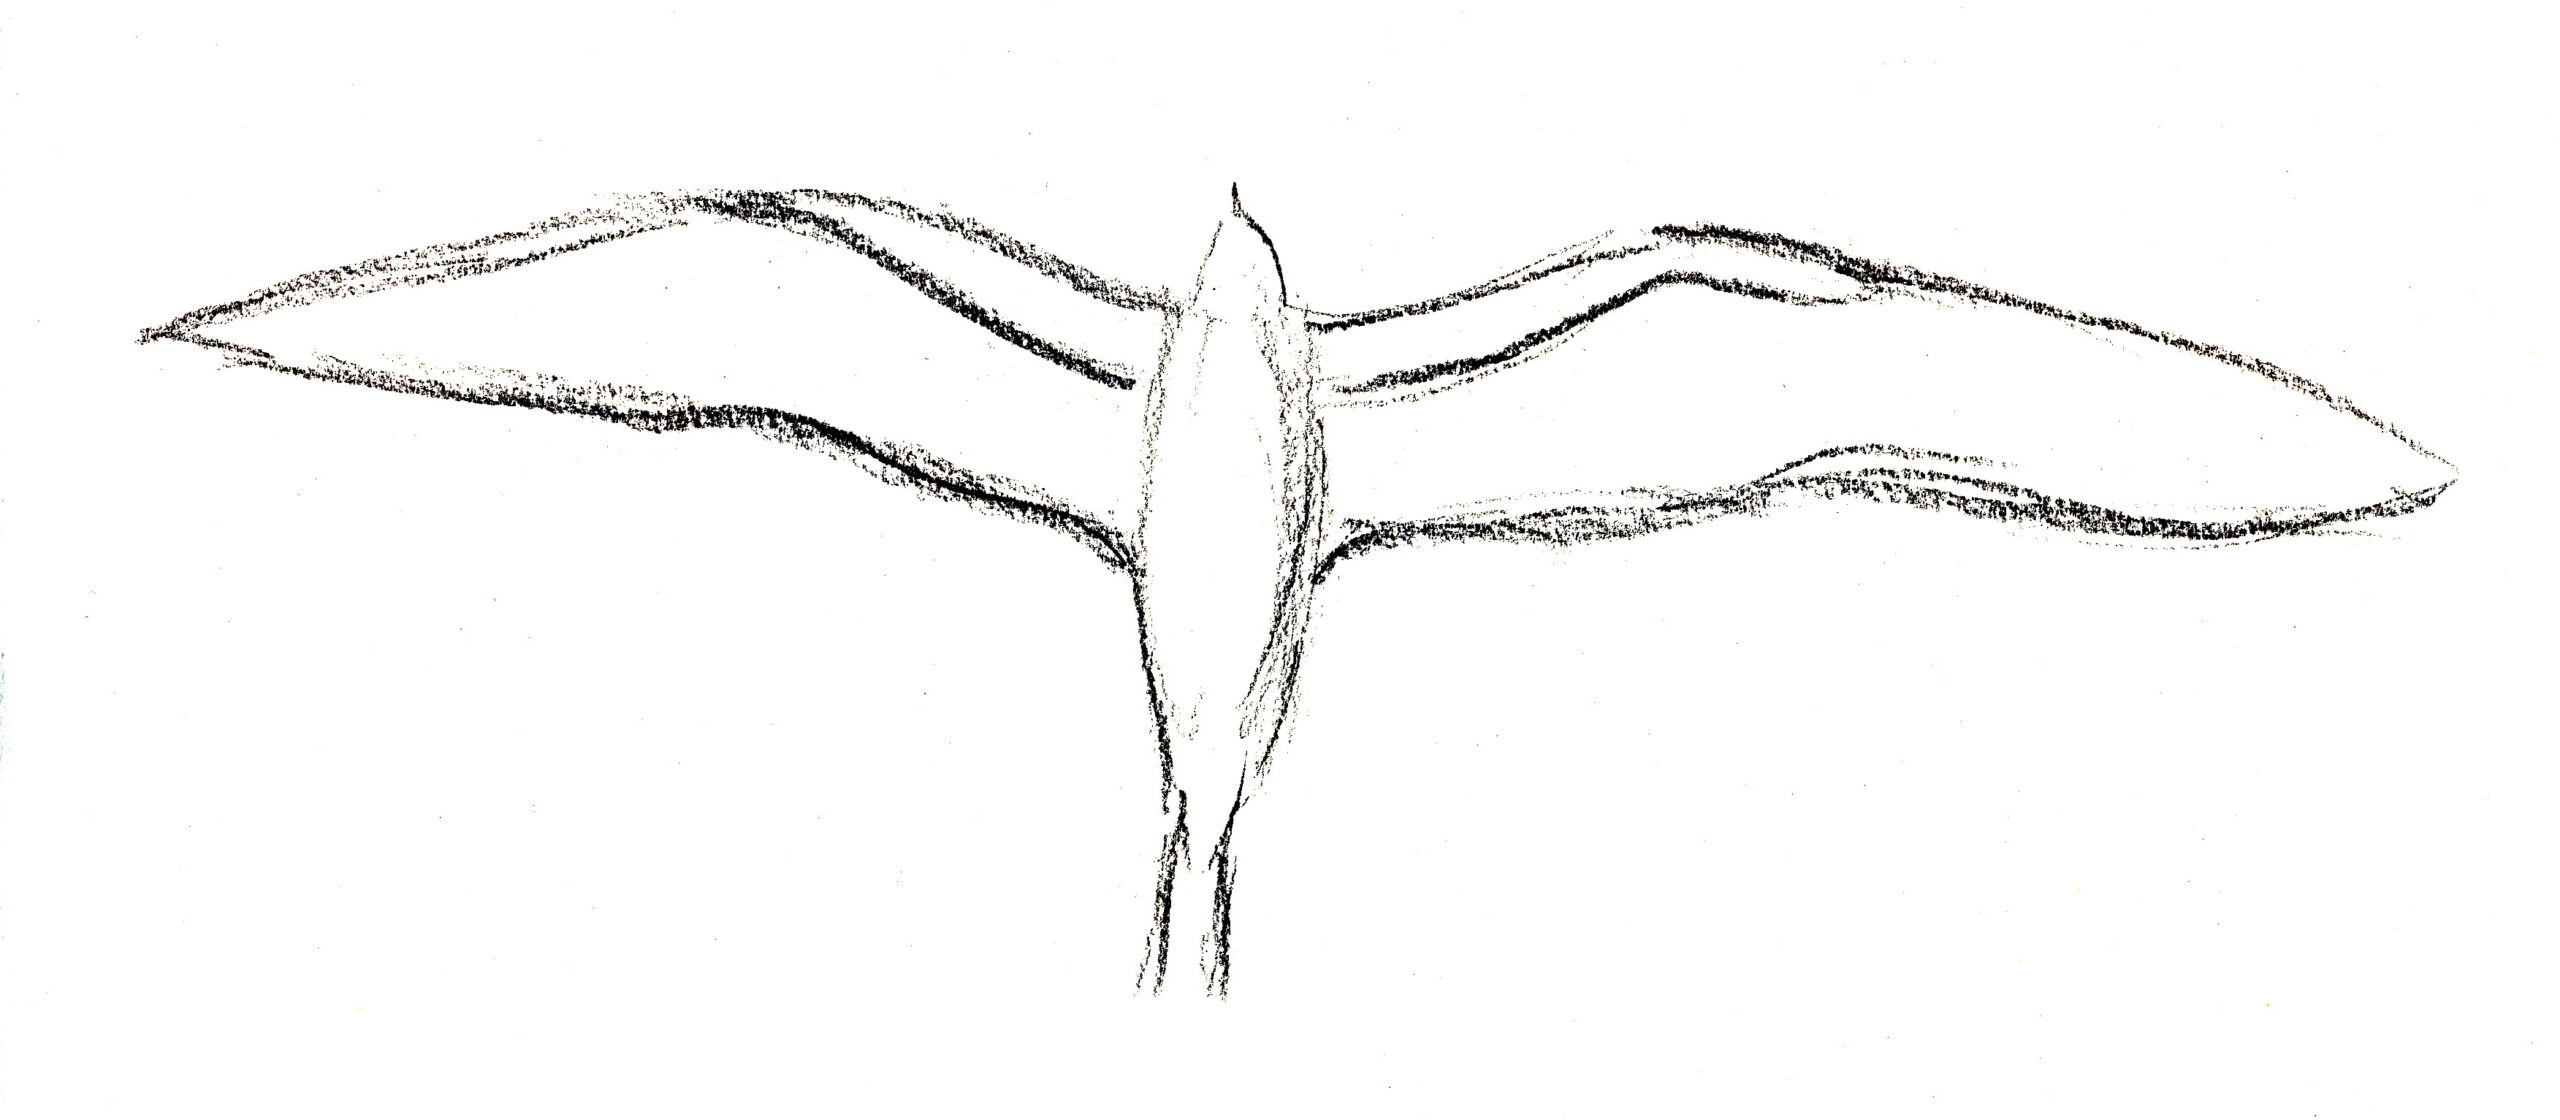
Step 1: Start with the body and tail of the bird and then draw the shape of the wings on both sides. It is important that you draw the wavy lines of the wings carefully. Make sure that the wings are equally wide (symmetry). Both wings are divided into two parts by a line. The upper part contains the bones, muscles and the coverts, the lower part will soon contain the quills.
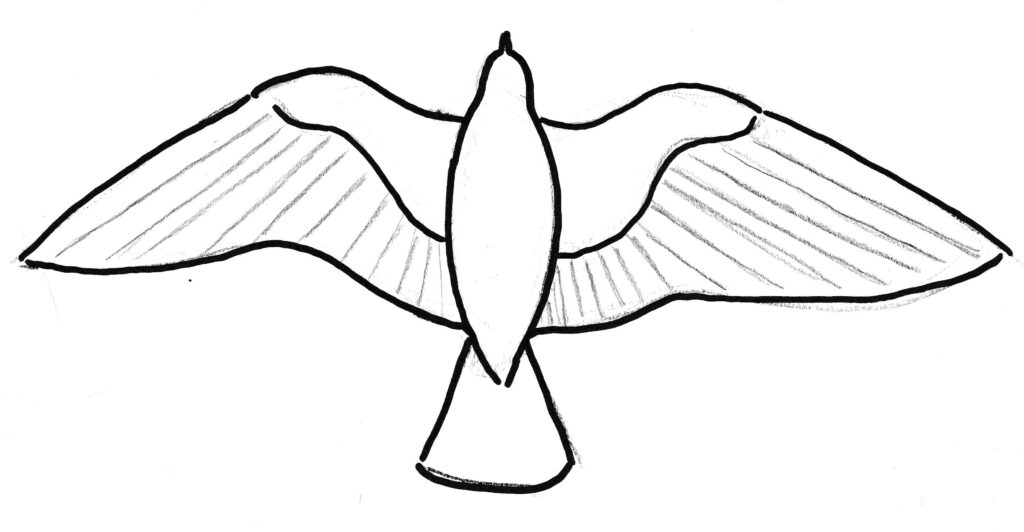
Step 2: very lightly draw the direction of the ‘pens’, further and further outwards.
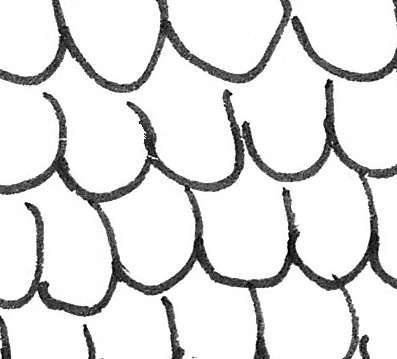
Step 3: draw covert feathers in the upper part of the wings. Start at the top with the smallest coverts as tiny arcs. Each next layer comes halfway from underneath, each time bigger until you finally reach the wing feathers. Now give the feathers their typical feather shape too.
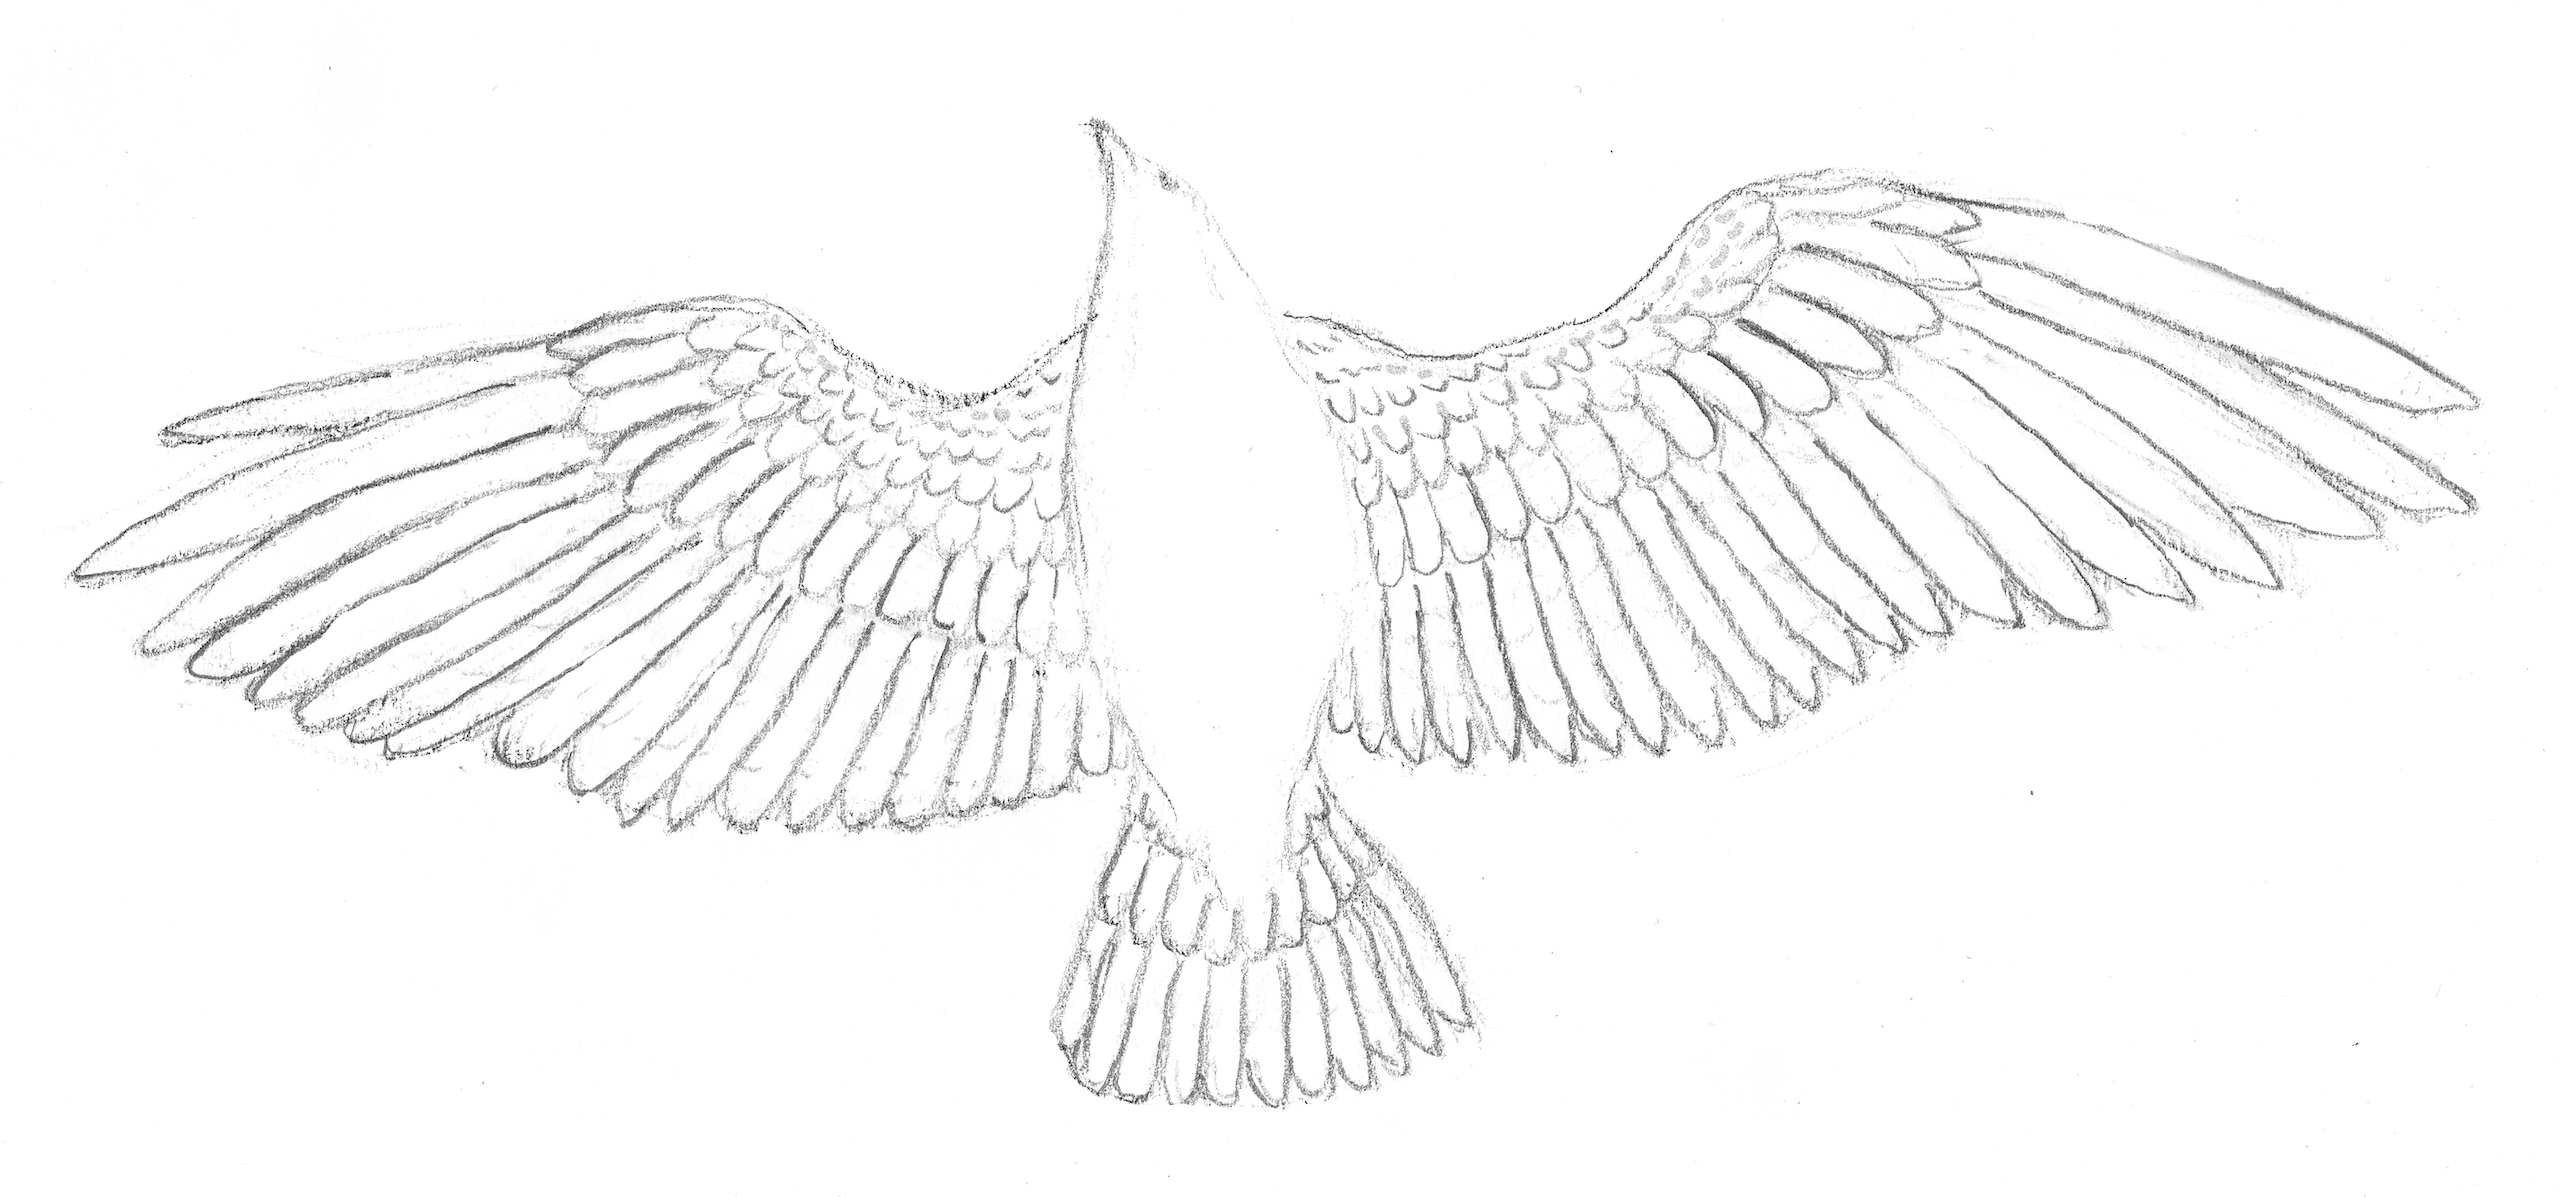
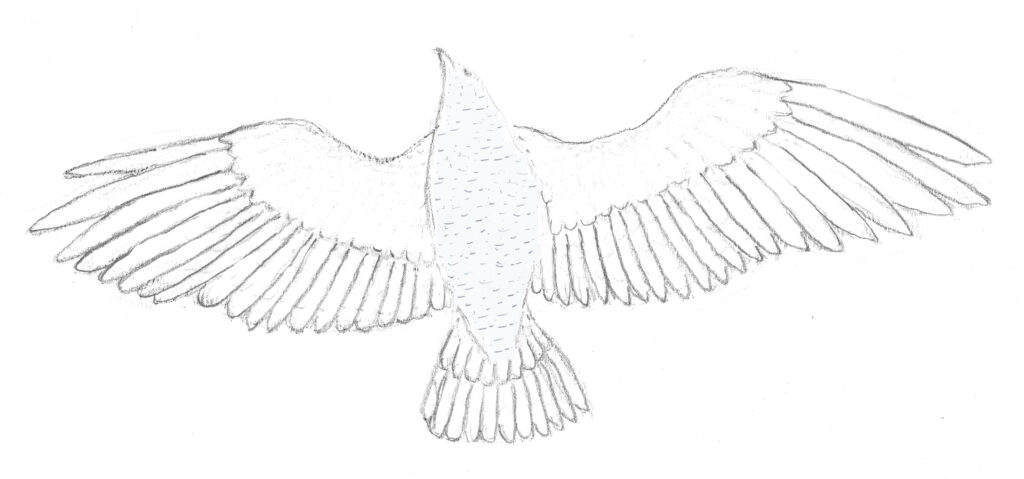
Different bird species have different wing shapes but the structure is more or less the same.
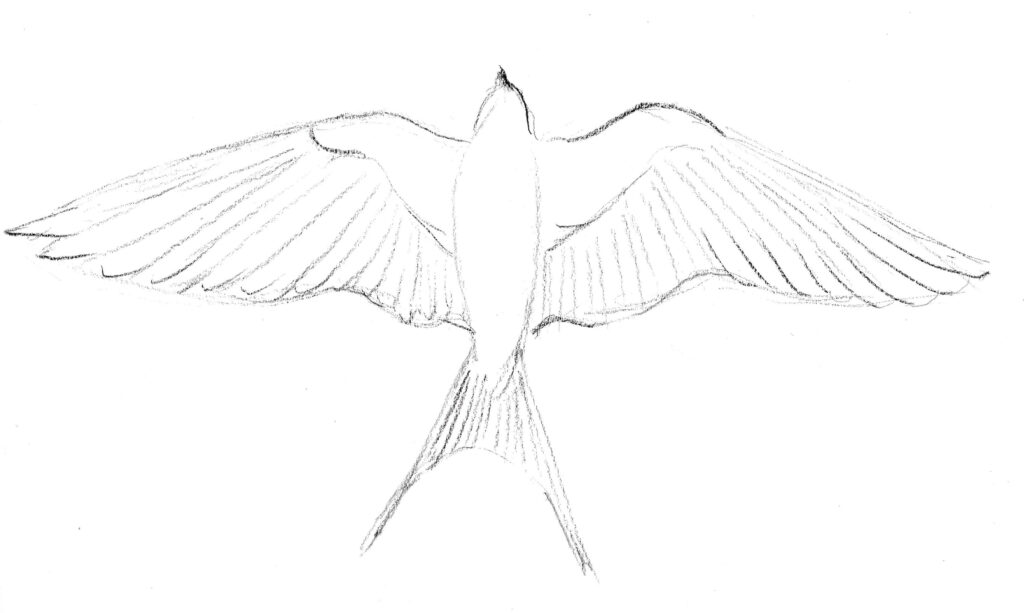
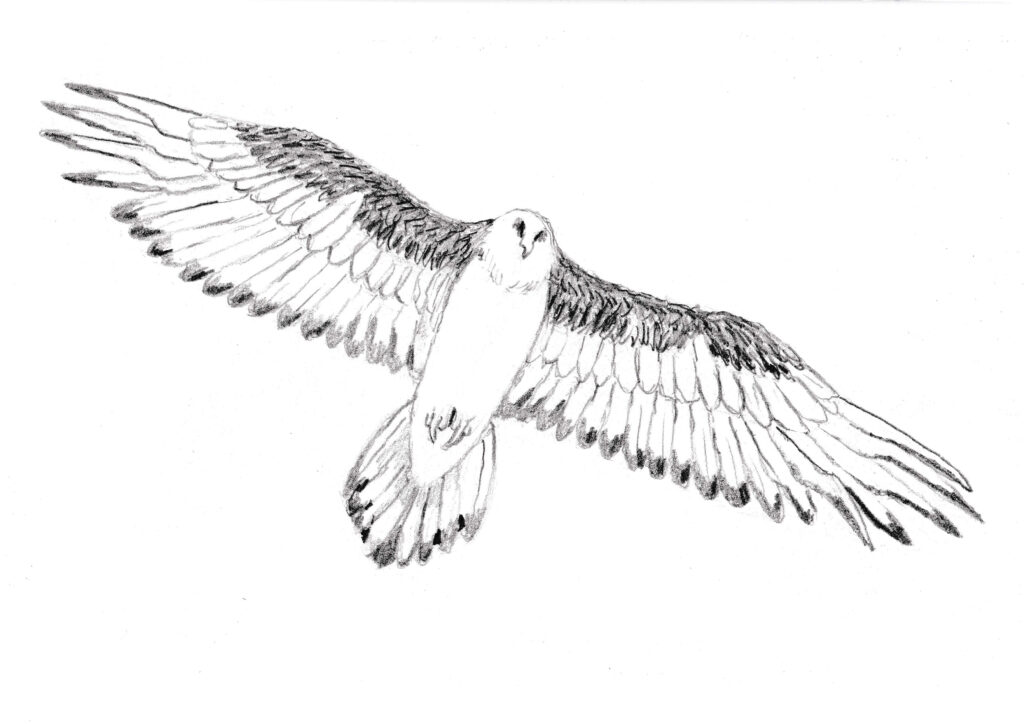
Suggestion: for drawing wings at an angle it is useful to first draw a cross with two assisting lines. The first setup in the image is drawn very lightly so that everything can still be changed.
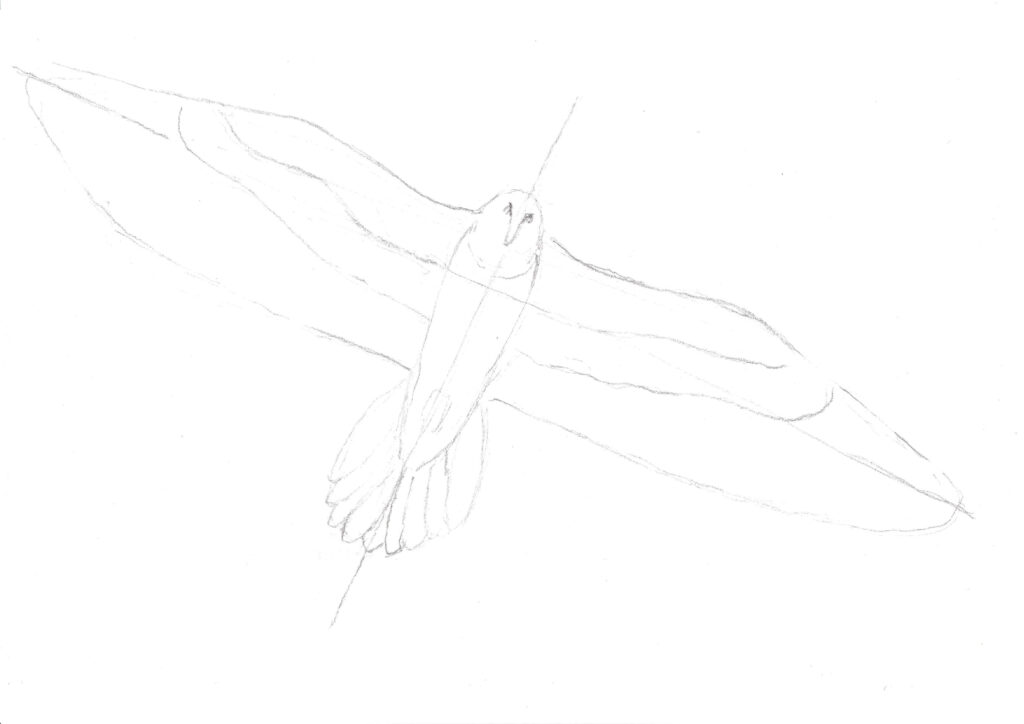
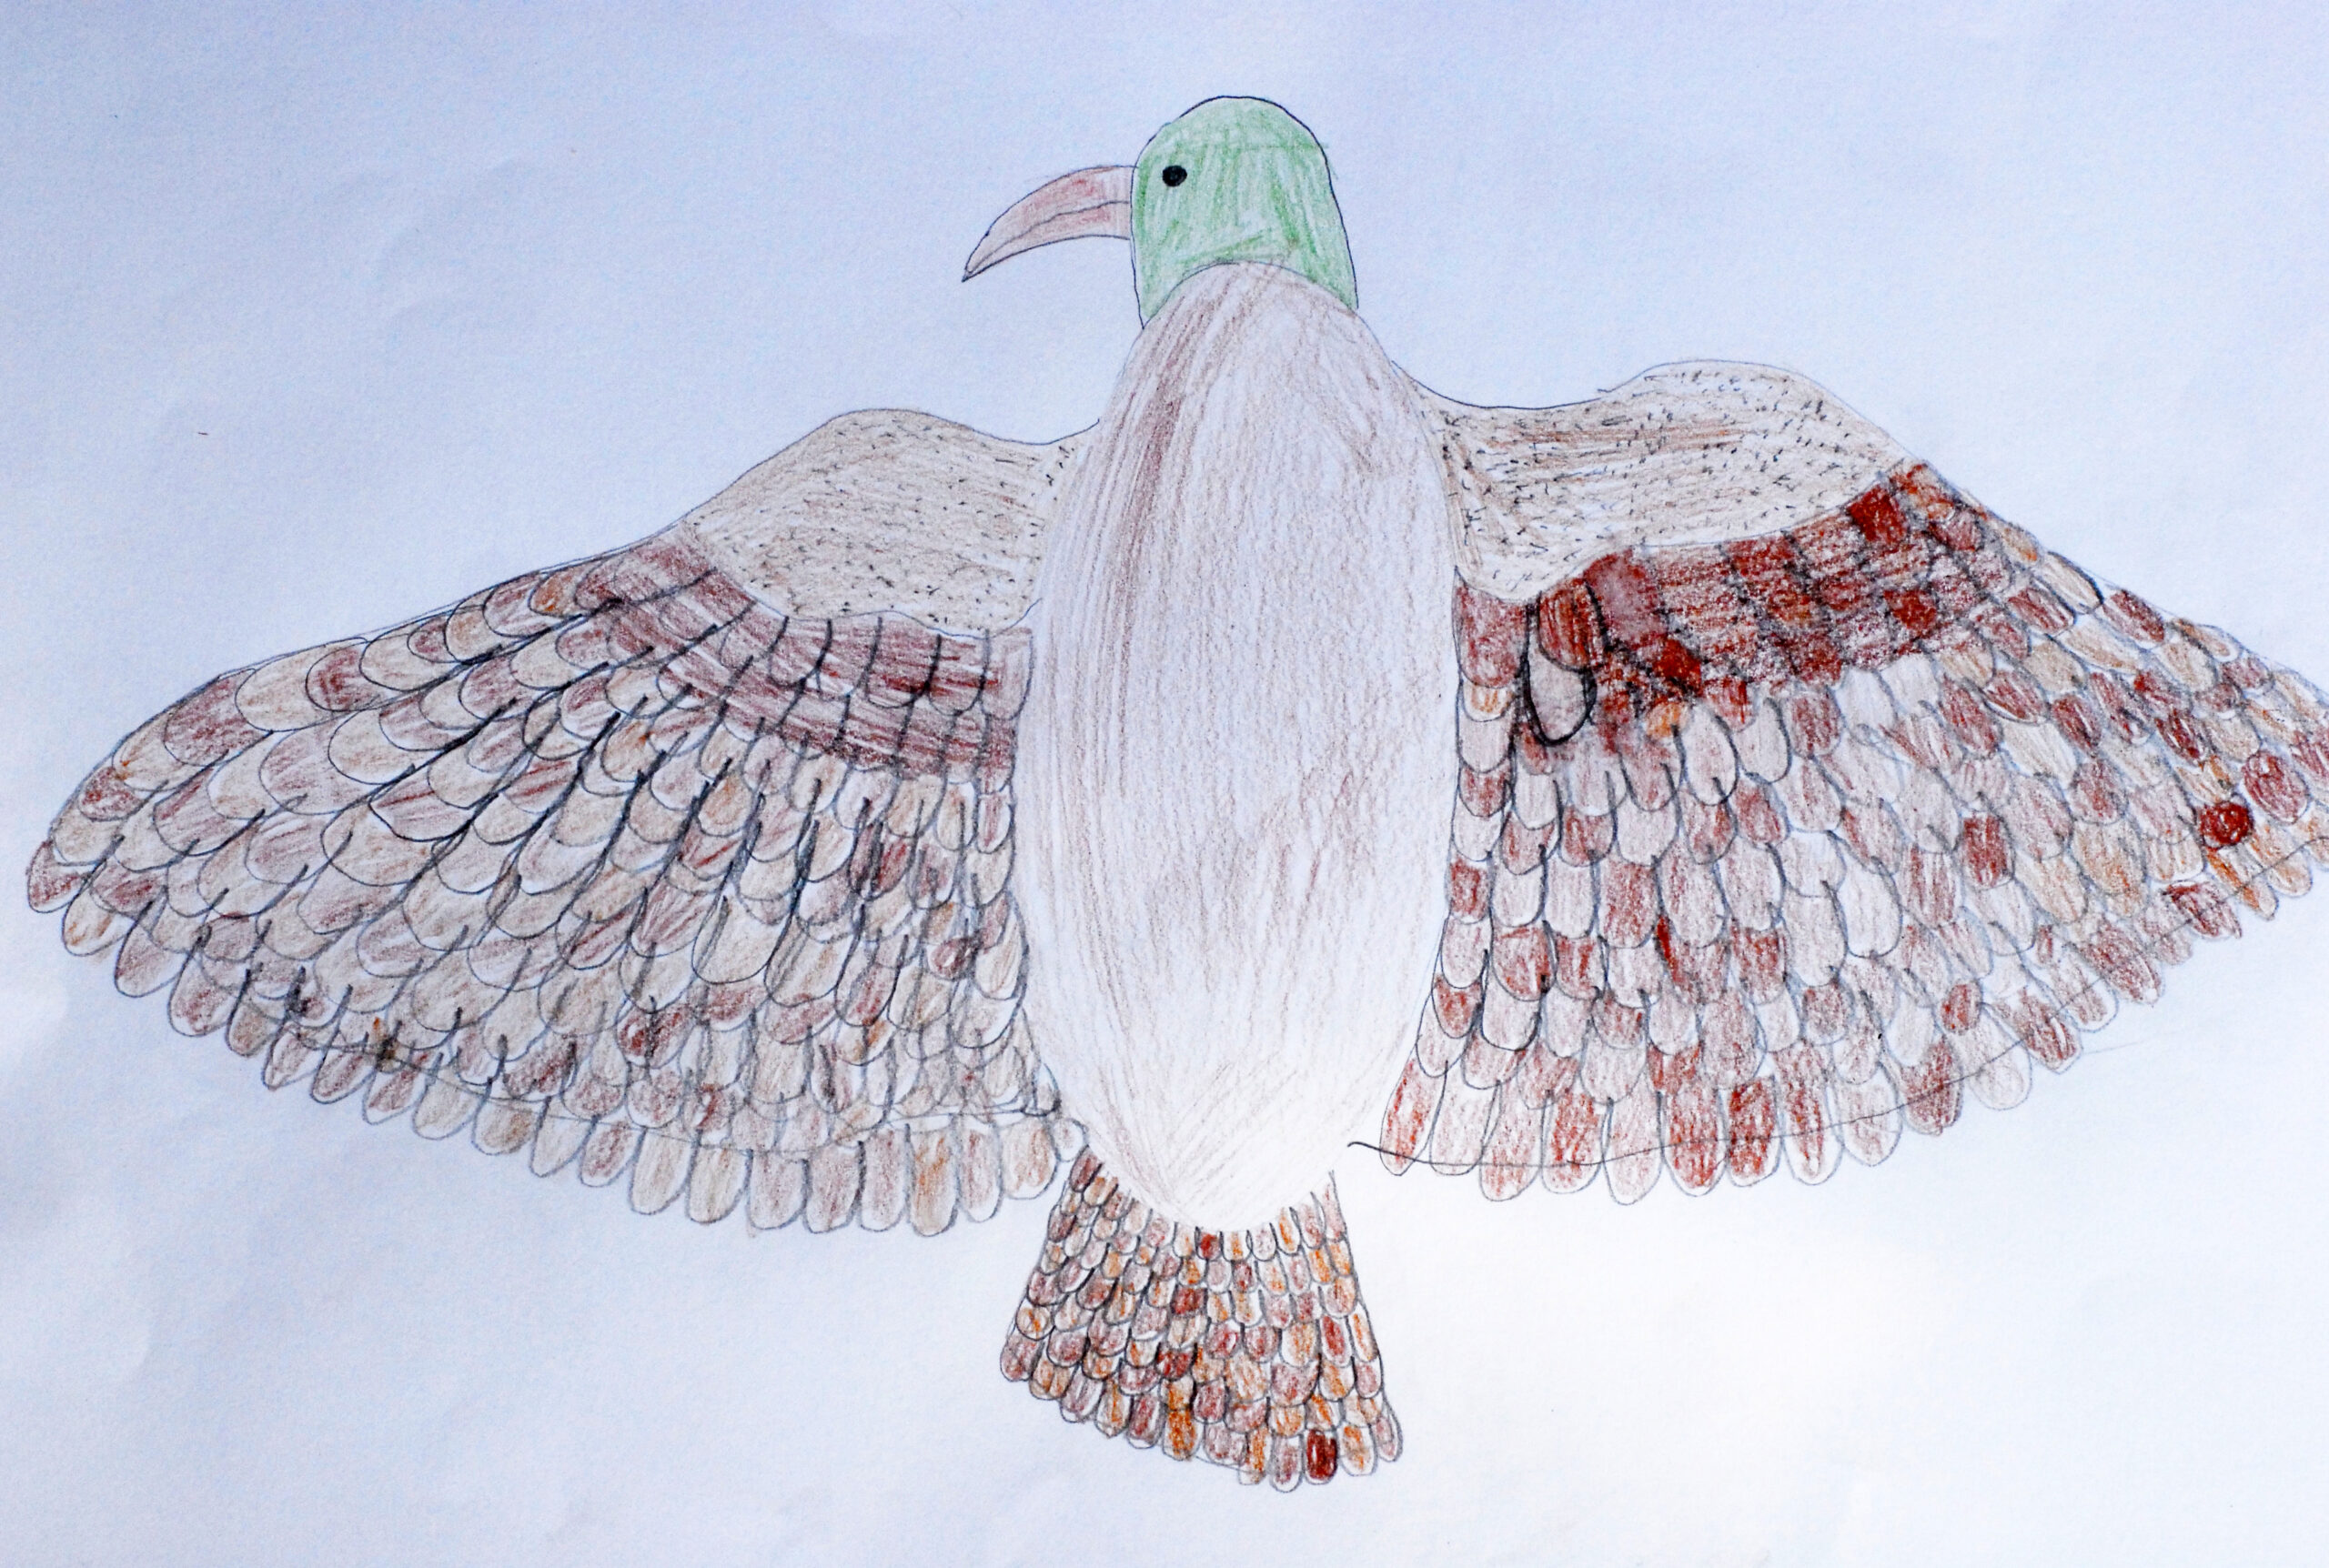
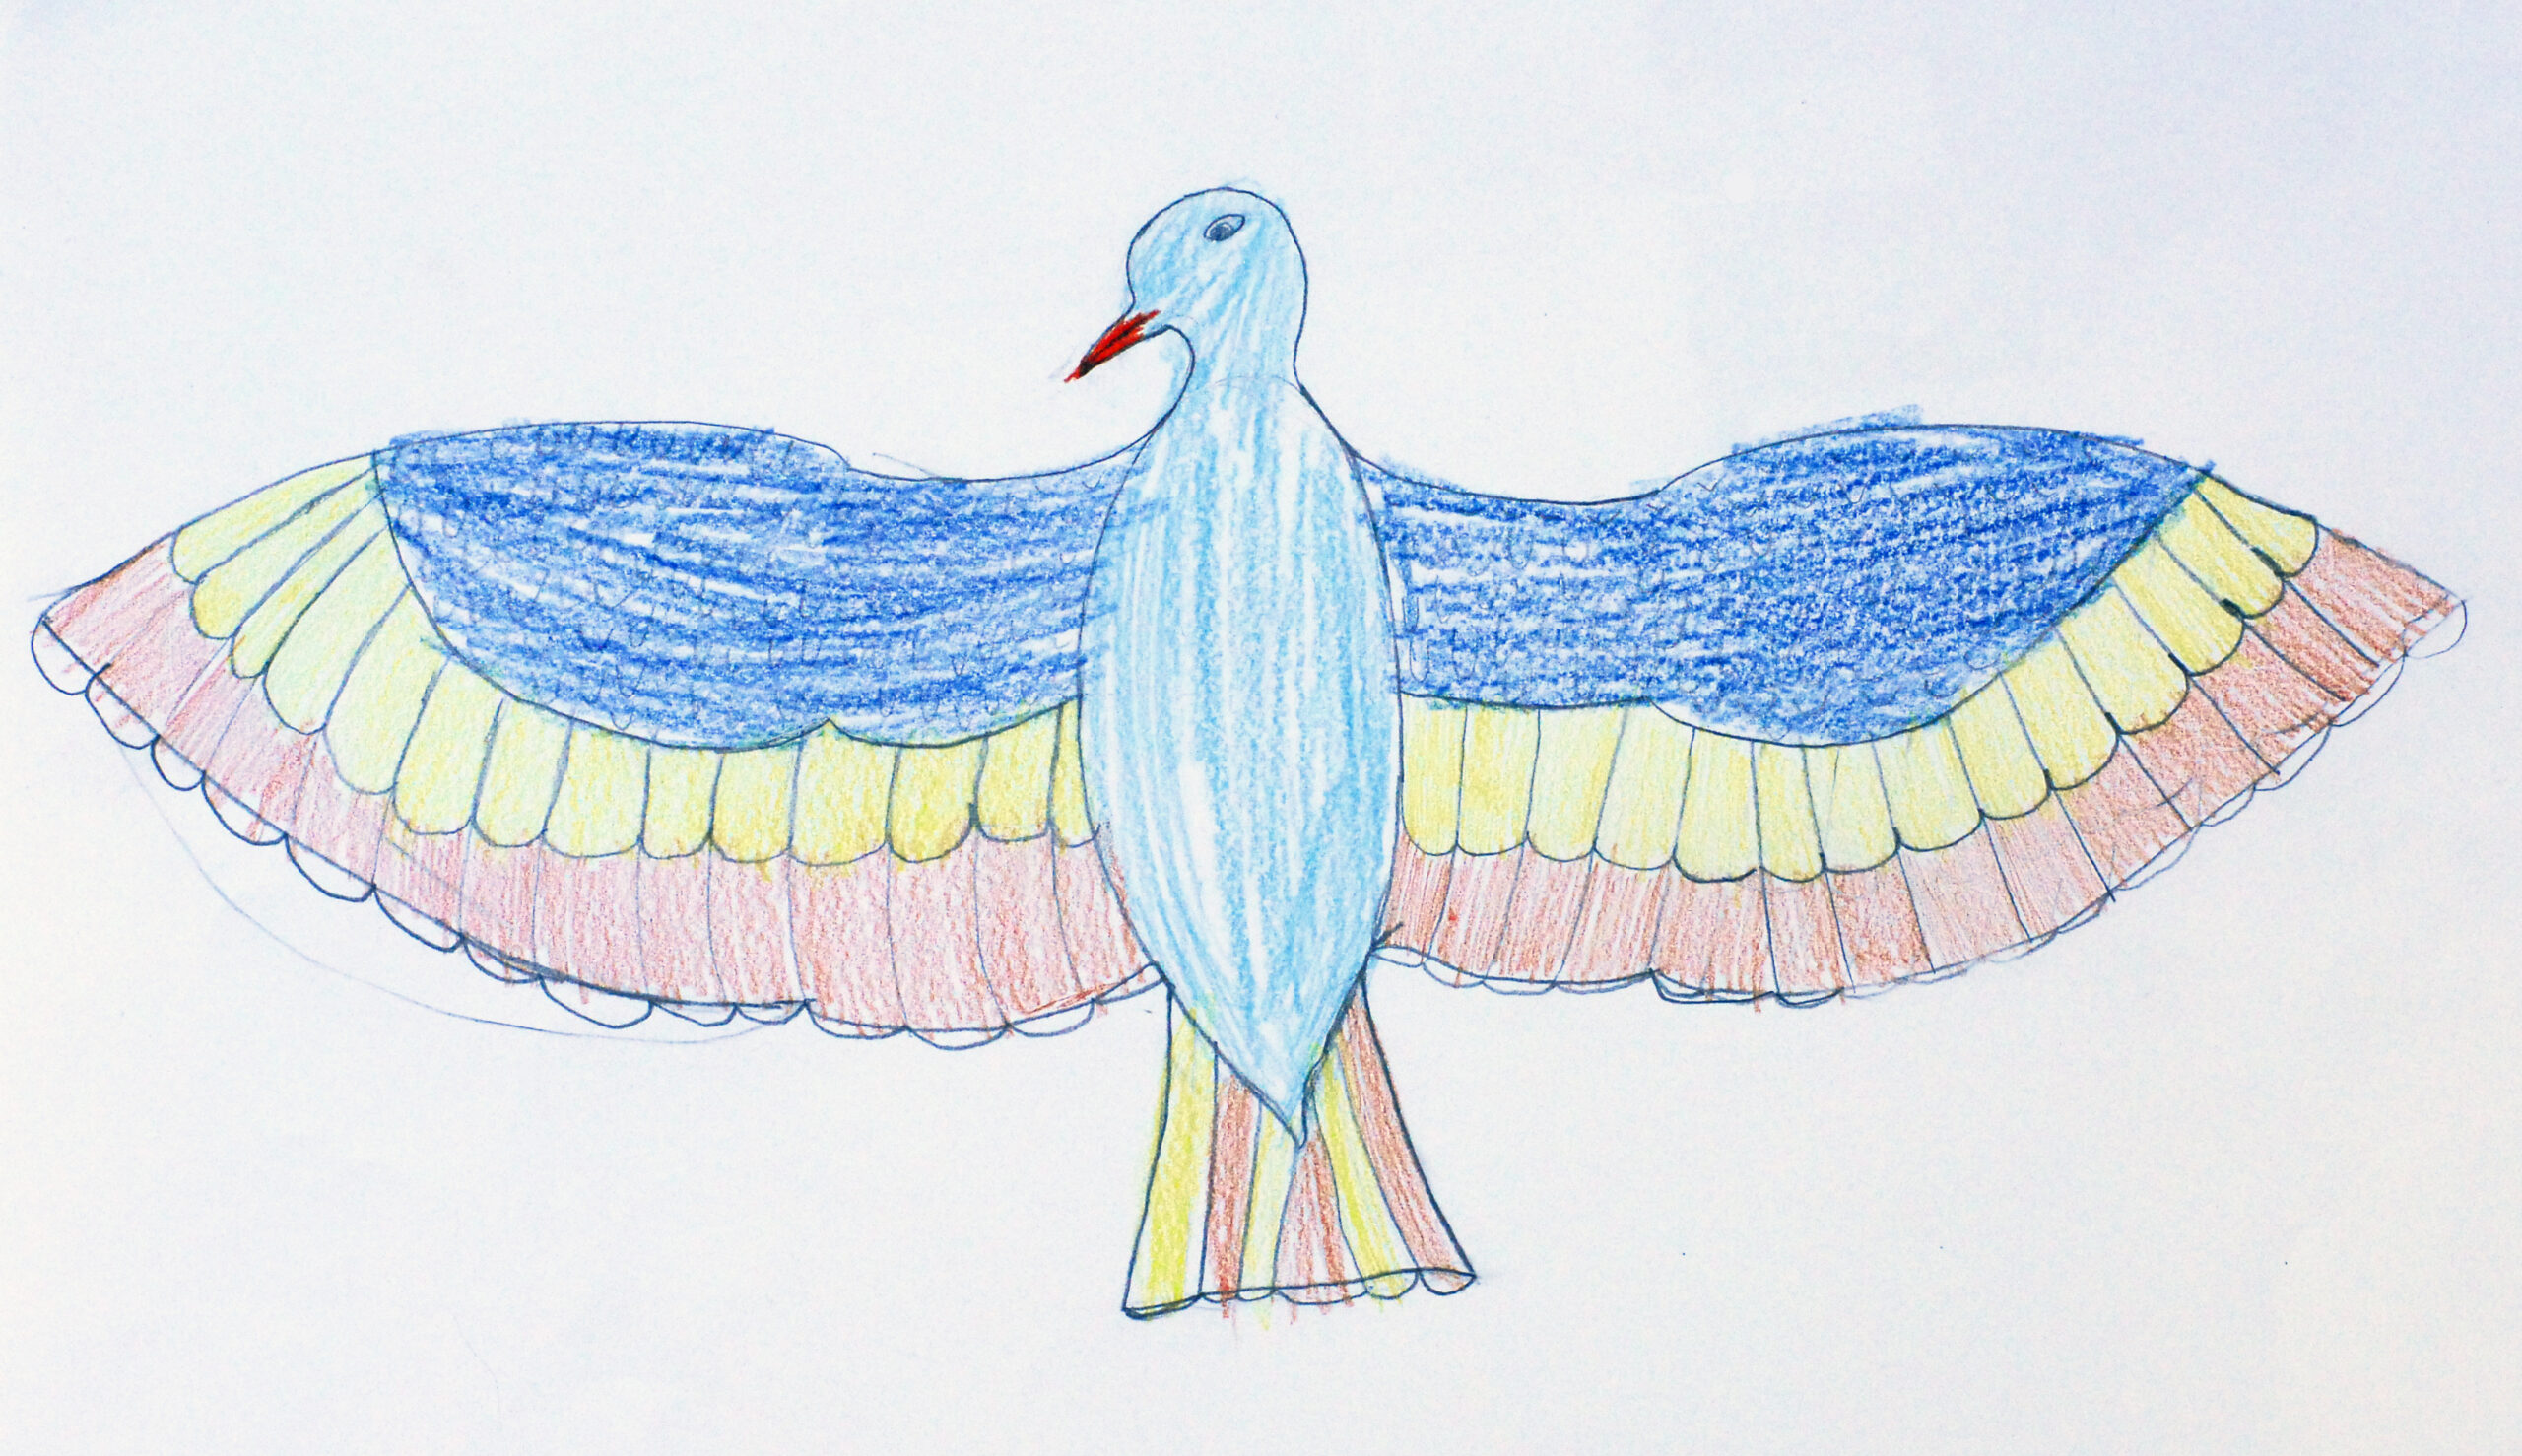
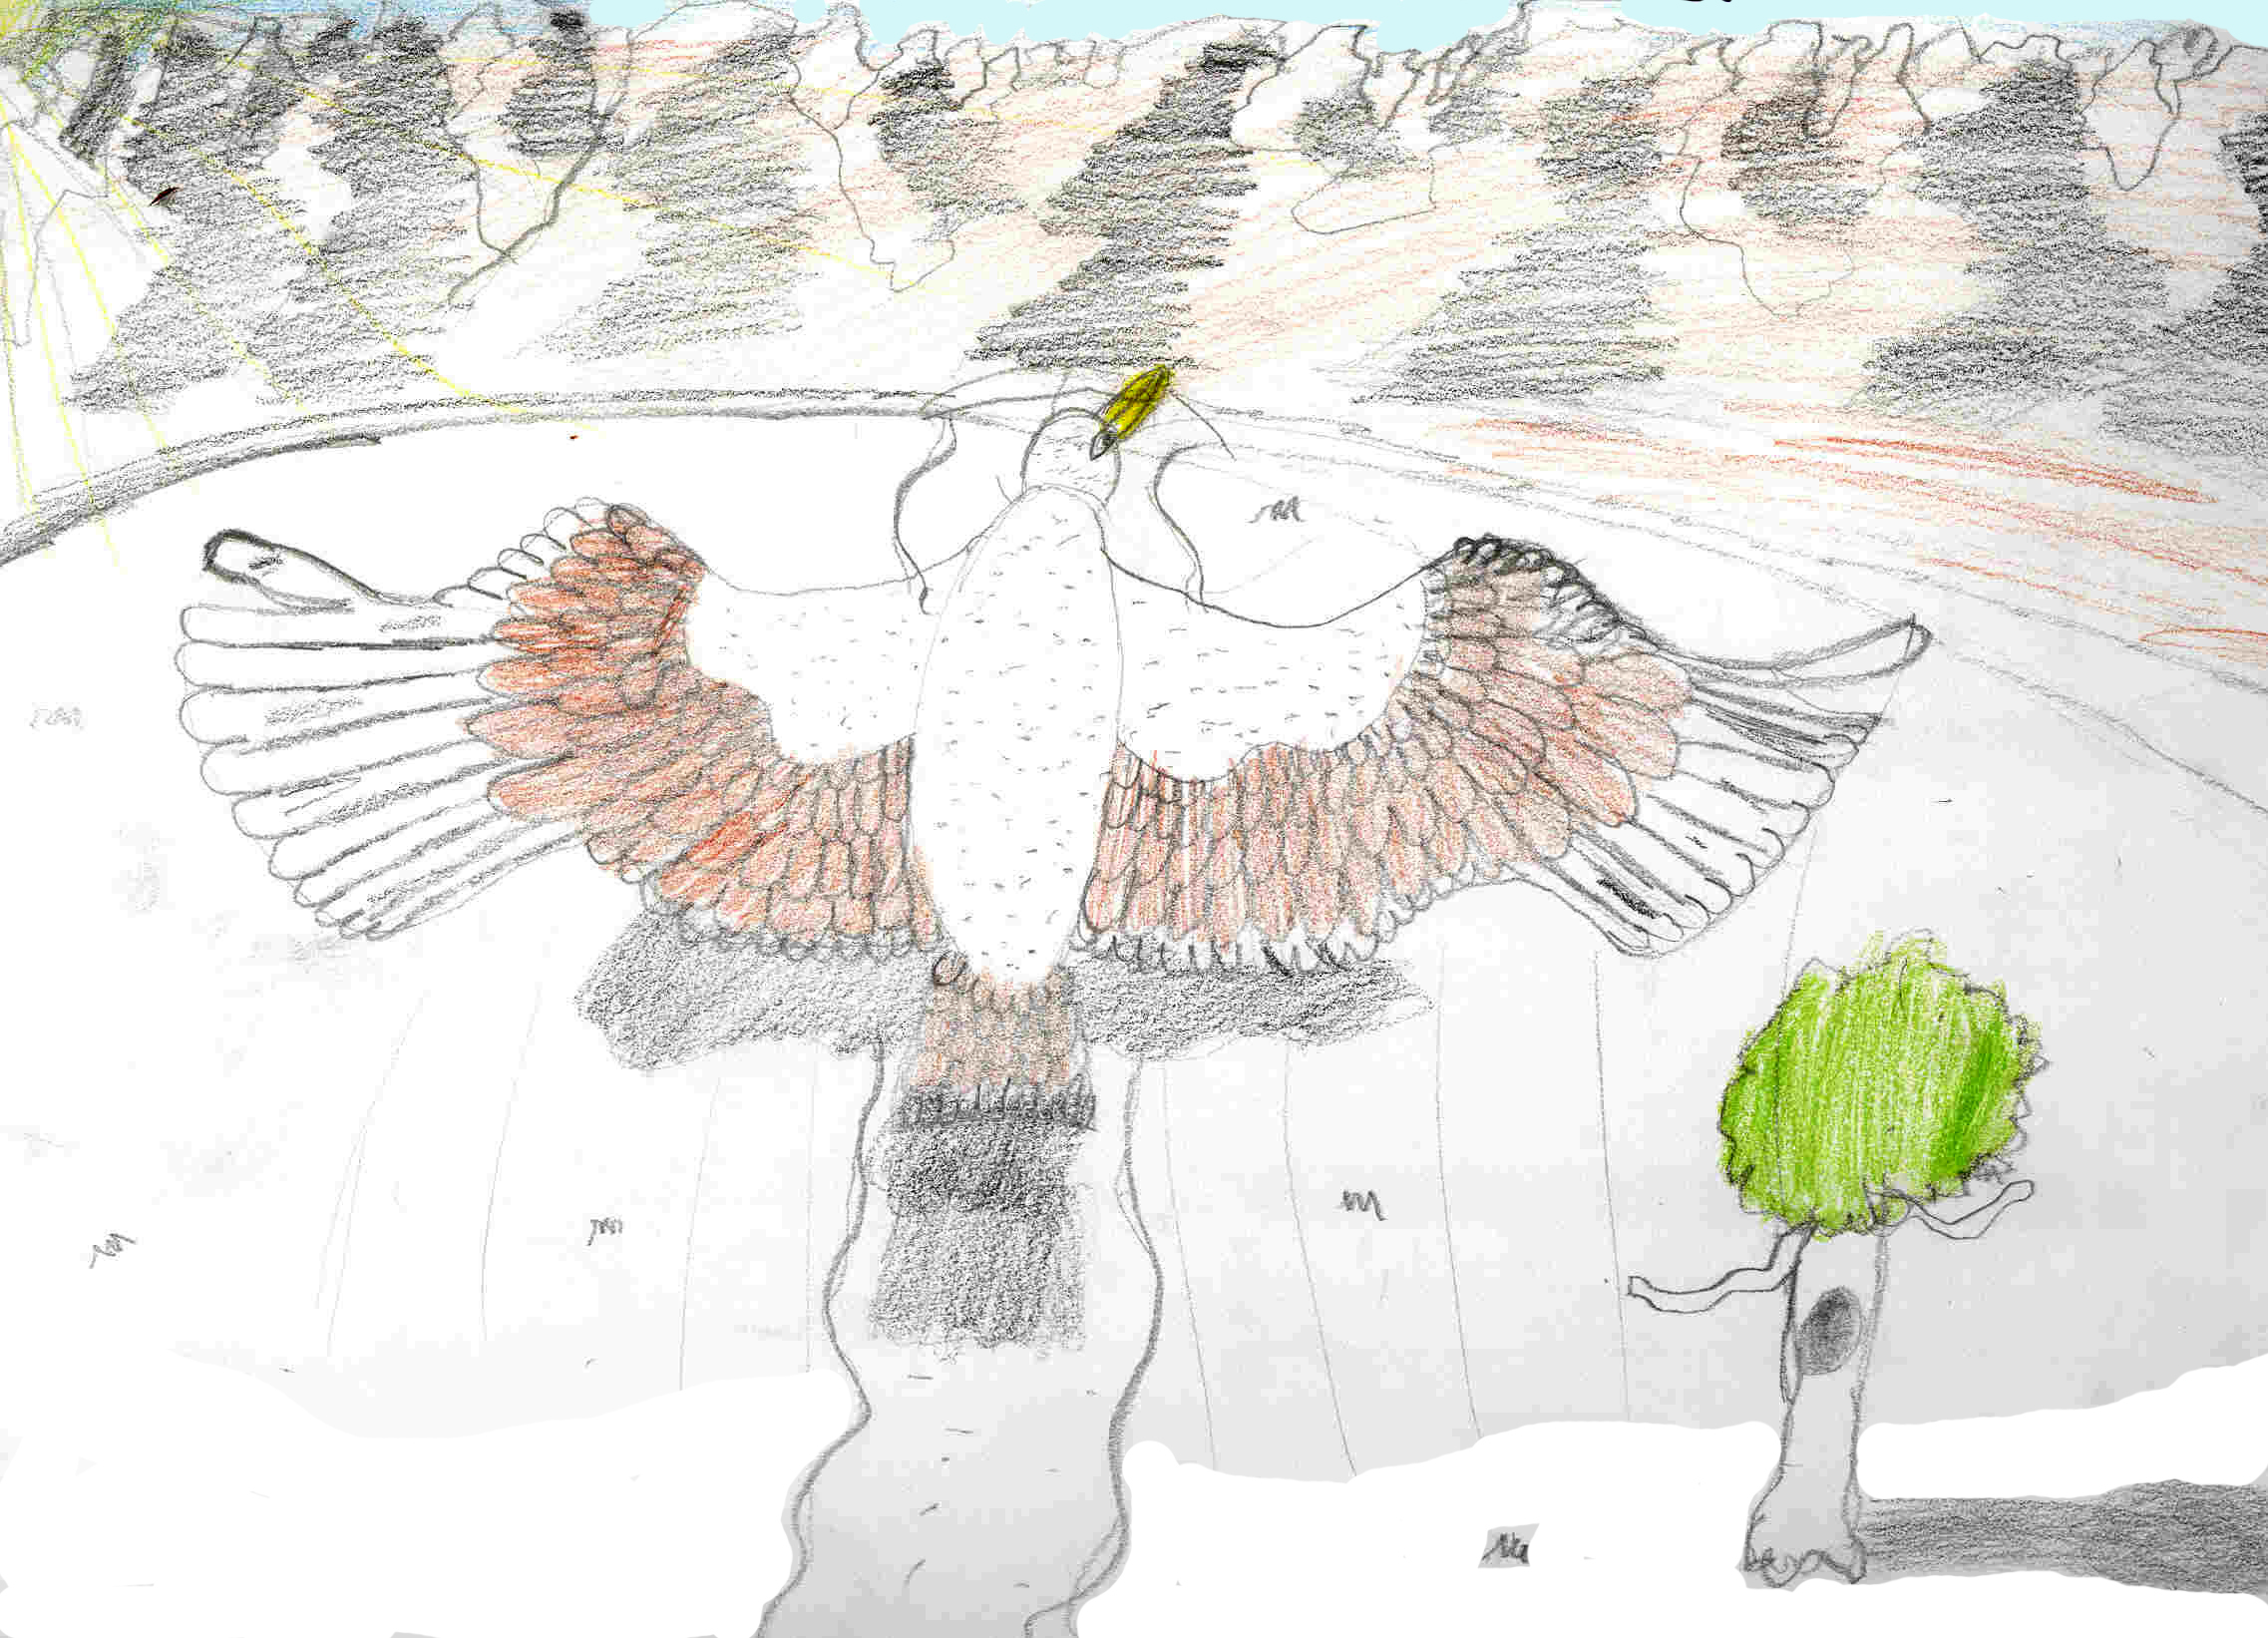
Exercise 2: Draw a bird with spread wings and color it as you like. Add whatever you like.
Here some beautiful examples of pupils
