Chapter 4 | WRISTBANDS
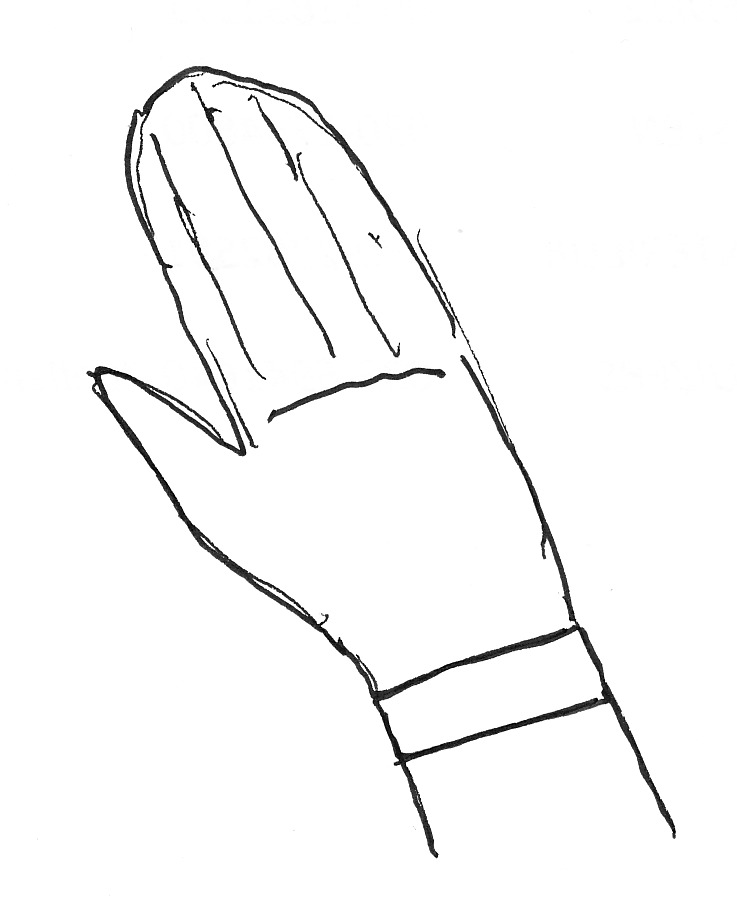
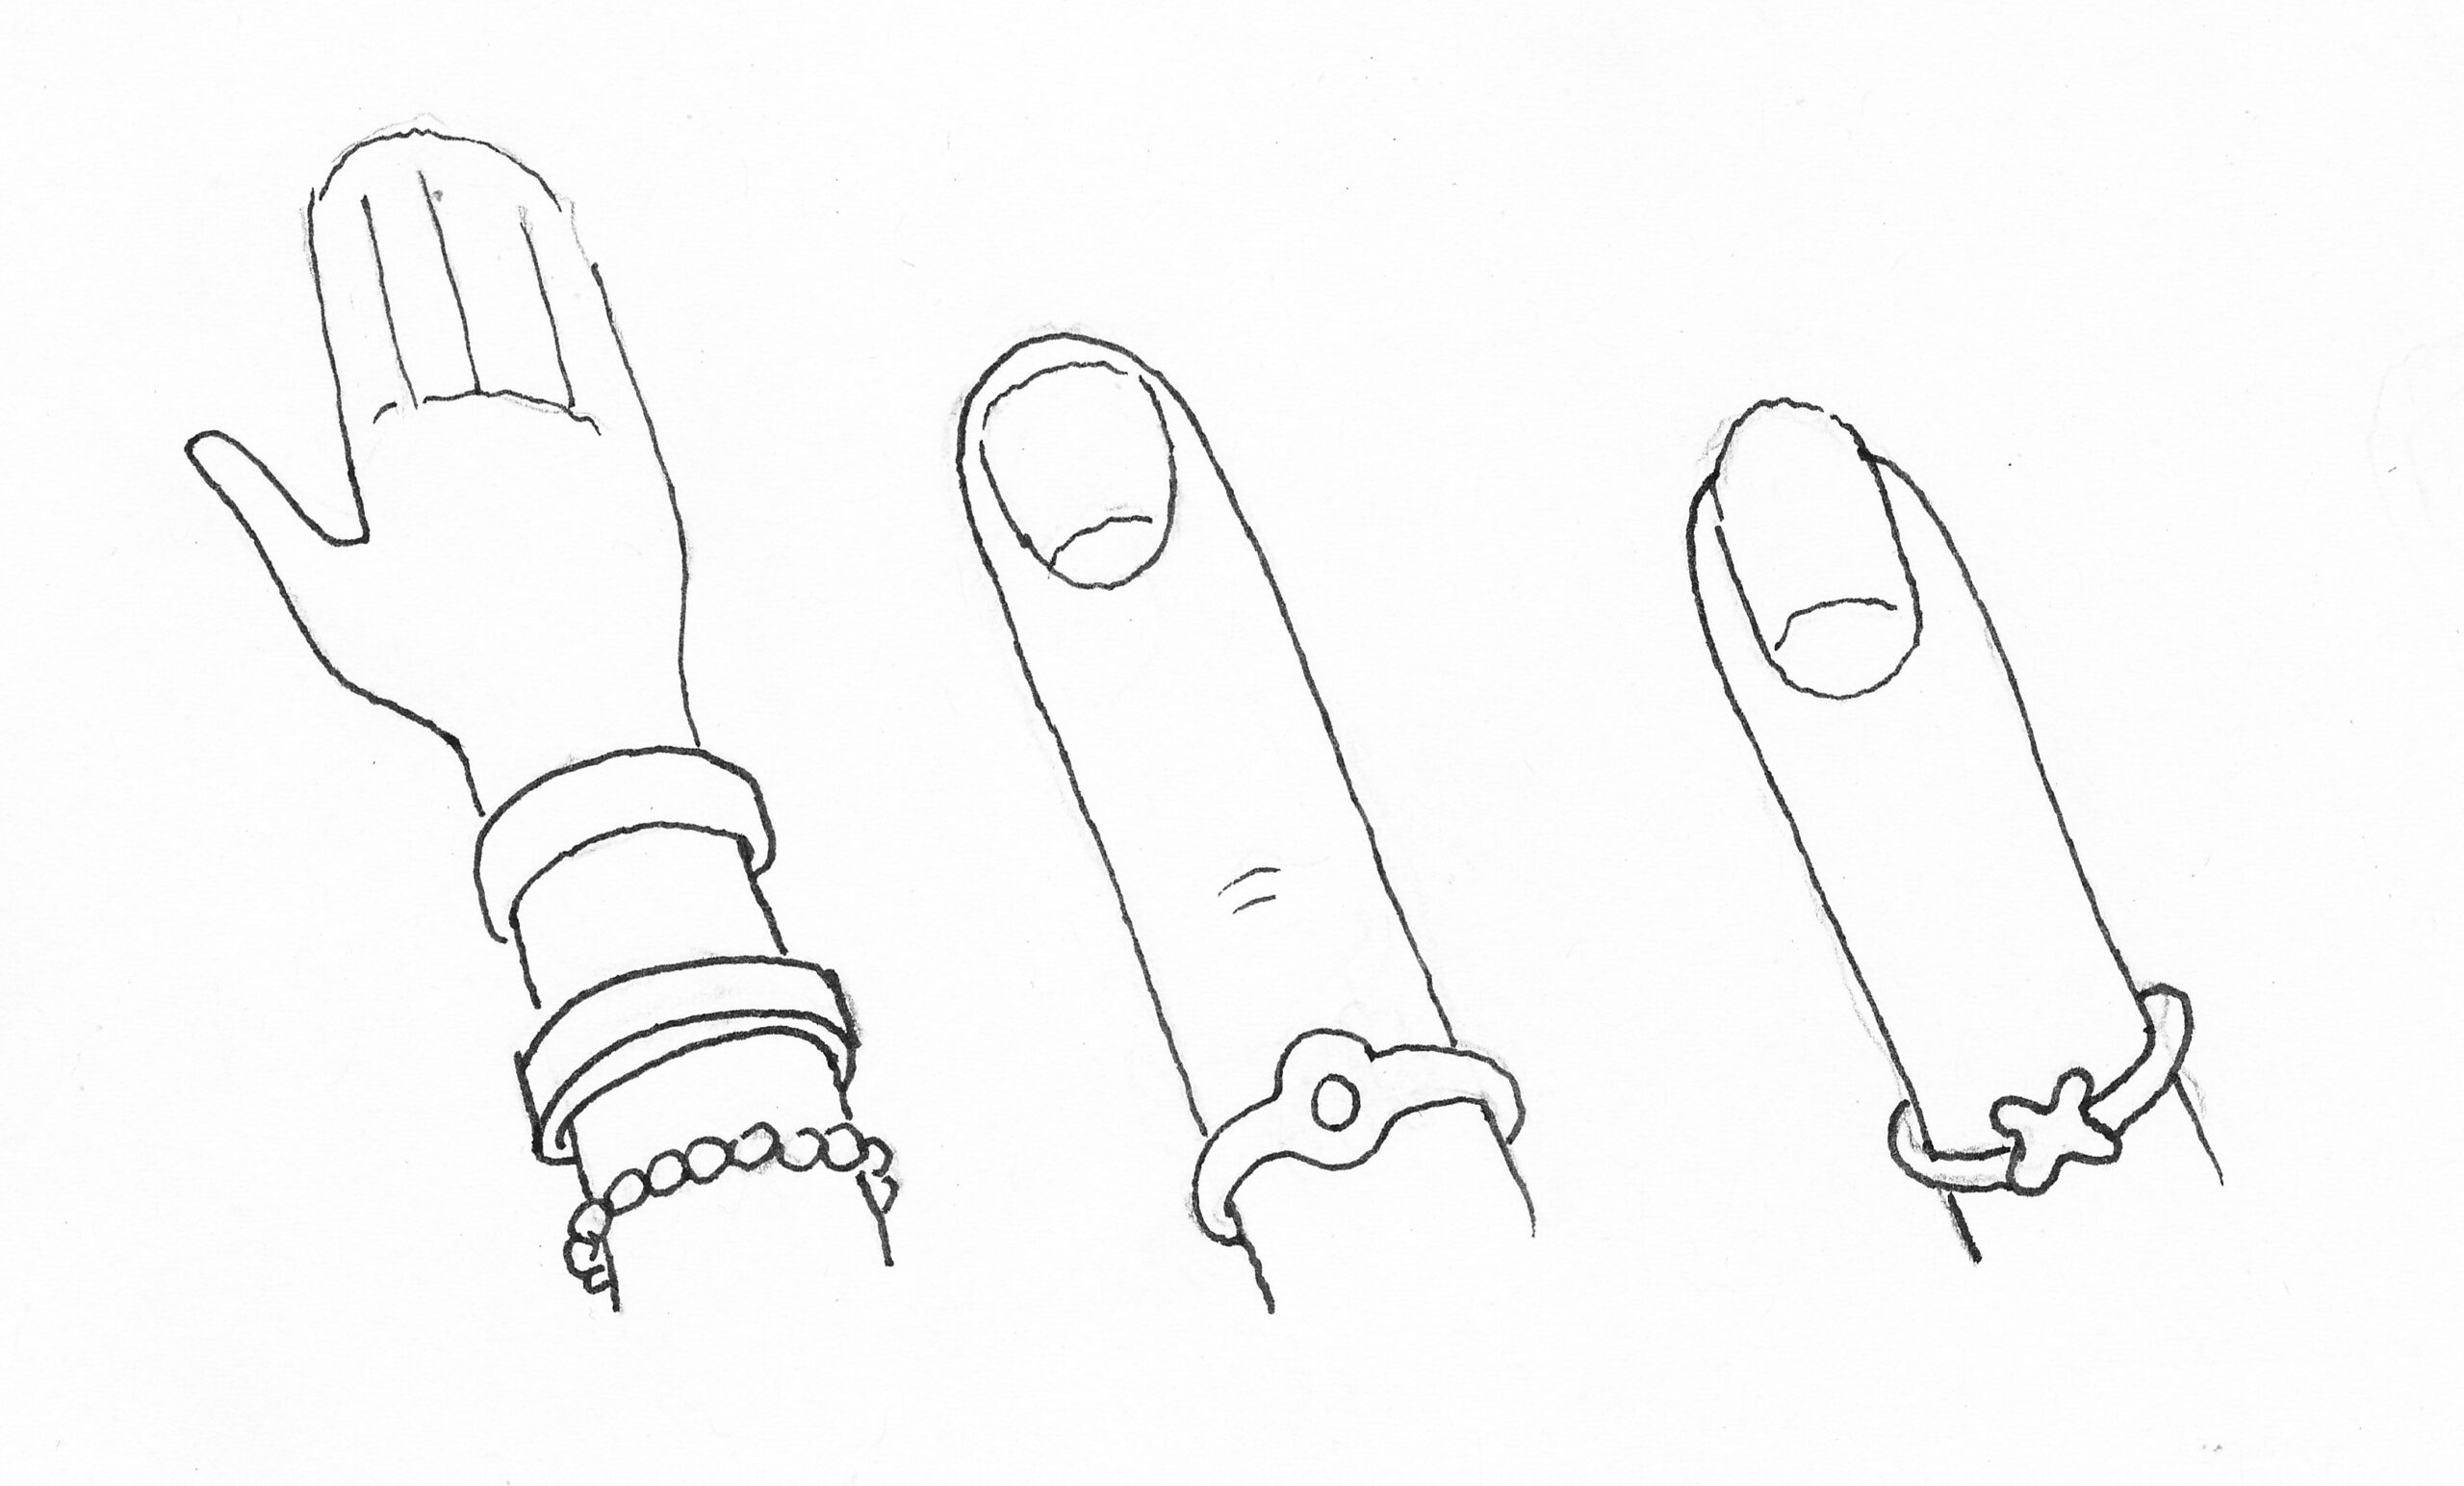
Silicone or fabric wristbands are popular, often with a name or other text on it and brightly colored. In this short video I show you how to draw a wrist band using two ovals of the same width.
So to draw such a thin wristband you actually need two ovals of the same width, just above/below each other (left). Two straight vertical lines on either side complete it.
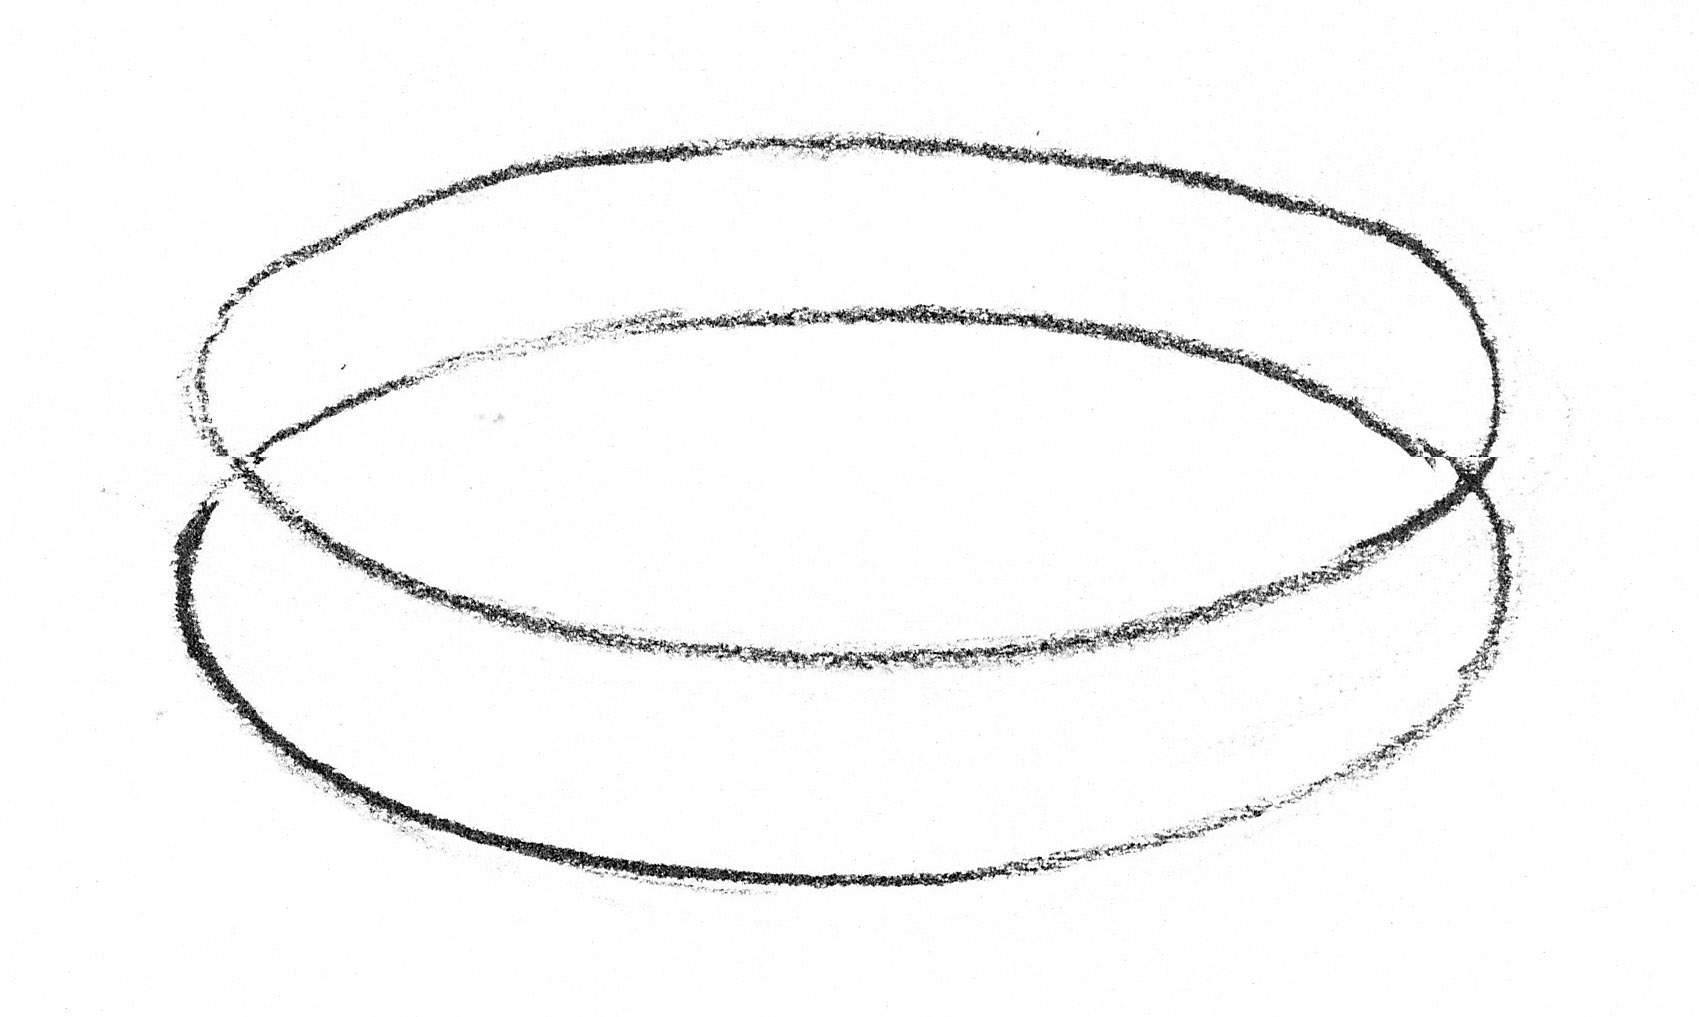
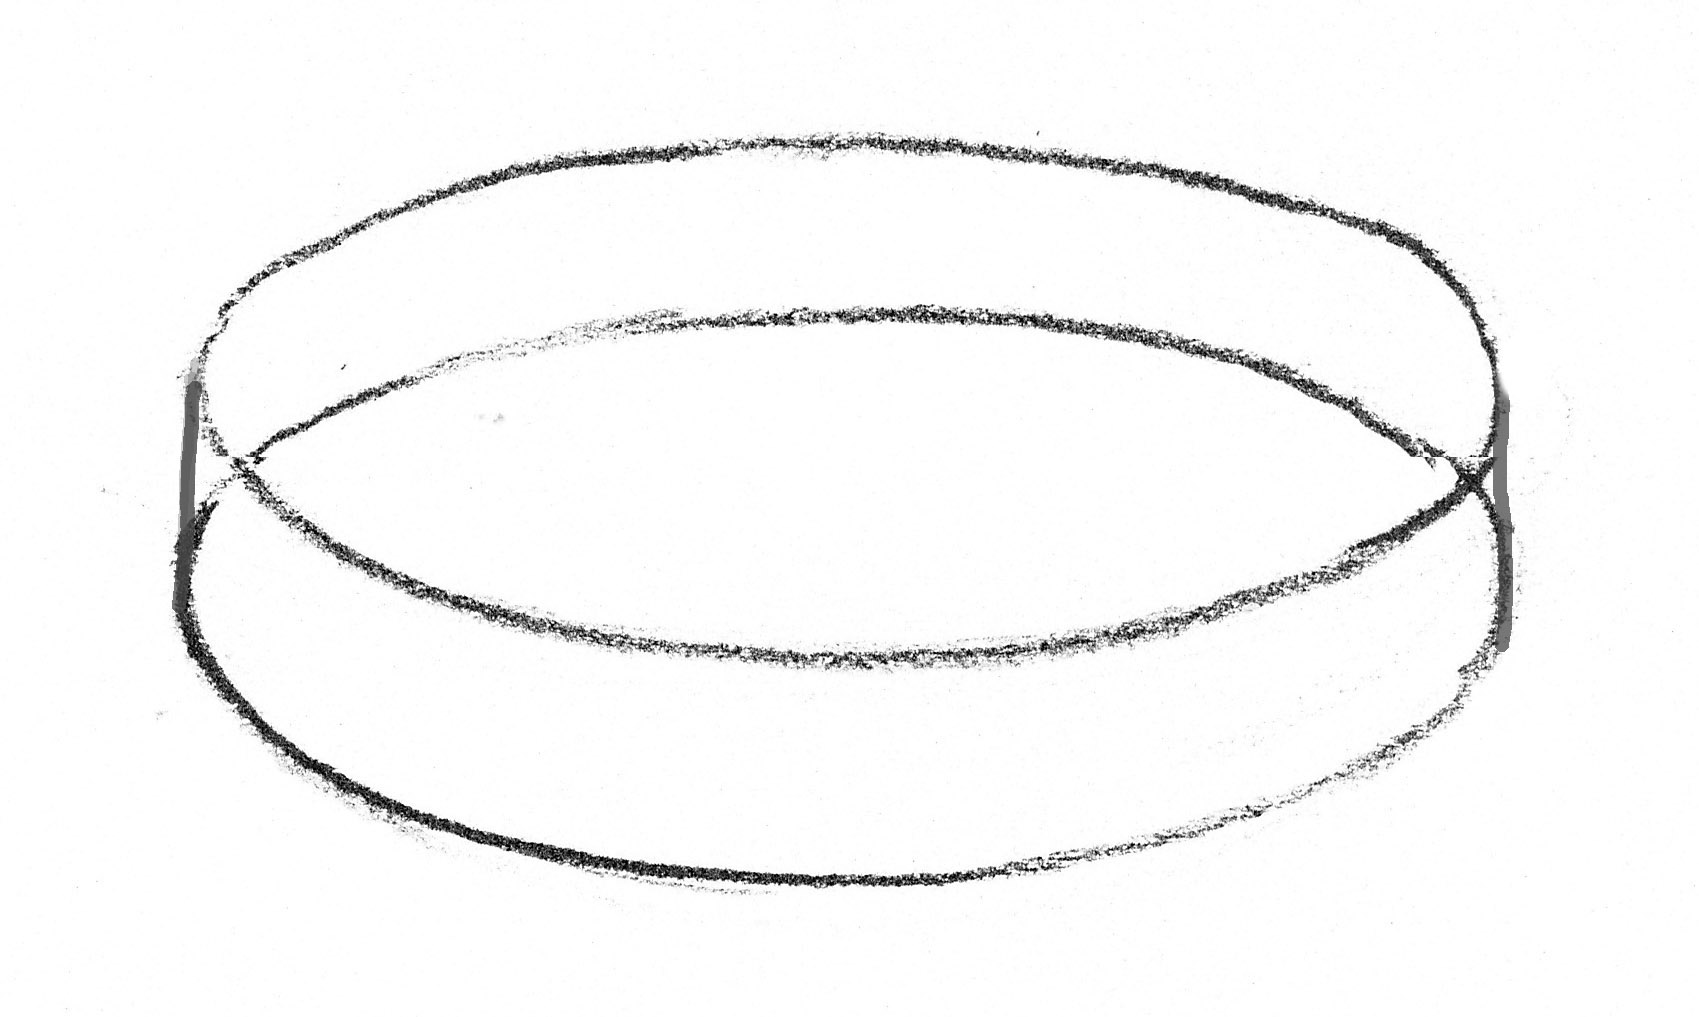
Now look carefully at the right drawing above. We can see this wristband from above as well as from below. Try to switch between the two points of view. It’s a trick with our eyes and brains. To draw a wristband that is clearly drawn from one point of view, we have to make sure that one of the two ovals is not completely visible as in the video and the next two examples.
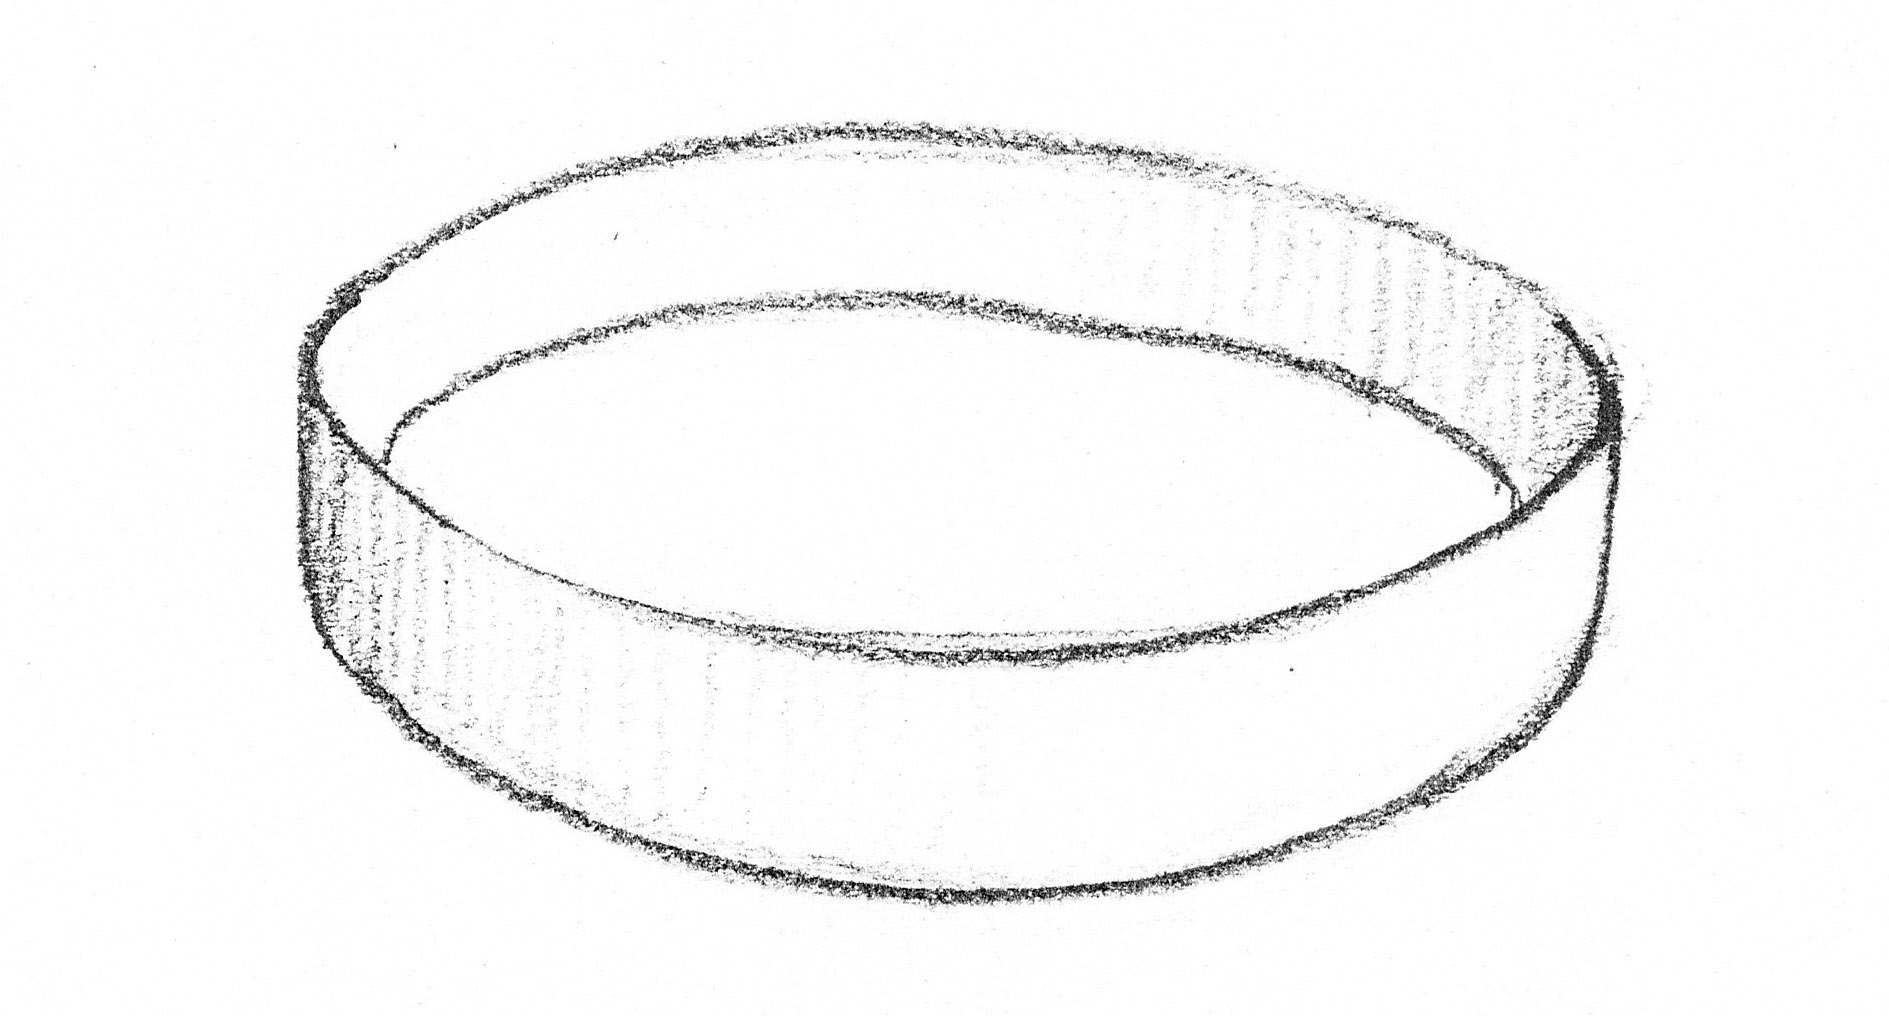
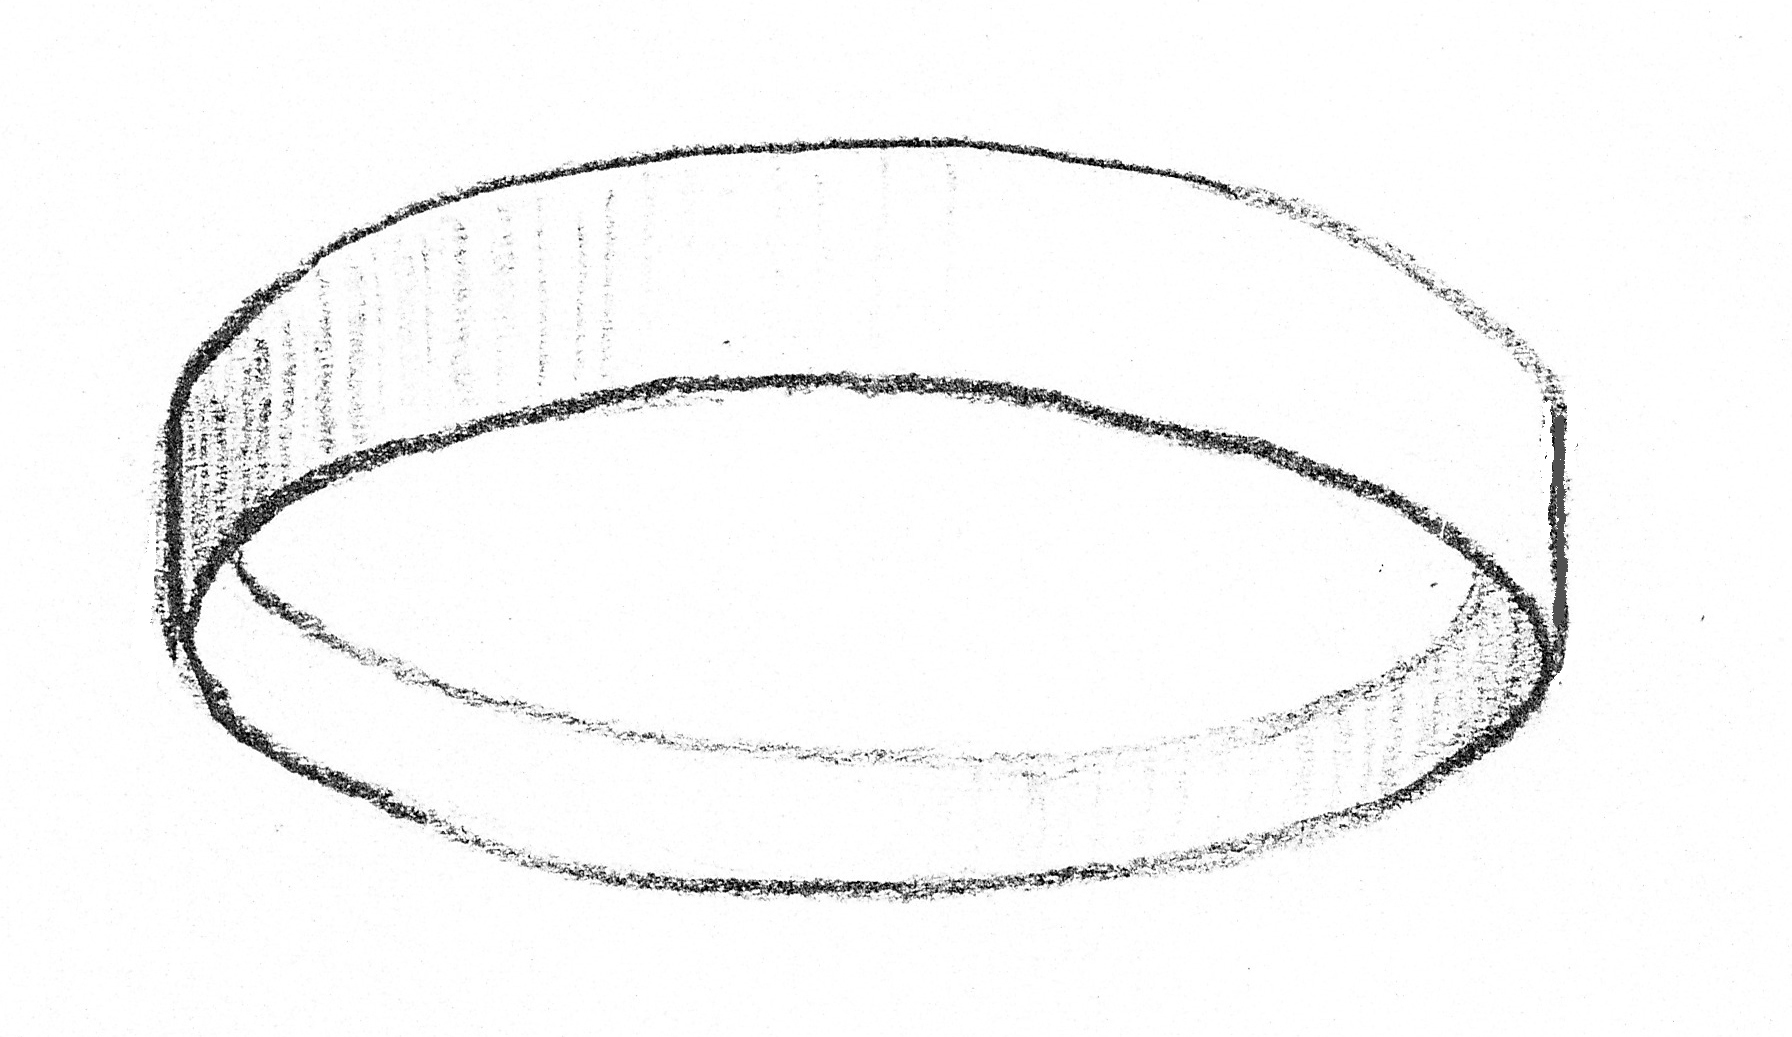
Exercise 1: Draw the two wristbands above. Make sure that the curves on both sides do not become pointy anywhere. Add some shadow if you like.
Exercise 2: Draw another wristband. Write a name or other text on it that you like and/or give it color.

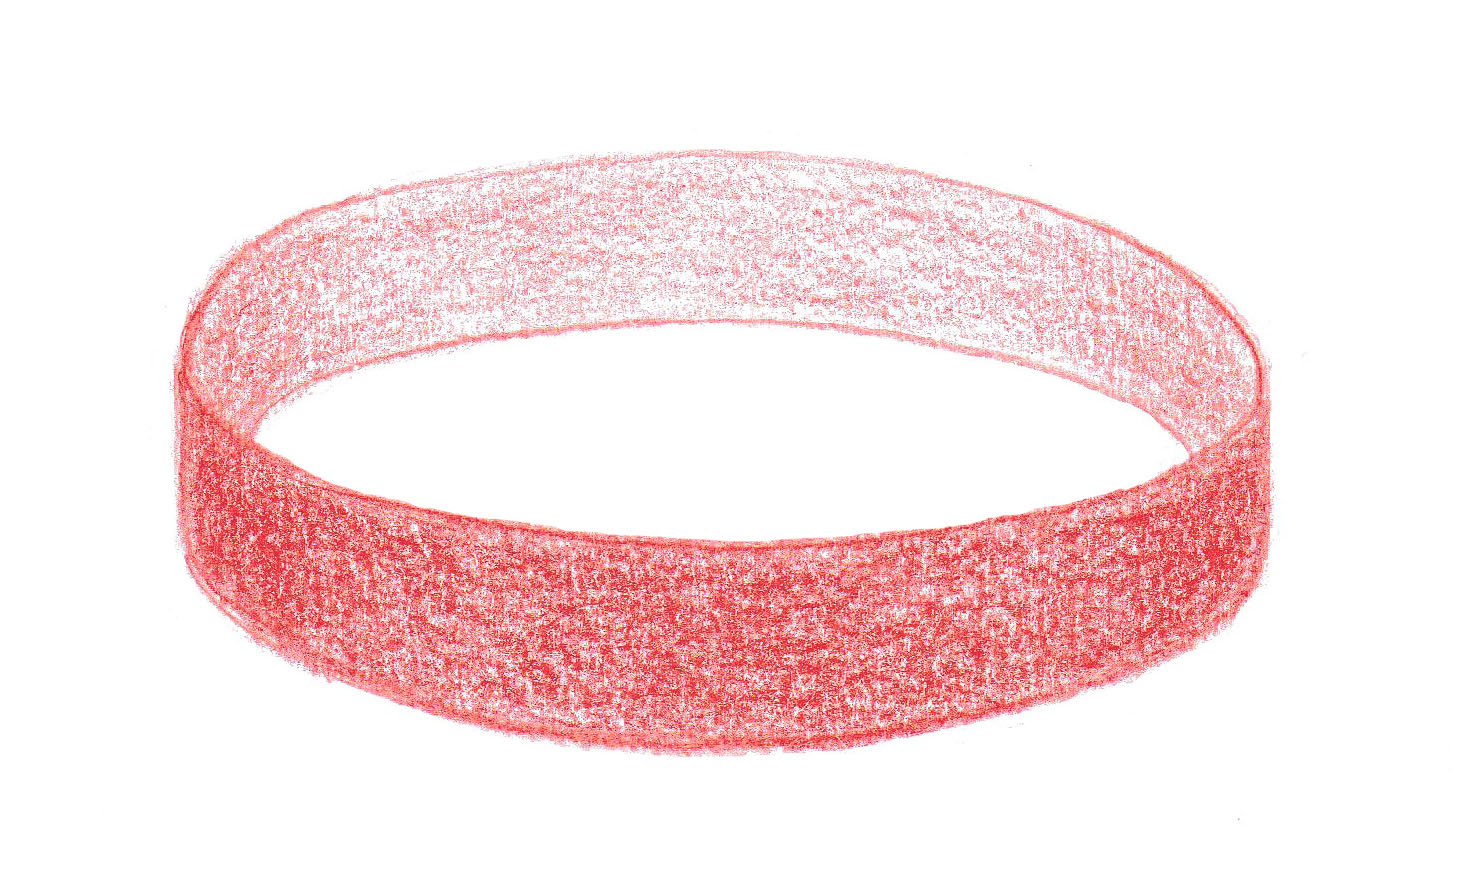
Once you understand such a construction with ovals, you can then draw similar shapes a lot easier.
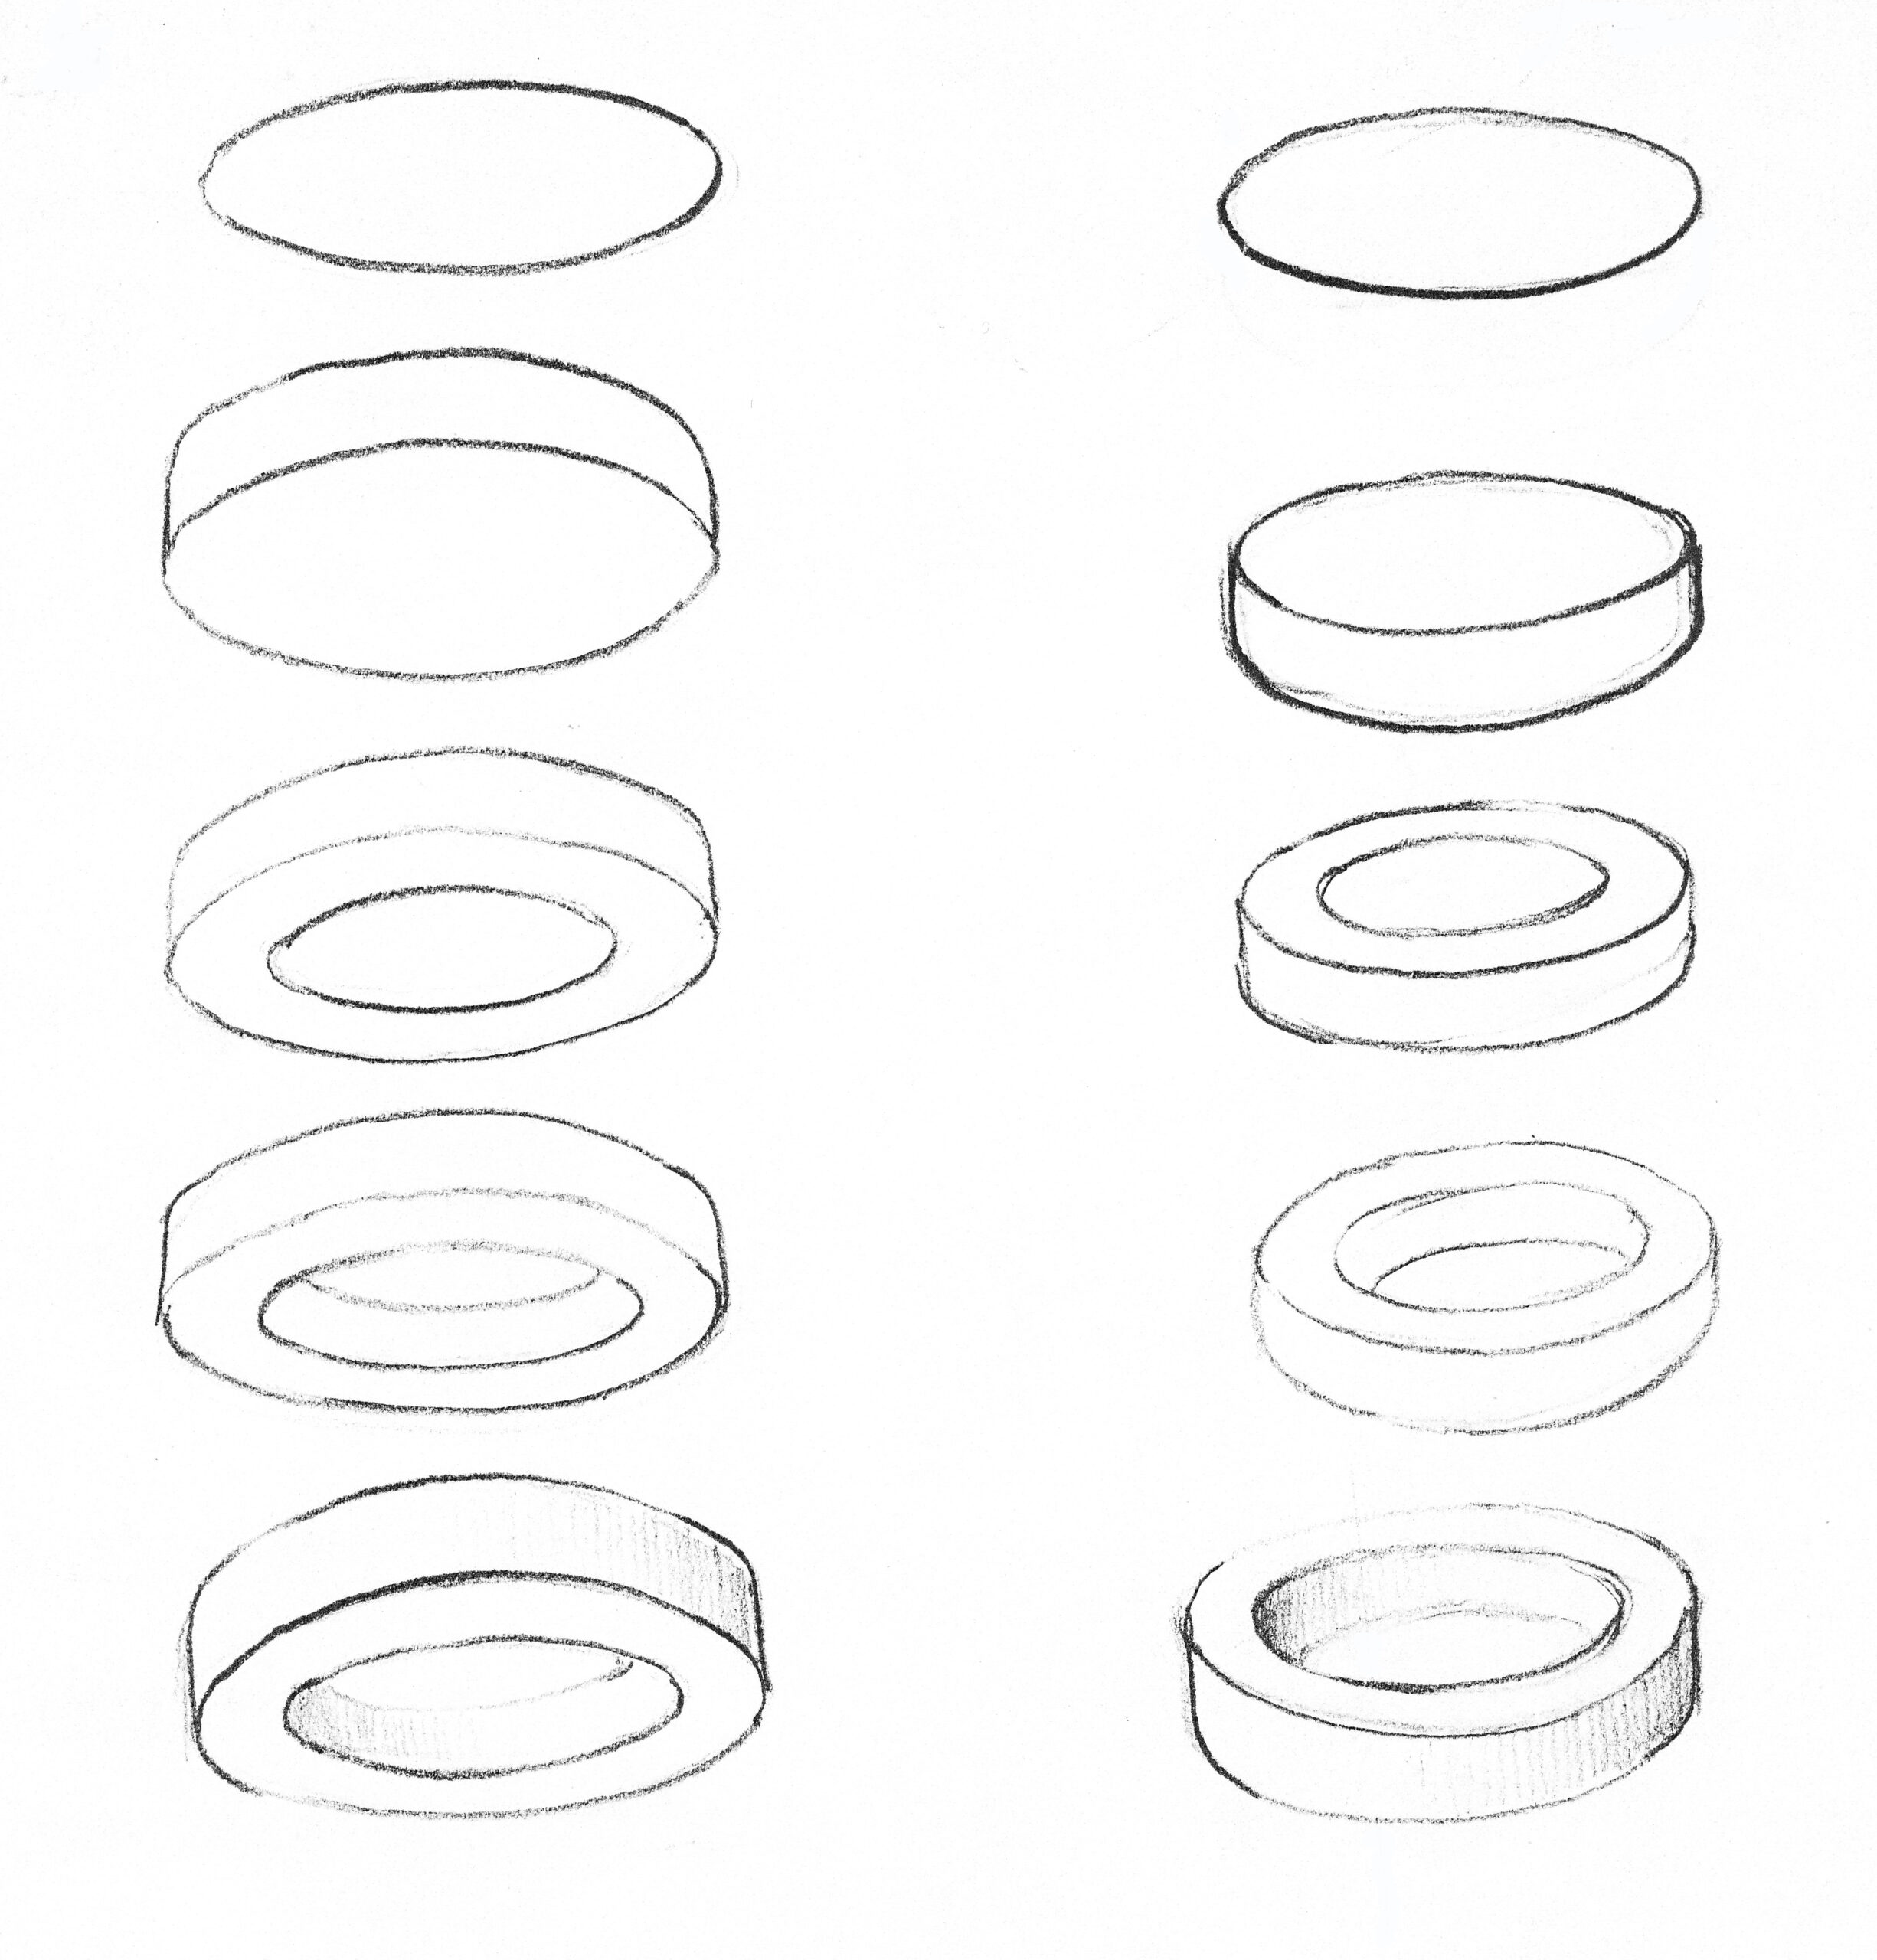
Exercise 3: In the following image the oval shape has been given a thickness! Now the wristband could as well be a roll of tape or a sturdy metal ring. In the left column you draw the shape from below, in the right column from above. Draw both rows step by step, from top to bottom.
