Chapter 7| ON THE ROAD
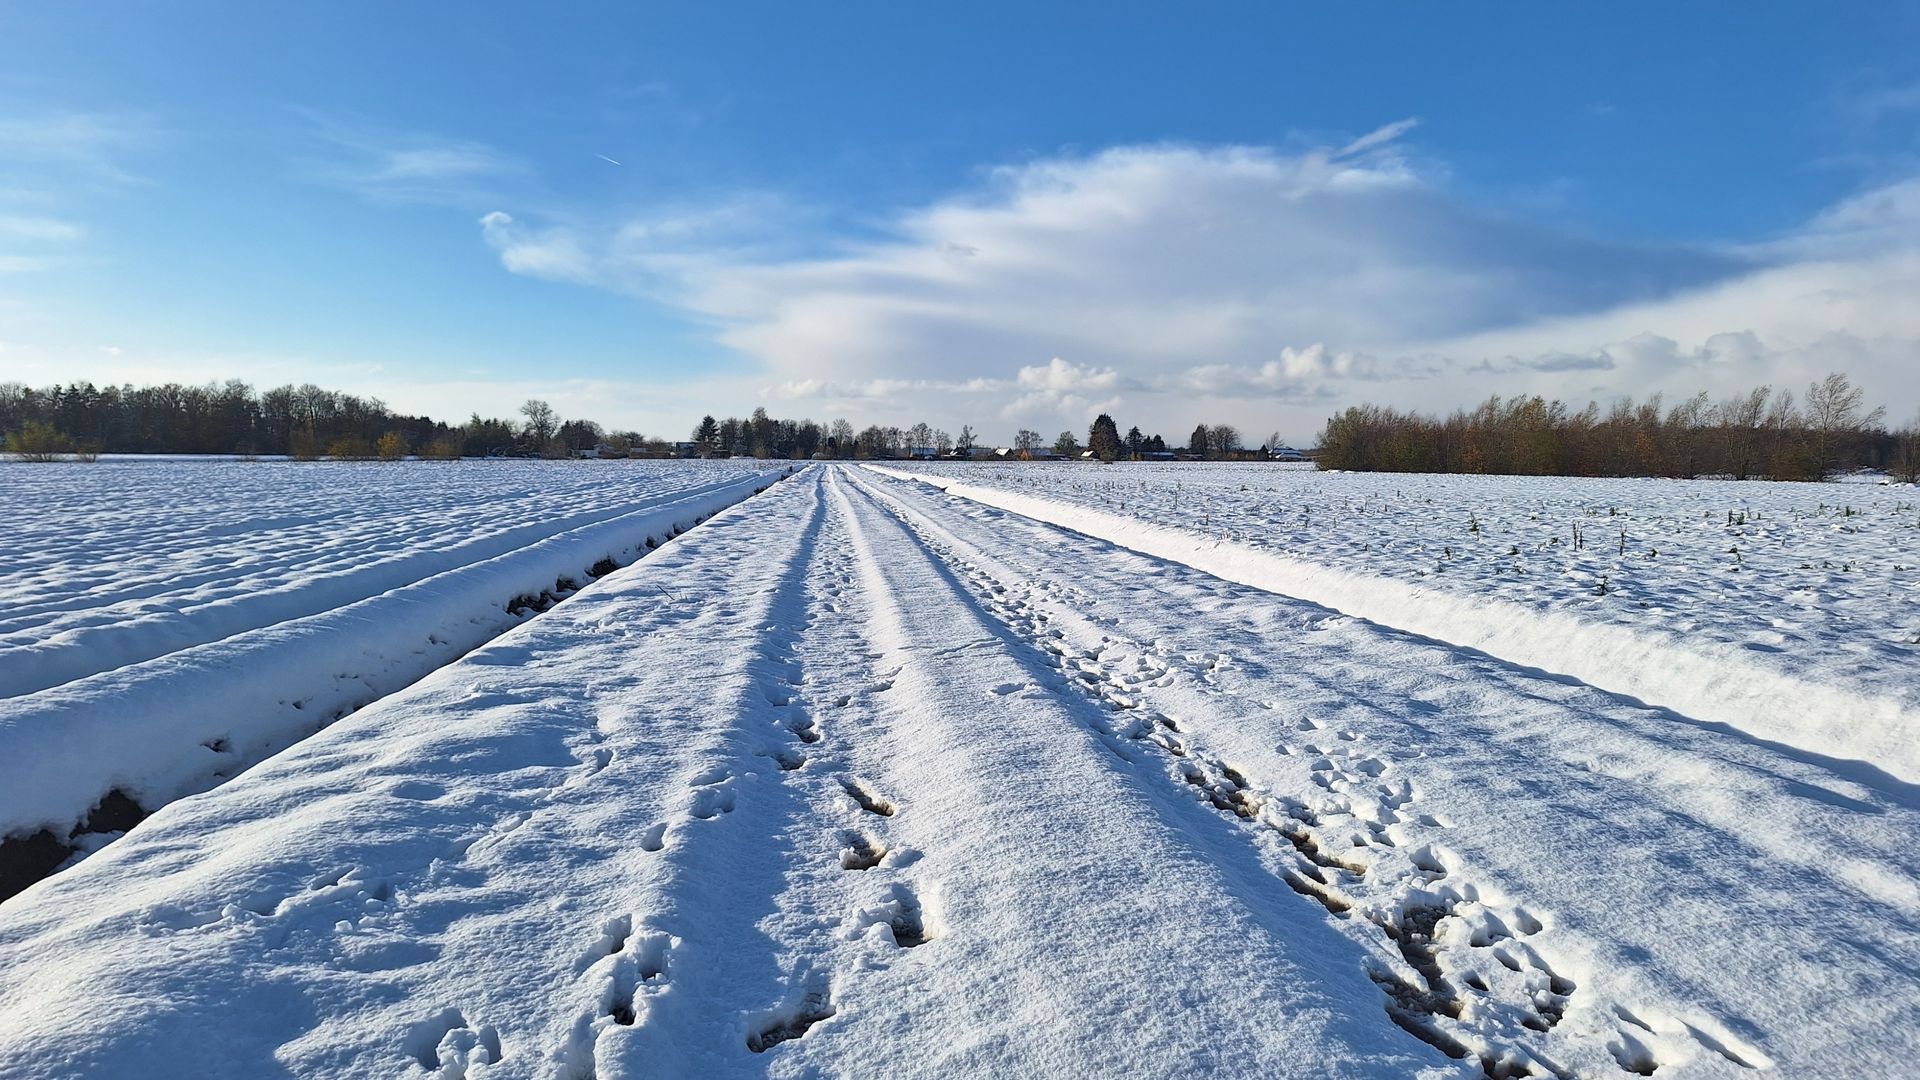
In reality, a road (or a bridge, runway, railway, canal) is of course just as wide in the distance as it is close by. Yet, a road seems to become increasingly narrower in the distance before our eyes. This can be clearly seen in a photo of tracks in the snow (source: NOS 23-11-2024).
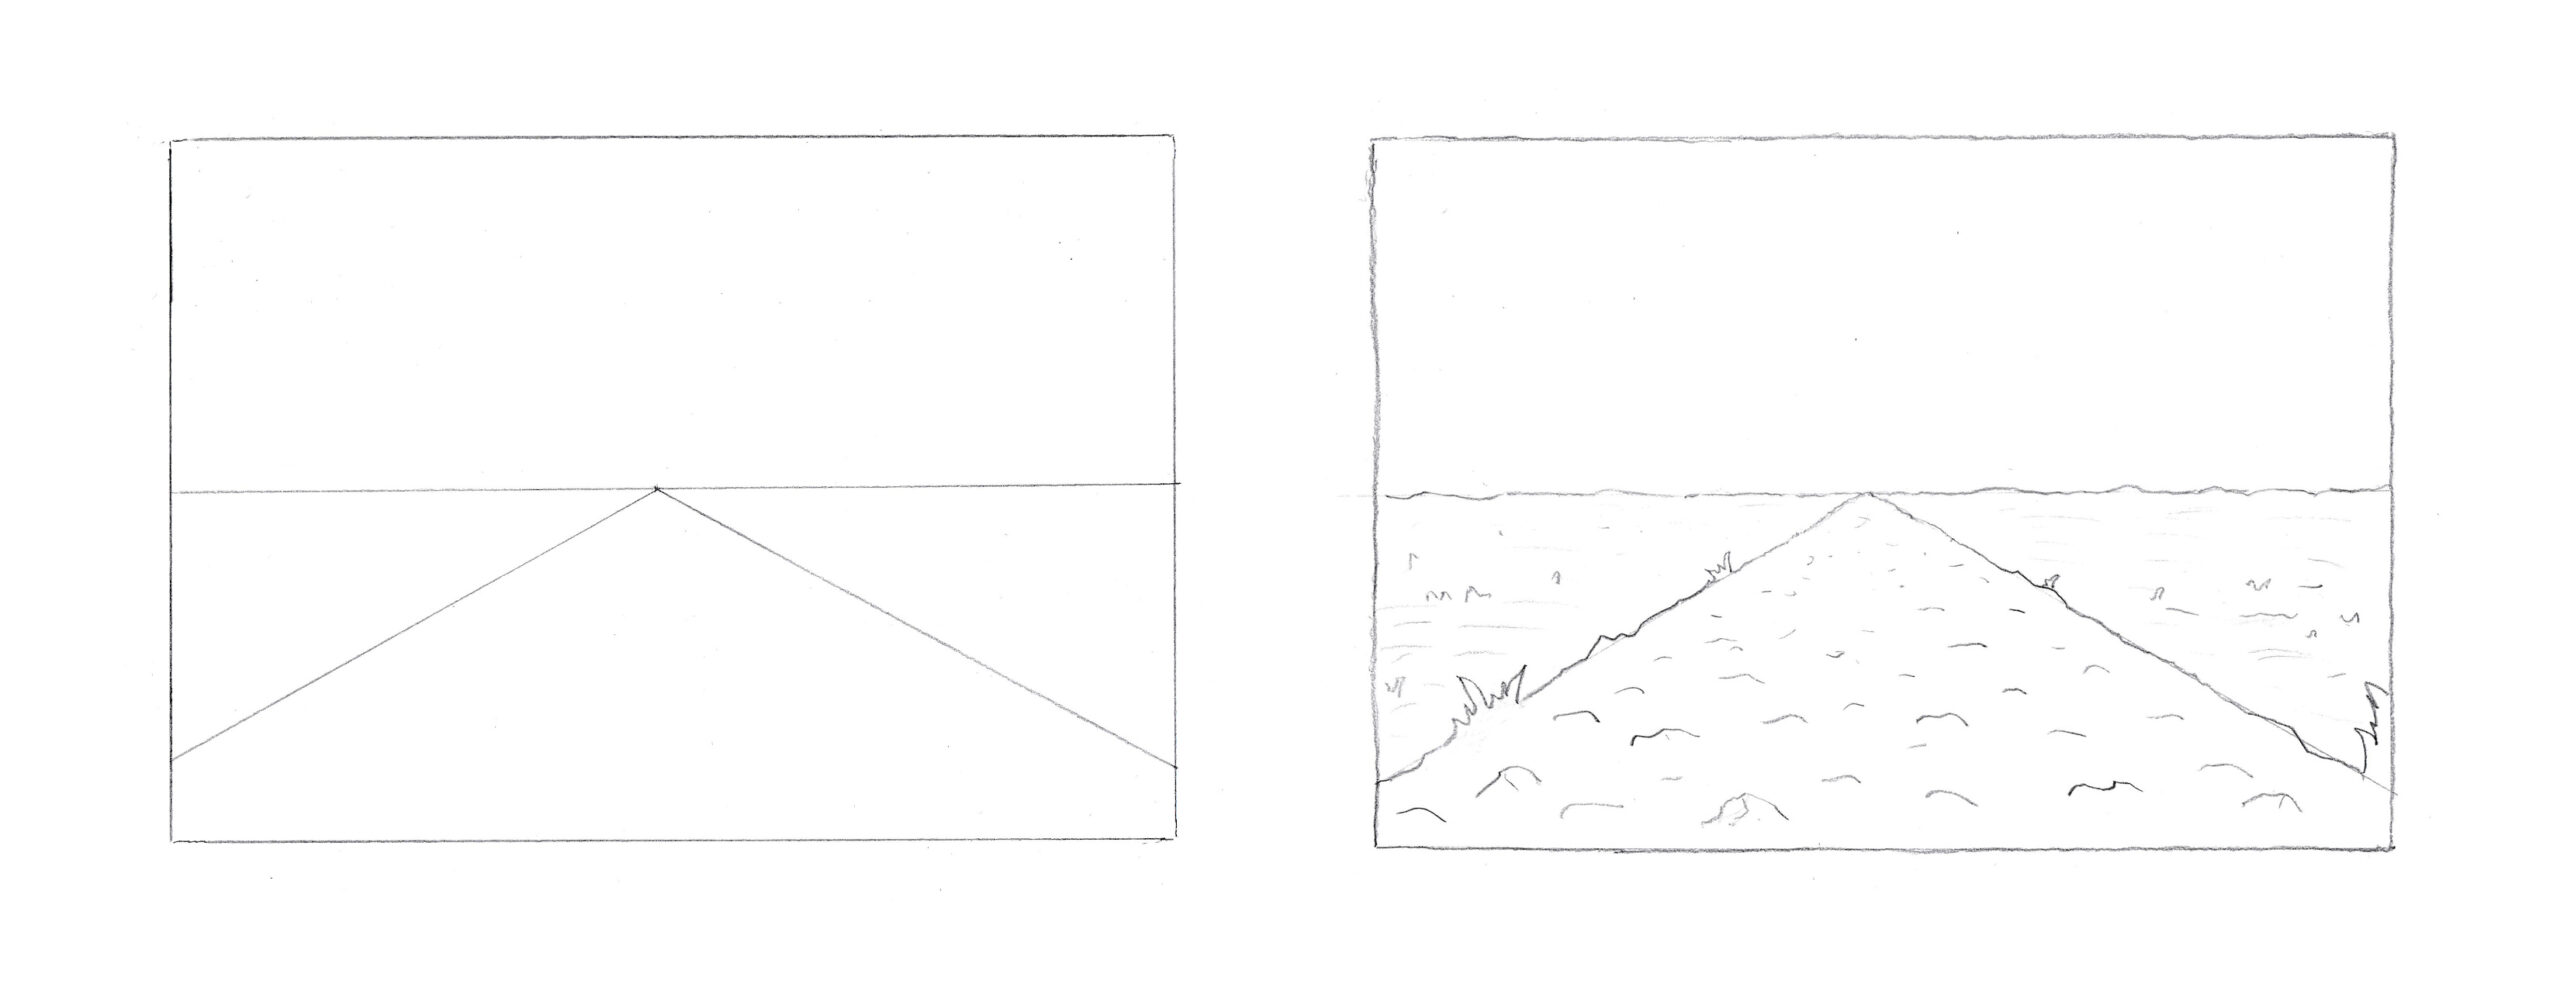
In a perspective drawing, the lines of the road therefore come closer together until they finally converge at a vanishing point on the horizon. The big trick is that all figures in a perspective drawing shrink/become smaller as they get further away from us, until they too disappear into a vanishing point on the horizon. A vanishing point is like a black hole that eventually swallows everything in the distance.
Exercise 1: Draw a road to the horizon using a ruler (left) or freehand to make it look like land or water (right). Draw this kind of perspective drawing in a frame. This way you make it seem as if we are looking through a window into the distance.
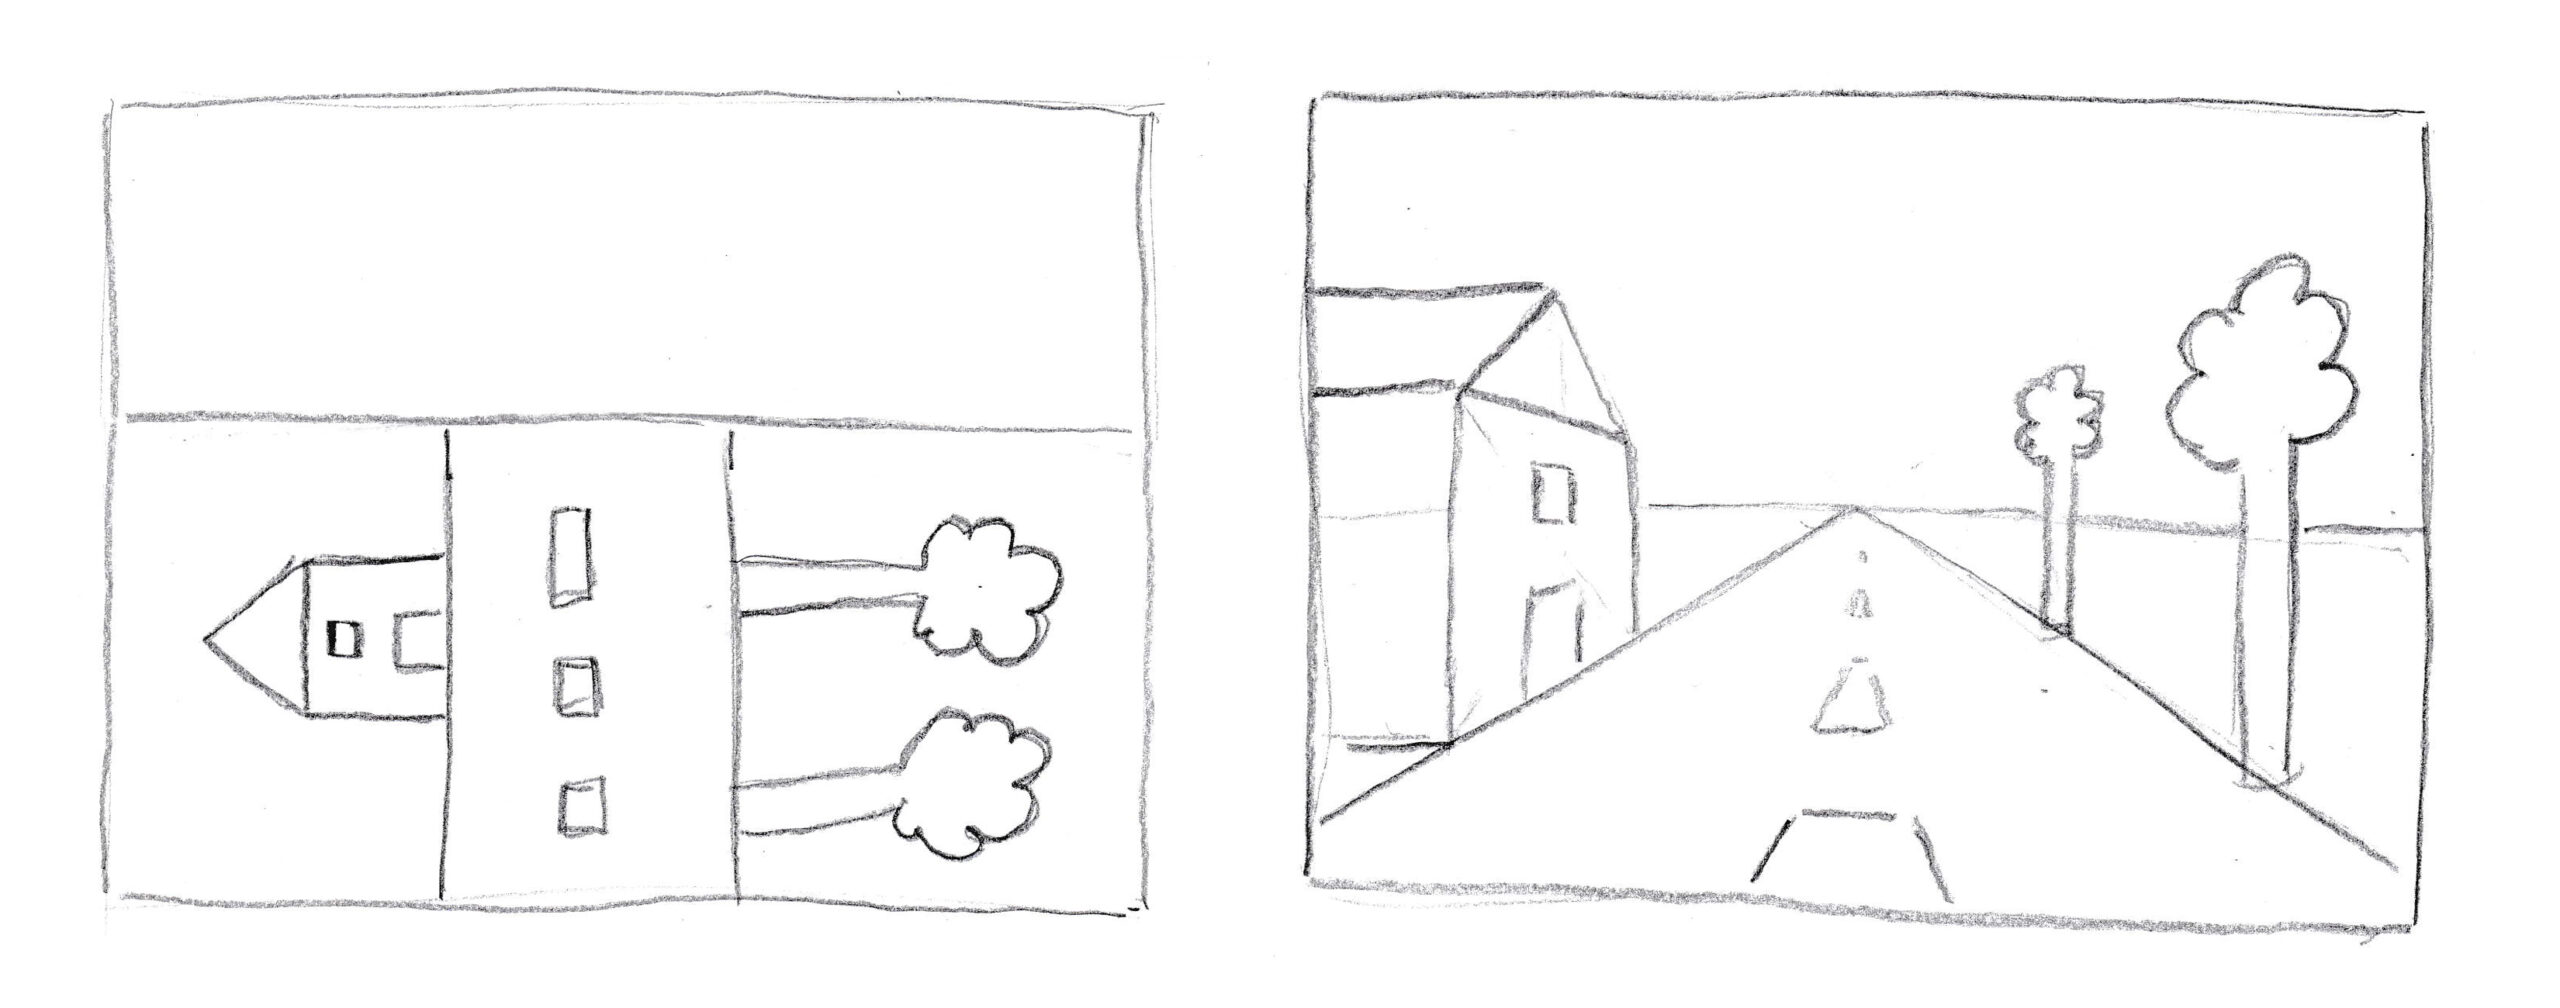
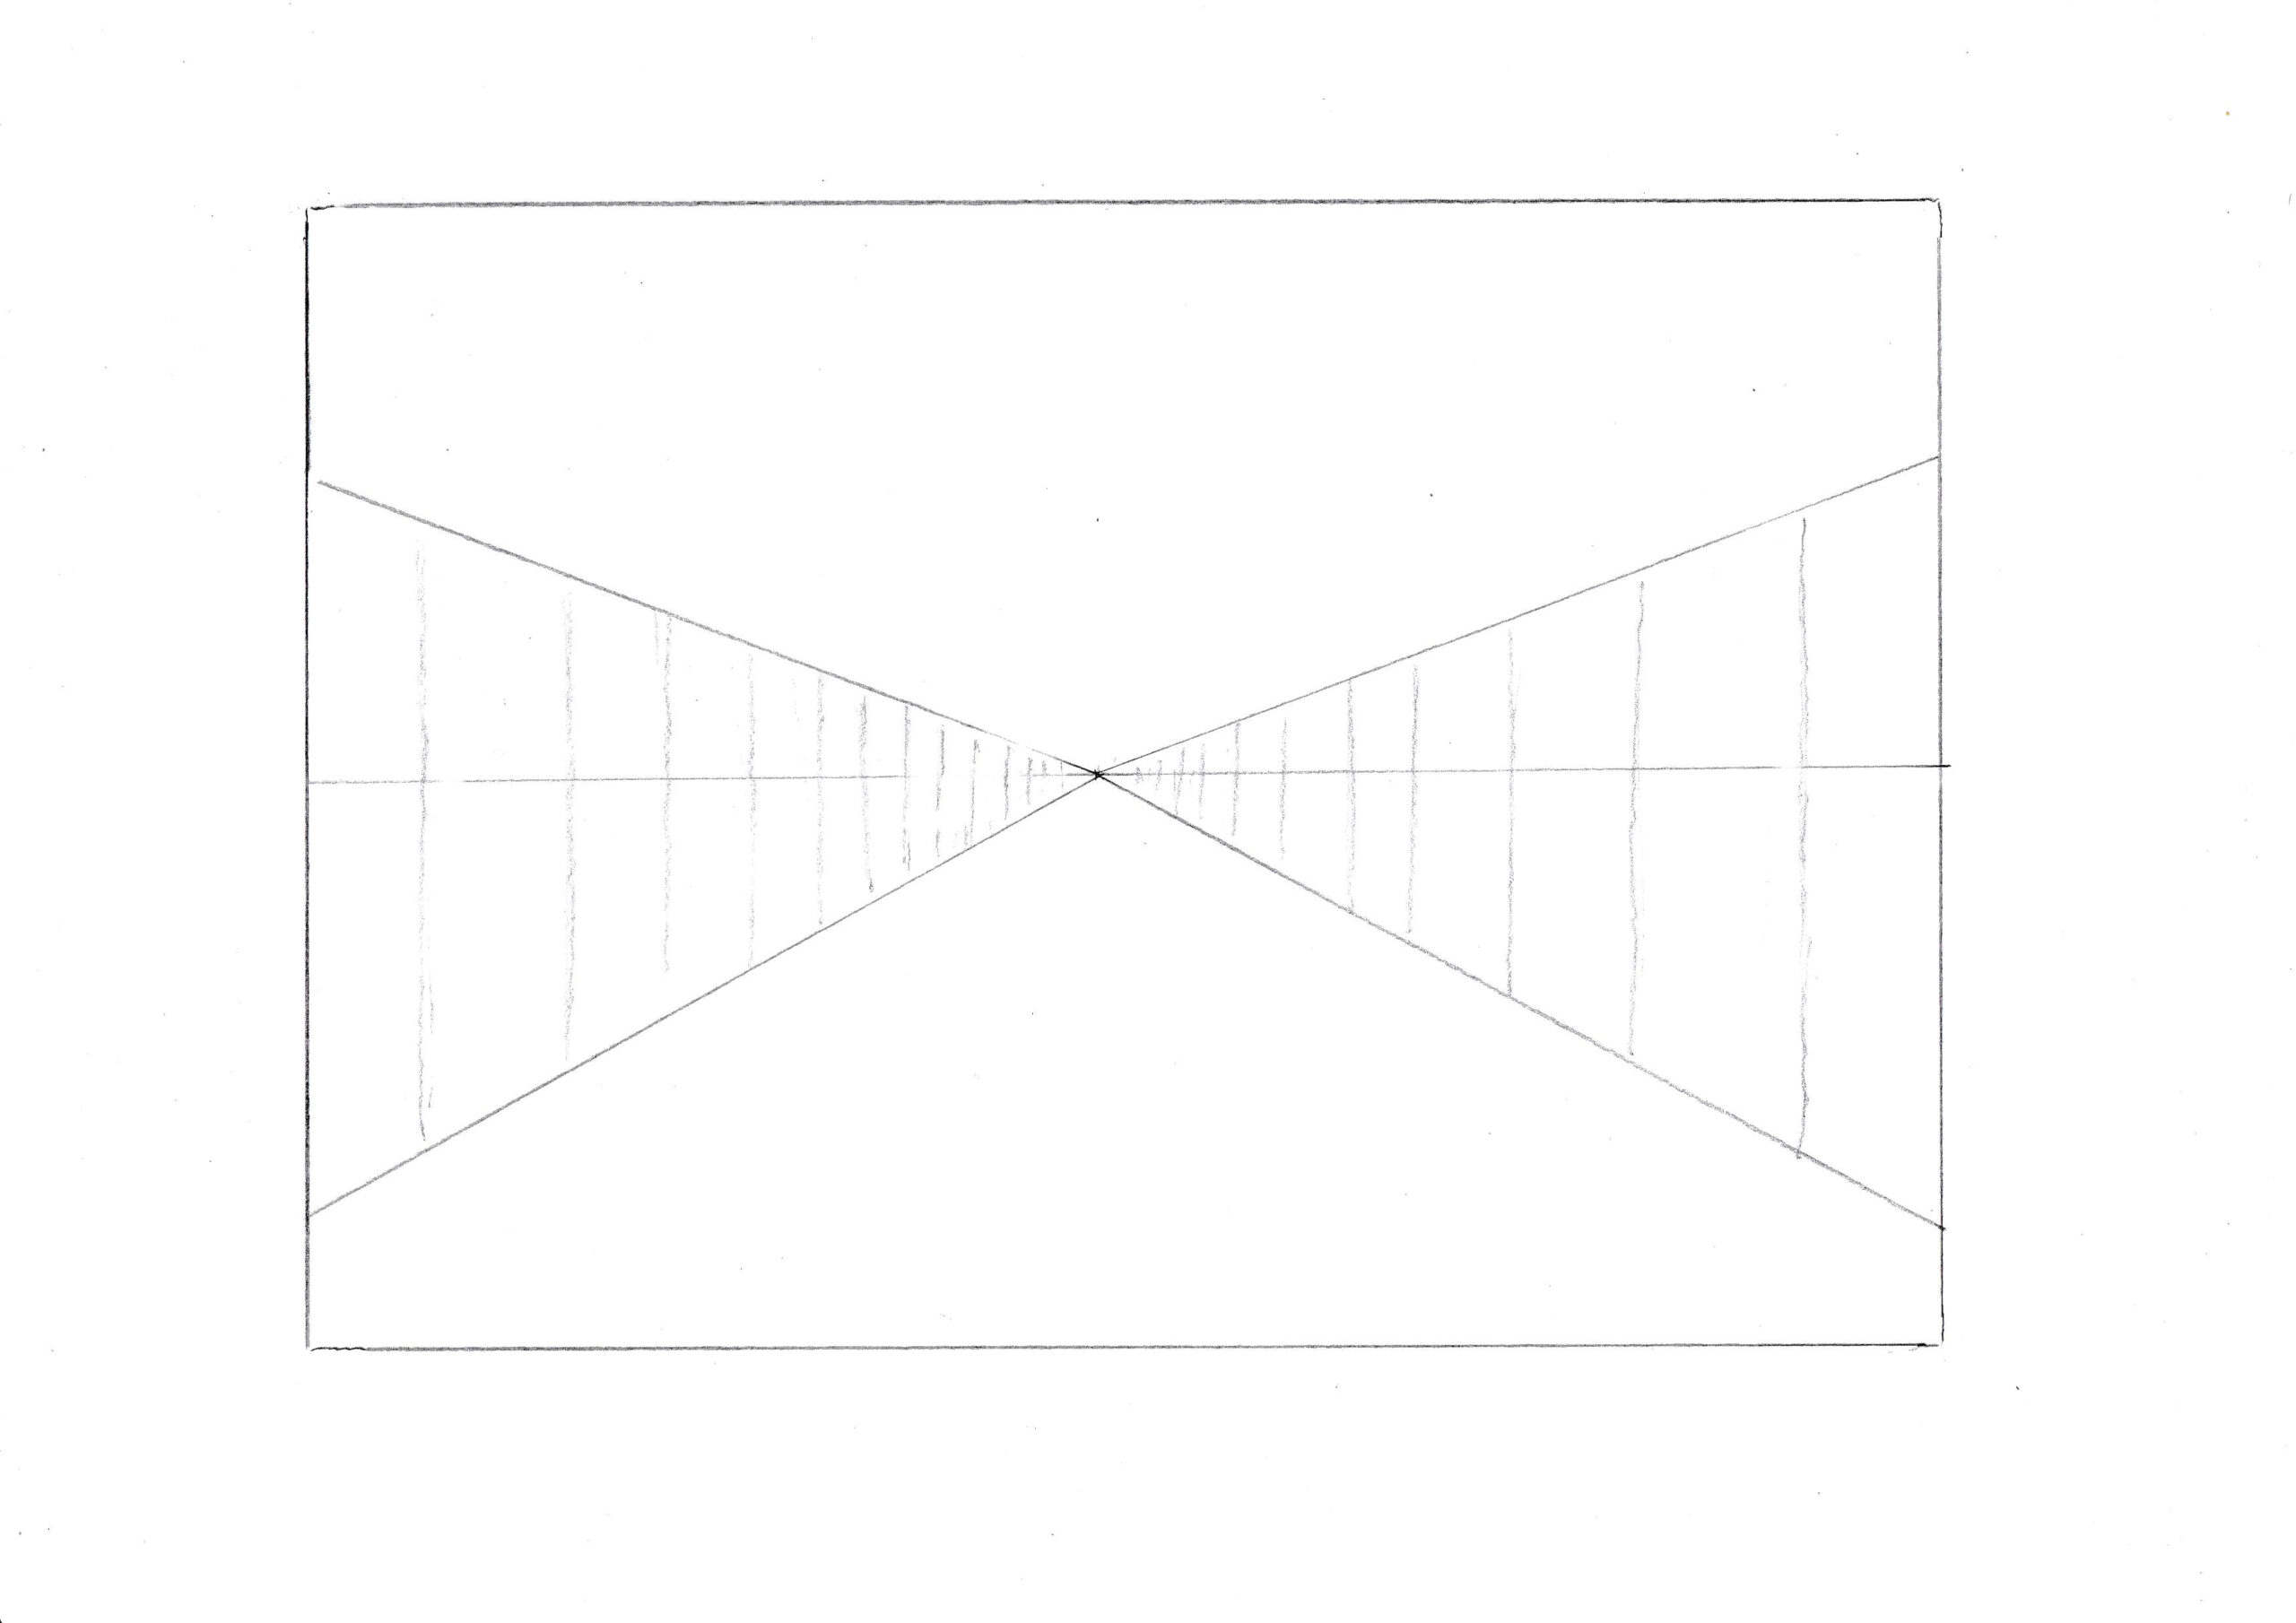
The rule is: “All lines that are parallel/in the same direction in reality converge at the same vanishing point in a perspective drawing.” Therefore this also applies to noise barriers, walls, hedges, or fences on either side of the road. By drawing the vertical lines in the walls progressively closer together as they become more distant, I enhanced the sense of depth.
In the next drawing I added three figures on the road, all three with their heads at eye level. Take a look at the man in the foreground on the right: by drawing an assisting line from his feet to the vanishing point, I could easily determine how tall the woman behind him should become (assuming she is about the same height in reality).
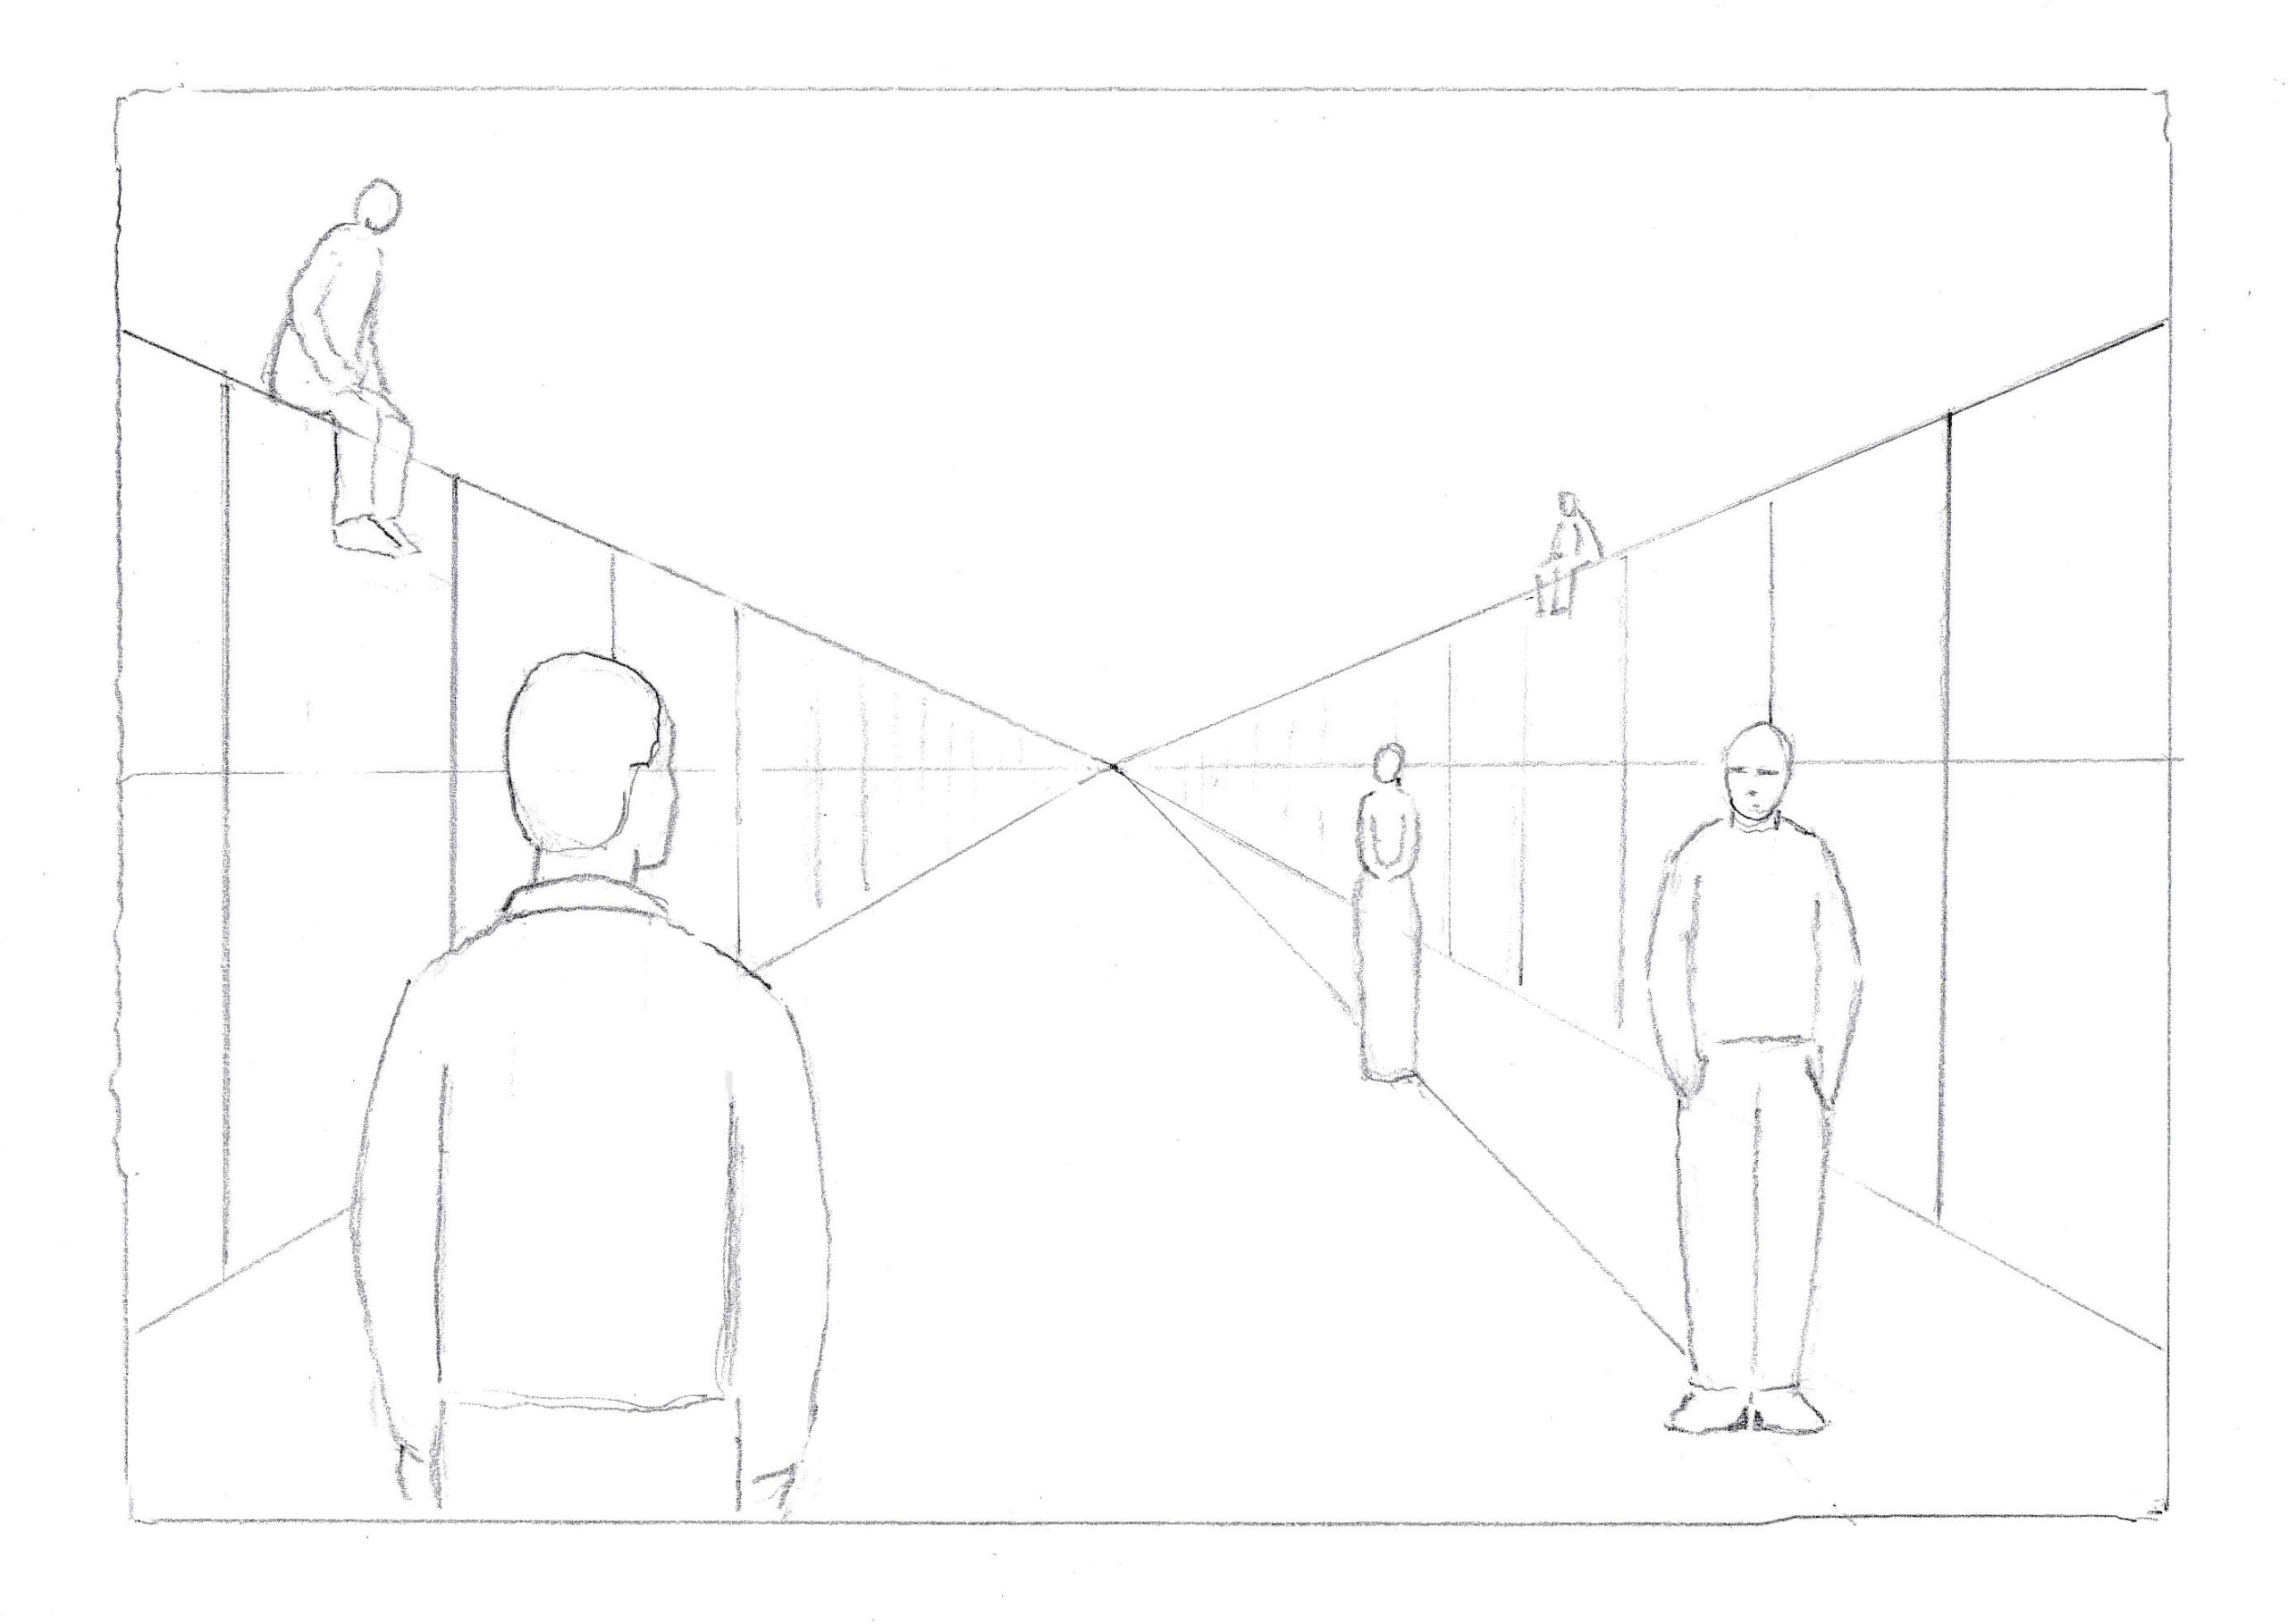
Exercise 2: Draw a road/bridge/long passage with walls/fences/hedges and place two or more figures at different distances in such a way that the perspective looks reasonably correct. Add whatever else you like.
In the following drawing, I’ve drawn the distance between the segments on the left wall freehand, gradually closer together as they become more distant. This usually works well for creating a sense of depth. If you’d still like to know how to correctly divide a wall/fence/facade into equal sections, check out the following geometric trick, which I’ll explain step by step.
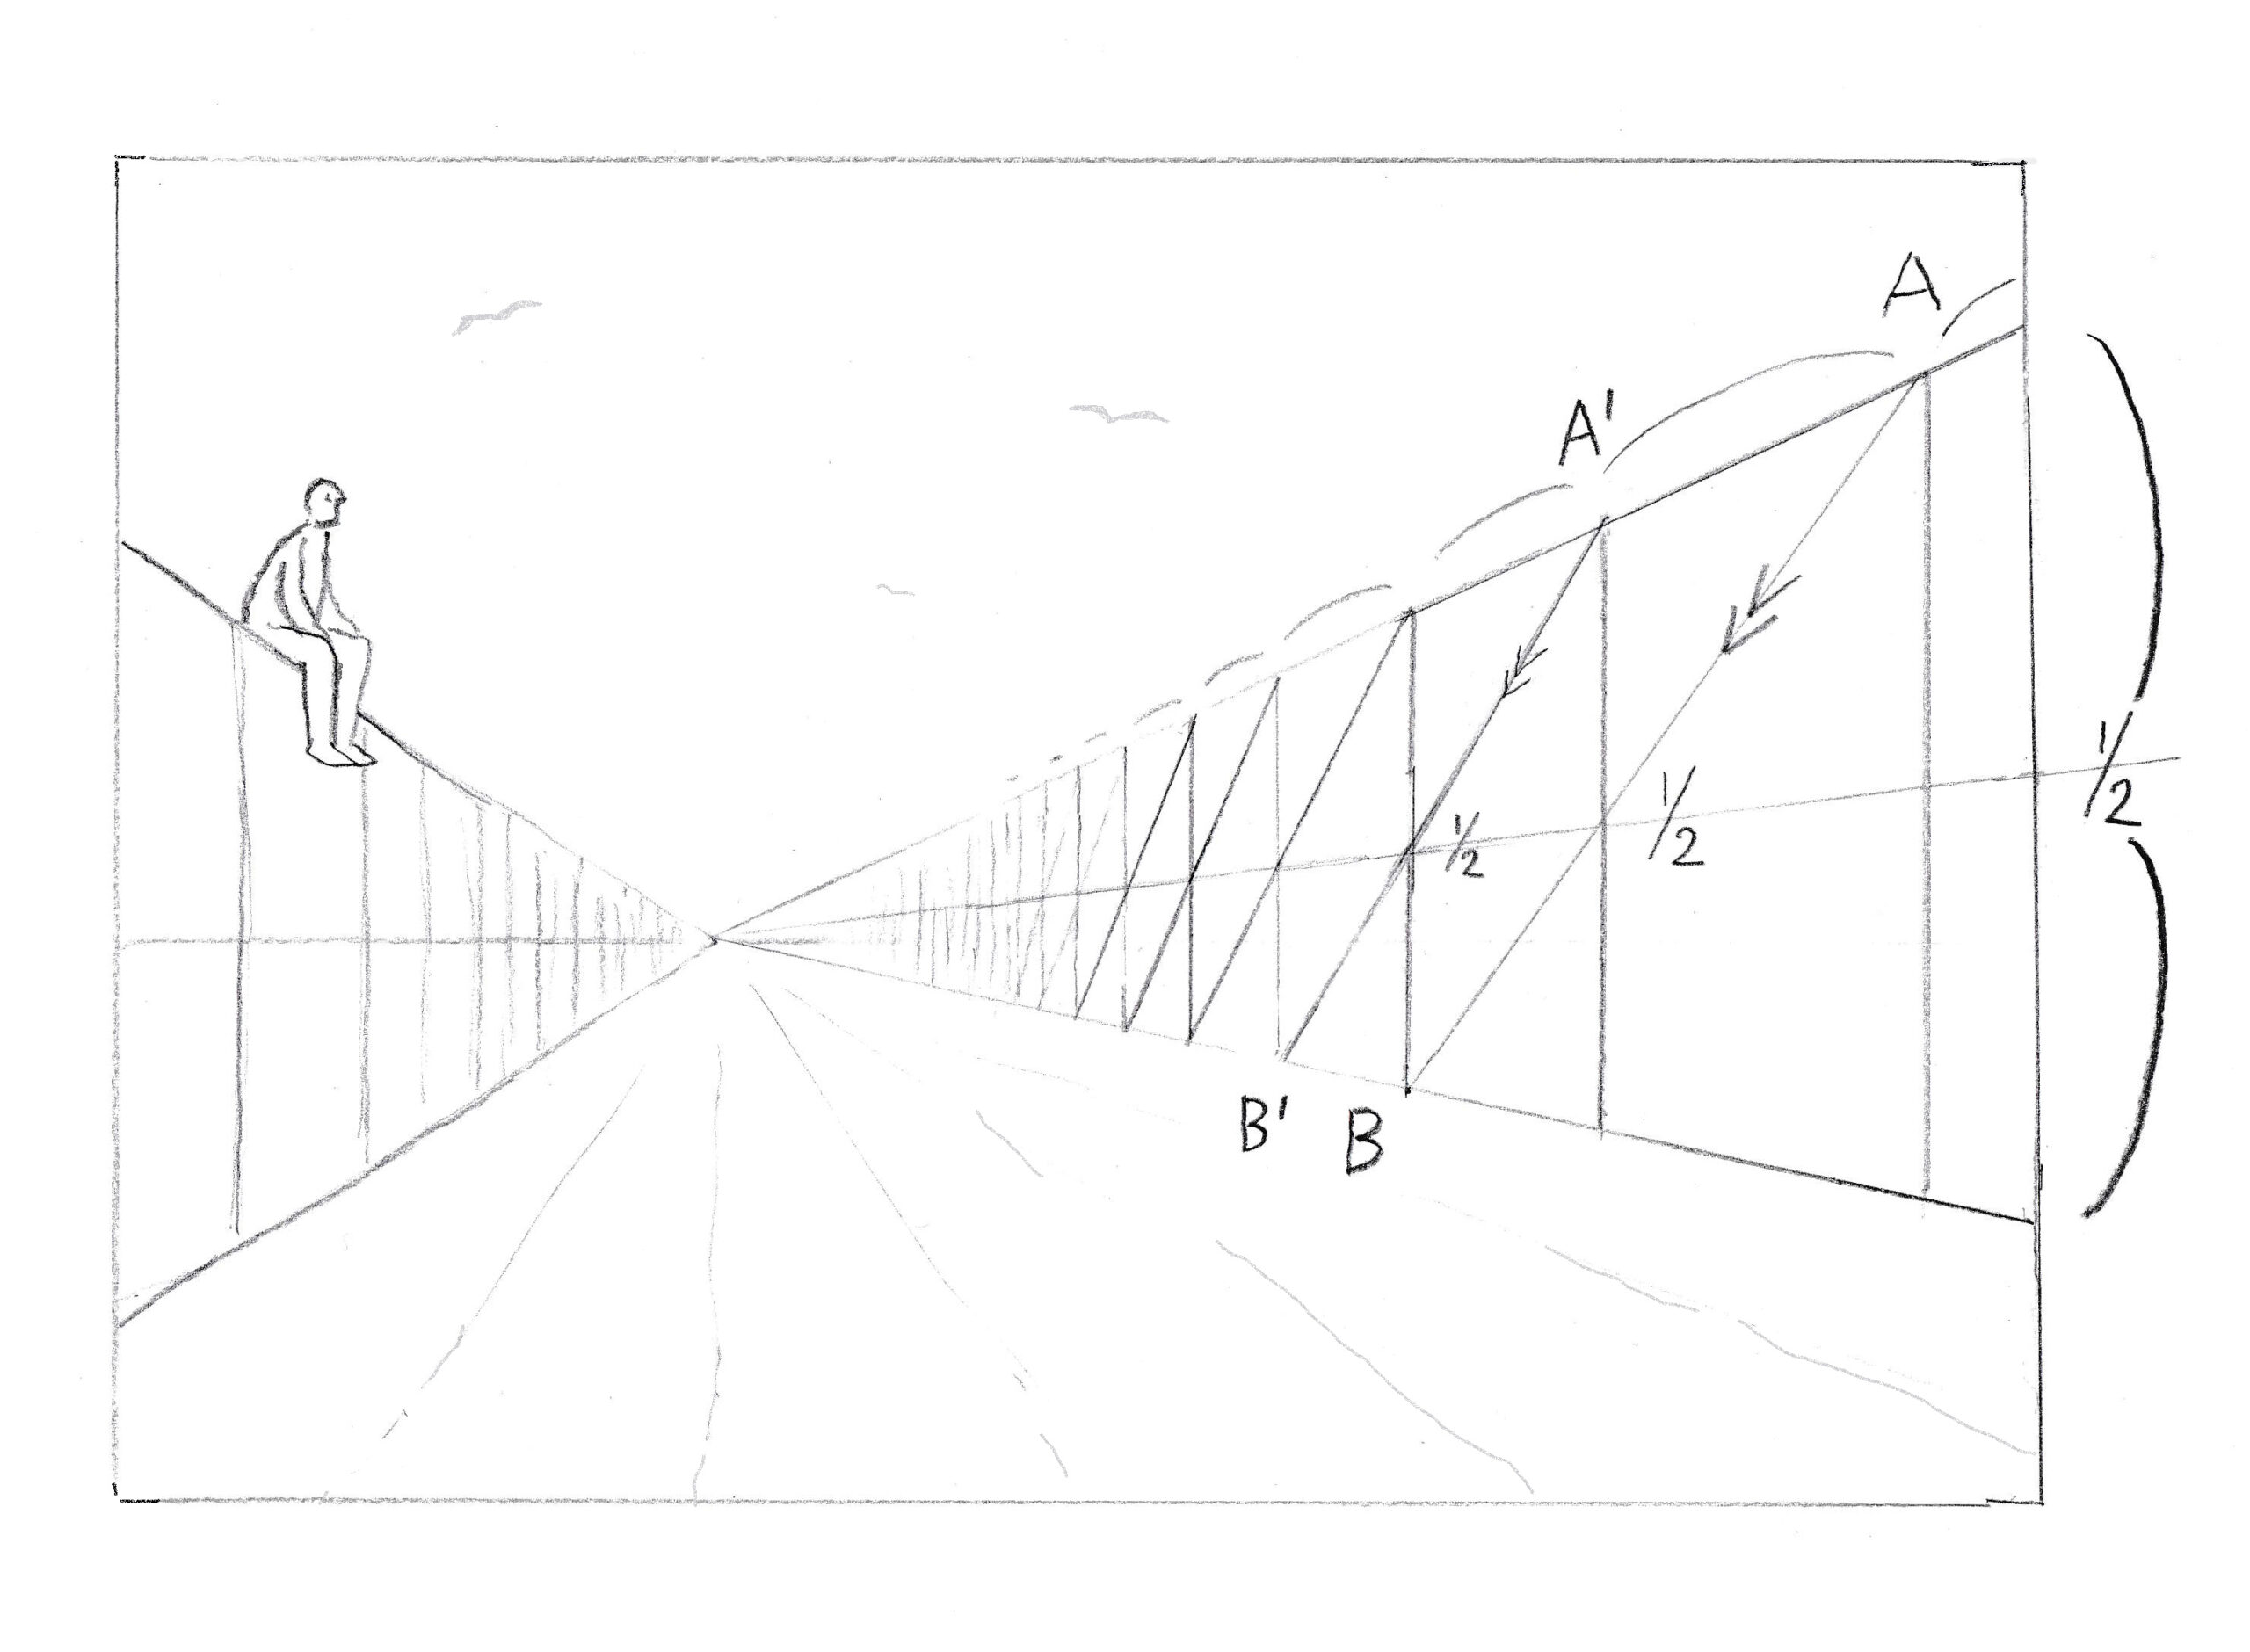
Exercise 3: Look at the wall on the right. Perform step 1-6 using a ruler:
Step 1: Eyeball a generous distance between the front two vertical sections (A and A1) and draw vertical lines from there to the ground.
Step 2: Measure the center of the wall’s height at A (indicated by 1/2).
Step 3: Draw a line through the center (1/2) to the vanishing point.
Step 4: Draw a line from A through the intersection of the 1/2 line and the vertical line from A1.
Step 5: Where this line meets the ground (indicated here by B), draw the third vertical line. You now have two equal sections.
Step 6: Repeat the same procedure from A1 to B1, and so on.
EXTRA: Of course you can pause or abandon perspective drawing anytime you like. End this lesson by drawing all kinds of objects randomly placed above, next to, below, or even upside down. Use the whole paper, nut just the bottom. Apply color where you want.
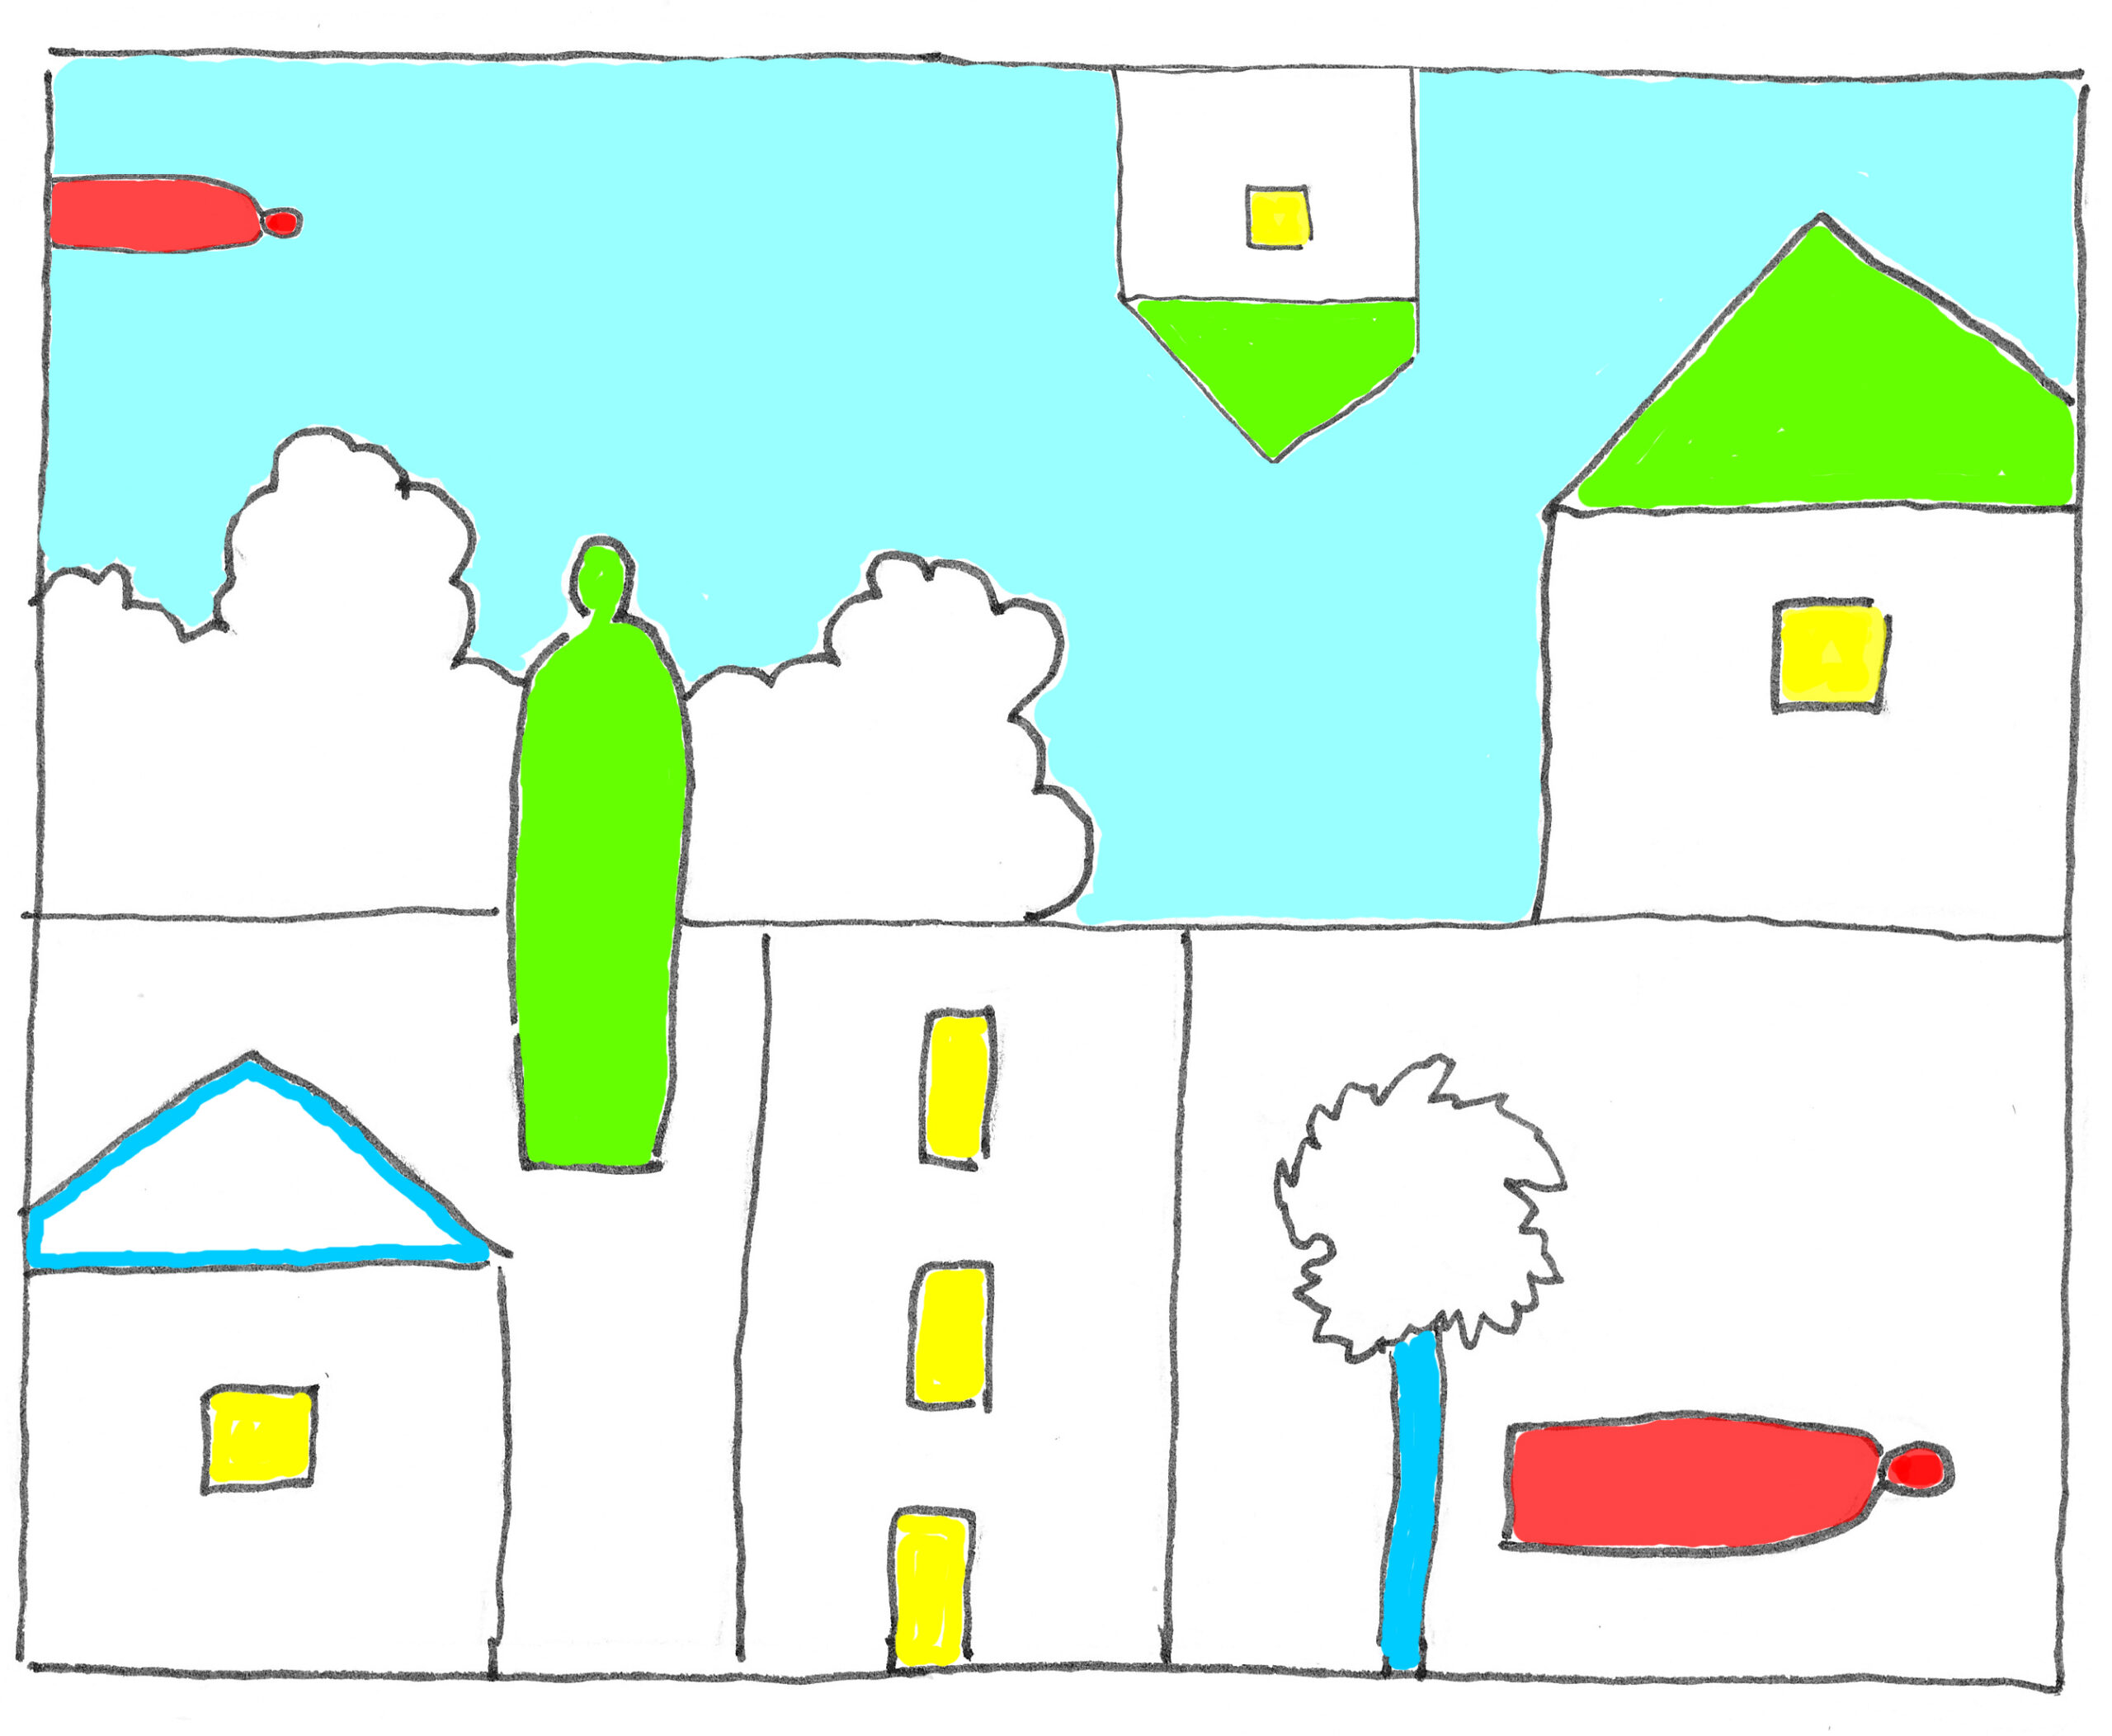
Suggestion for a group activity (possibly after looking at this last drawing together):
One person gives the rest of the group a drawing task: first, he/she names five ingredients that should each appear one or more times in the other’s drawing. The following instructions should be added: “Everything can be randomly placed above, below, next to each other, and even upside down. Fill the entire paper with the drawing (not just the bottom) and only color in what you want.” Finally, compare the results and next time have someone else from the group determine the five ingredients.