Chapter 2 | CUMULUS CLOUDS
Sometimes cumulus clouds appear high in the sky, shining like mighty mountains. I’ll show you two ways on how to learn to draw cumulus clouds.
Exercise 1: Draw the following steps. You don’t have to copy my examples exactly!
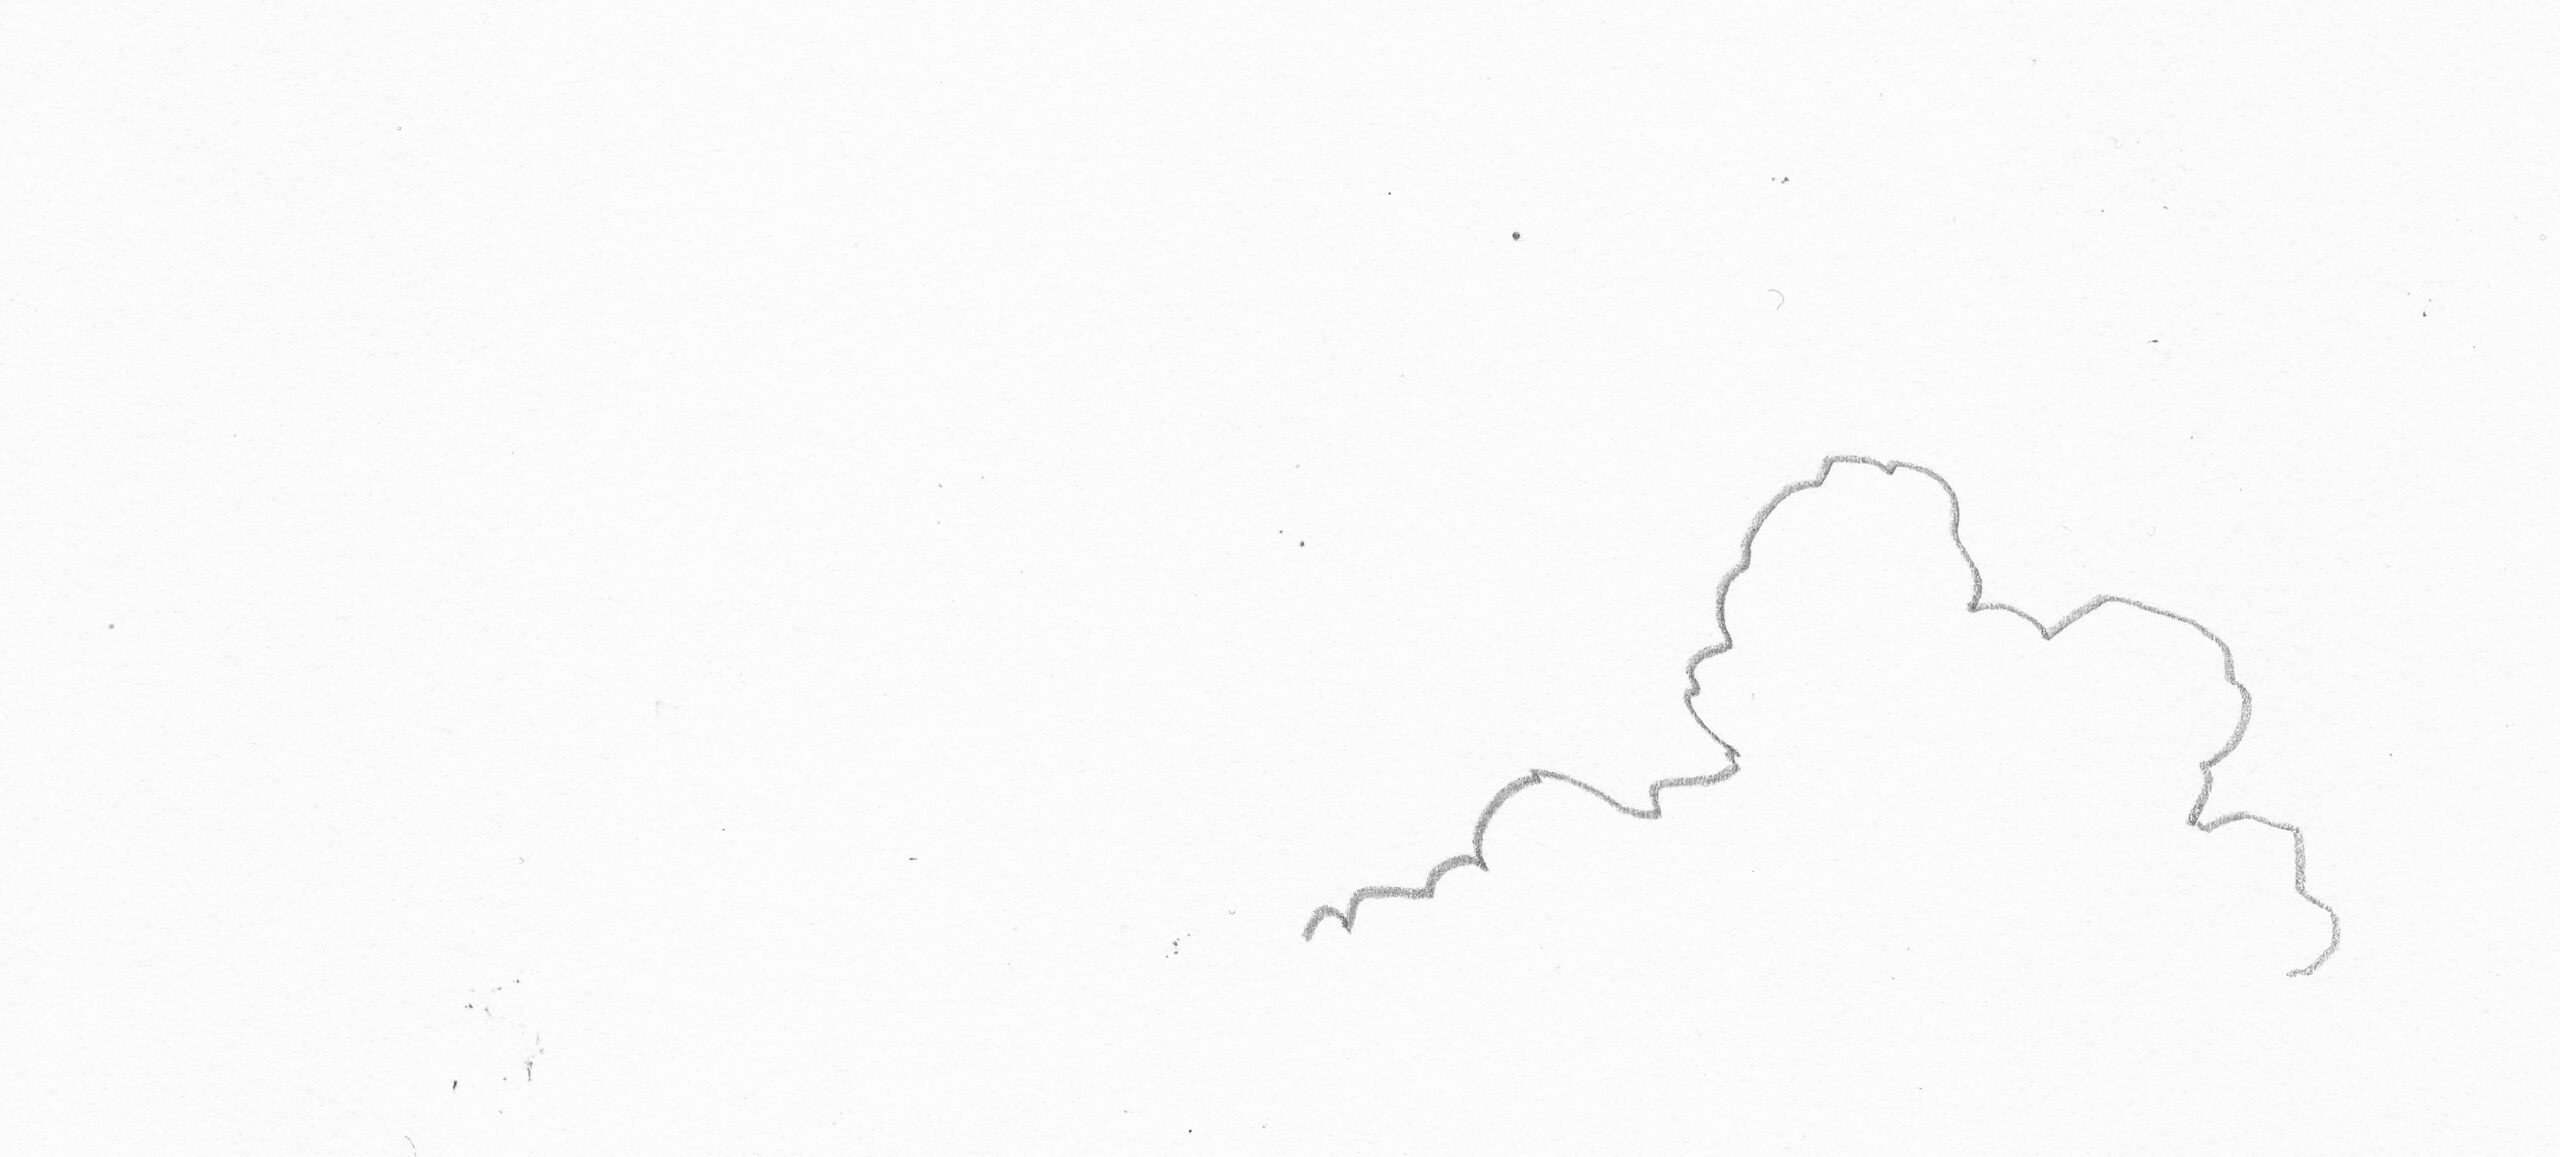
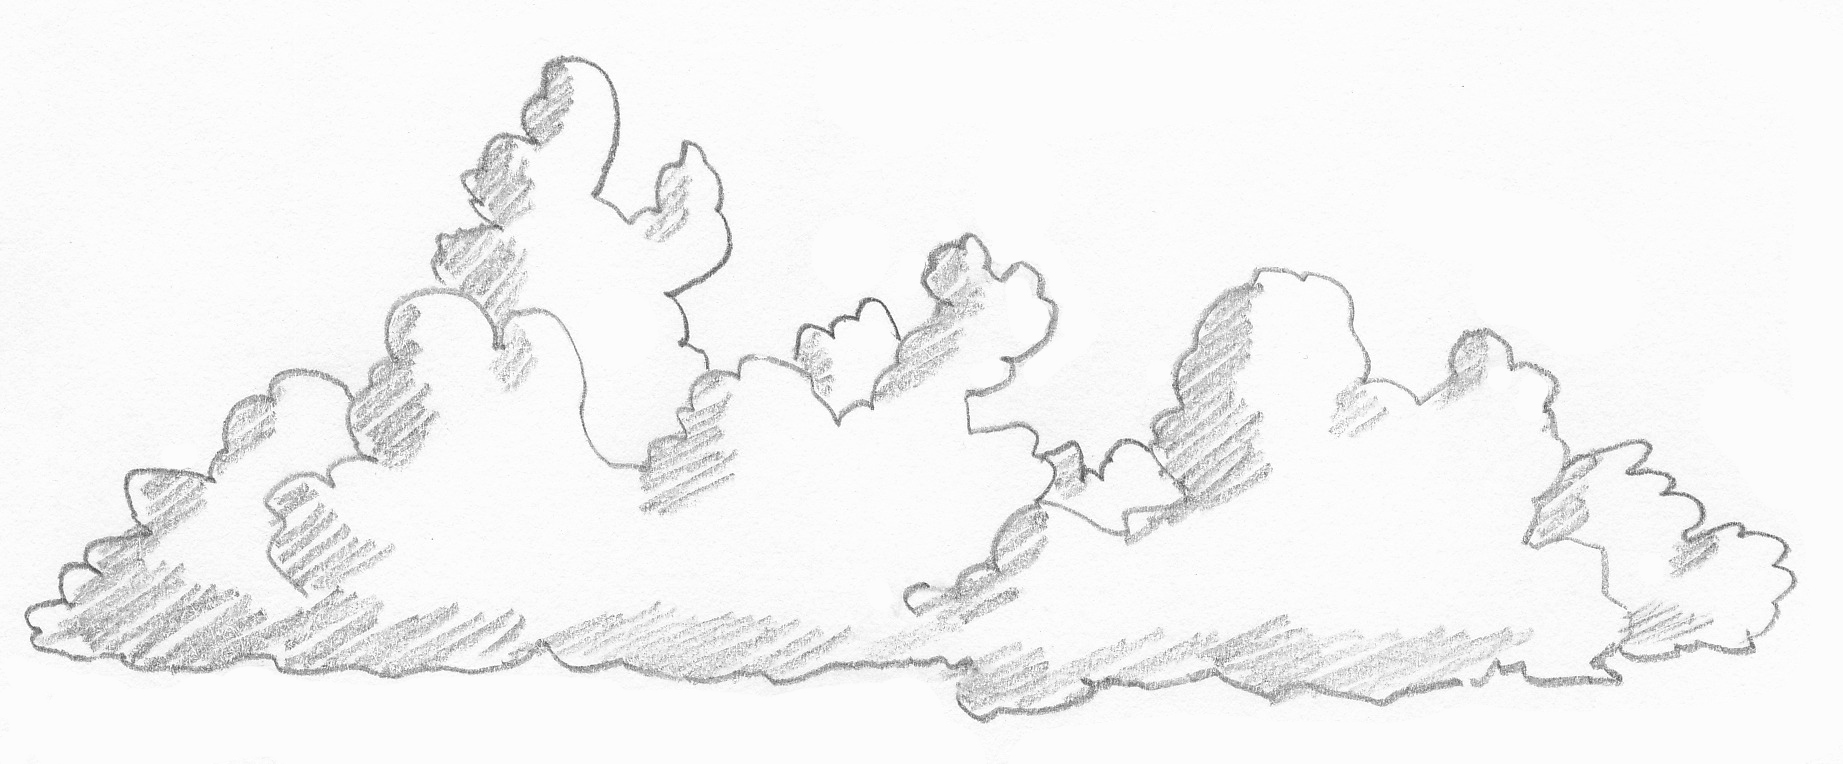
Step 1: start with just one piece of the cloud, as if it were a mountain; they are all little arcs attached to each other and certainly not too regular. Leave the bottom side open for a while.
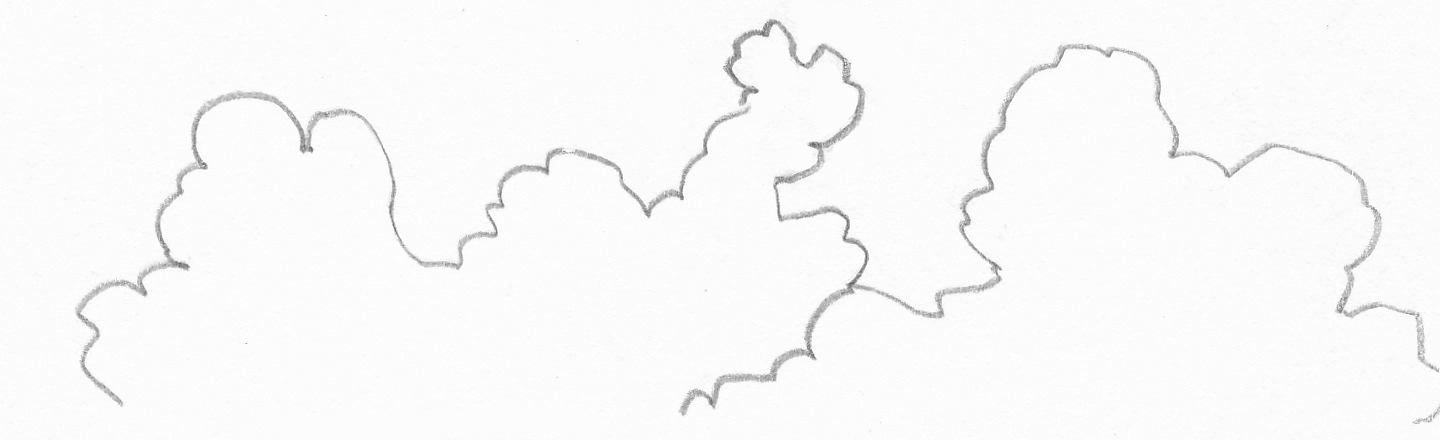
Step 2: attach a second piece of cloud to it. Clouds are constantly changing shape, so you can too.
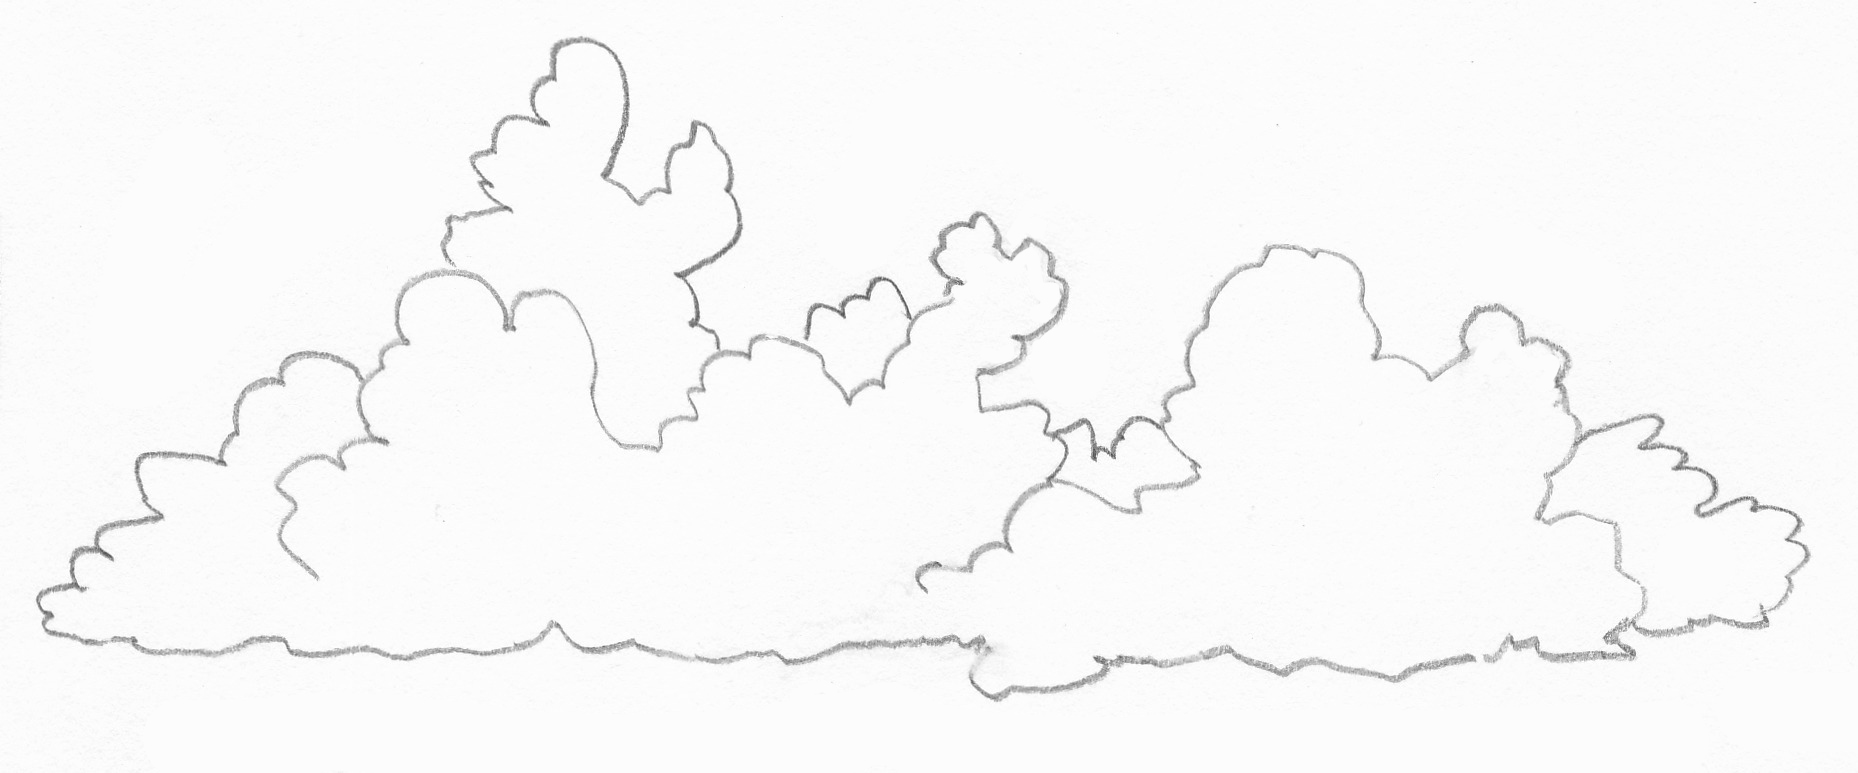
Step 3: make the cloud as big and extensive as you want with new pieces everywhere. Leave the bottom quite flat. This way the cloud appears to be floating in the air.
Step 4: Finally, add shadows by means of hatching (here dashes). In the example, the sunlight comes from diagonally above right, which is why the shadows are on the left and at the bottom. For left-handers, hatching from top left to bottom right is more pleasant.
Exercise 2:
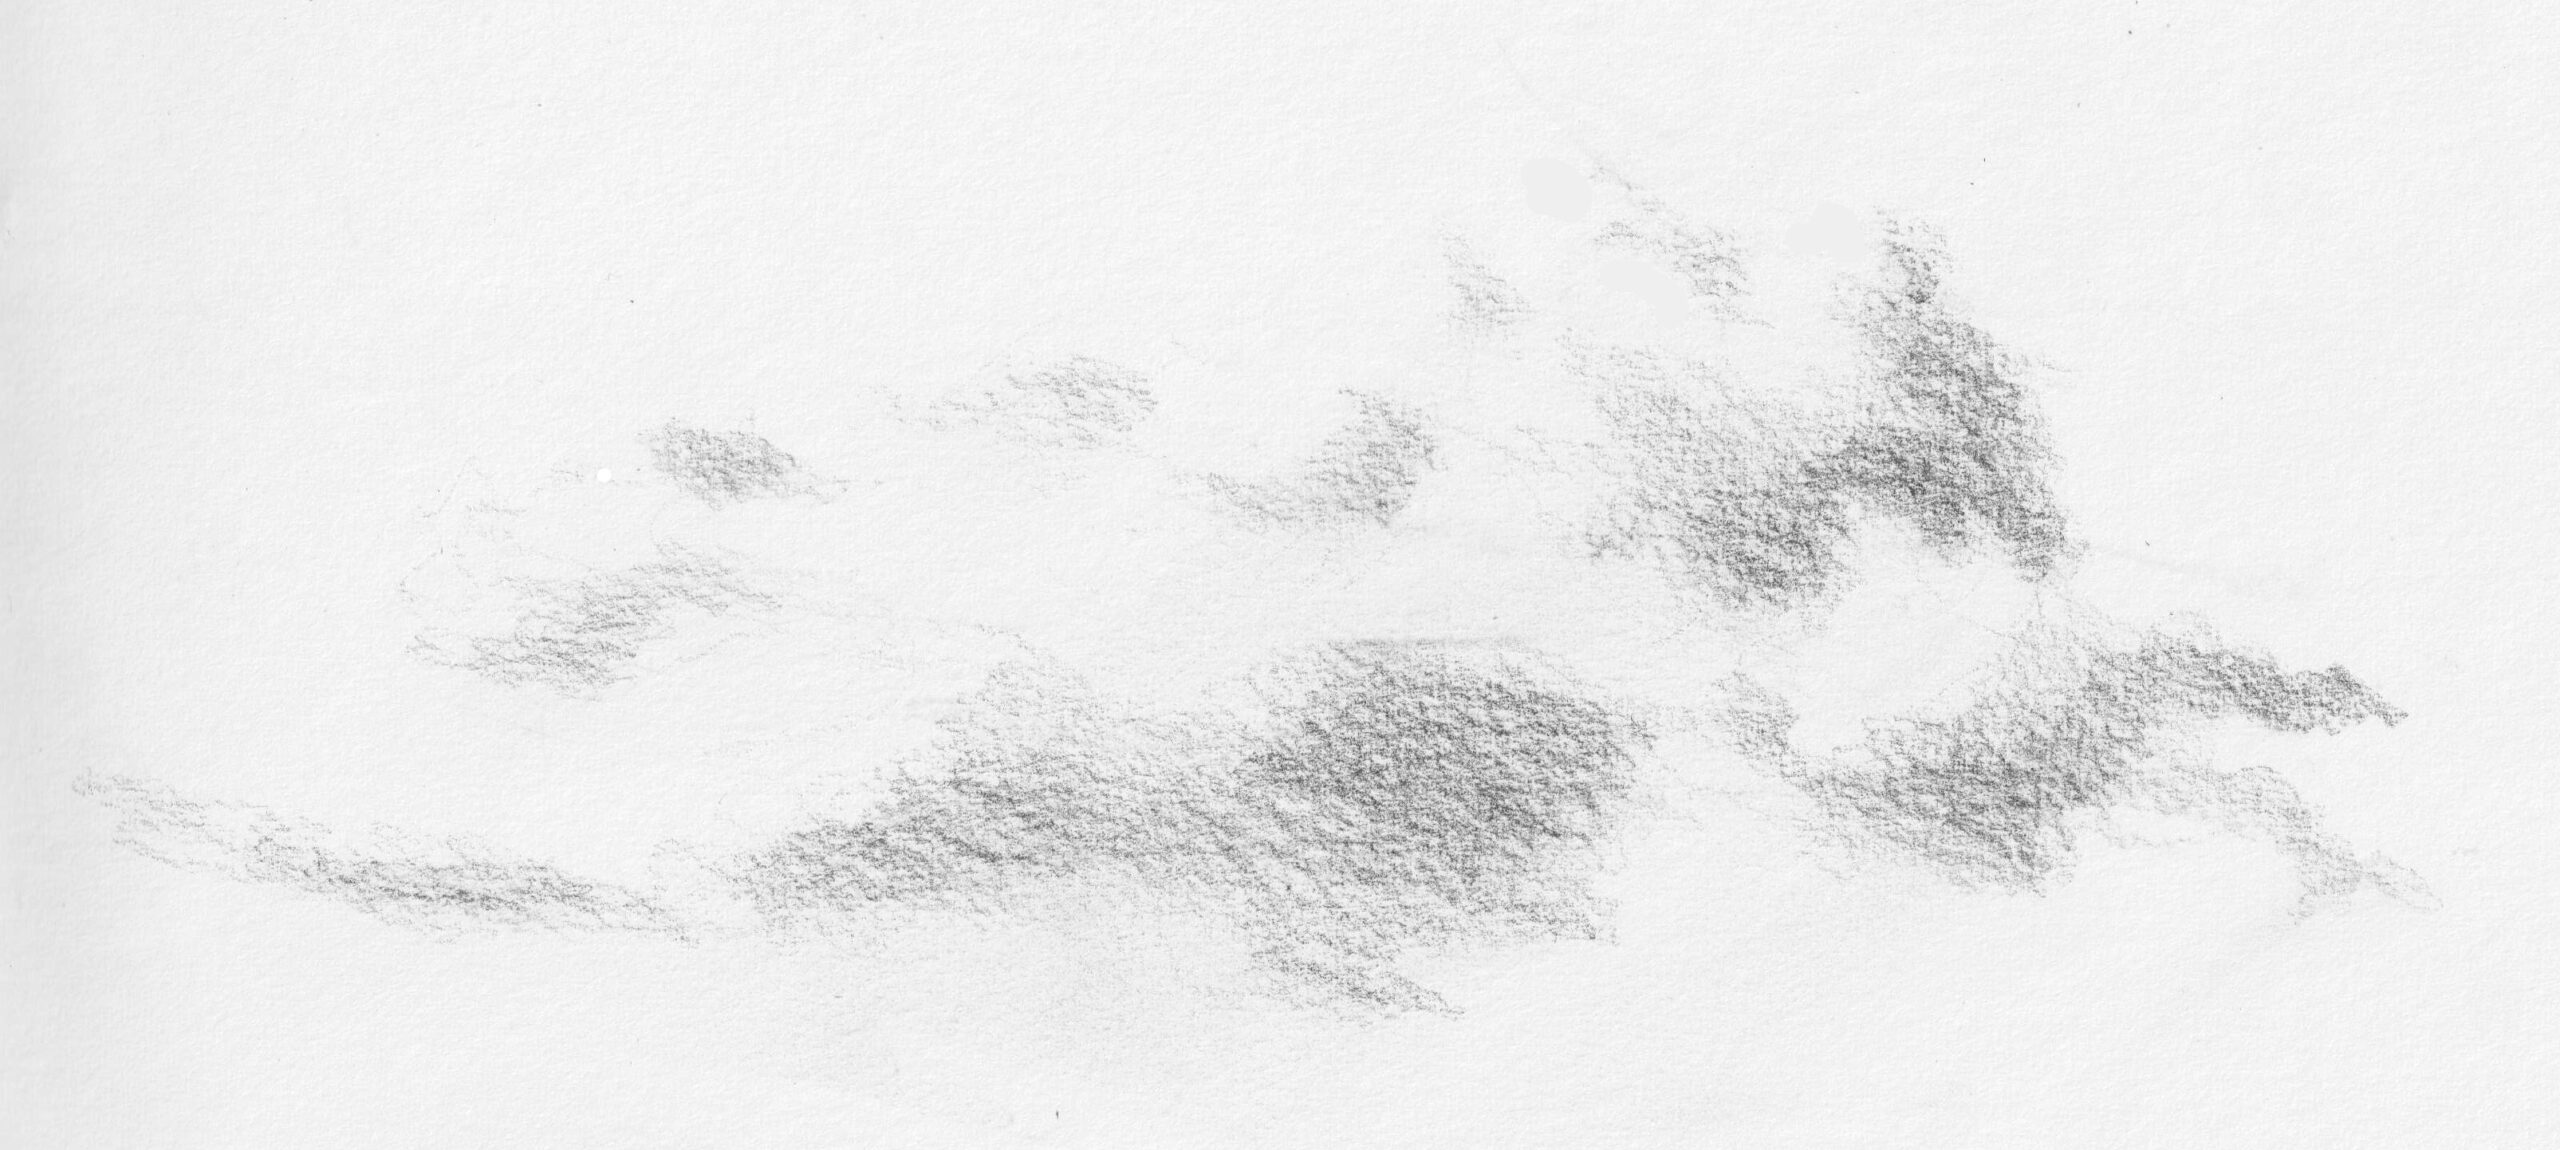
For this exercise, choose paper that is slightly tinted (for example beige or gray) and not too smooth. Try to draw a nice complicated stacked cloud again, but now draw the outlines as lightly as you can. Then draw the shadows/gray tones with the softest possible transitions between light and dark. Finally, you can use a good eraser (or kneaded eraser) to blur or even erase the lines that are still visible. On tinted paper, you can add highlights with a white pencil (or later digitally).
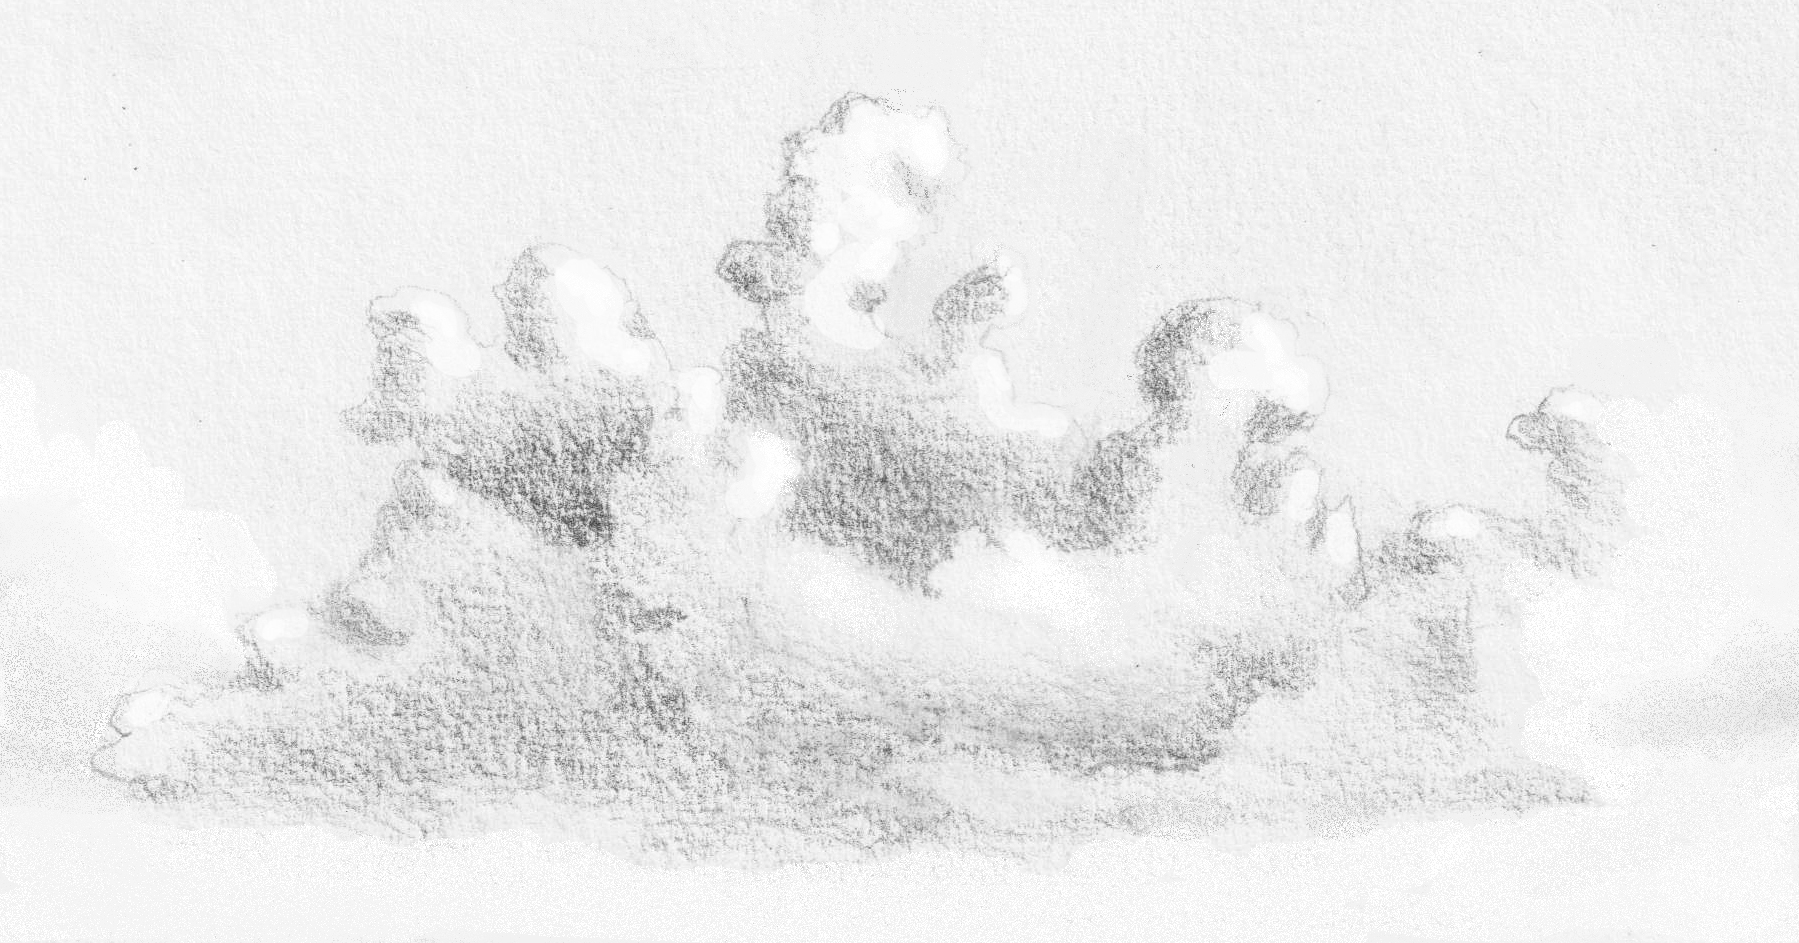
EXTRA 1: Copy this image of a cumulus cloud. Try to avoid lines, try to focus on shadows. Slowly build up the darkest shadows first. Occasionally, look through your eyelashes to avoid drawing details too quickly.

 EXTRA 2: A challenging and beautiful way is to draw real cumulus clouds outside or from your window, and solely f0cus on shadows. This time you don’t draw any lines! The shape of clouds change constantly, so it will always remain a fleeting impression. Once you have studied a few clouds, you will get a better feel for inventing clouds yourself.