Chapter 1 | MOUNTAINS
Did you ever draw mountains? How do your mountains look like when you draw them? A bit like in the three examples?

Suggestion for teachers: if possible try to demonstrate the following steps. Drawing mountains a little more realistically isn’t that complicated.
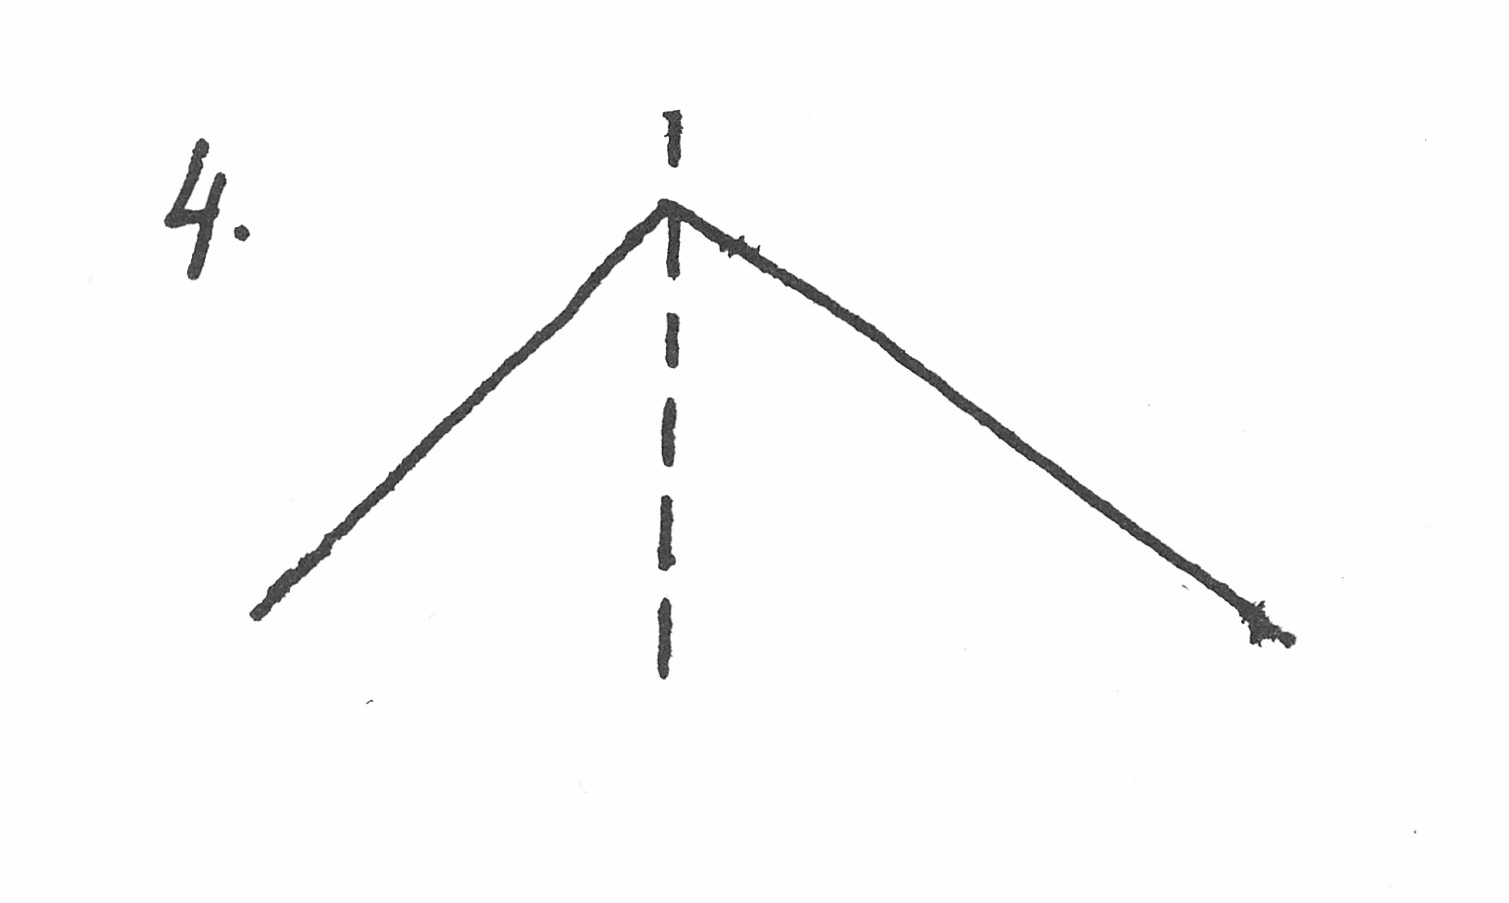
First of all: the top of a mountain is not always exactly in the middle (4).
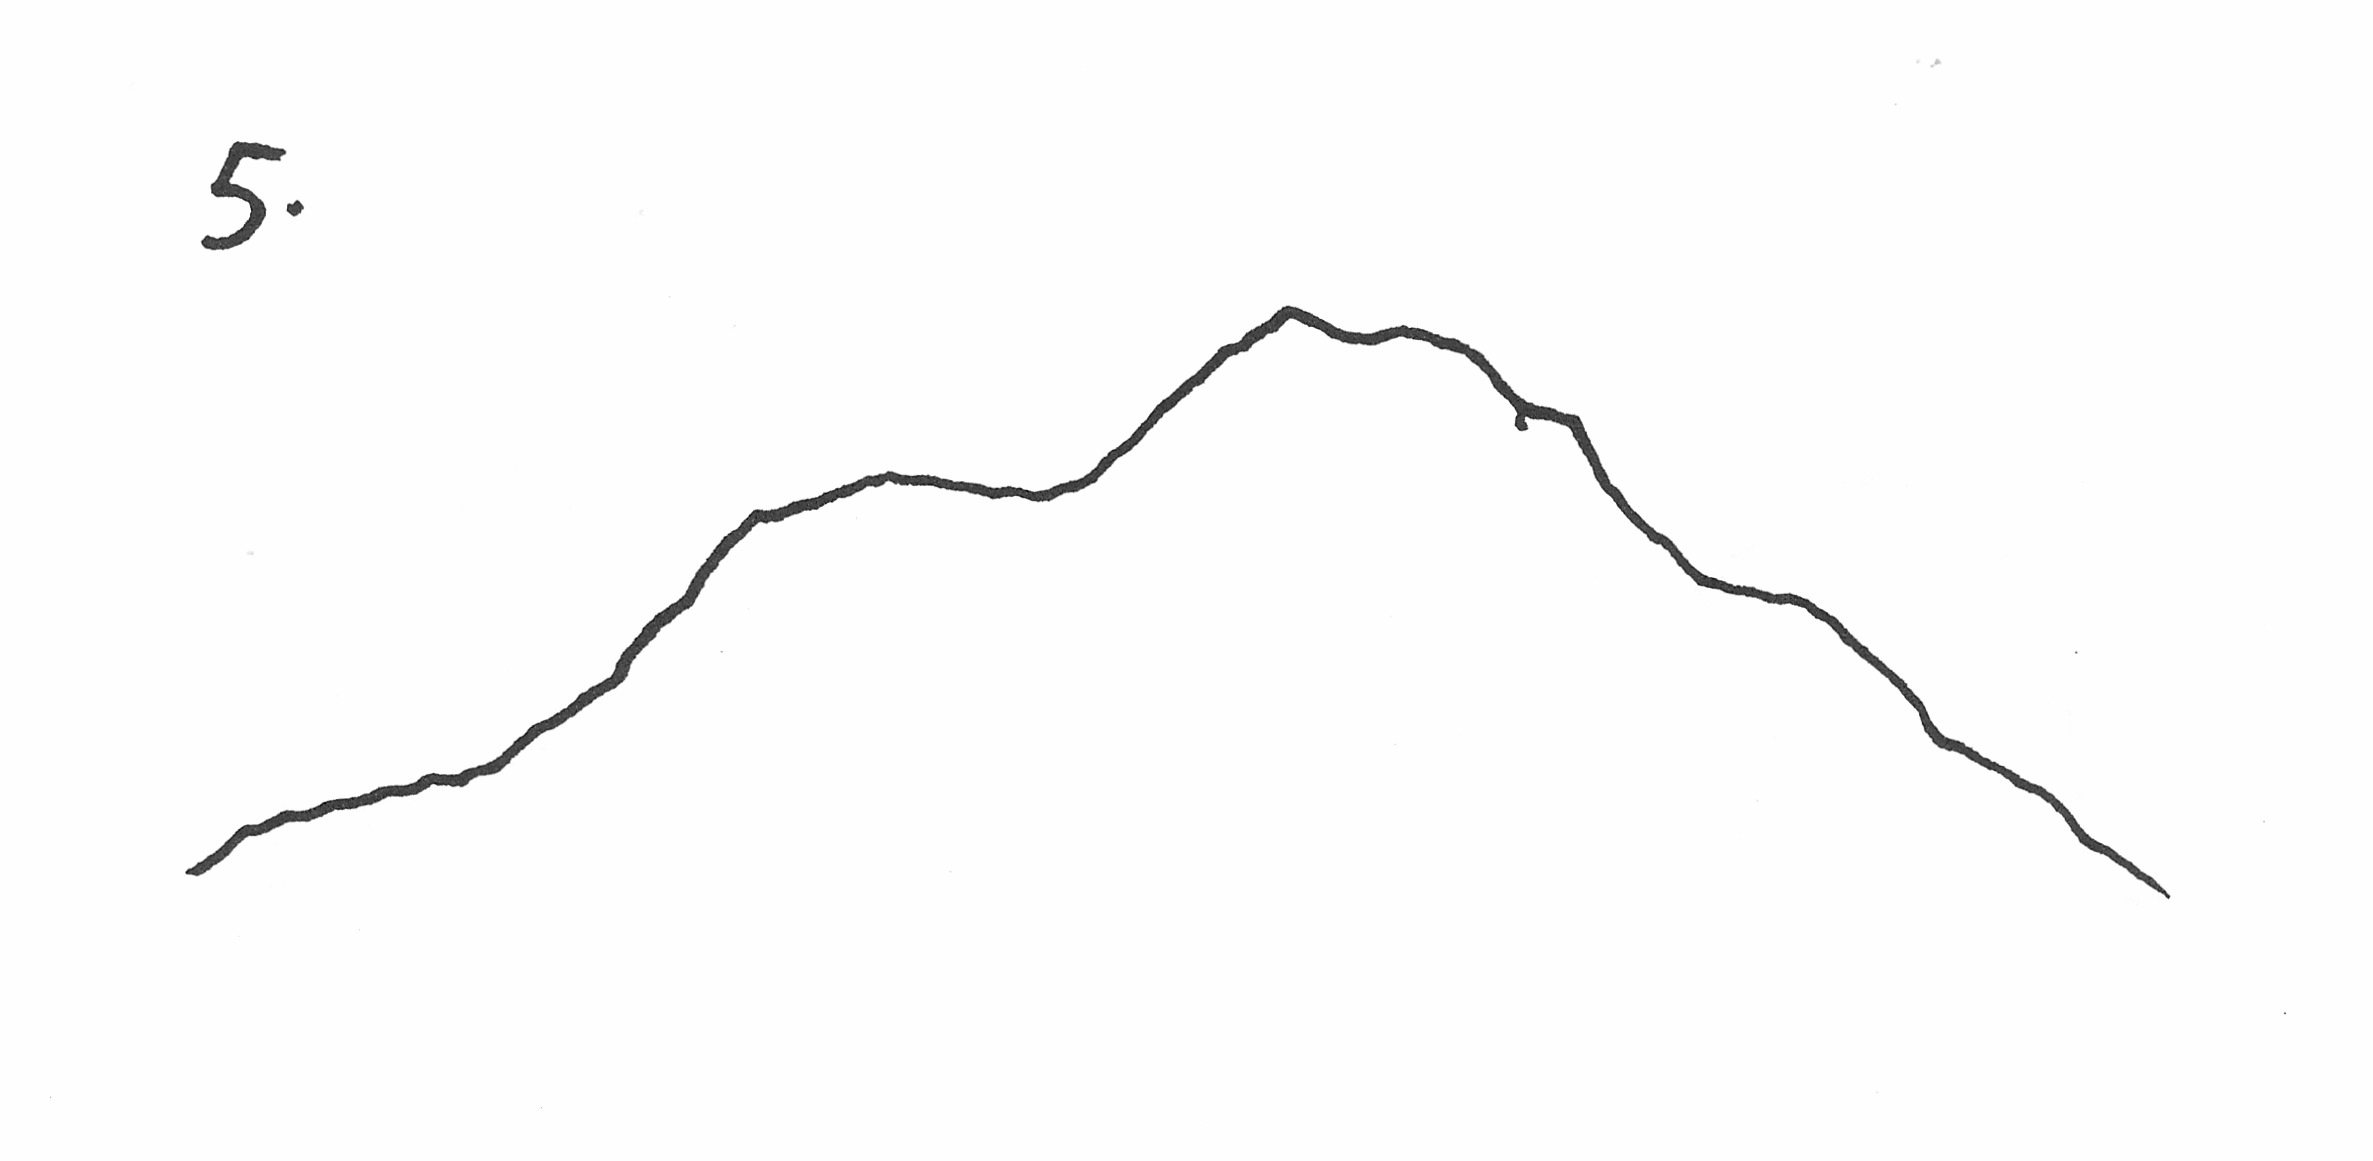
A mountain has been made over millions of years and looks certainly not as tight as the roof of a house. A trick is to draw the mountain a little jerky, as if your hand is a bit shaky while drawing (5). This way the mountain looks more rocky.
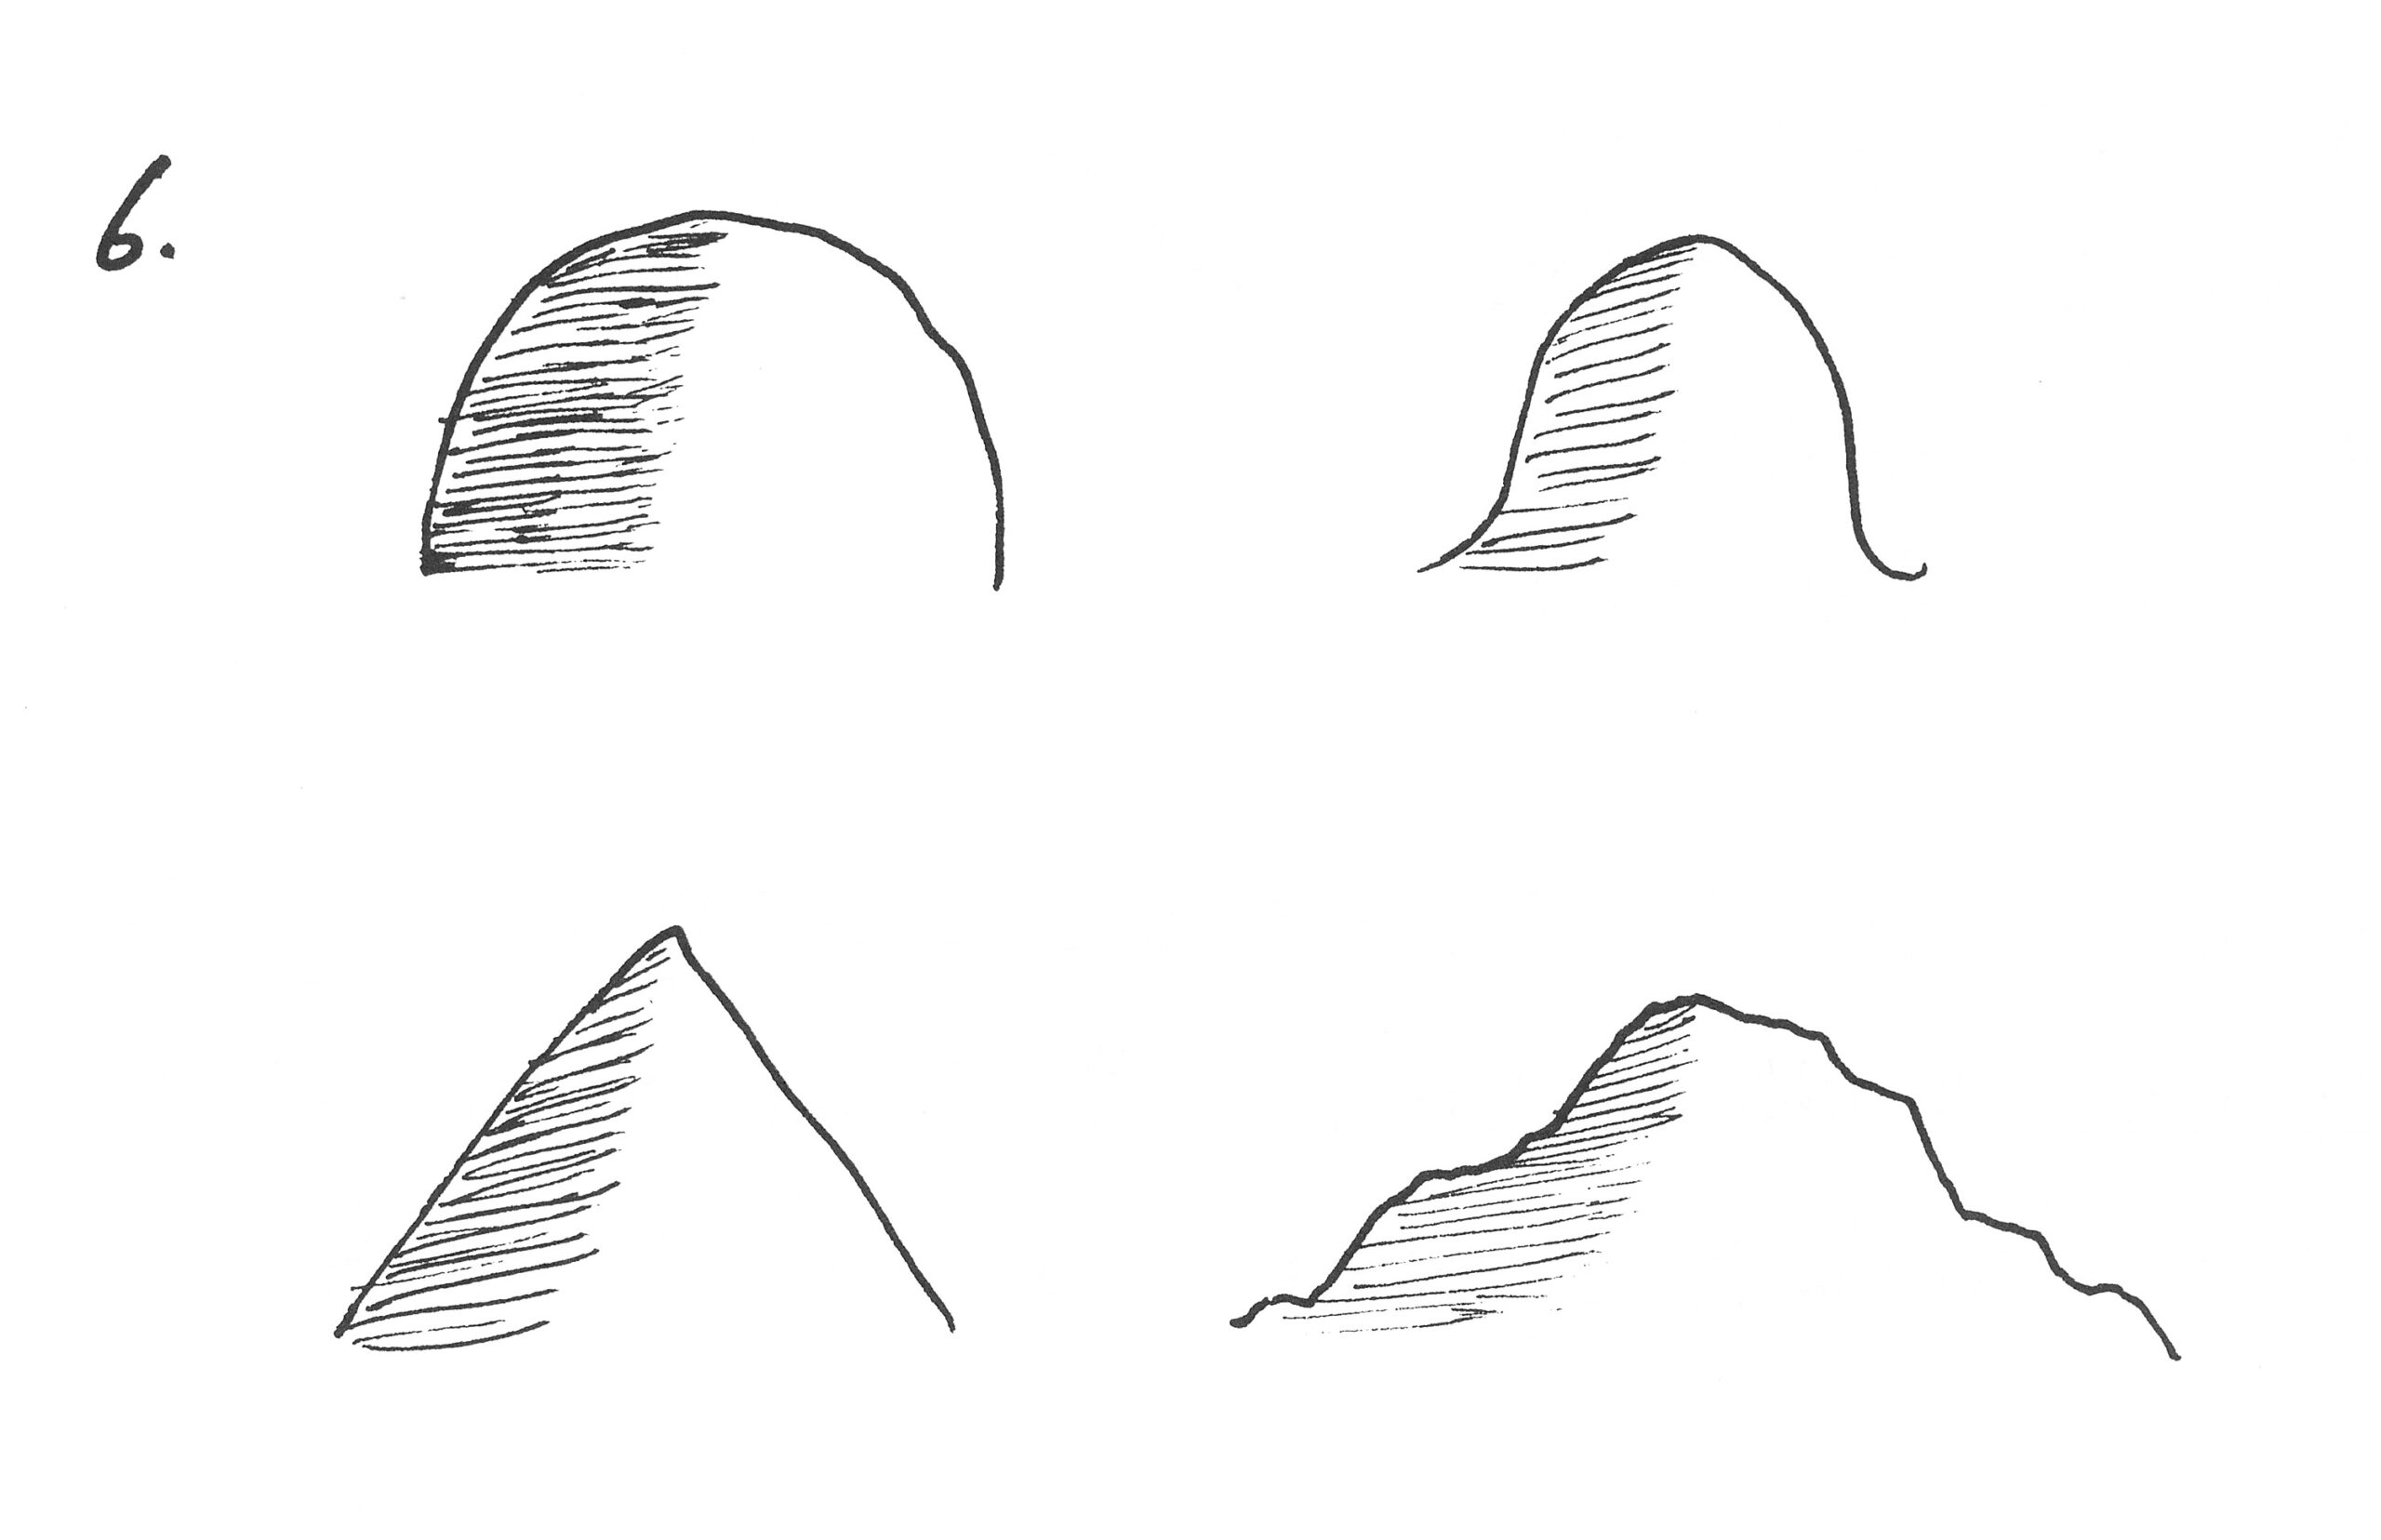
To give your mountain volume you can add shadow on the left or right side. In the rocky mountain (bottom right) the “shaky hand” is used again (6).
To show that you can walk and climb (or ski from) a mountain (7) , you can draw squiggly lines from the top and other high points to the foot of the mountain (8).
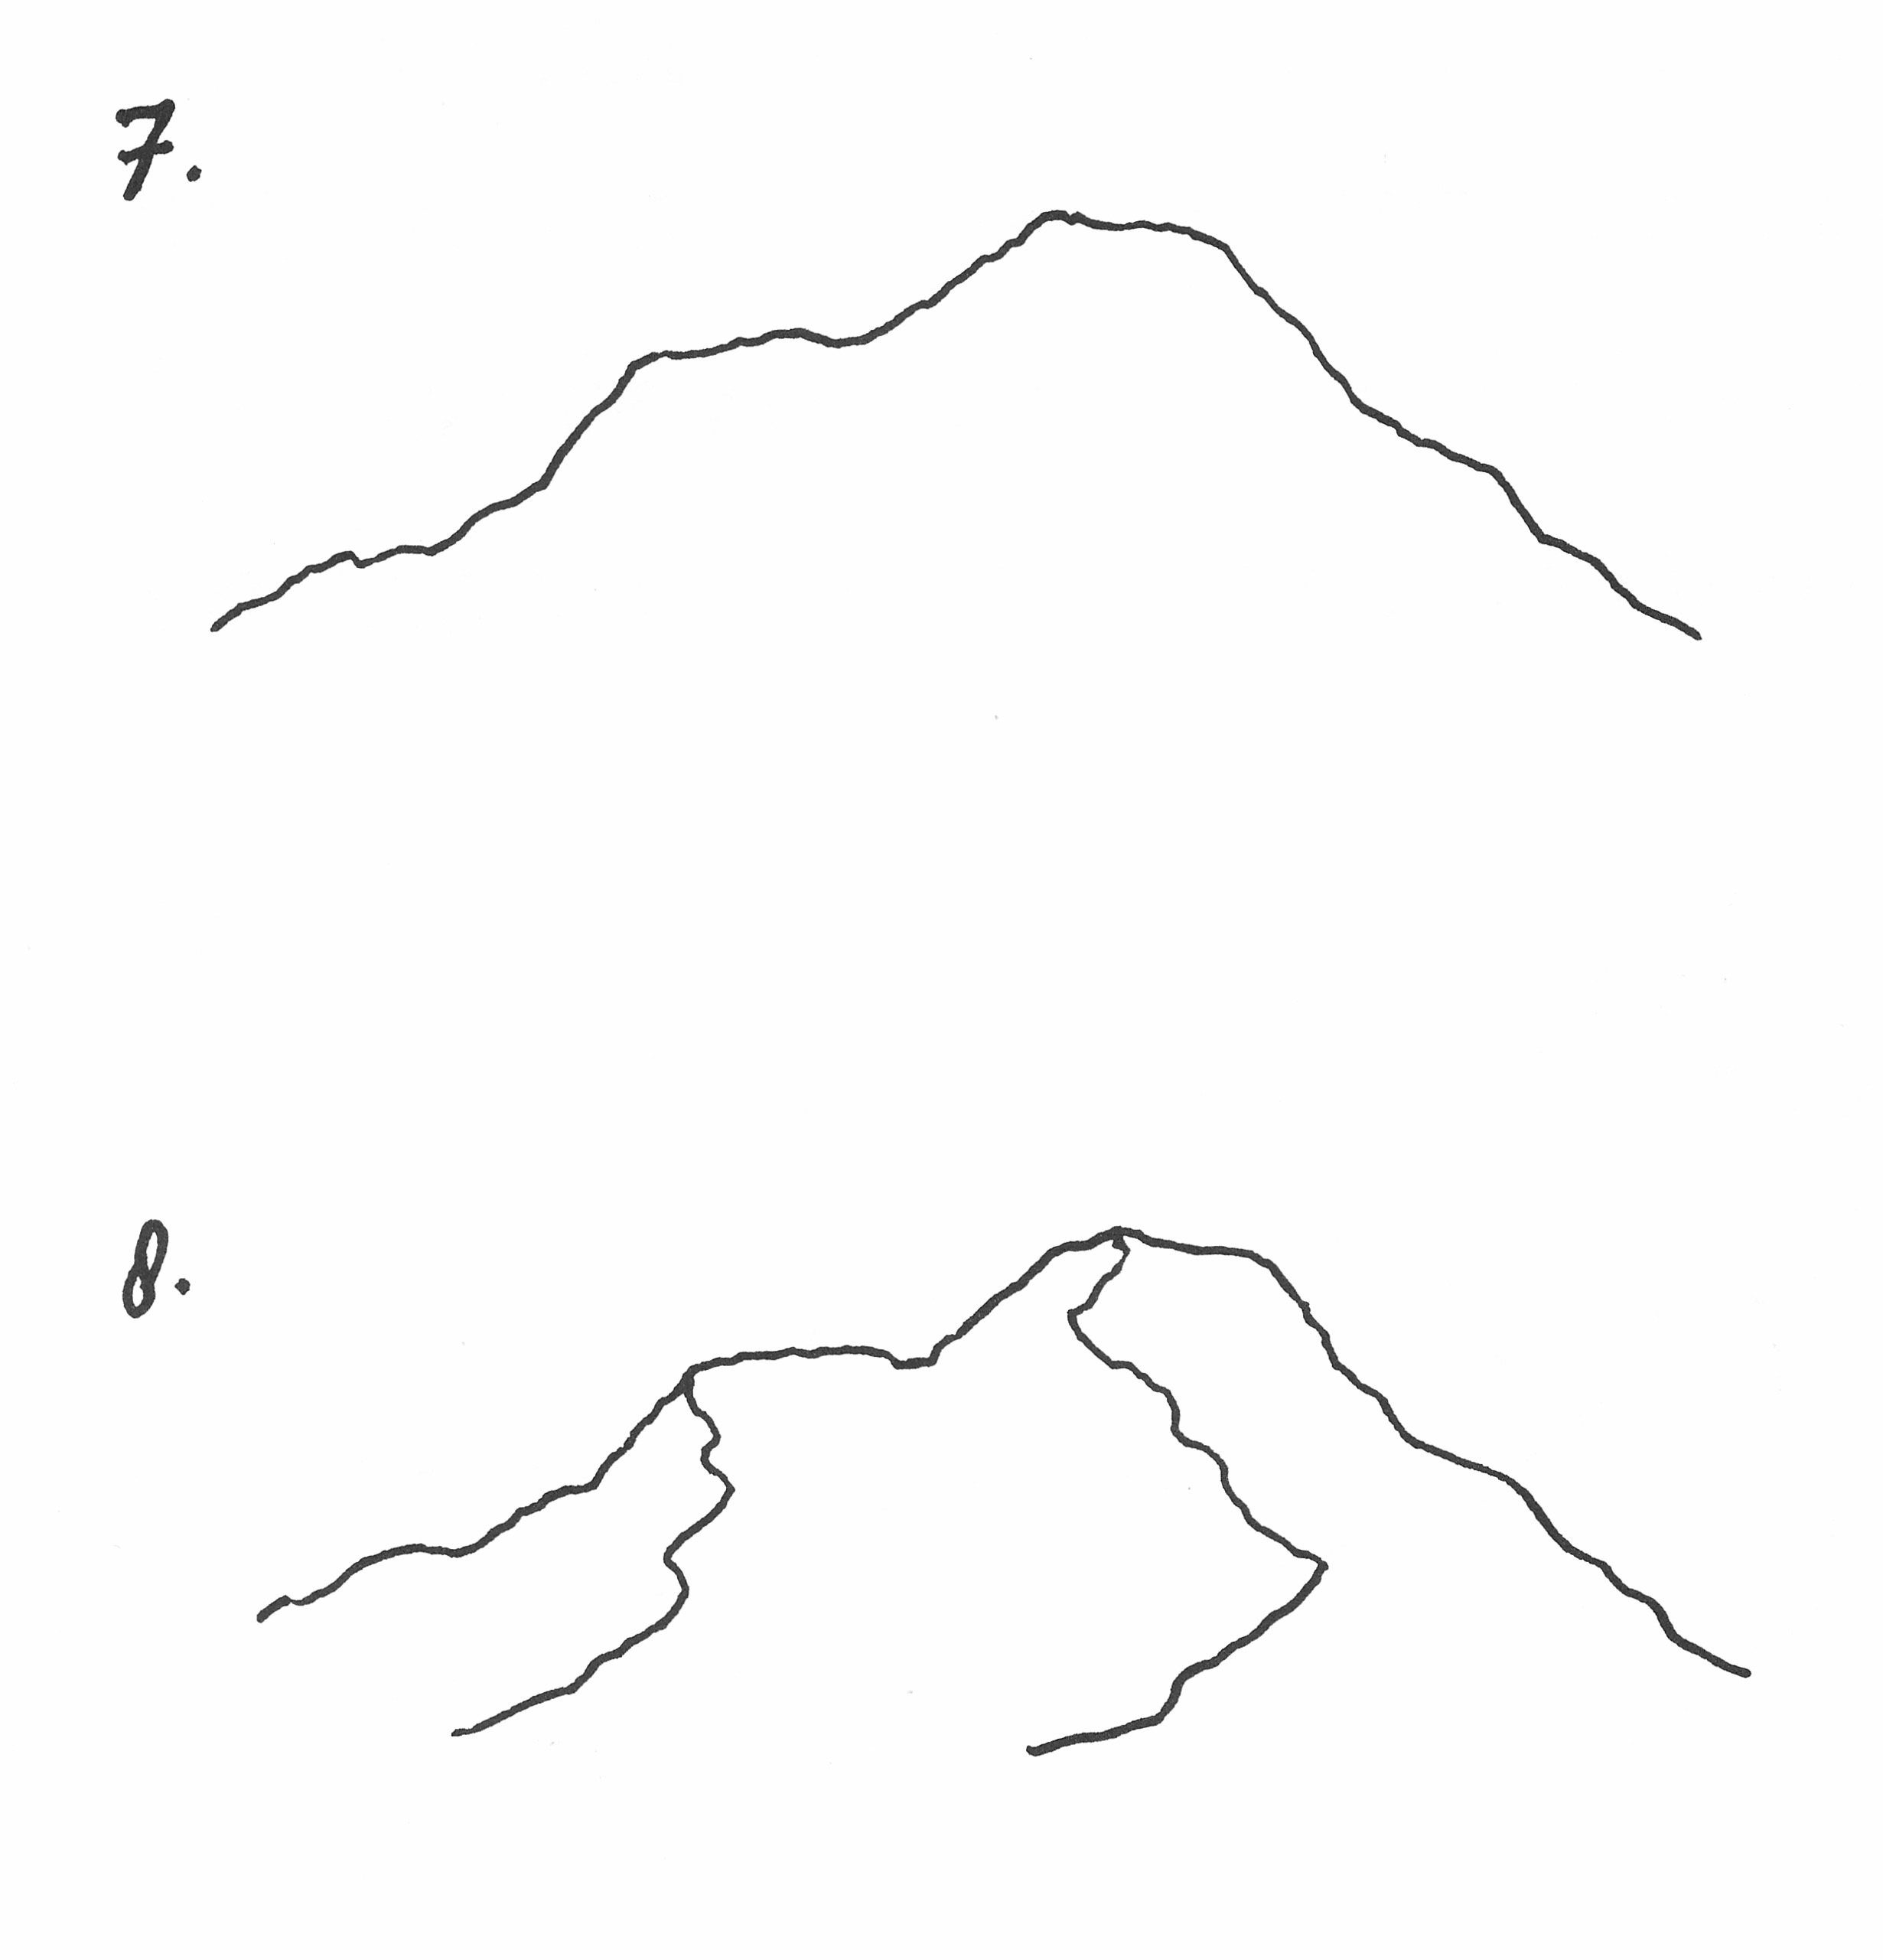
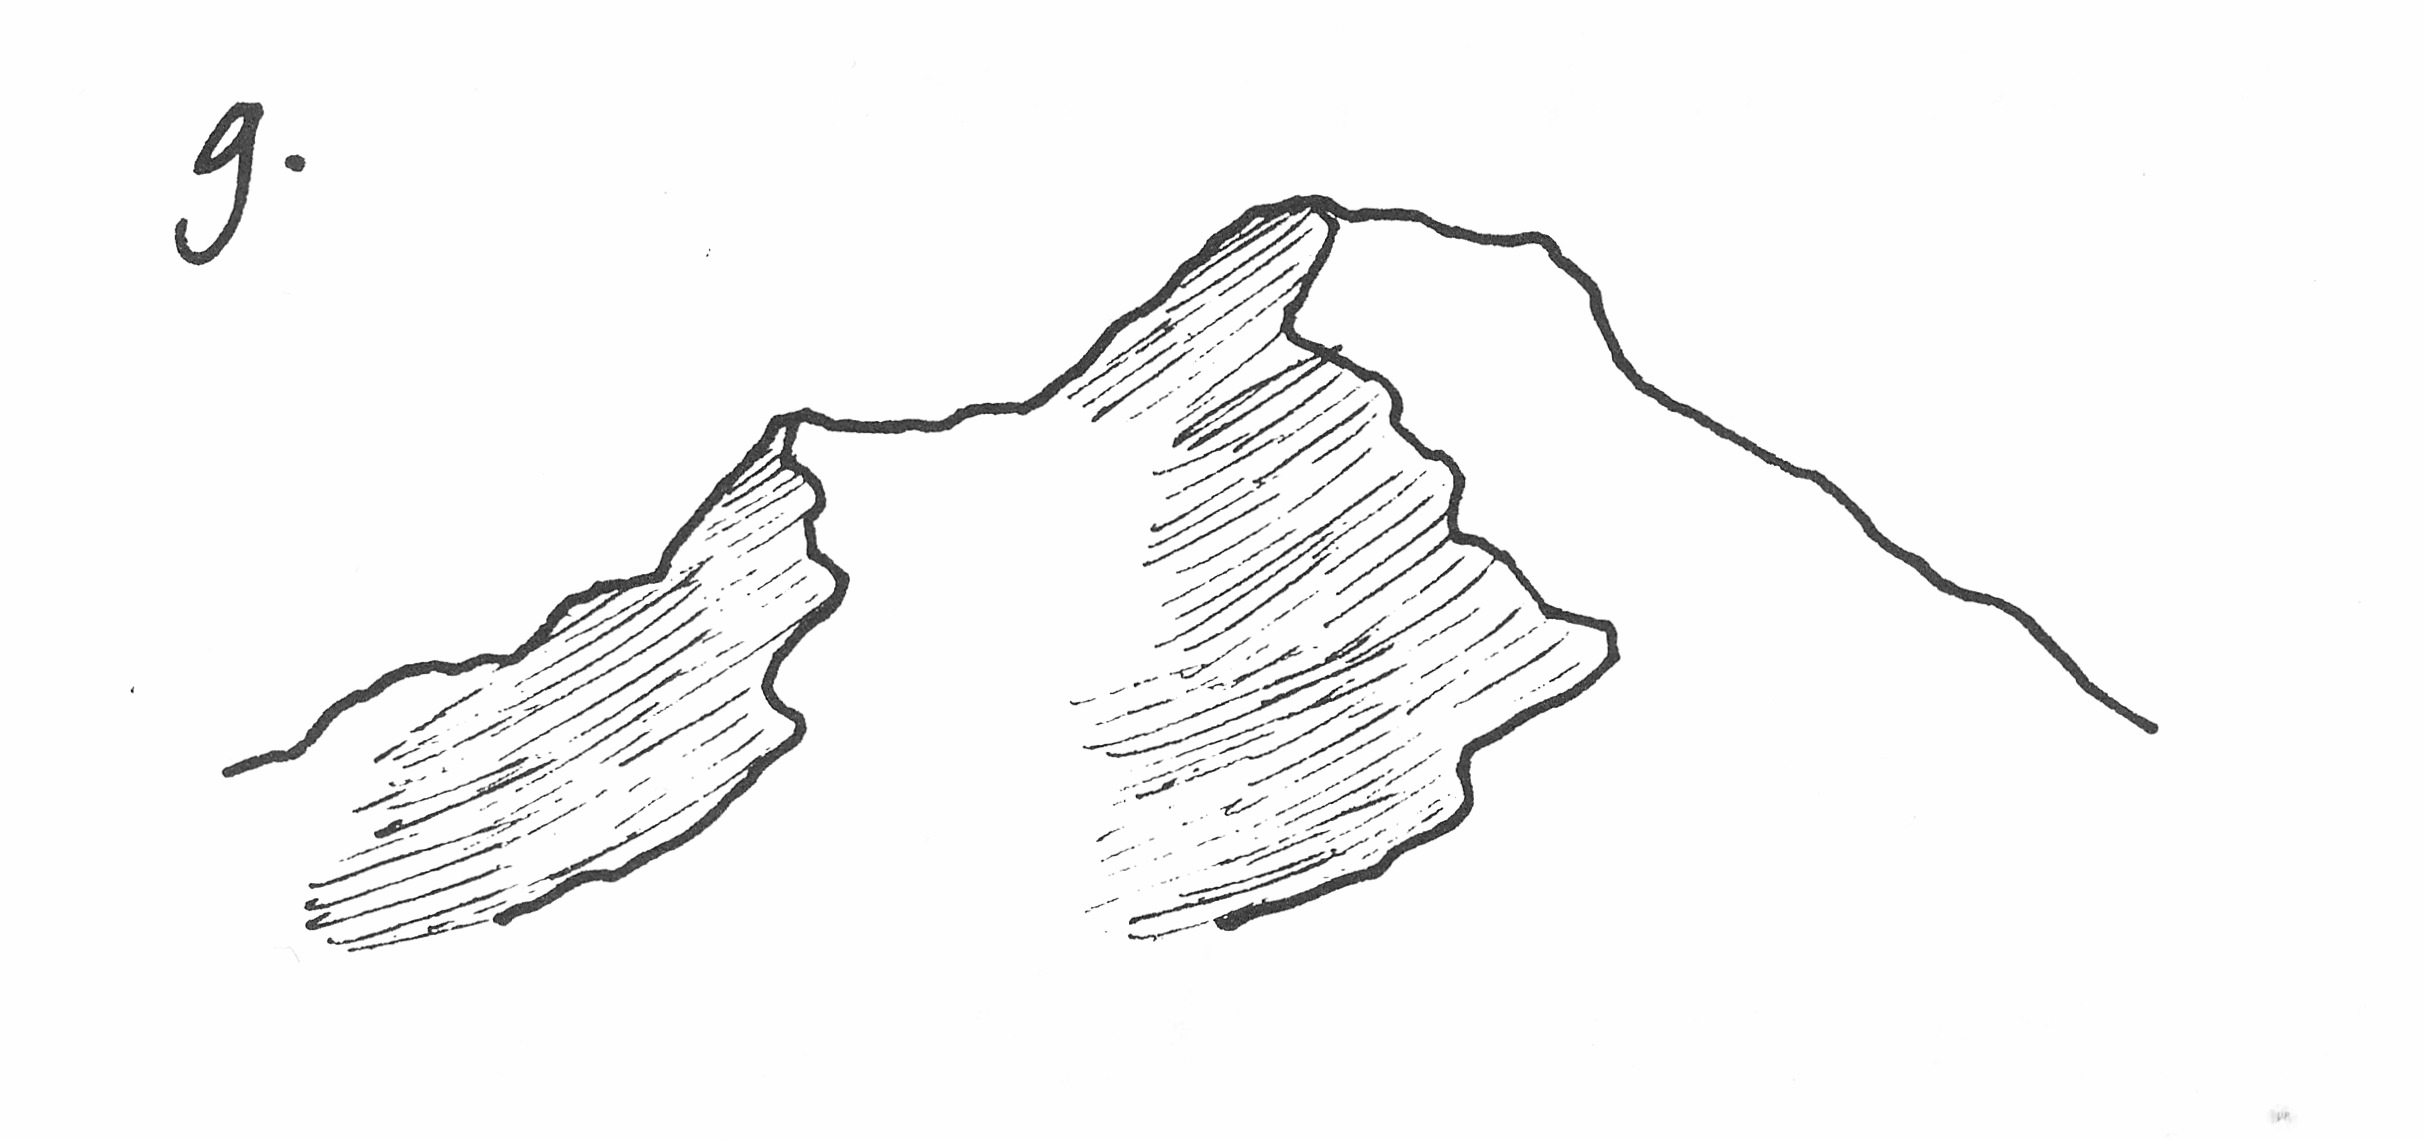
From those lines (or ridges) you can draw shadow on the left or right. Now it really looks like a rocky mountain in the distance, like Mount Everest or Mont Blanc (9).
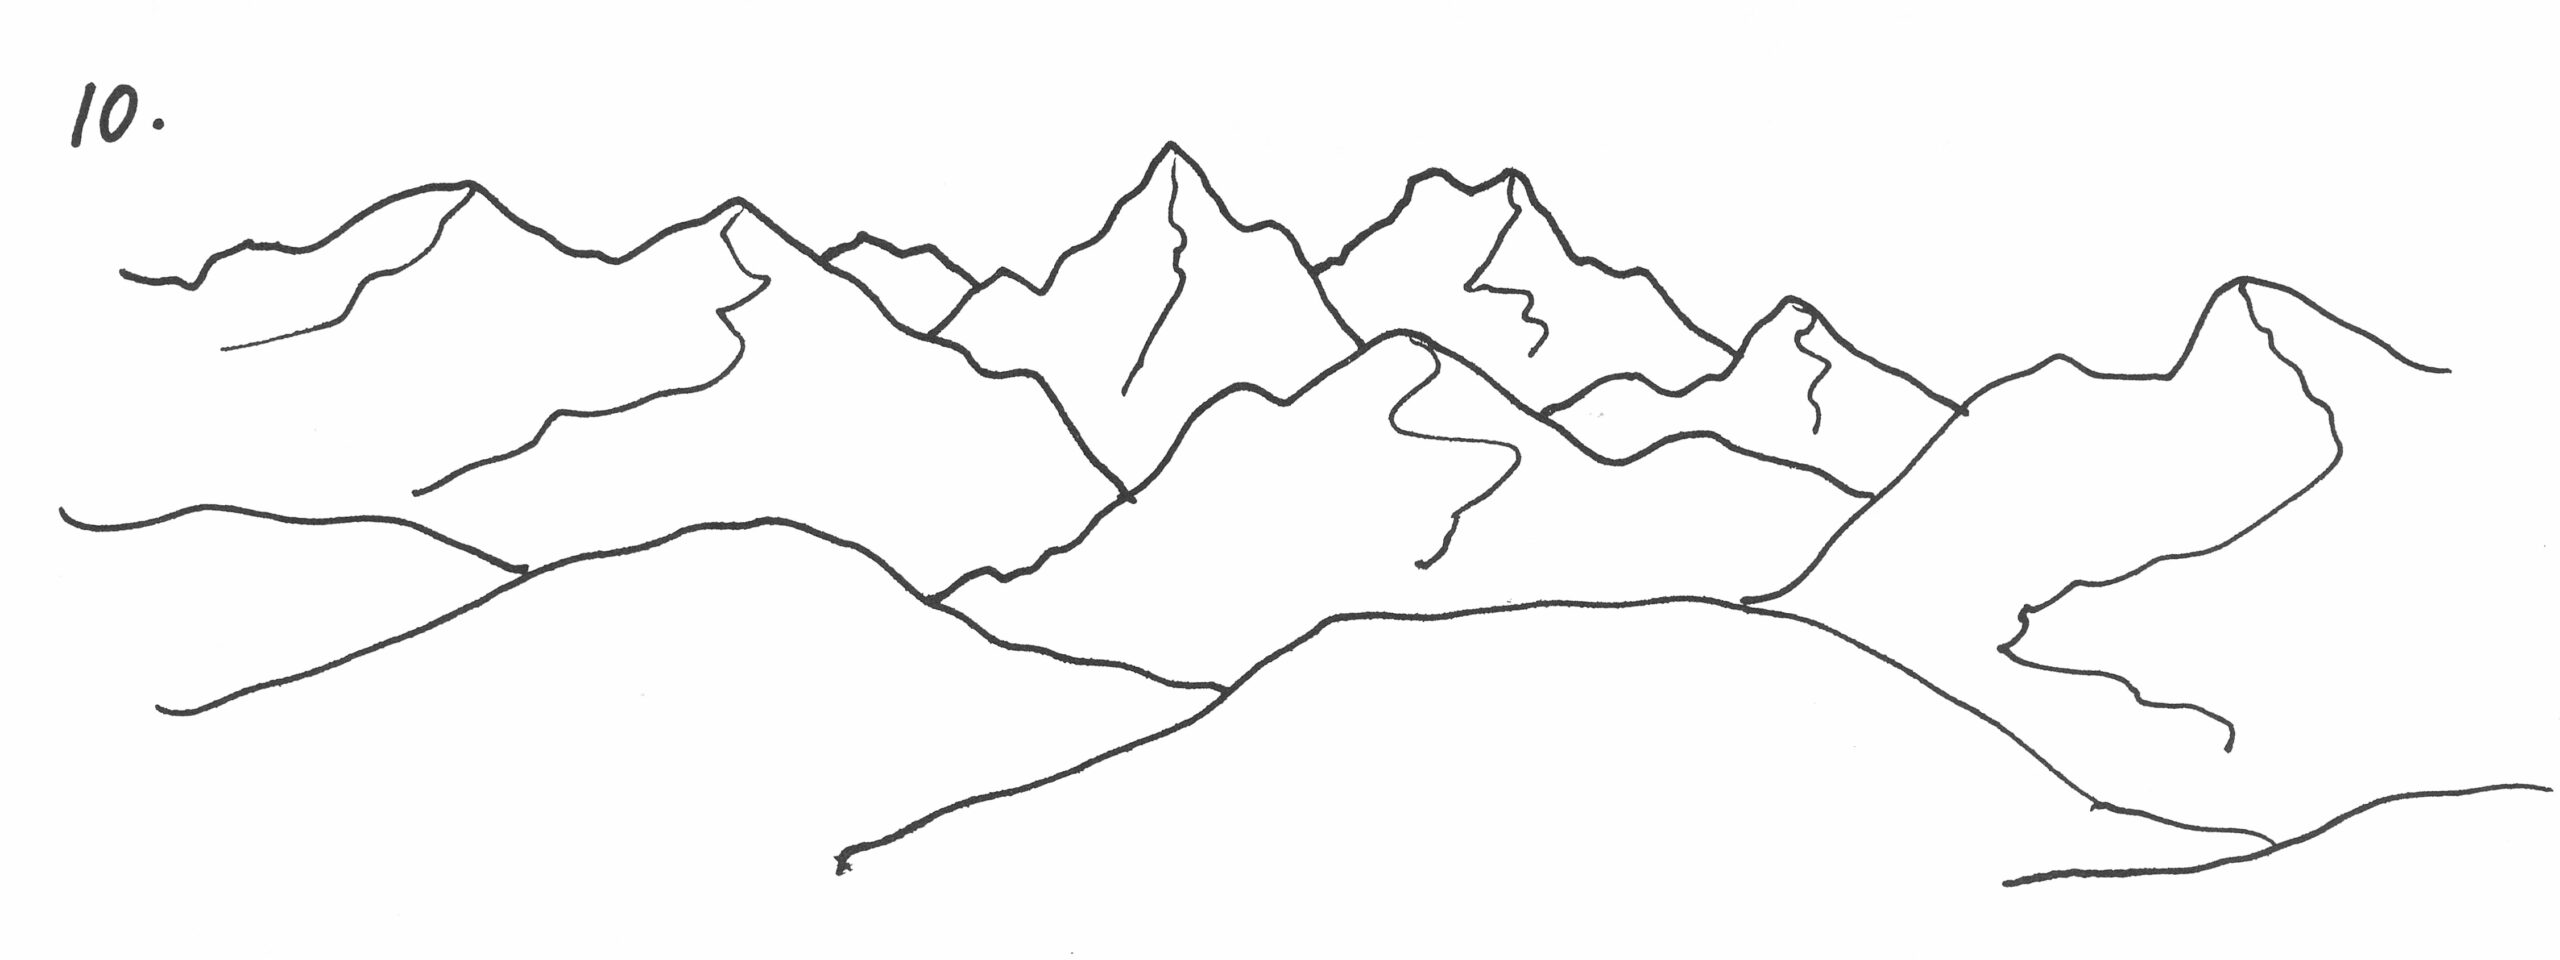
Extra: you can create an entire mountain landscape this way. Start at the front with lower hills and behind them progressively higher hills and mountains (10). You can draw shadows and/or color the mountains. In the distance, blue is often beautiful. To make the farthest mountains seem even further away, you can draw them a little vaguely.
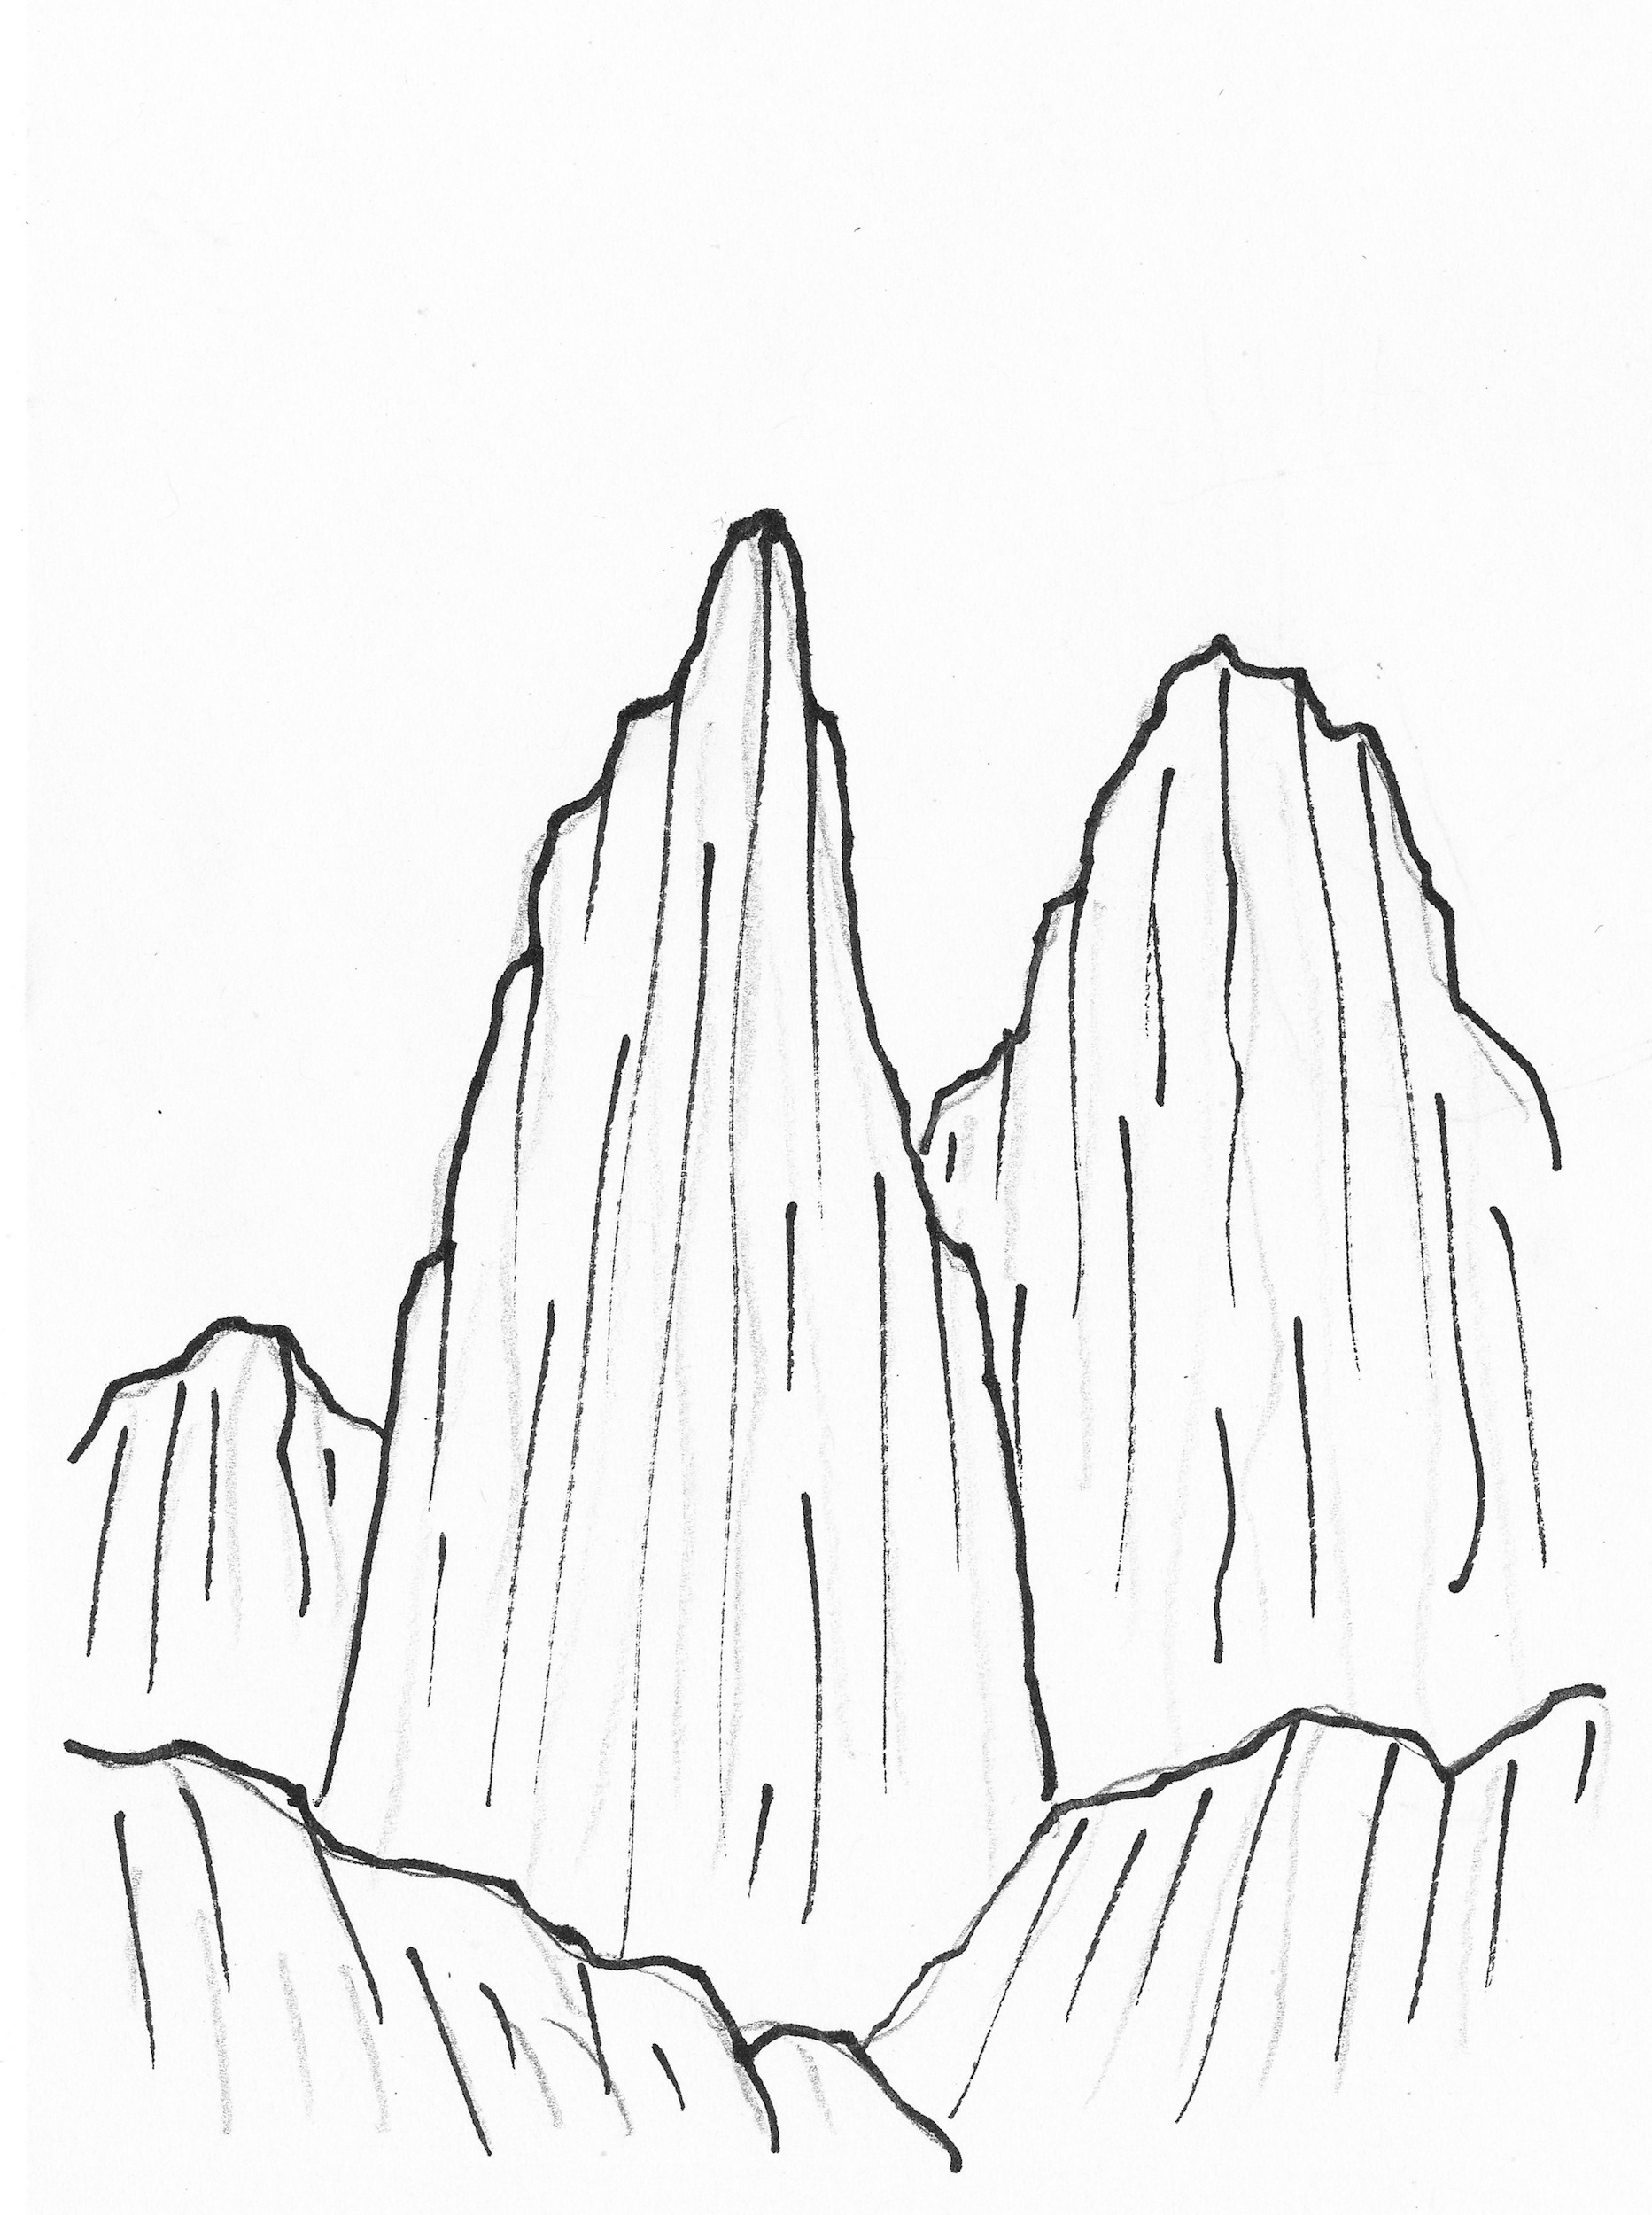
In reality, no two mountains are exactly the same. For example, the Dolomites in Italy are different from the mountains in the Swiss Alps or in Scotland. If you see mountains again on a holiday, you will probably notice the differences better.
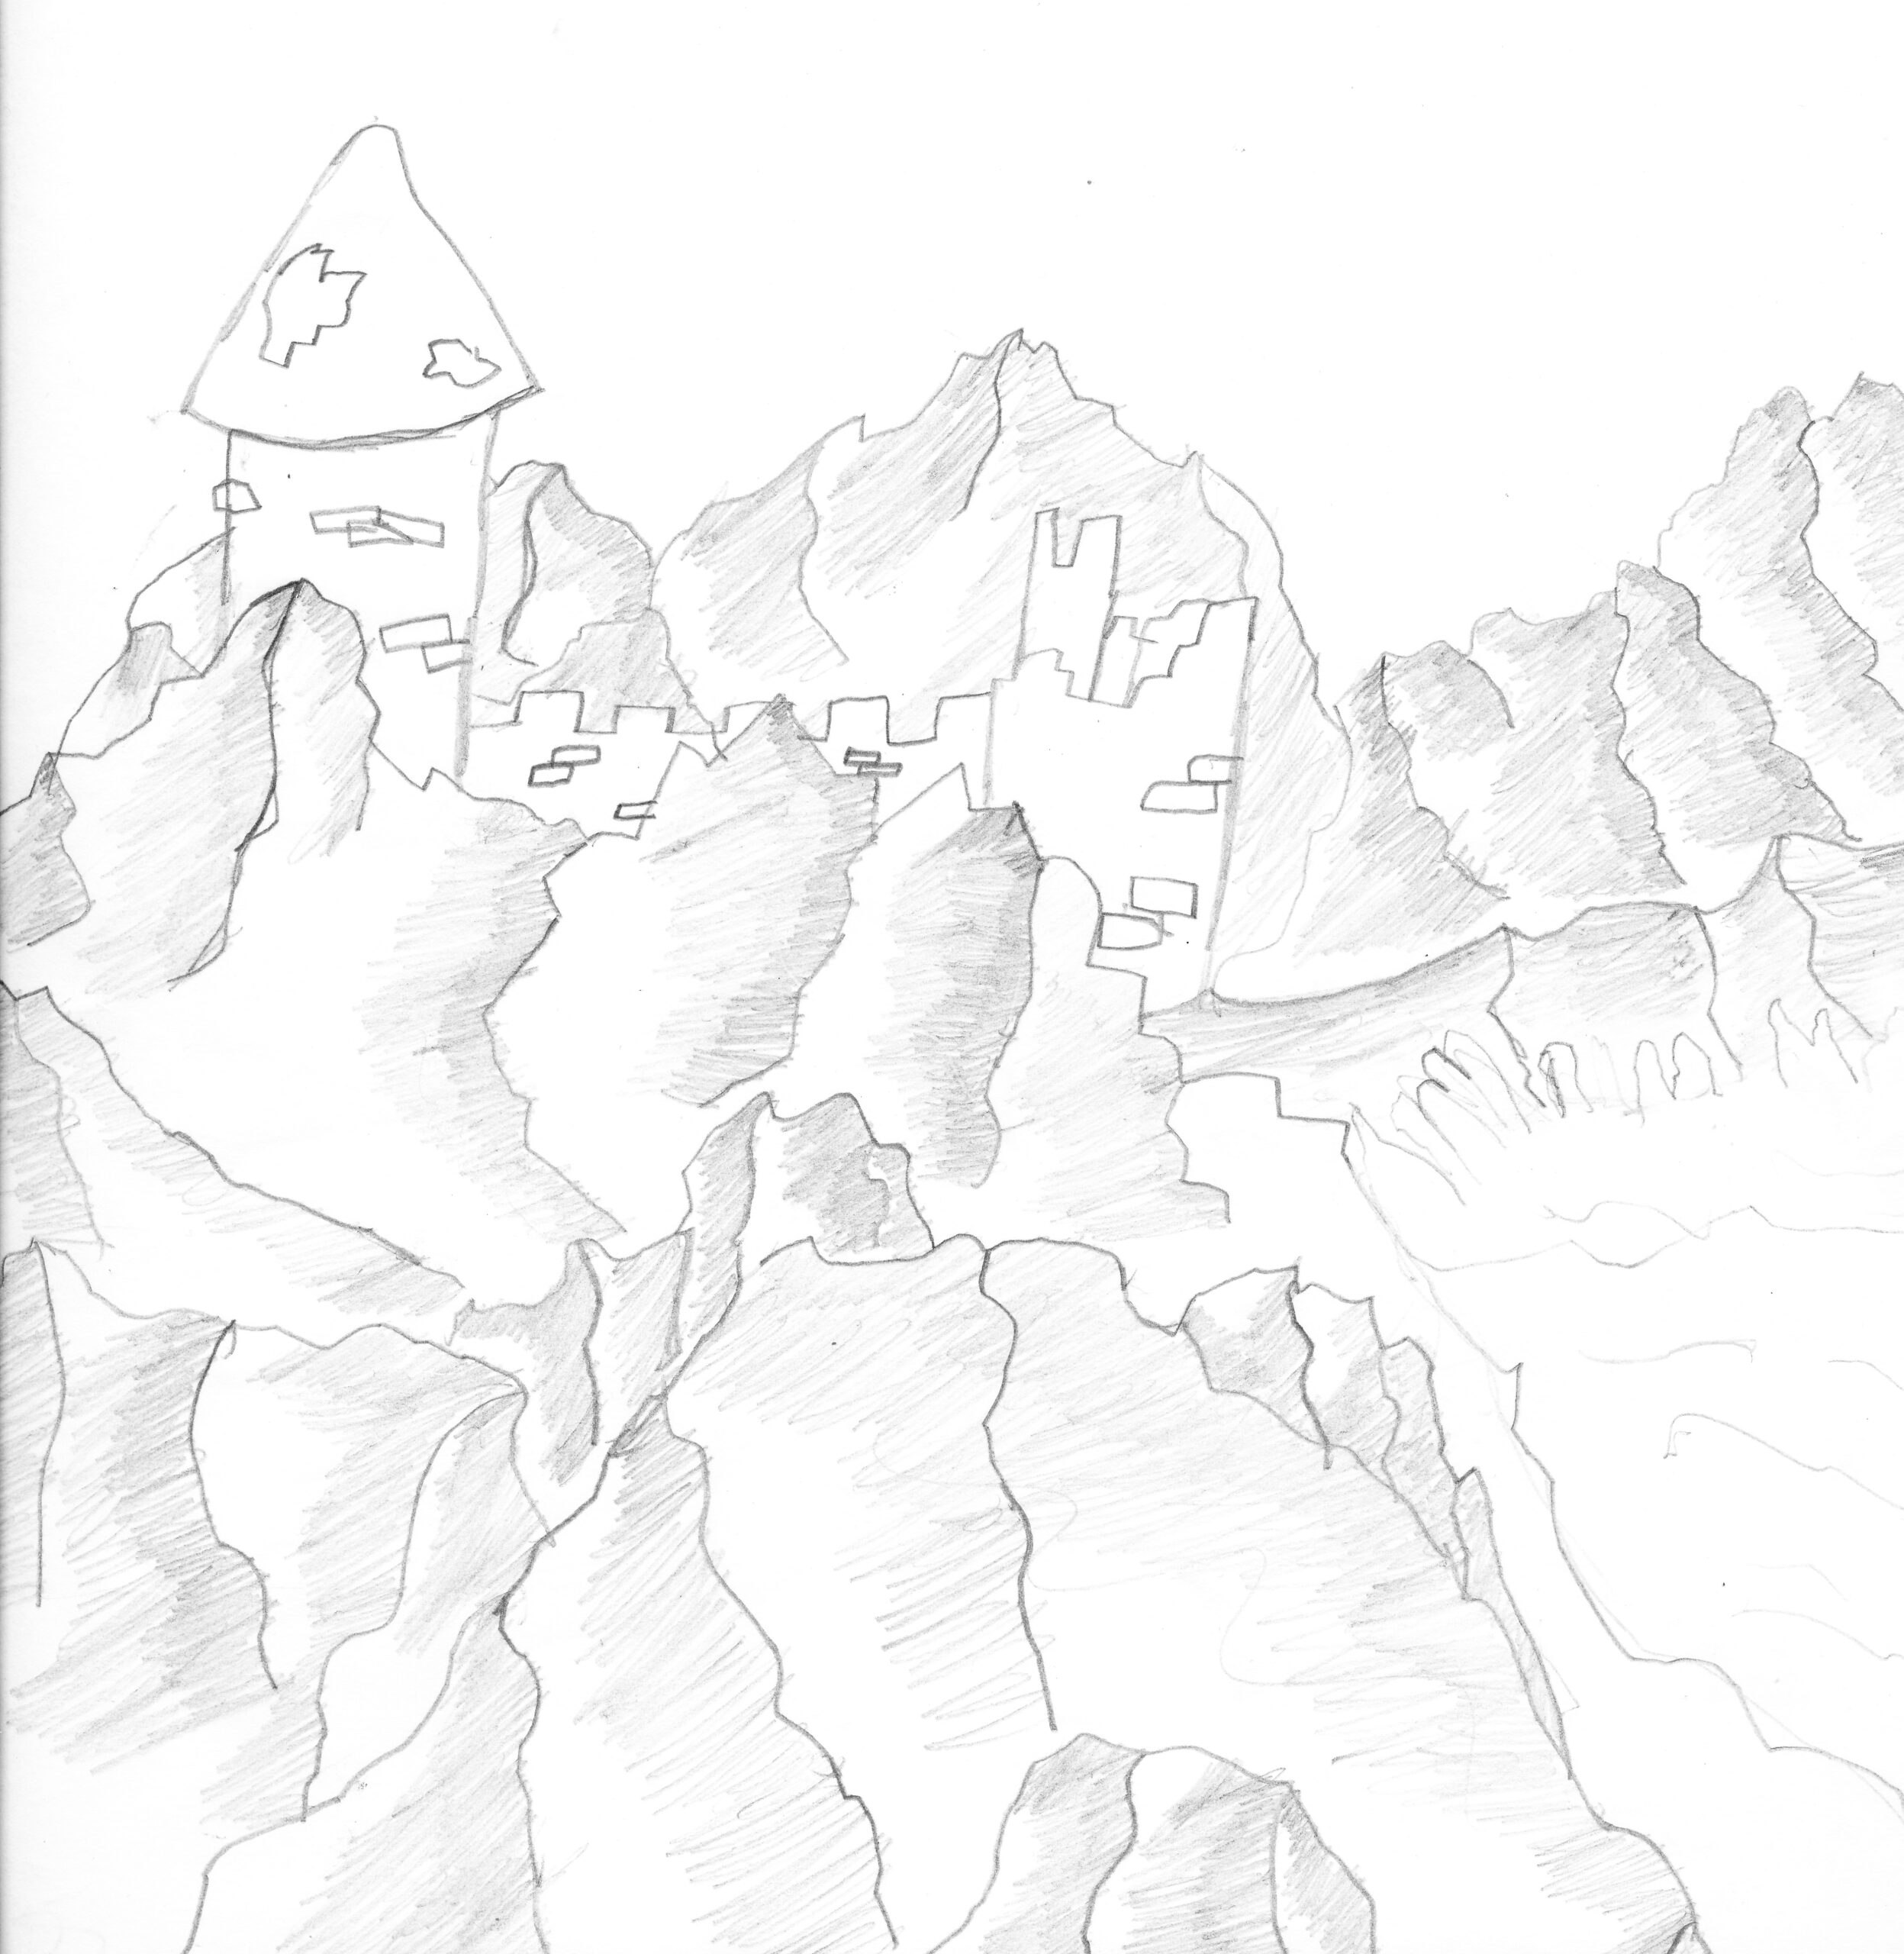
As a result of this lesson, a student from group 8 has drawn a mountain landscape. He thought it was nice to add the ruins of a castle as you sometimes see in old landscape paintings.
