Chapter 6 | REAL FACES
To draw real heads and faces you need more than just a diagram with the correct proportions. Just as important is the way you draw and how you can learn to look back and forth between your subject and your drawing. What you need for exercise 1 is a mirror and possibly a base for your paper (for example hard cardboard), so that you do not necessarily have to sit at a table to draw.
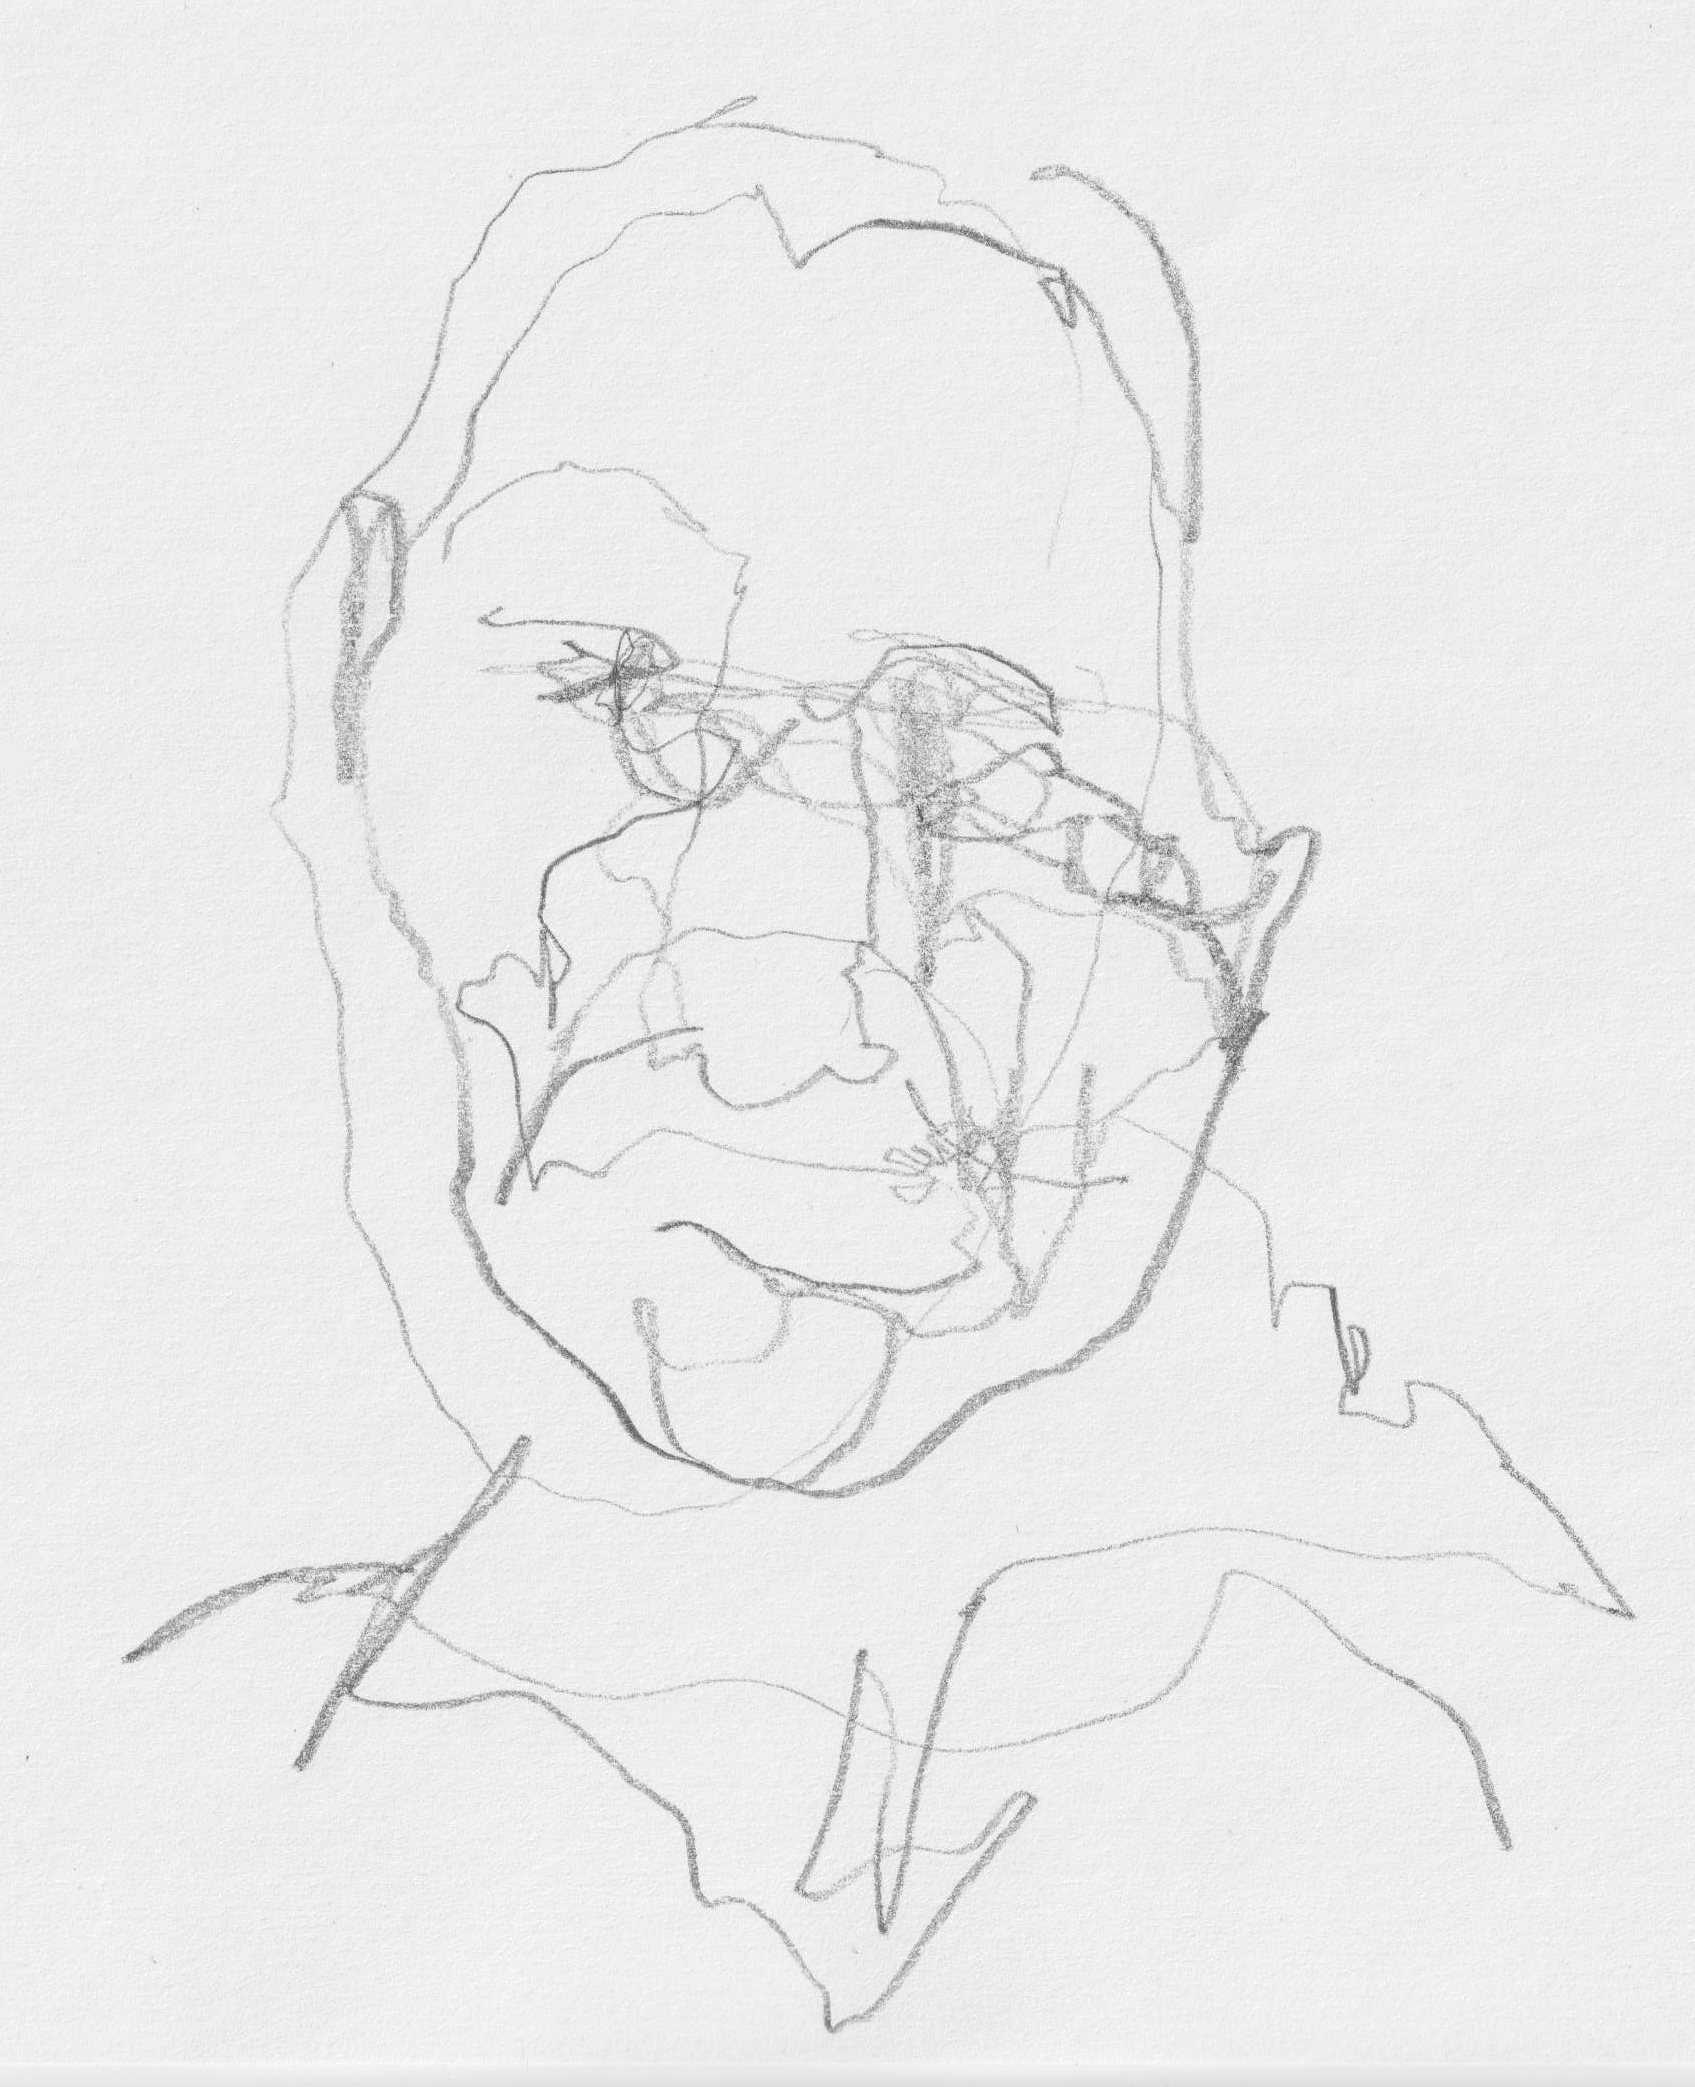
Self-portrait in a continuous line, without looking at the paper
Exercise 1: Draw your mirror image (head, face, neck and a part of the shoulders) WITHOUT LOOKING AT YOUR PAPER IN BETWEEN! Hold your pencil further away from the tip. Keep your pencil in contact with the paper as much as possible while drawing, so that everything in the head and face will be connected. The result is always a surprise and certainly not a glamour portrait. The funny thing is that you are really hidden in those drawings even though photographically they don’t look like you at all. Repeat this exercise as often as you like. Of course, you can edit your drawings afterwards if you like.
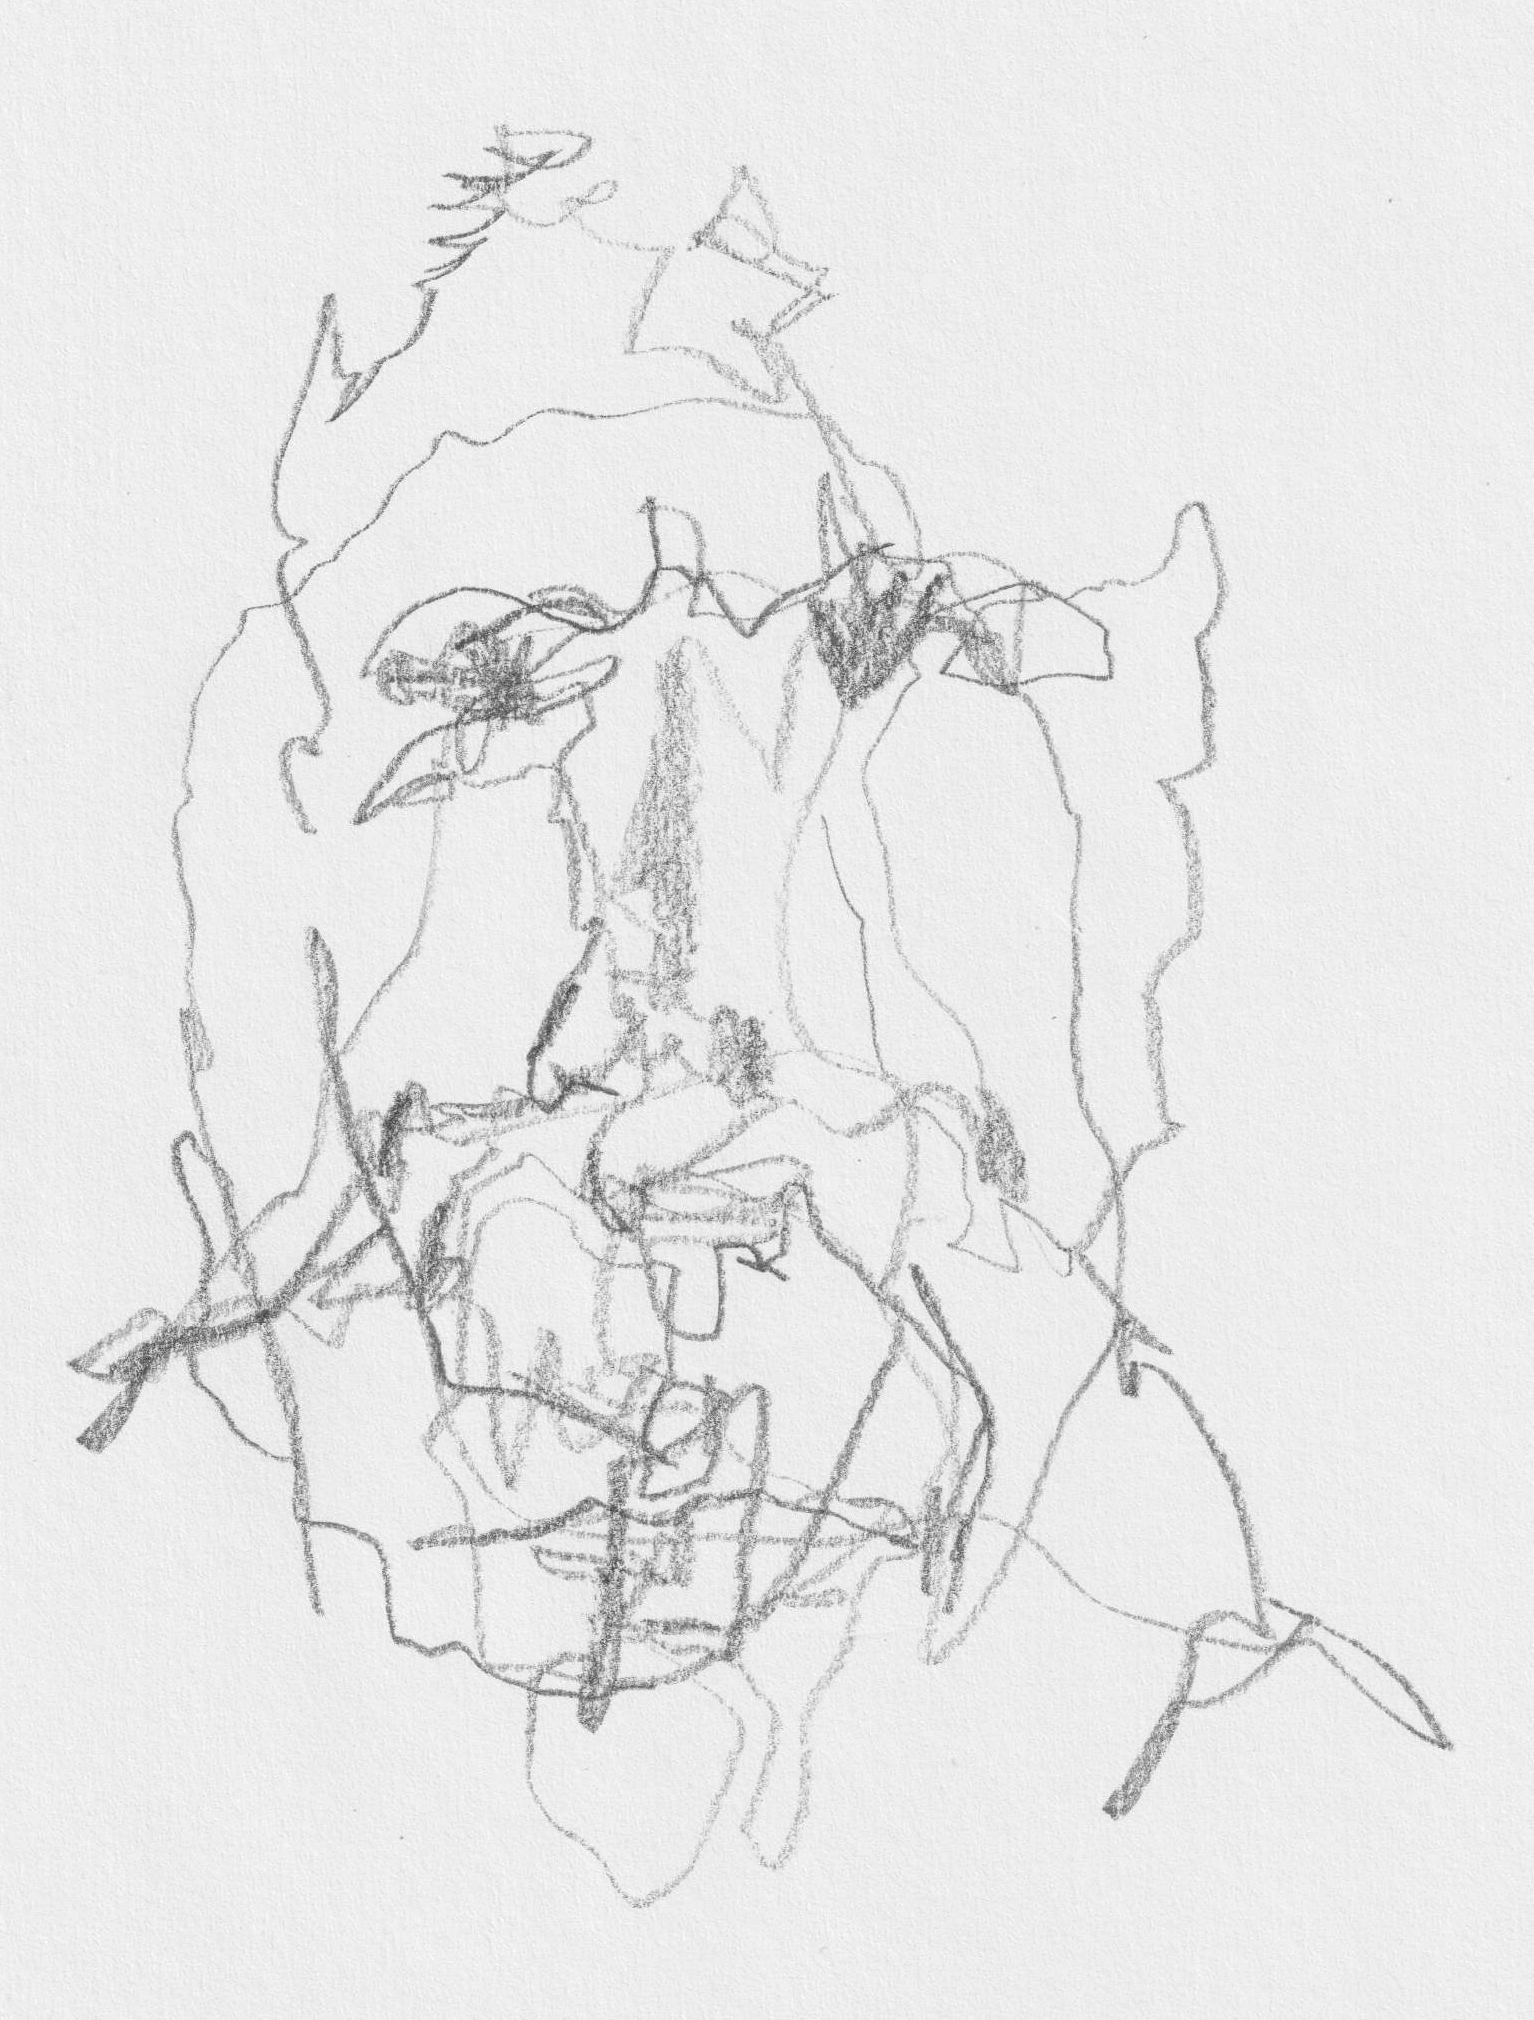
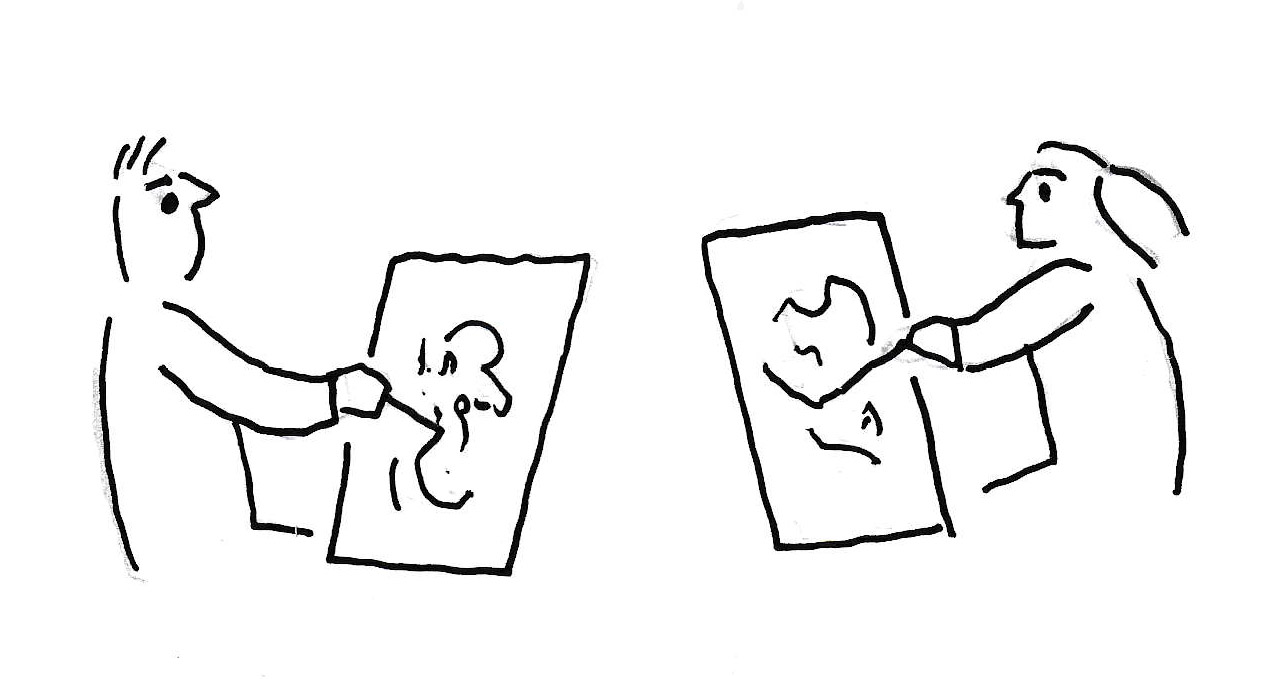
Exercise 2: apply this way of drawing to someone else’s face. It’s fun to do this in pairs. Sit opposite each other, start at the same time and show each other the surprising results after a few minutes. You can then easily correct each other if one of you is looking at his/her paper too much.
Exercise 3: repeat exercise 1 or 2 but now you can look back and forth between the model and your drawing. Make sure that your pencil (with a loose grip) remains in contact with the paper as much as possible while drawing. Of course you can now also check whether the position of the head, neck and shoulders is correct and whether, for example, the eyes are approximately halfway.
FOCUS ON SHADOWS:
 Exercise 4: take a selfie or a photo of someone else in close-up (head, face, neck and possibly a part of the shoulders). Try to provide strong light from the side to get nice shadows. Change the photo on your camera or computer to black and white. First draw the face from the photo in line (left). Then rotate your drawing and the photo 180 degrees*. On your upside down drawing first fill in the darkest shadows. Finish with the ‘midtones’ (everything between the lightest and darkest spots). *Rotating the drawing and photo 180 degrees allows you to focus much better on light and dark instead of fixating on eyes-nose-mouth.
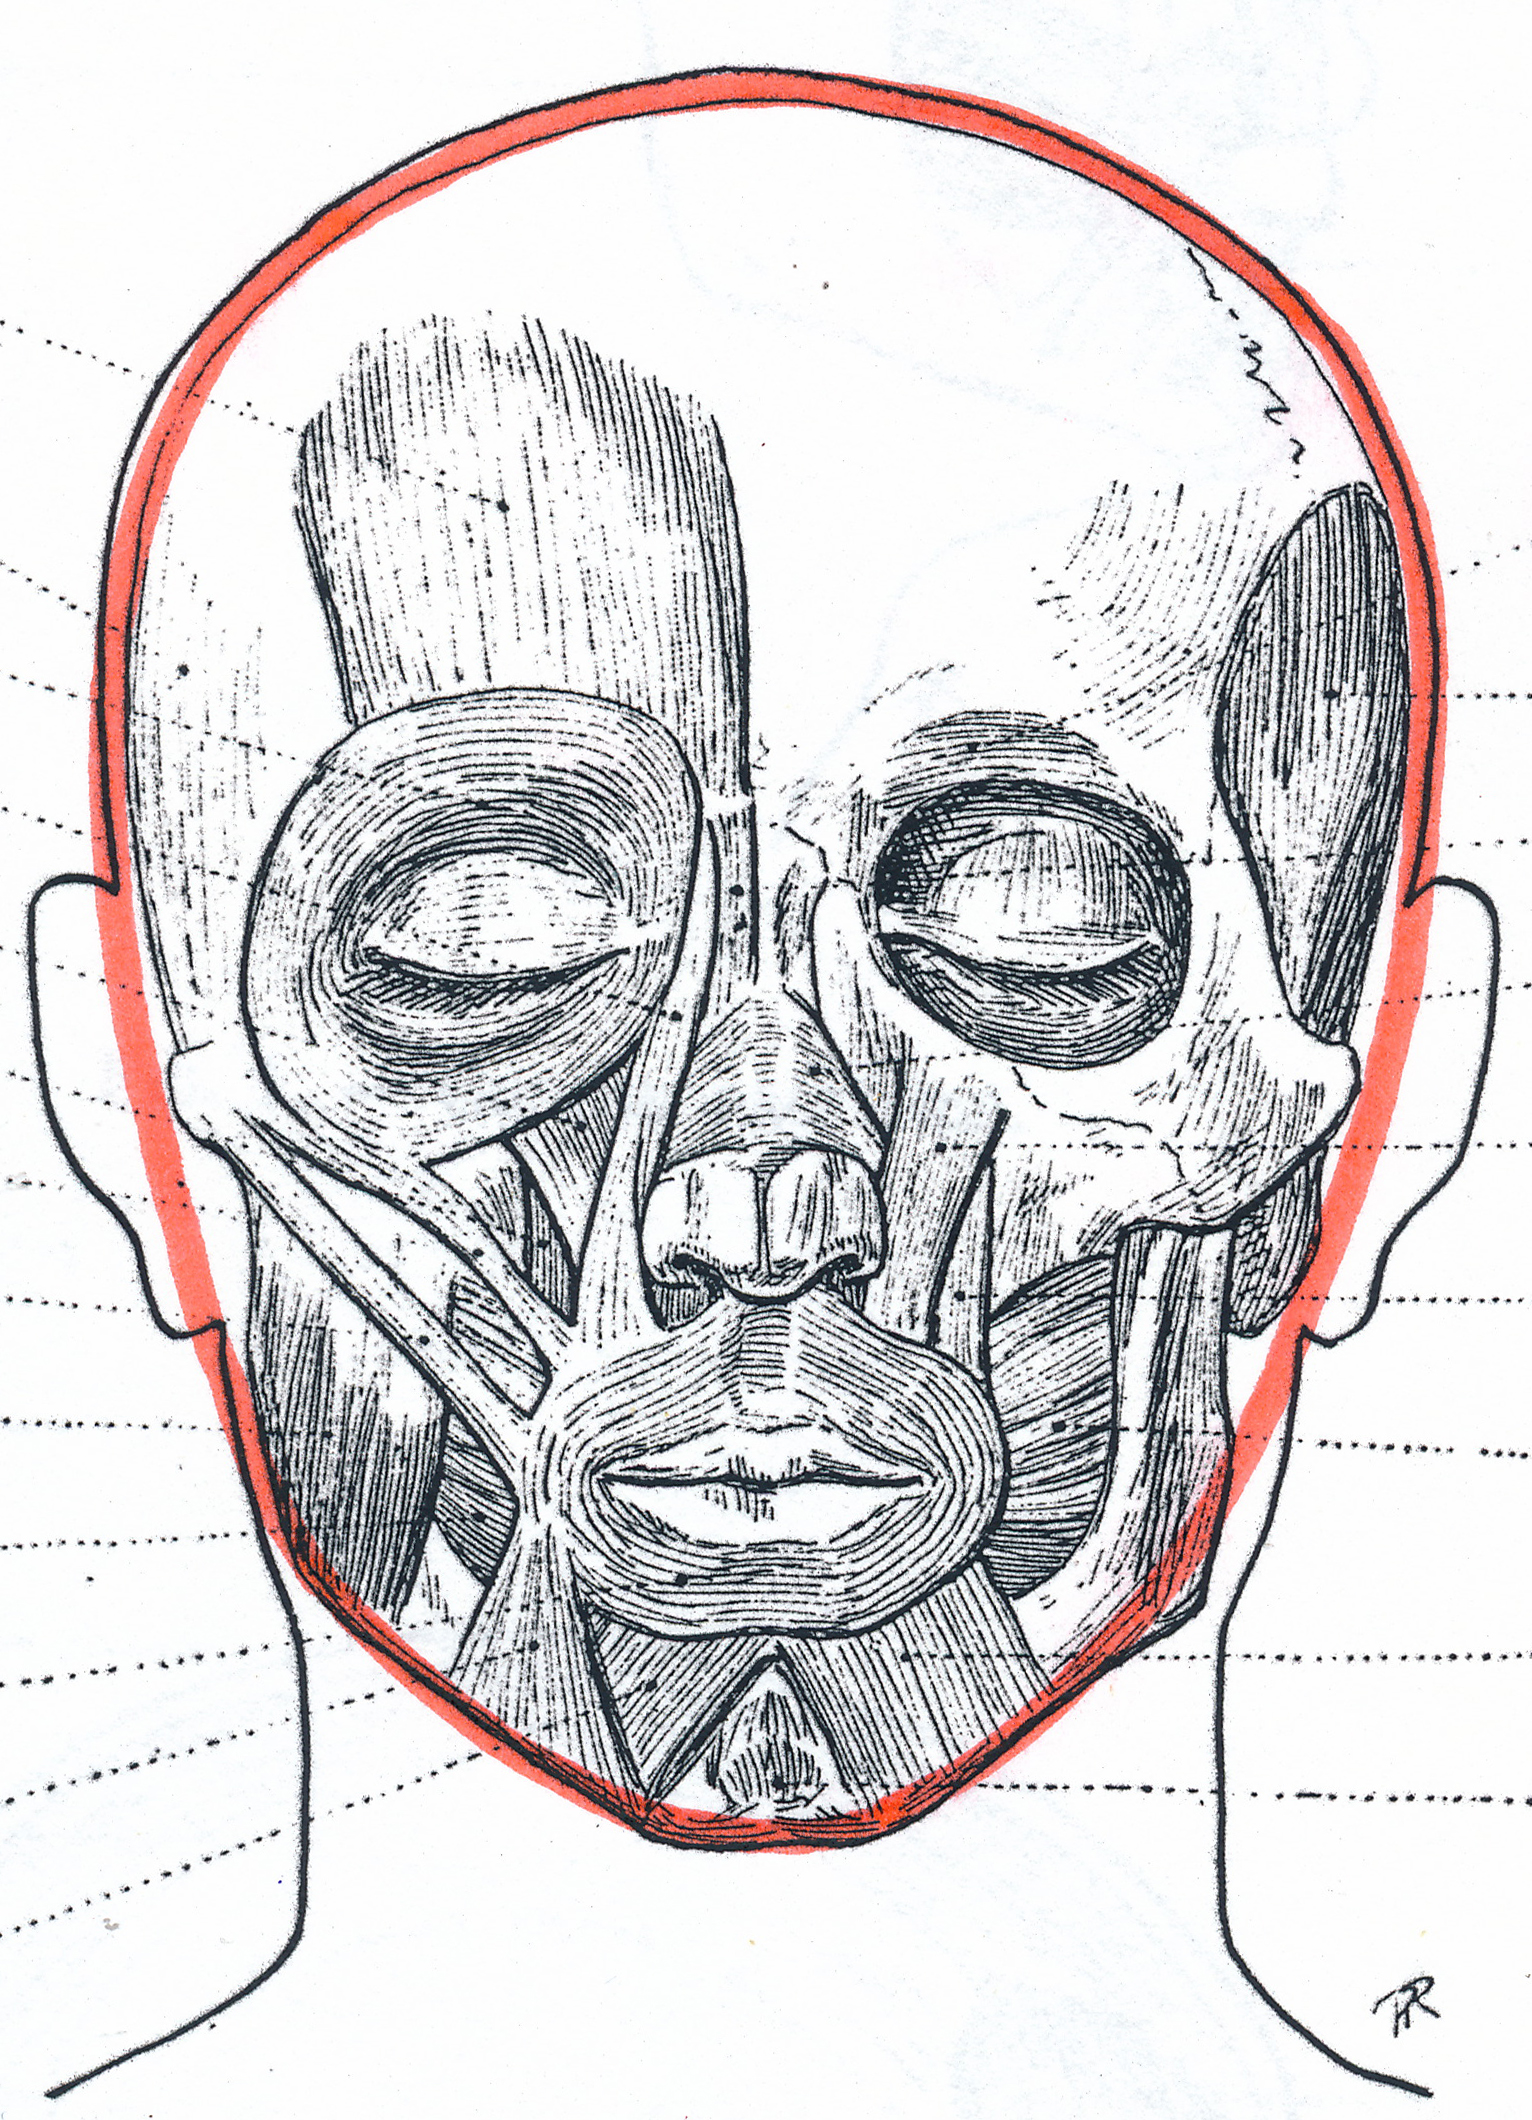
UNDER THE SKIN
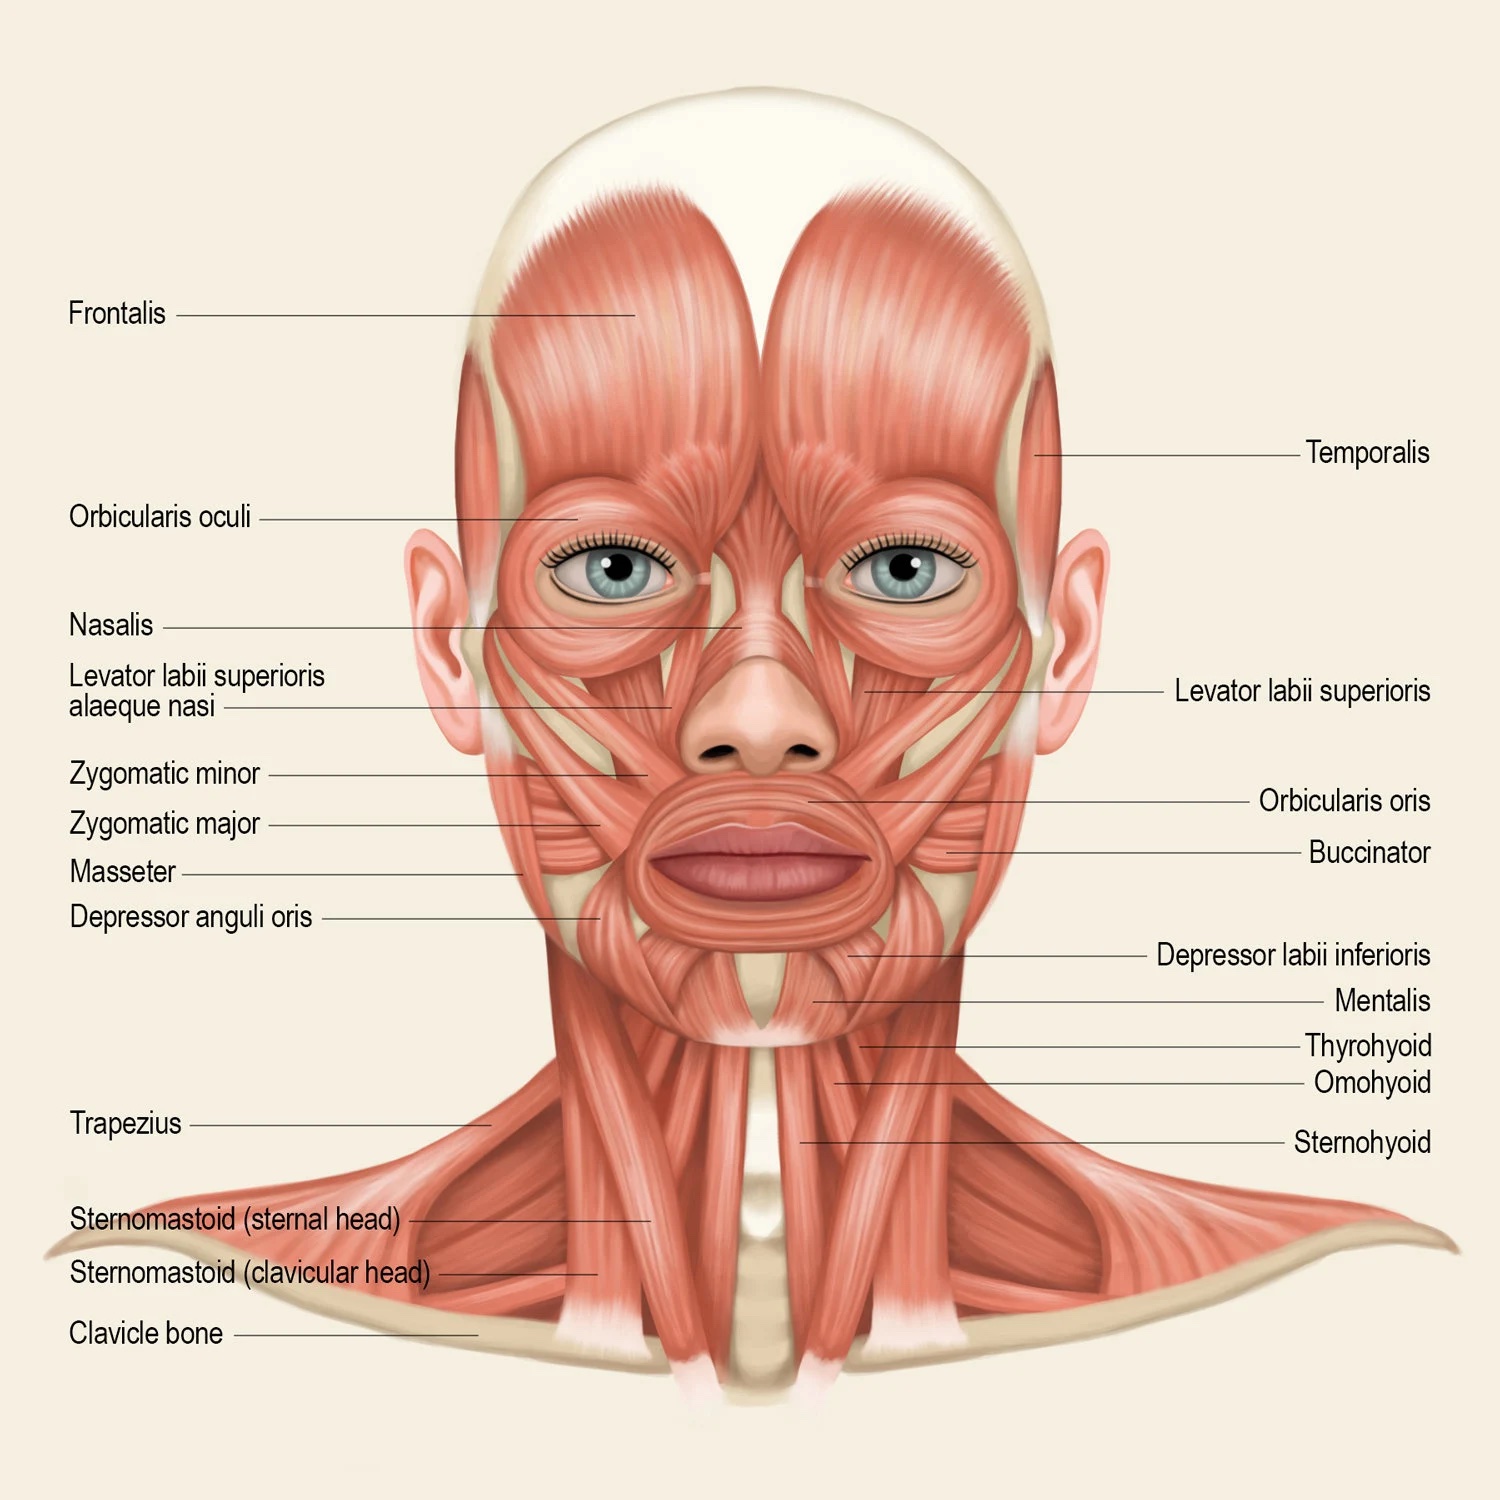
Myology (anatomy of the face) also shows how everything in our face is connected and that eyes, nose and mouth are not separate parts. It is also the facial muscles that determine our facial expression while we smile, are happy, angry or sad.
Finally:
The loose way of drawing from this chapter is also applied in my study of the older man with a cap. Here we see the face not straight from the front but a little turned and slightly from below. More about these kinds of other positions in Heads and Faces part 3, level 3.
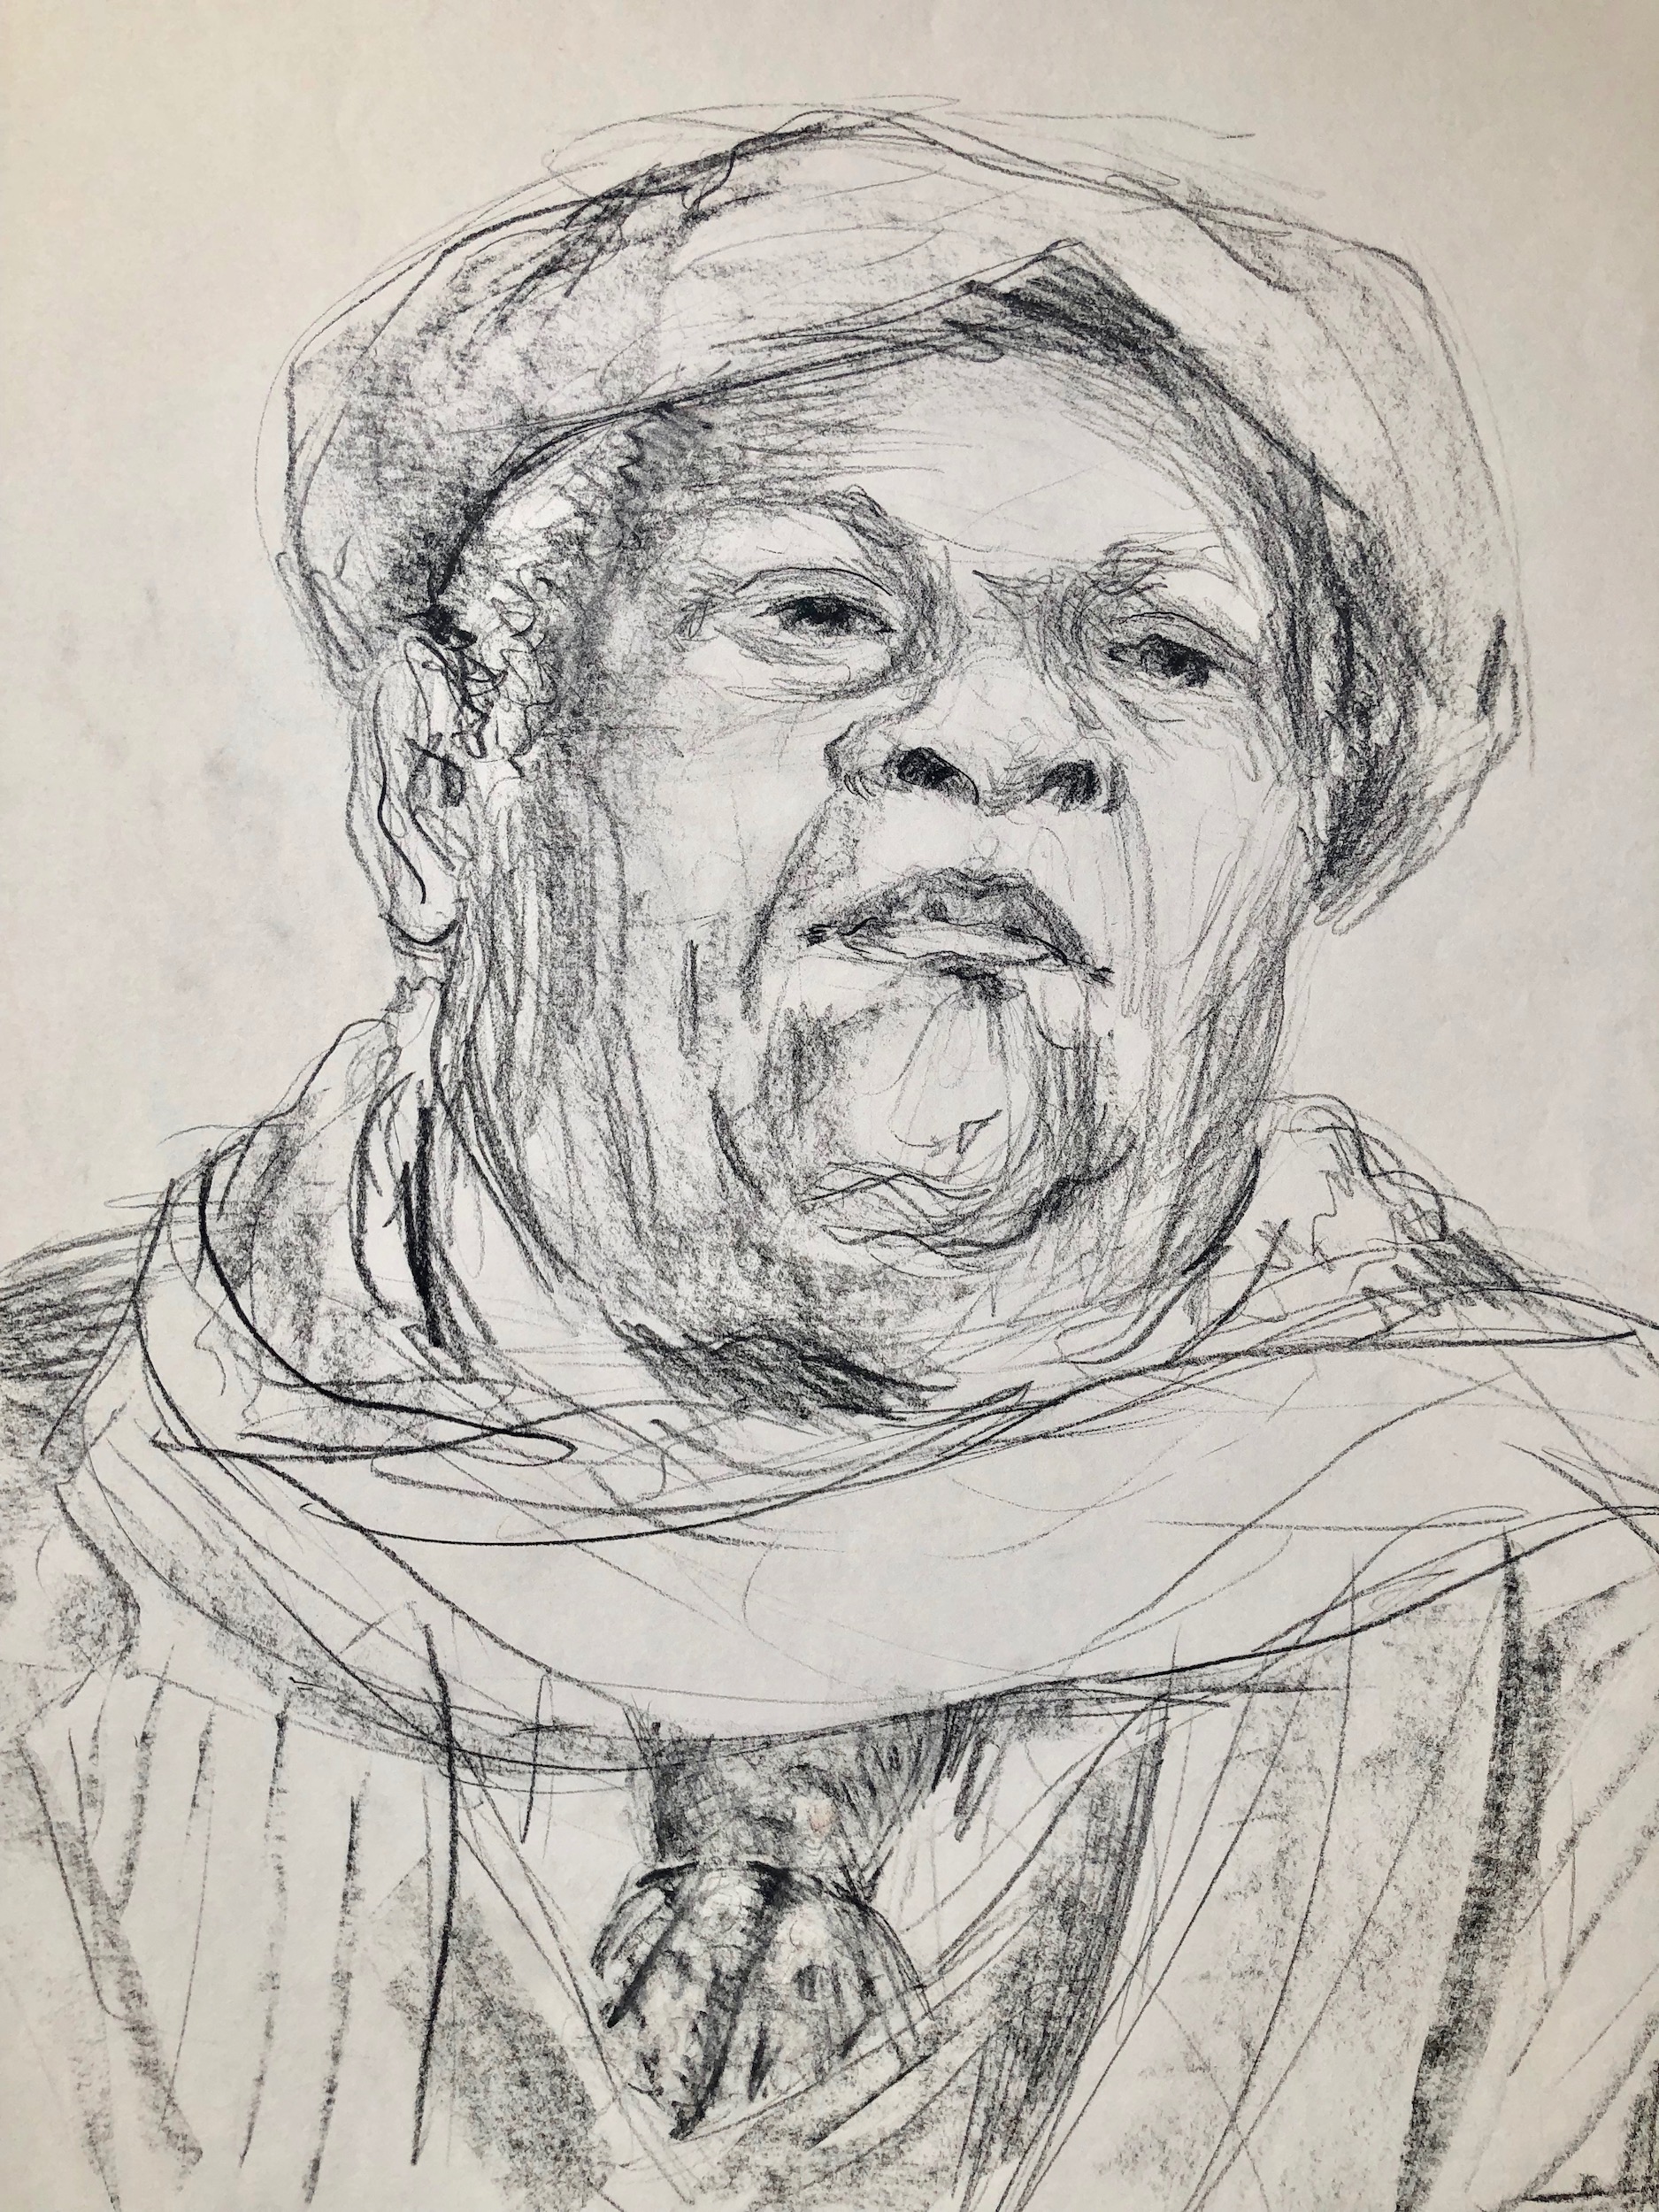
Ultimately, there are of course many more styles and other ways to portray yourself or someone else! Once you have a few basic skills you can start to choose a style that suits you.