Chapter 2 | SCHEMATIC FACES
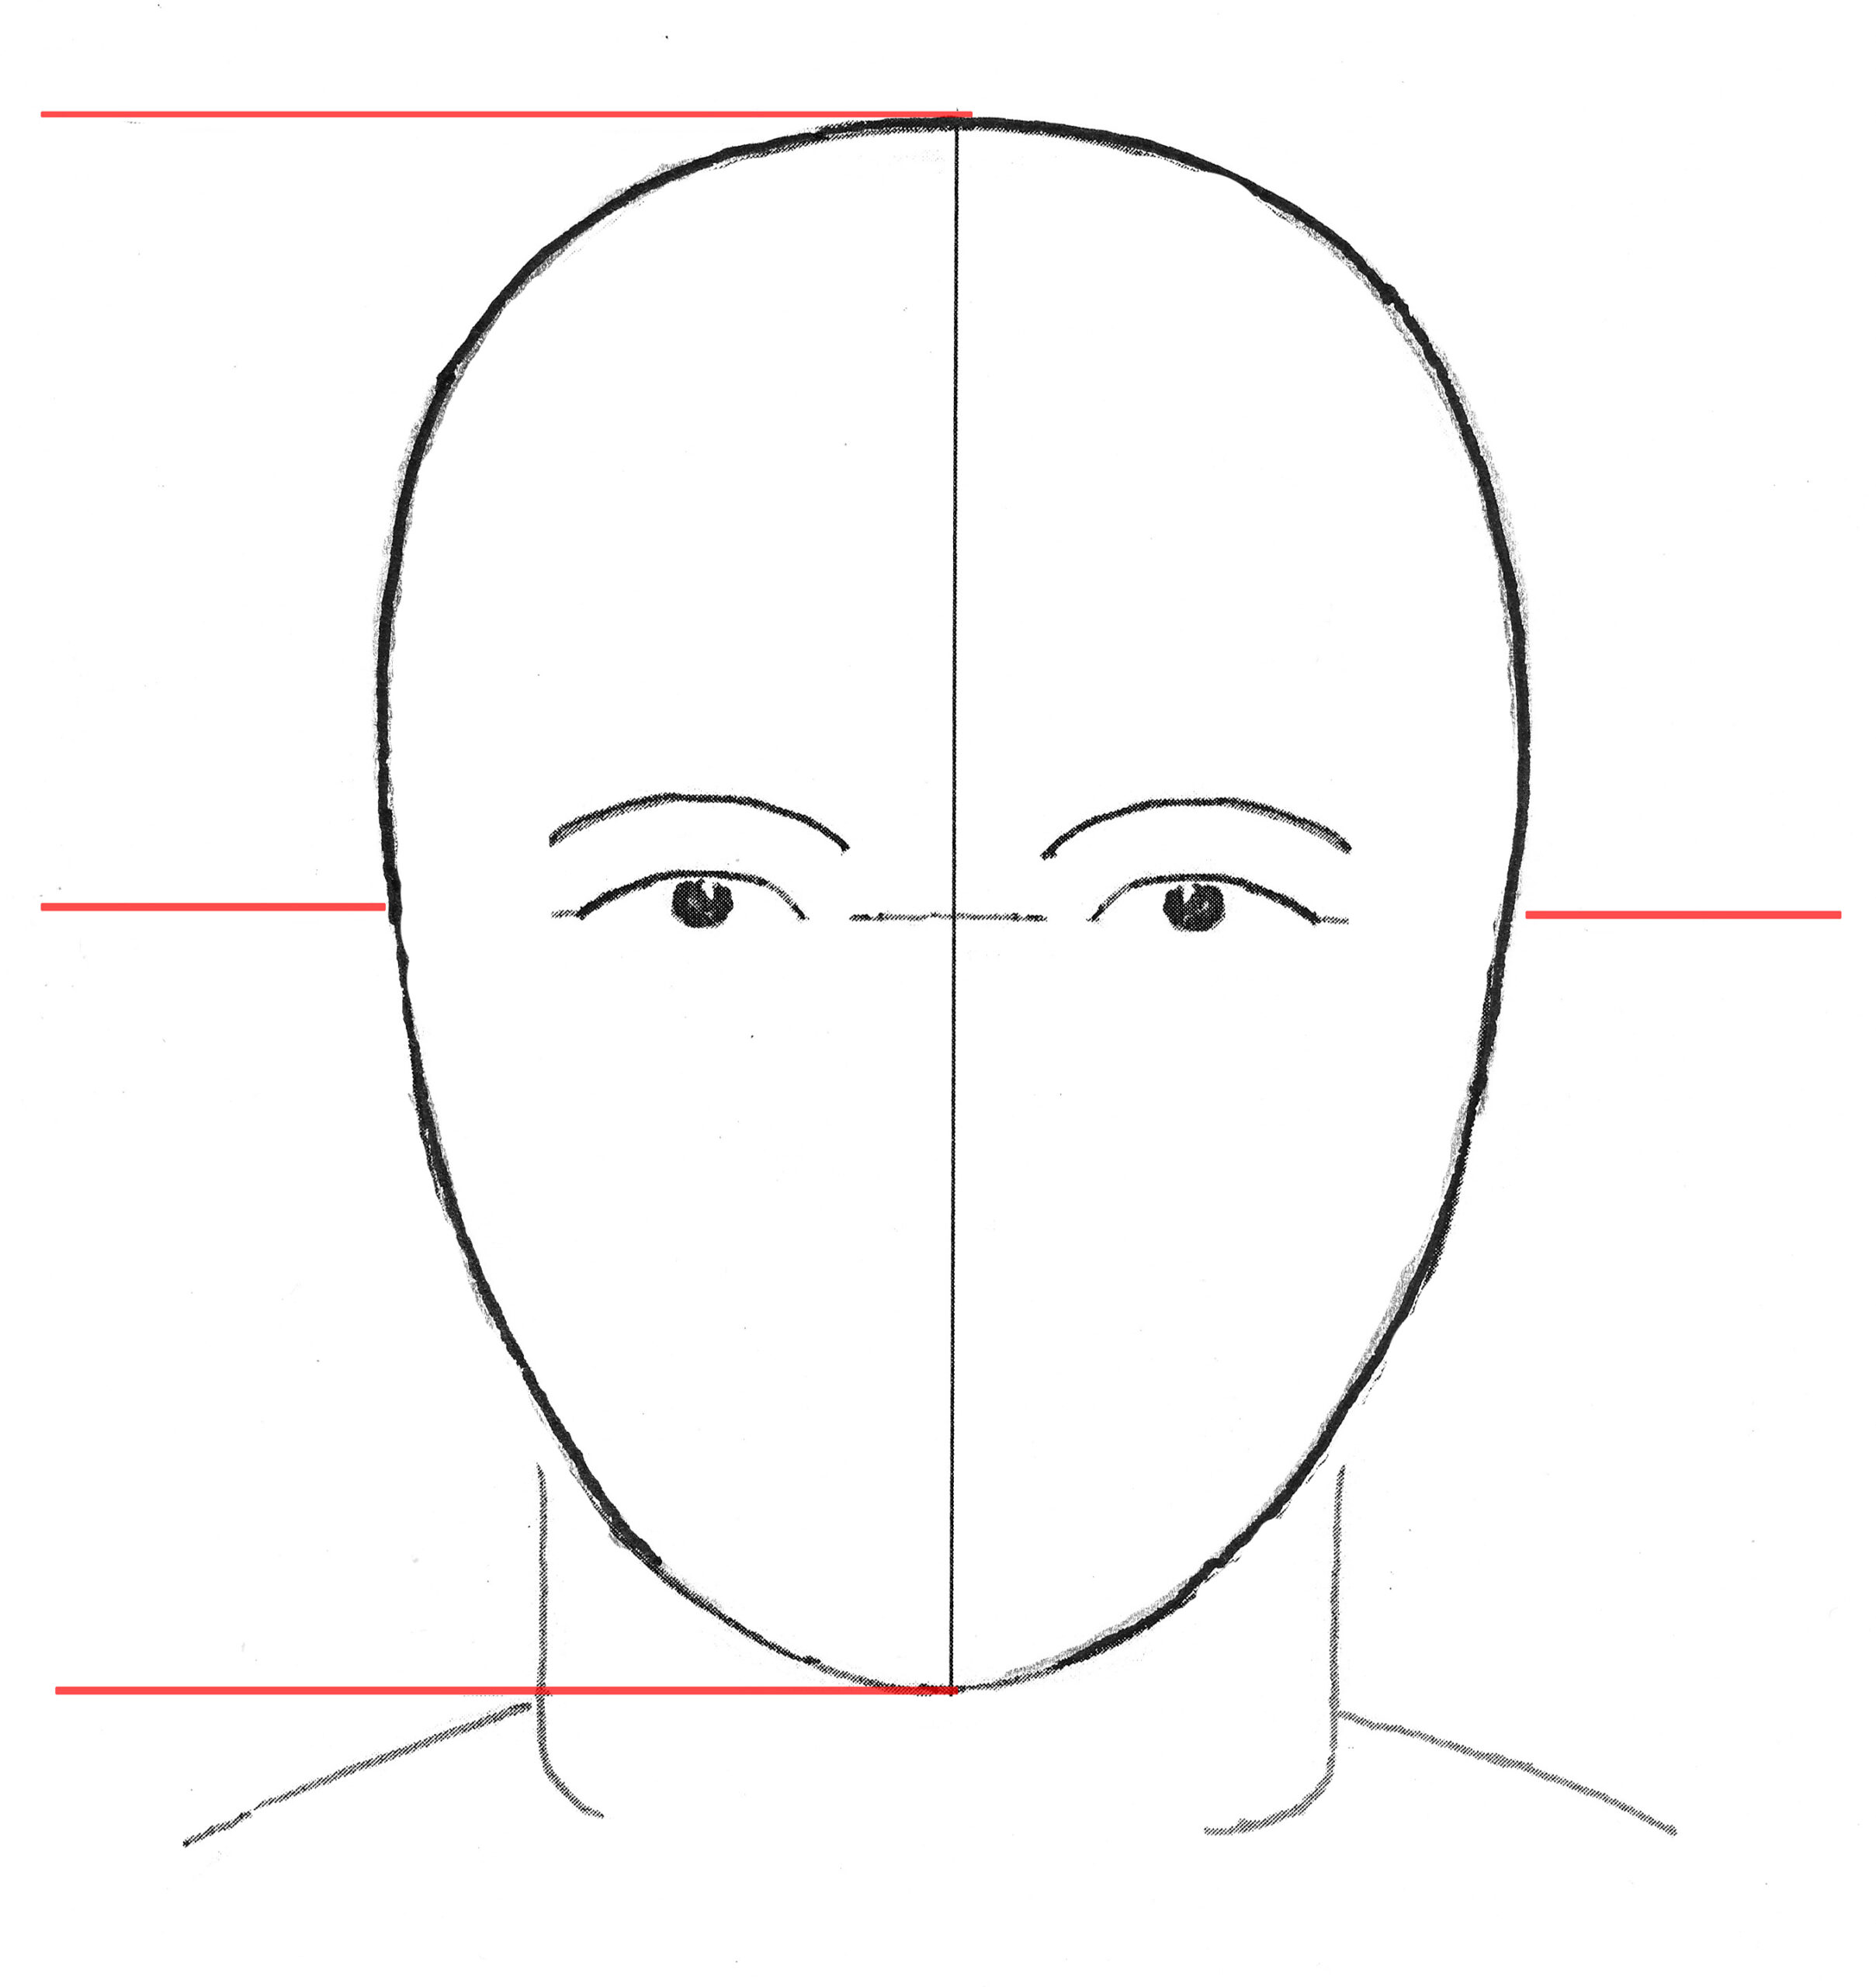
Nobody has a schematic face but a diagram is useful as a guide. The first tip is often that the eyes are about halfway up the head, as can be seen from the white lines in the photo. Often the part above the eyes (forehead and skull) is drawn too small. This is most likely because the lower part with the eyes, nose and mouth attracts more of our attention.
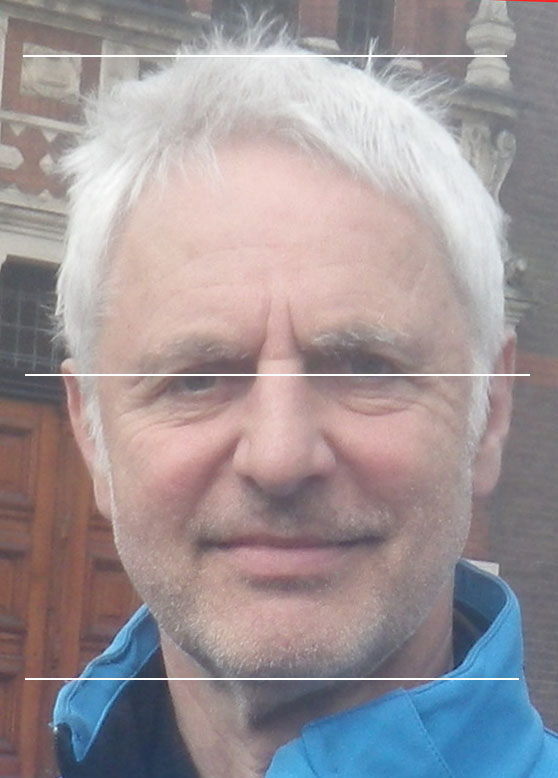
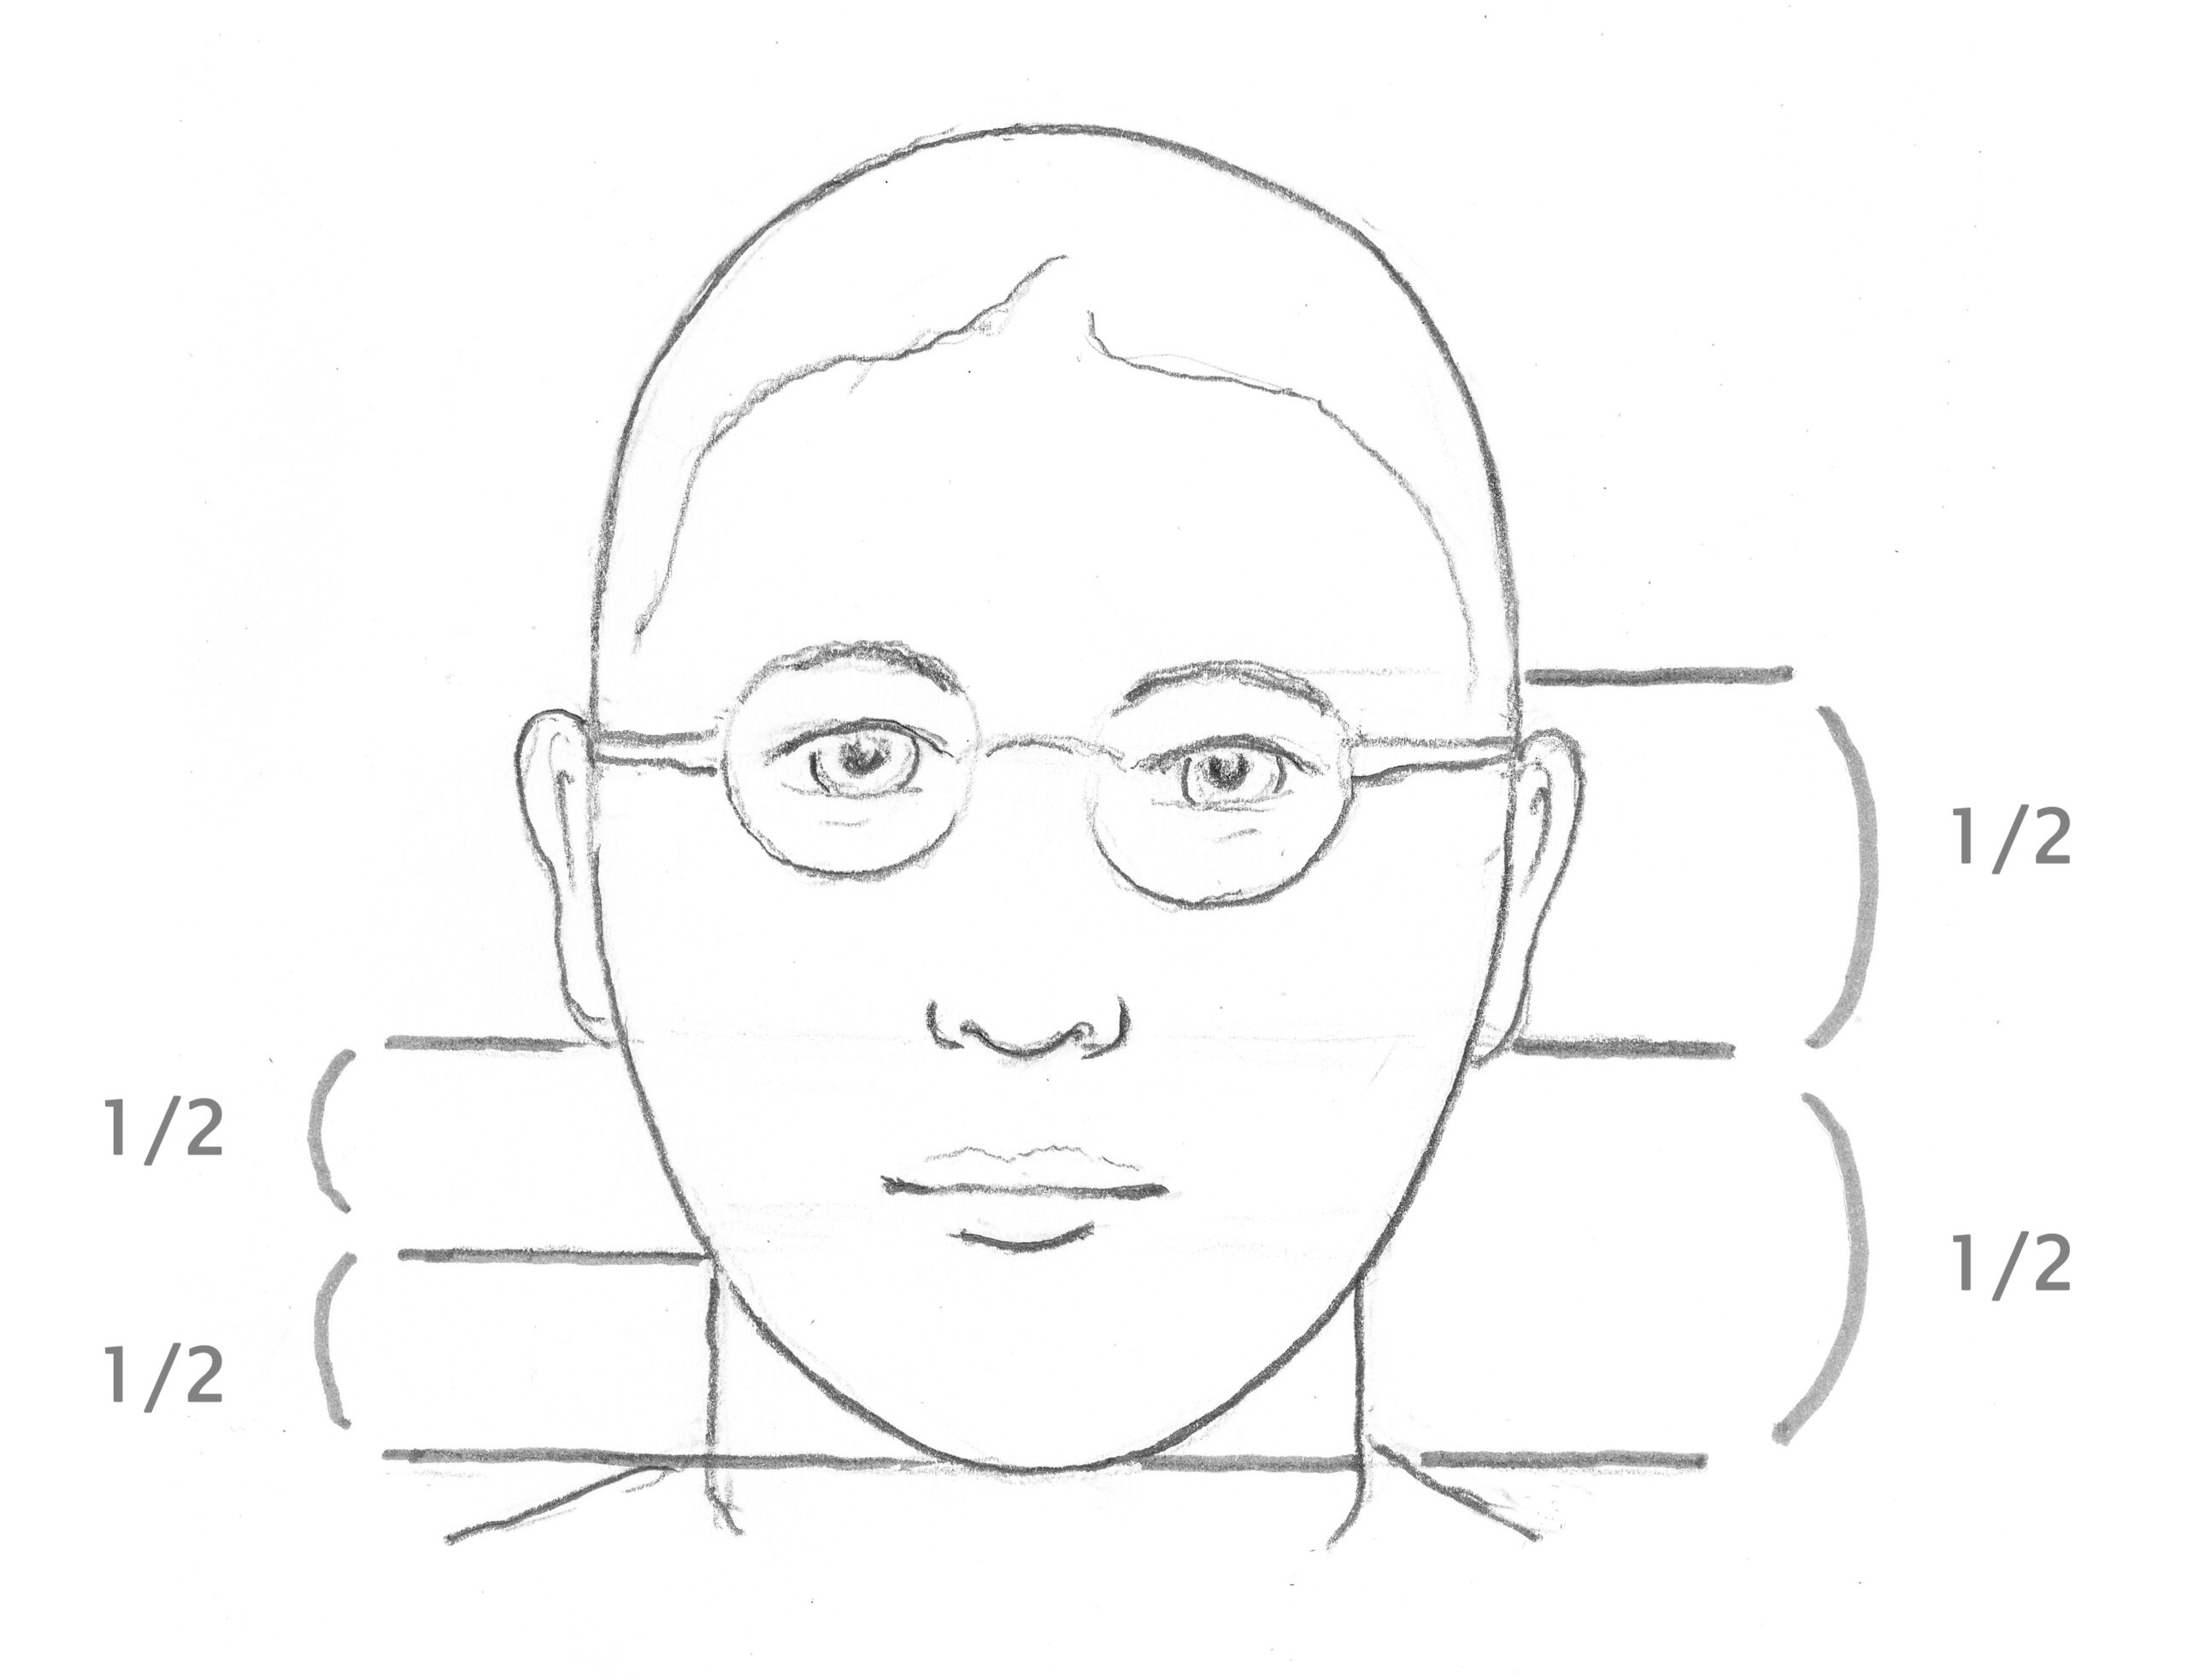
In the following schematic face, the eyebrows, nose and mouth have been added. Everything is greatly simplified. In reality the skull is flatter at the side near the ears (see photo). The eyes are halfway again with the eyebrows above them. The proportions/different heights from the eyebrows to the chin are indicated next to it.The round glasses nicely indicate the place of the eye sockets, crowned by the eyebrows. If you want to learn more about drawing eyes, noses, mouths and ears, check out the separate lesson on this, also in level 2.
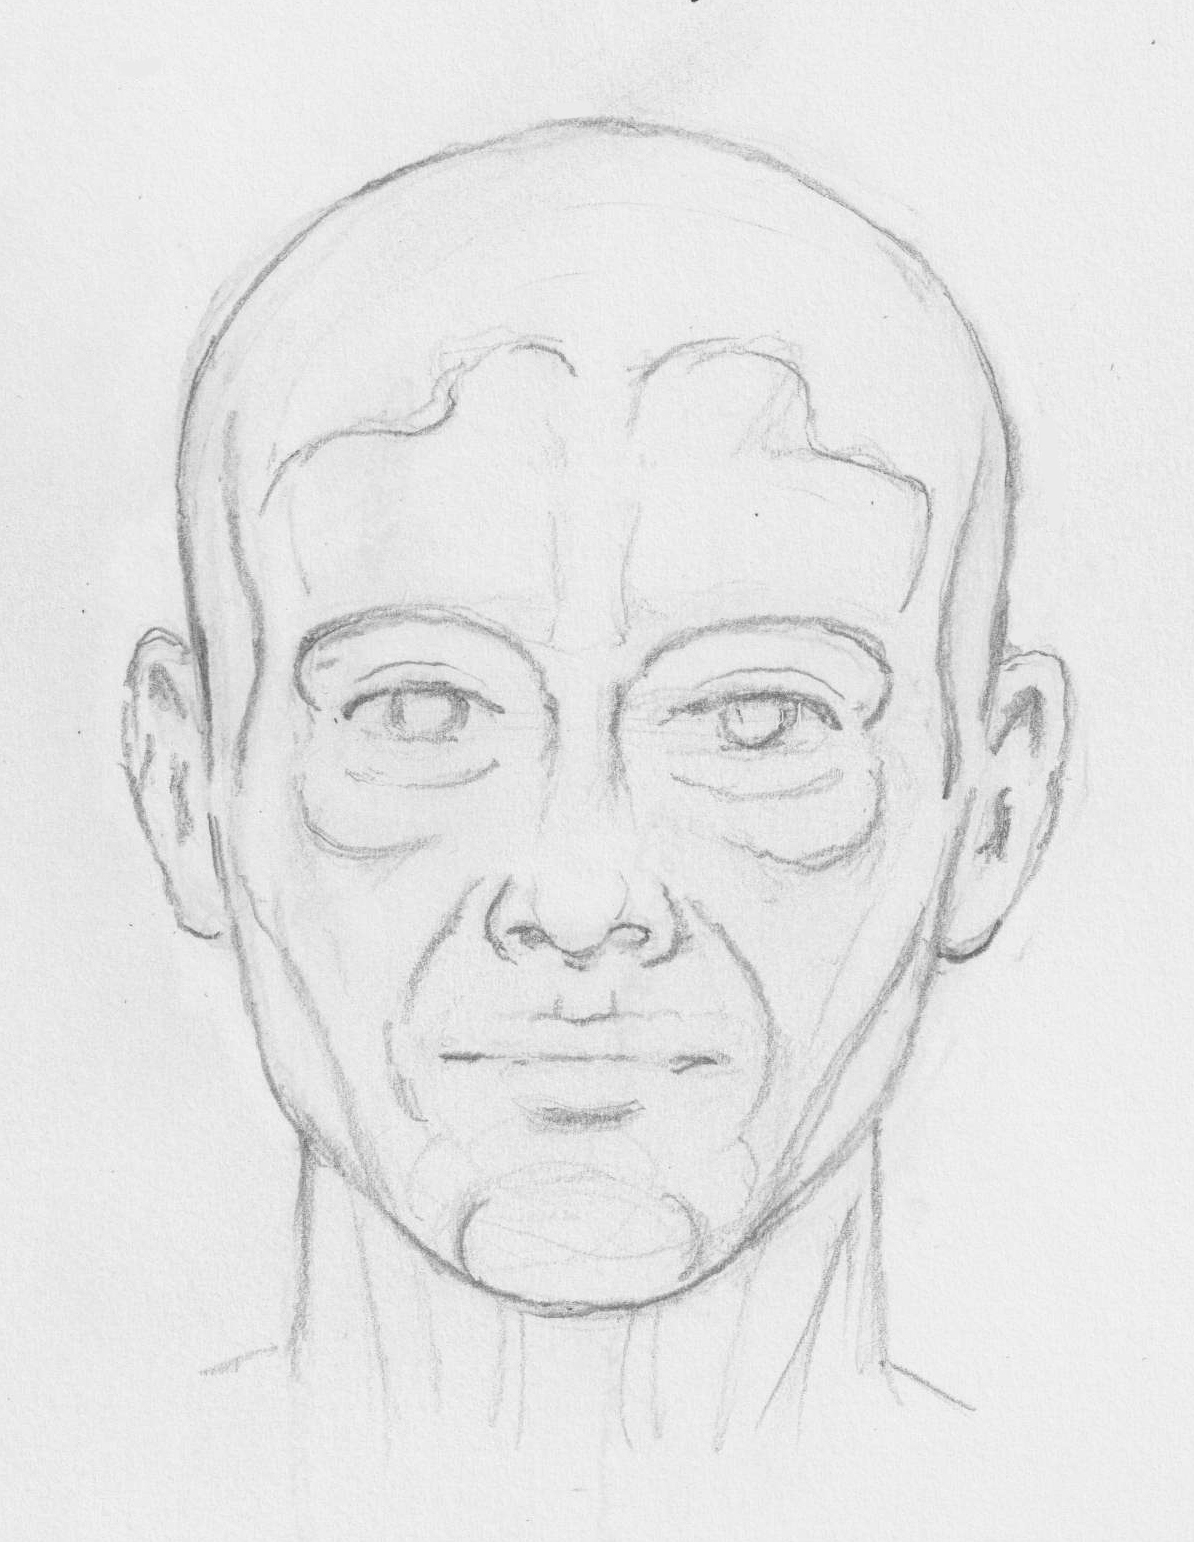
Exercise: Try to draw such a schematic face step by step (without the glasses).
Step 1: draw an egg shape with the eyes halfway. For the eyes the upper eyelid and the partly hidden iris are sufficient. Between the eyes fits about the width of an eye
Step 2: draw the arches for the eyebrows
Step 3: draw the bottom of the nose, halfway between the eyebrows and the chin.
Step 4: halfway between the bottom of the nose and the chin, draw the line under the lower lip (the hollow where shadows usually fall, as can be seen in the photo above)
Step 5: slightly above that, draw the line between the upper and lower lip.
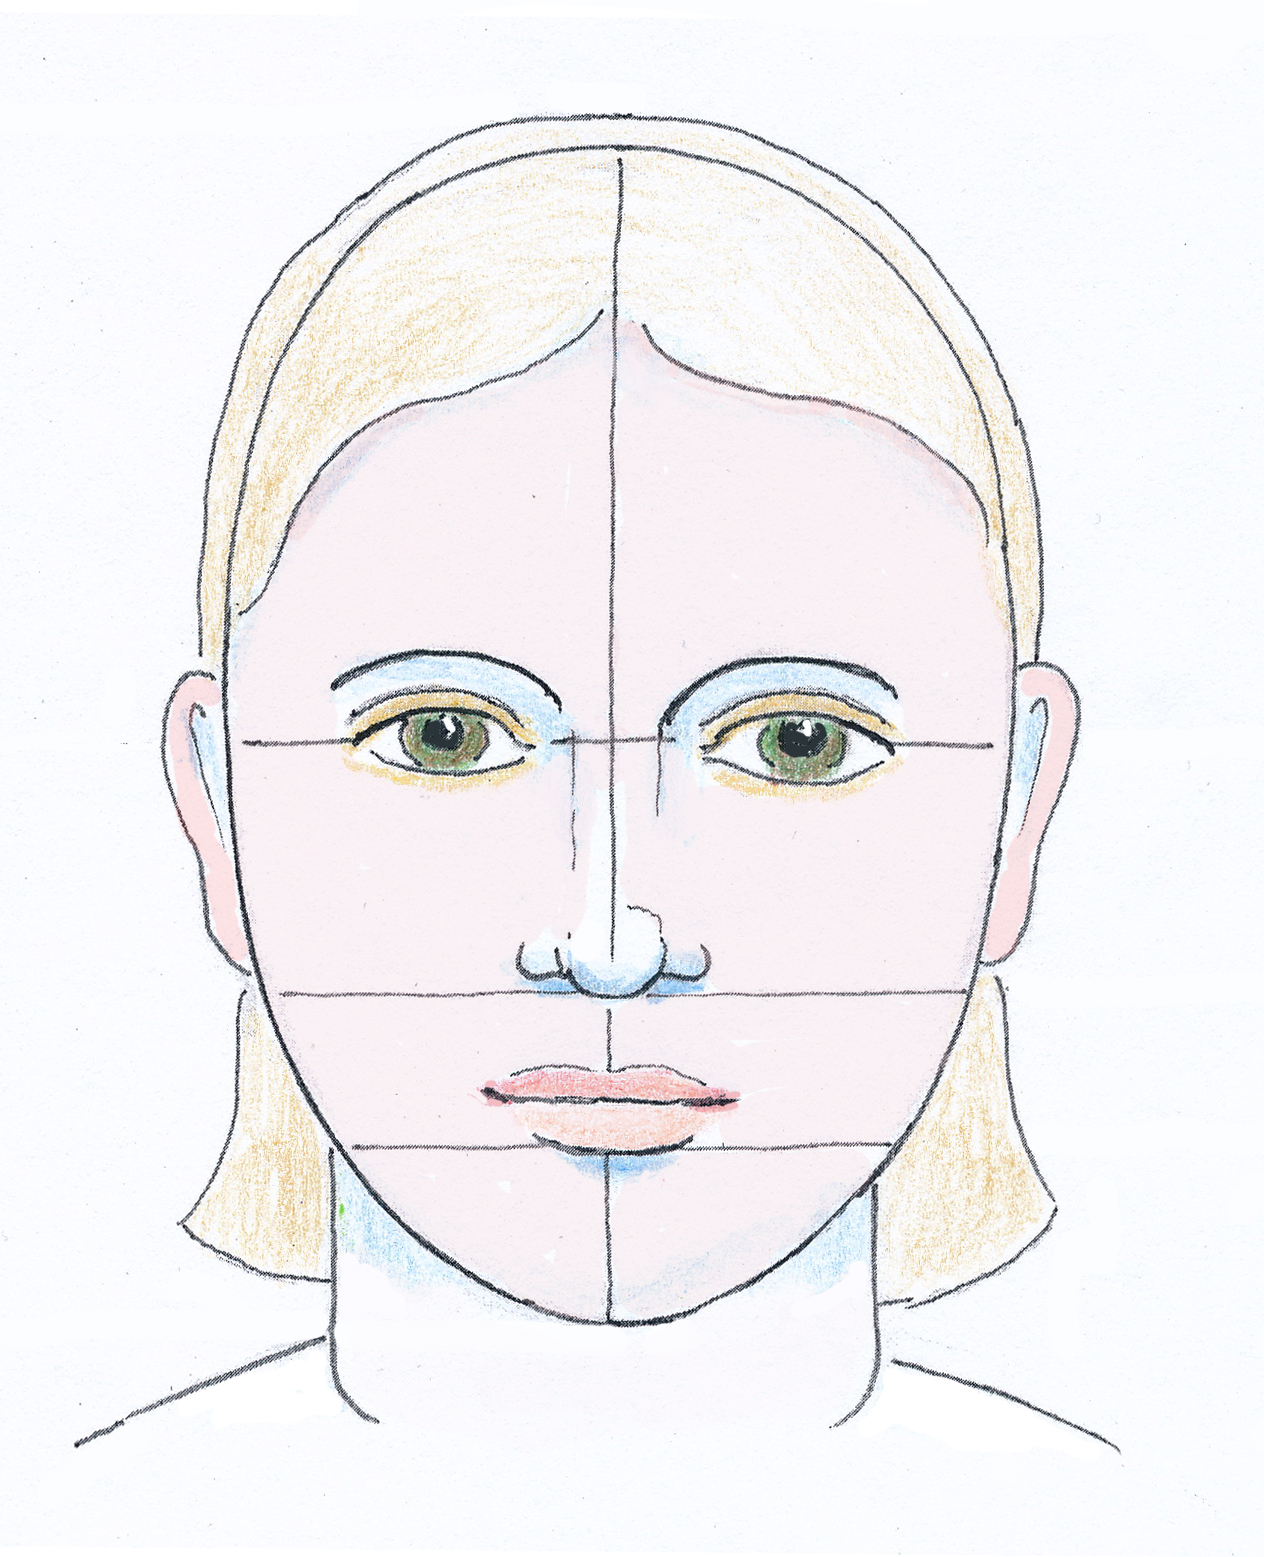
You might like to add some color to a schematically drawn face. The hair, no matter how short, is always slightly wider than the head.
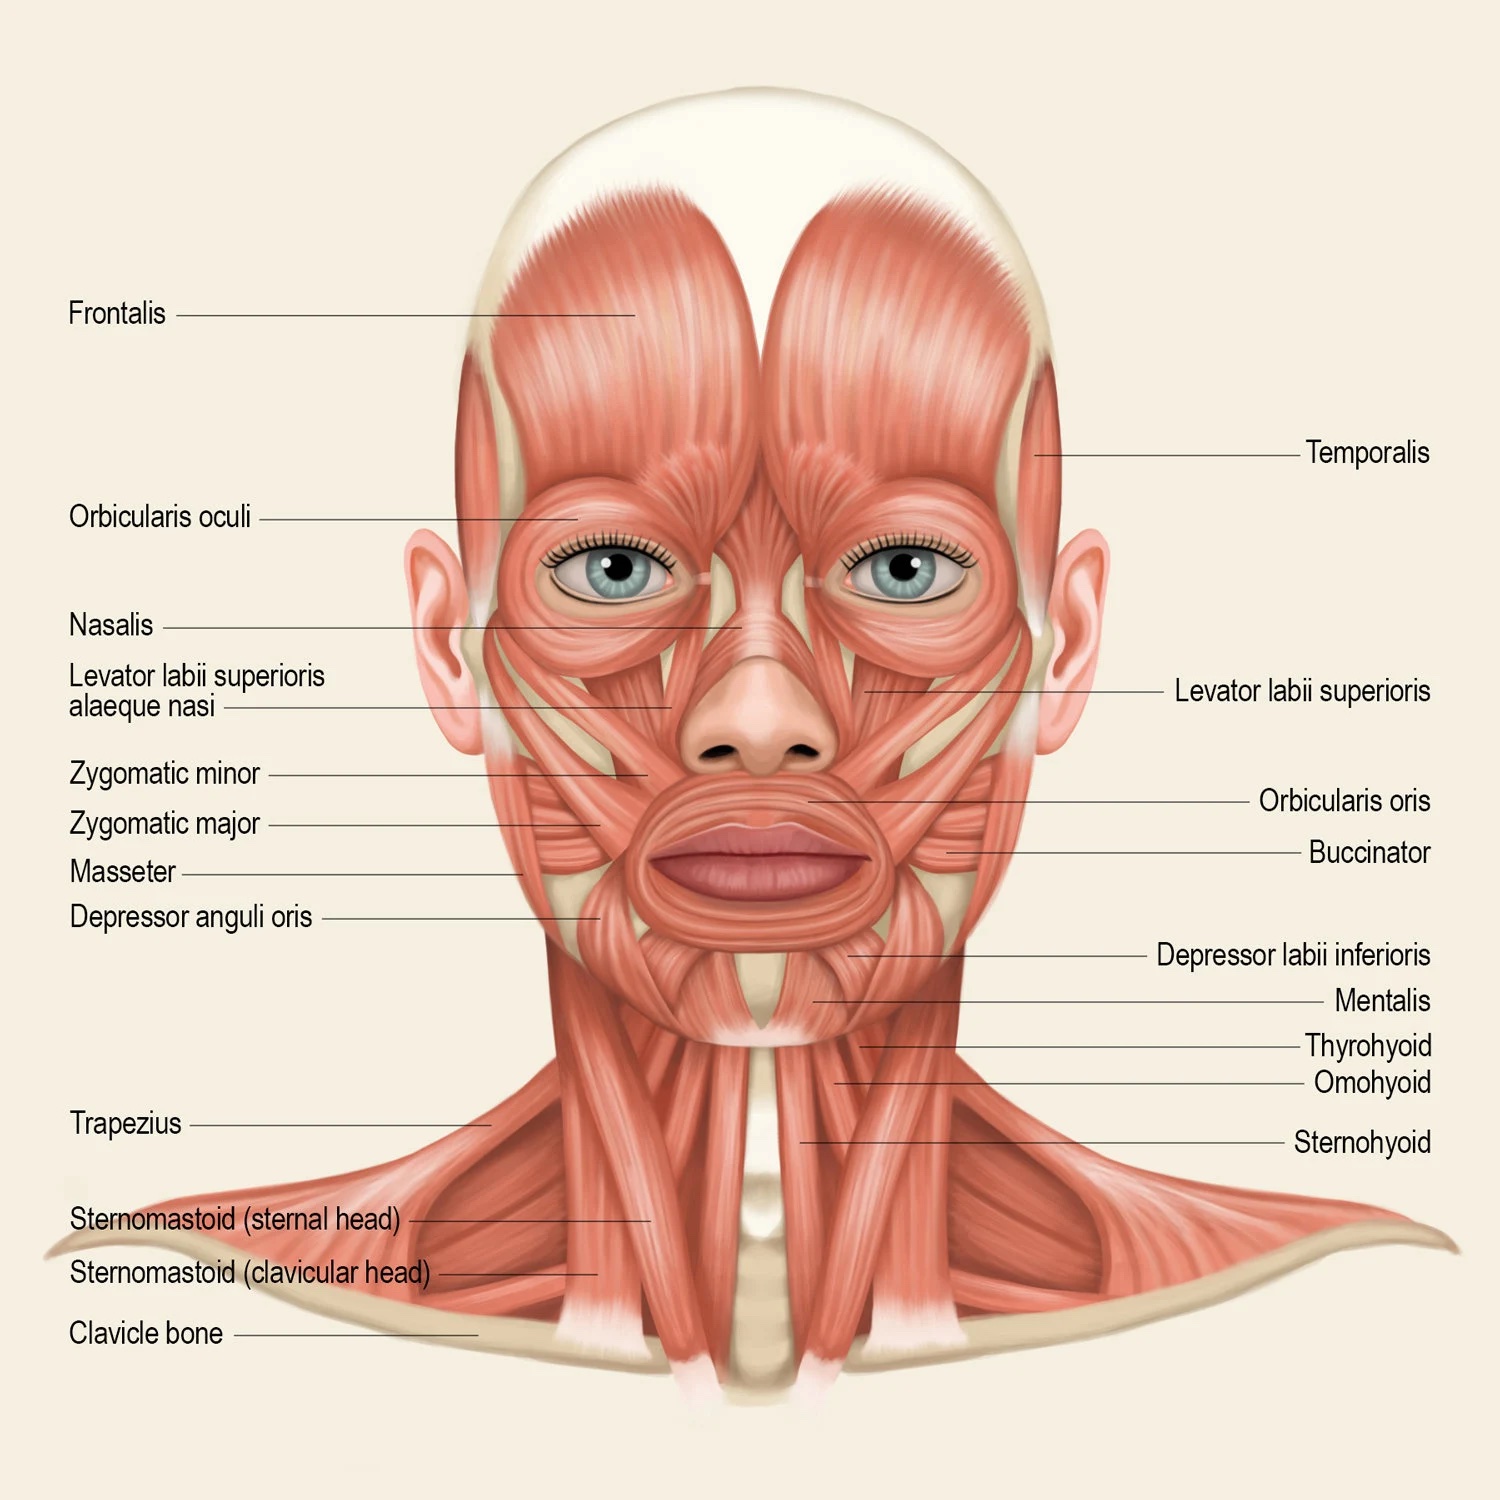
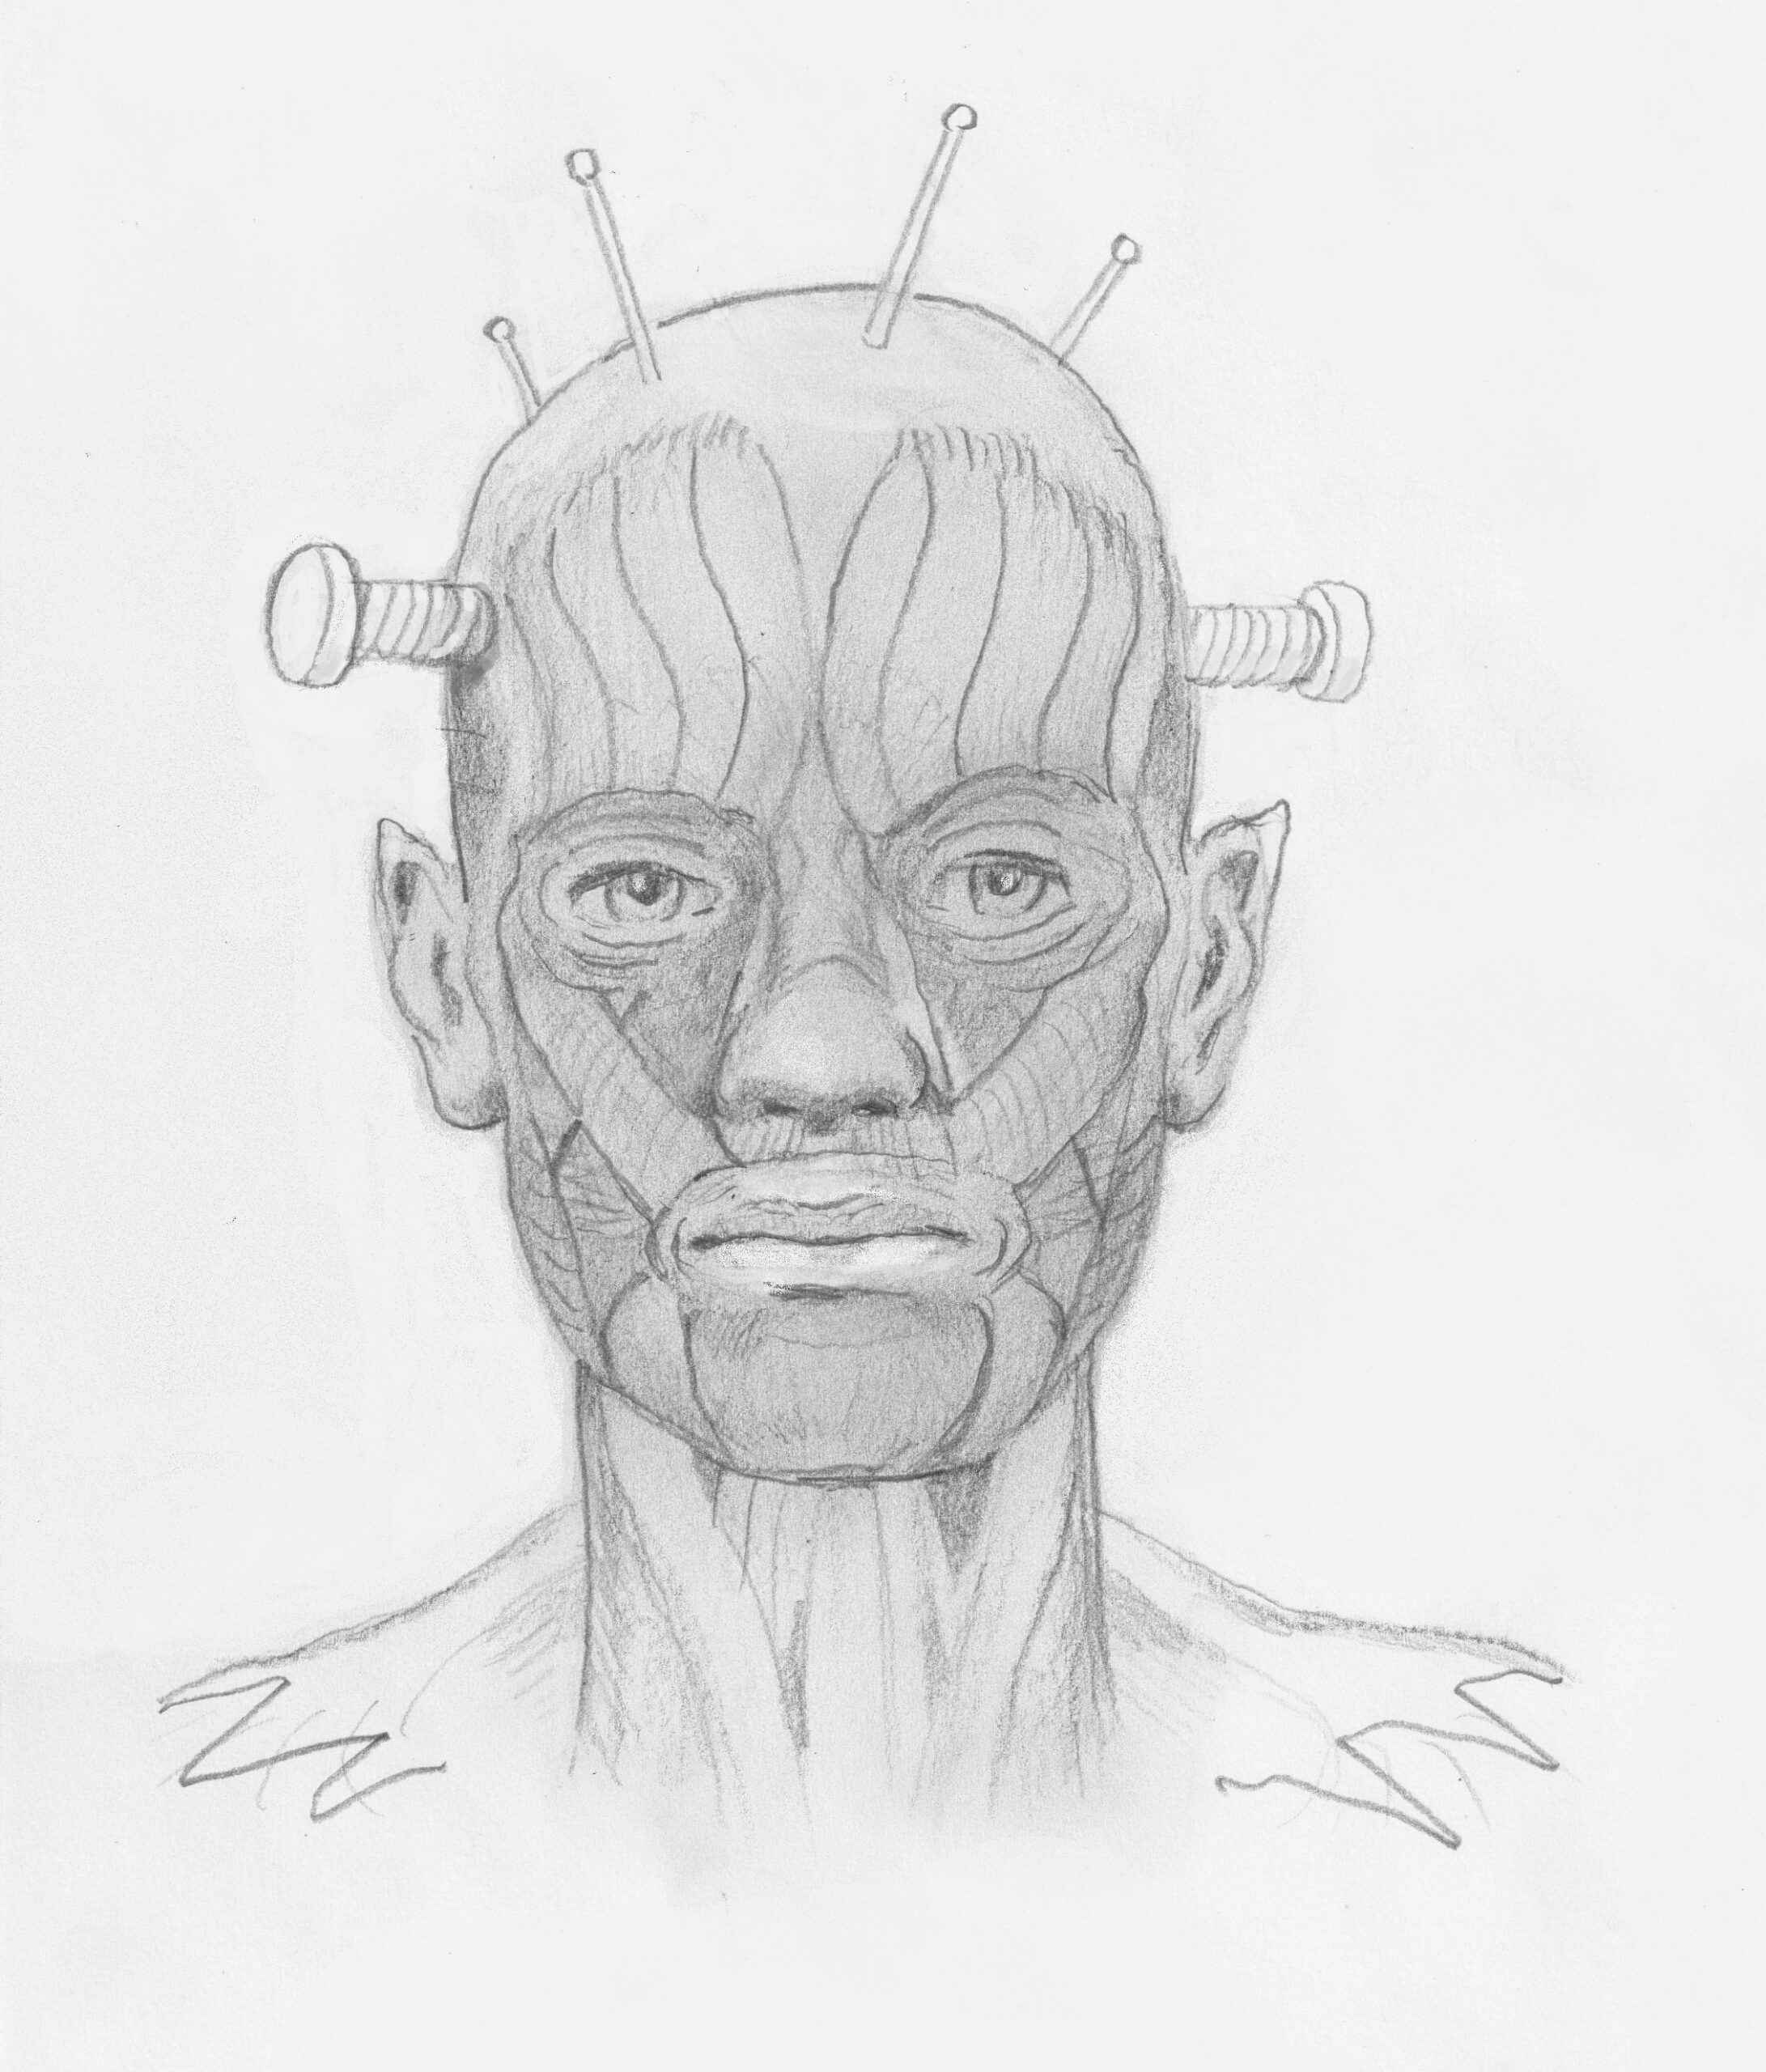
UNDER THE SKIN
Myology (anatomy of the face) shows how everything is connected under the skin. Eyes, nose and mouth are not separate stickers but connected to muscles that determine our facial expression when we smile, are happy, angry or sad.
EXTRA: A nice exercise is to roughly trace that anatomy against the window or on a light box. With a soft pencil or your fingers you can make the contours of the muscles less sharp. Because such a schematic face is expressionless, in fact unreal, you can also make a kind of robotic cyber person out of it.