Chapter 6 | HATCHING
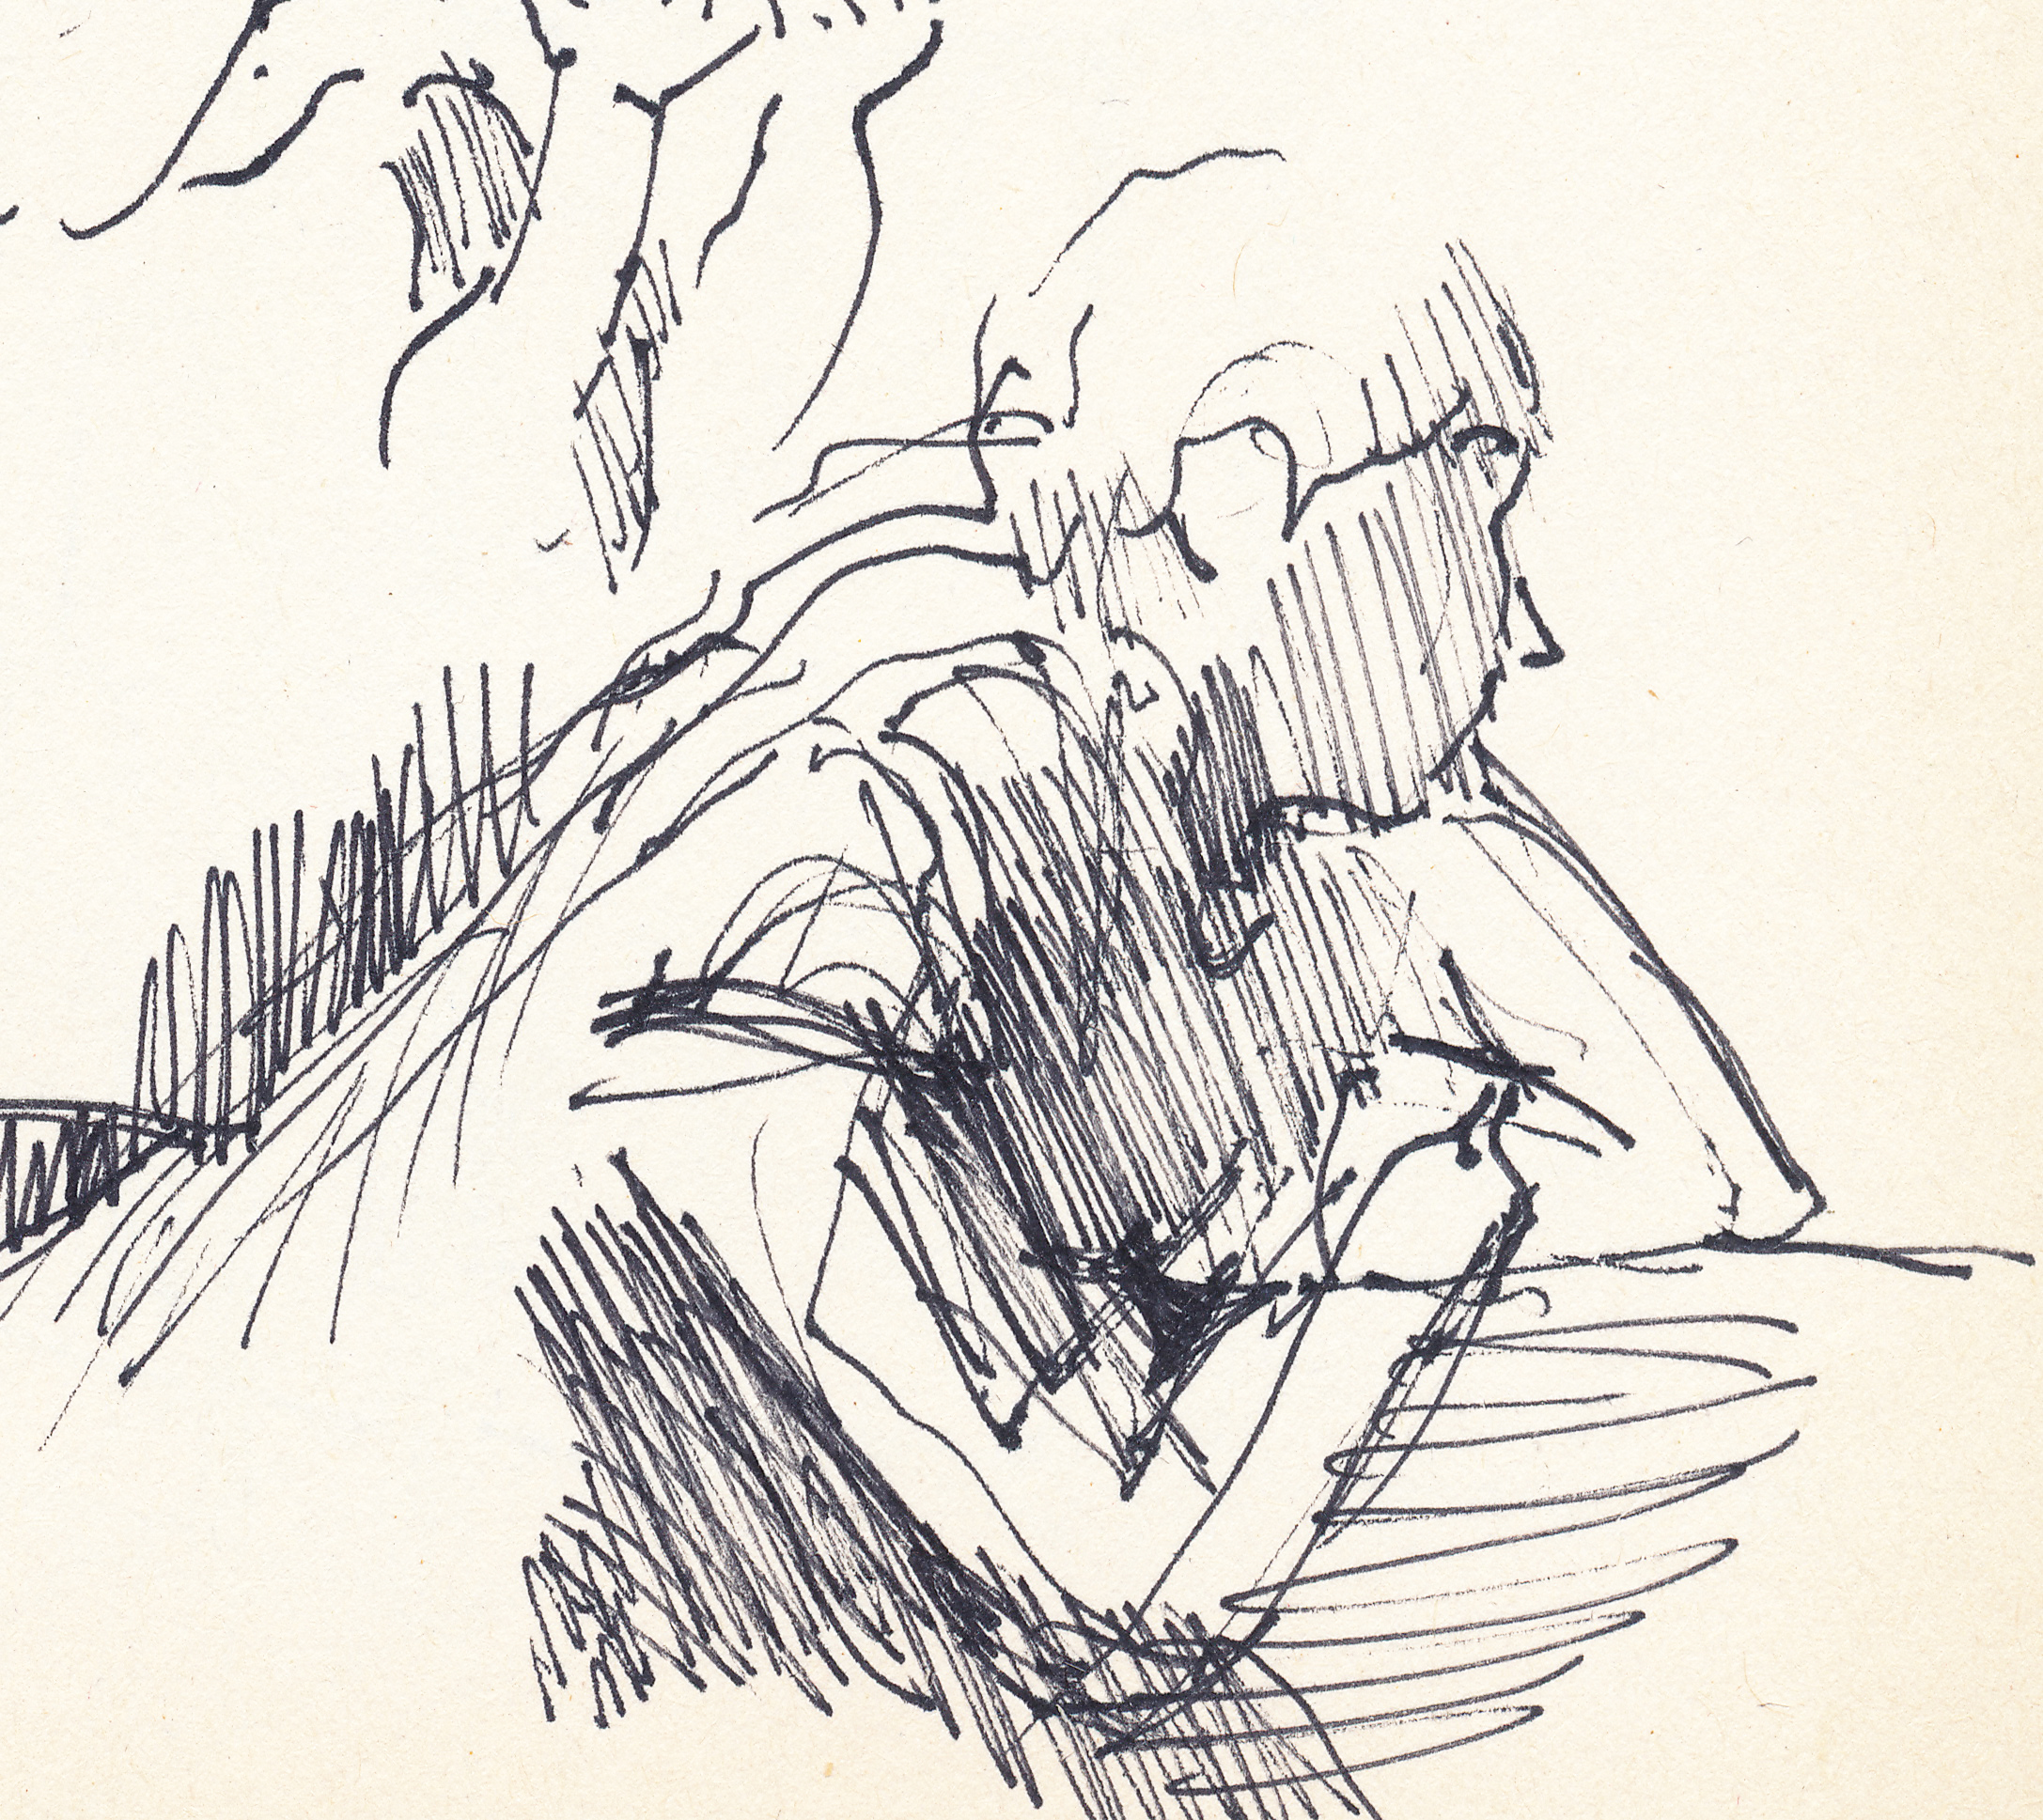
A commonly used hatching is parallel hatching: all lines in the same direction. For right-handed artists this is easiest from (diagonally) right to left, and for left-handed artists it is easiest from (diagonally) left to right.
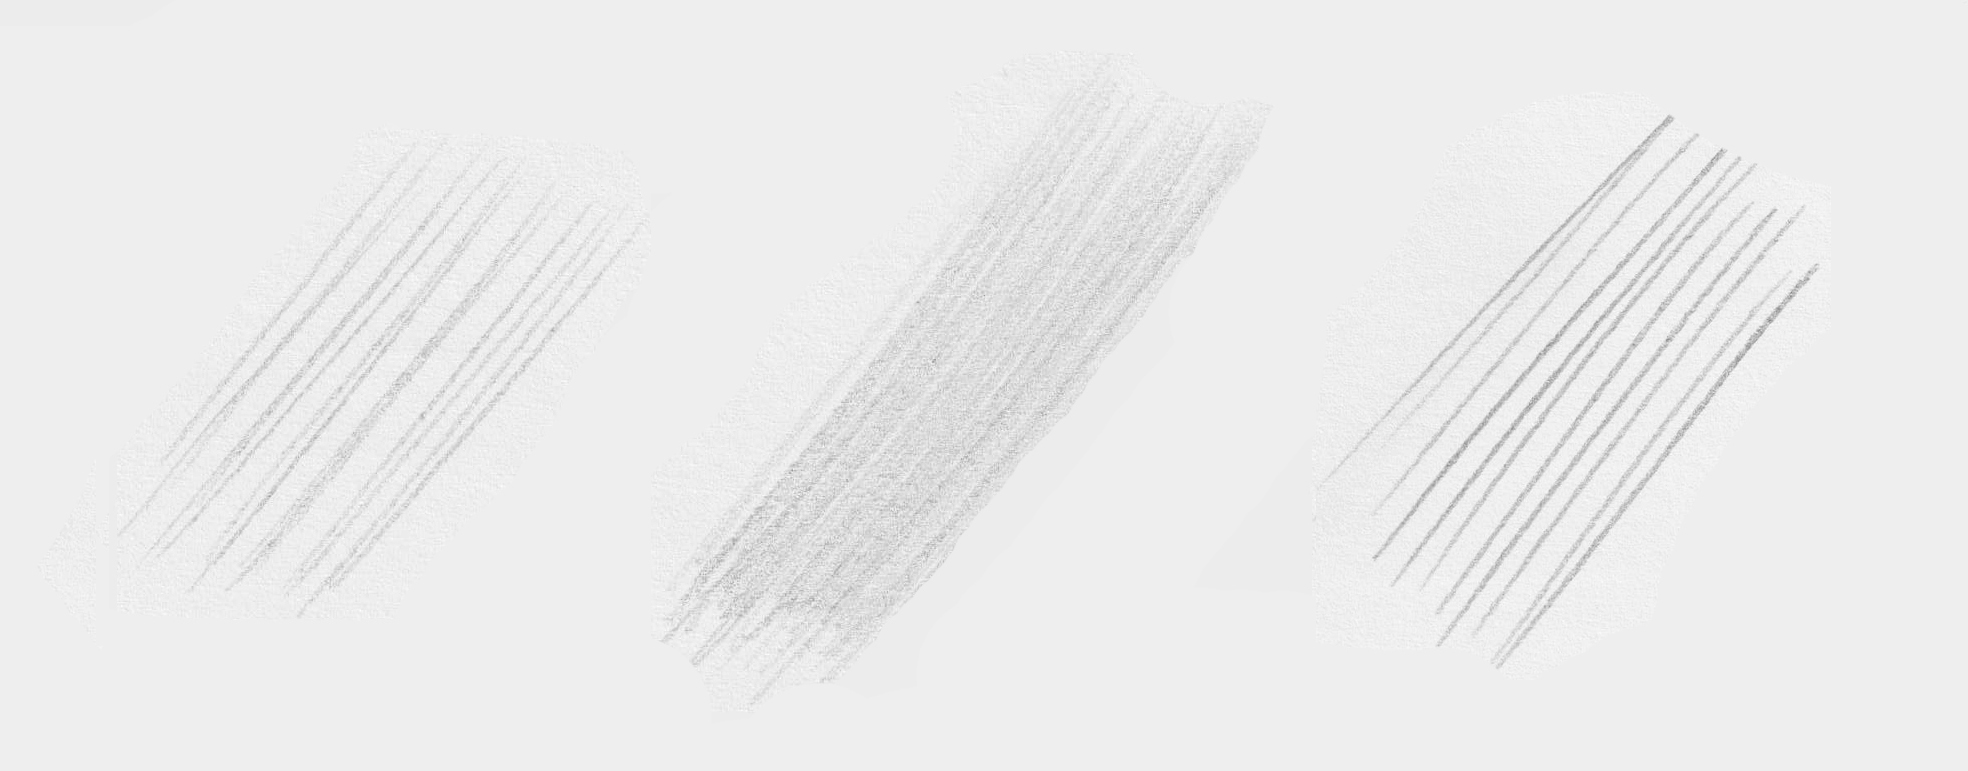
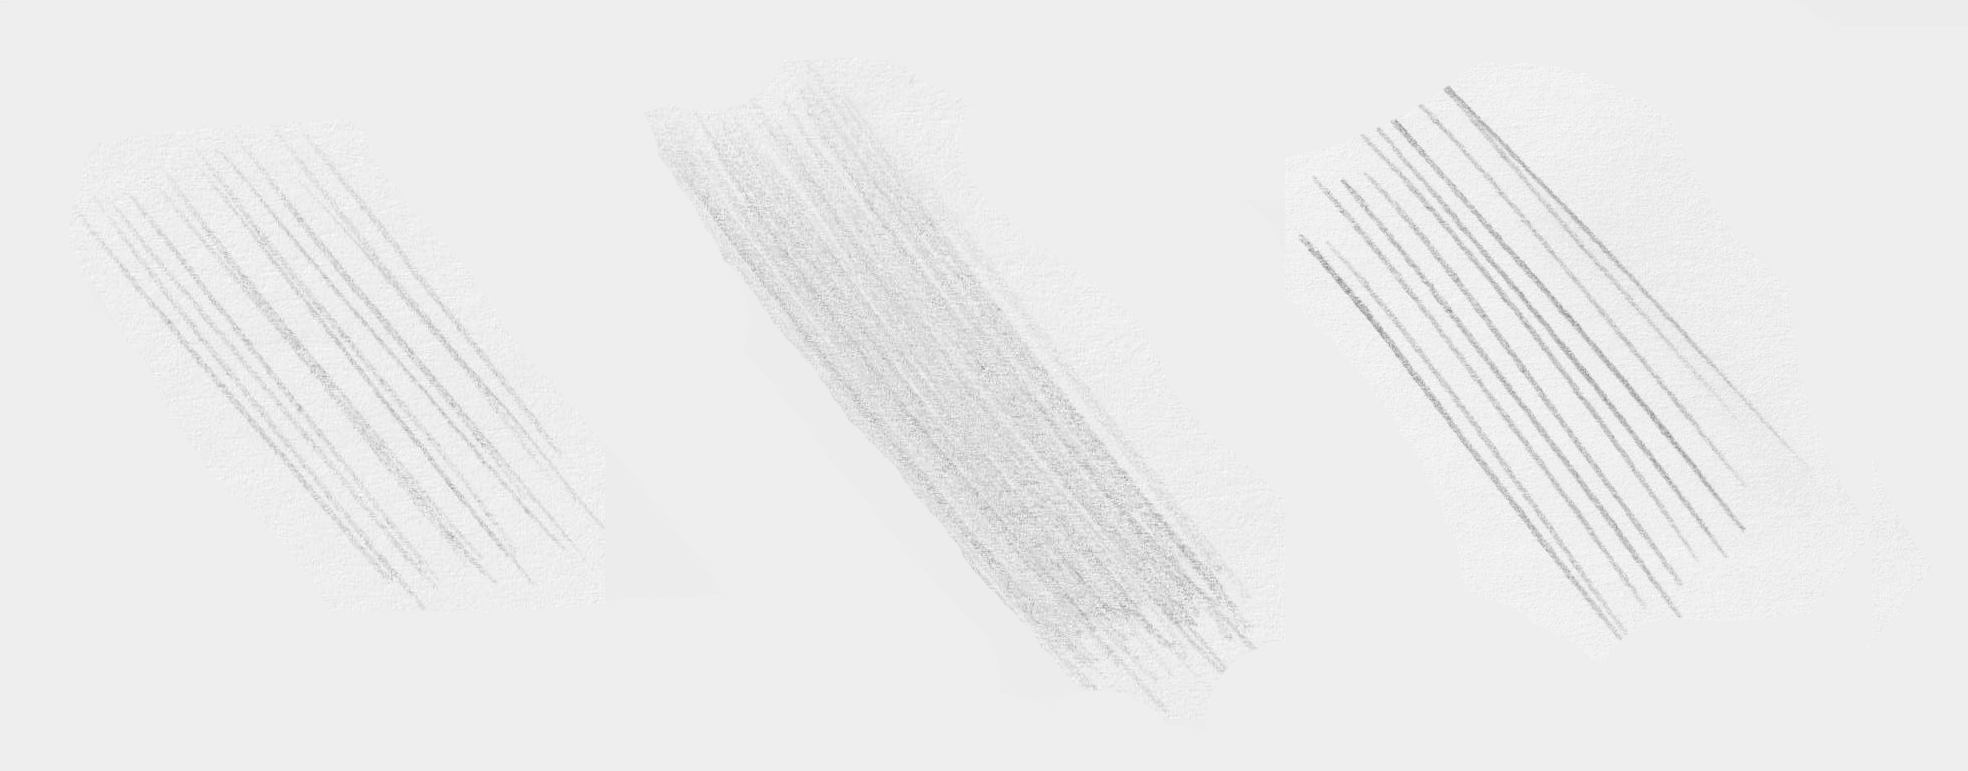
Exercise 1: Try for yourself which directions of parallel hatching are easiest. By continuing a little longer or pressing harder, the hatching becomes denser and/or darker. Try to avoid ‘brackets’.
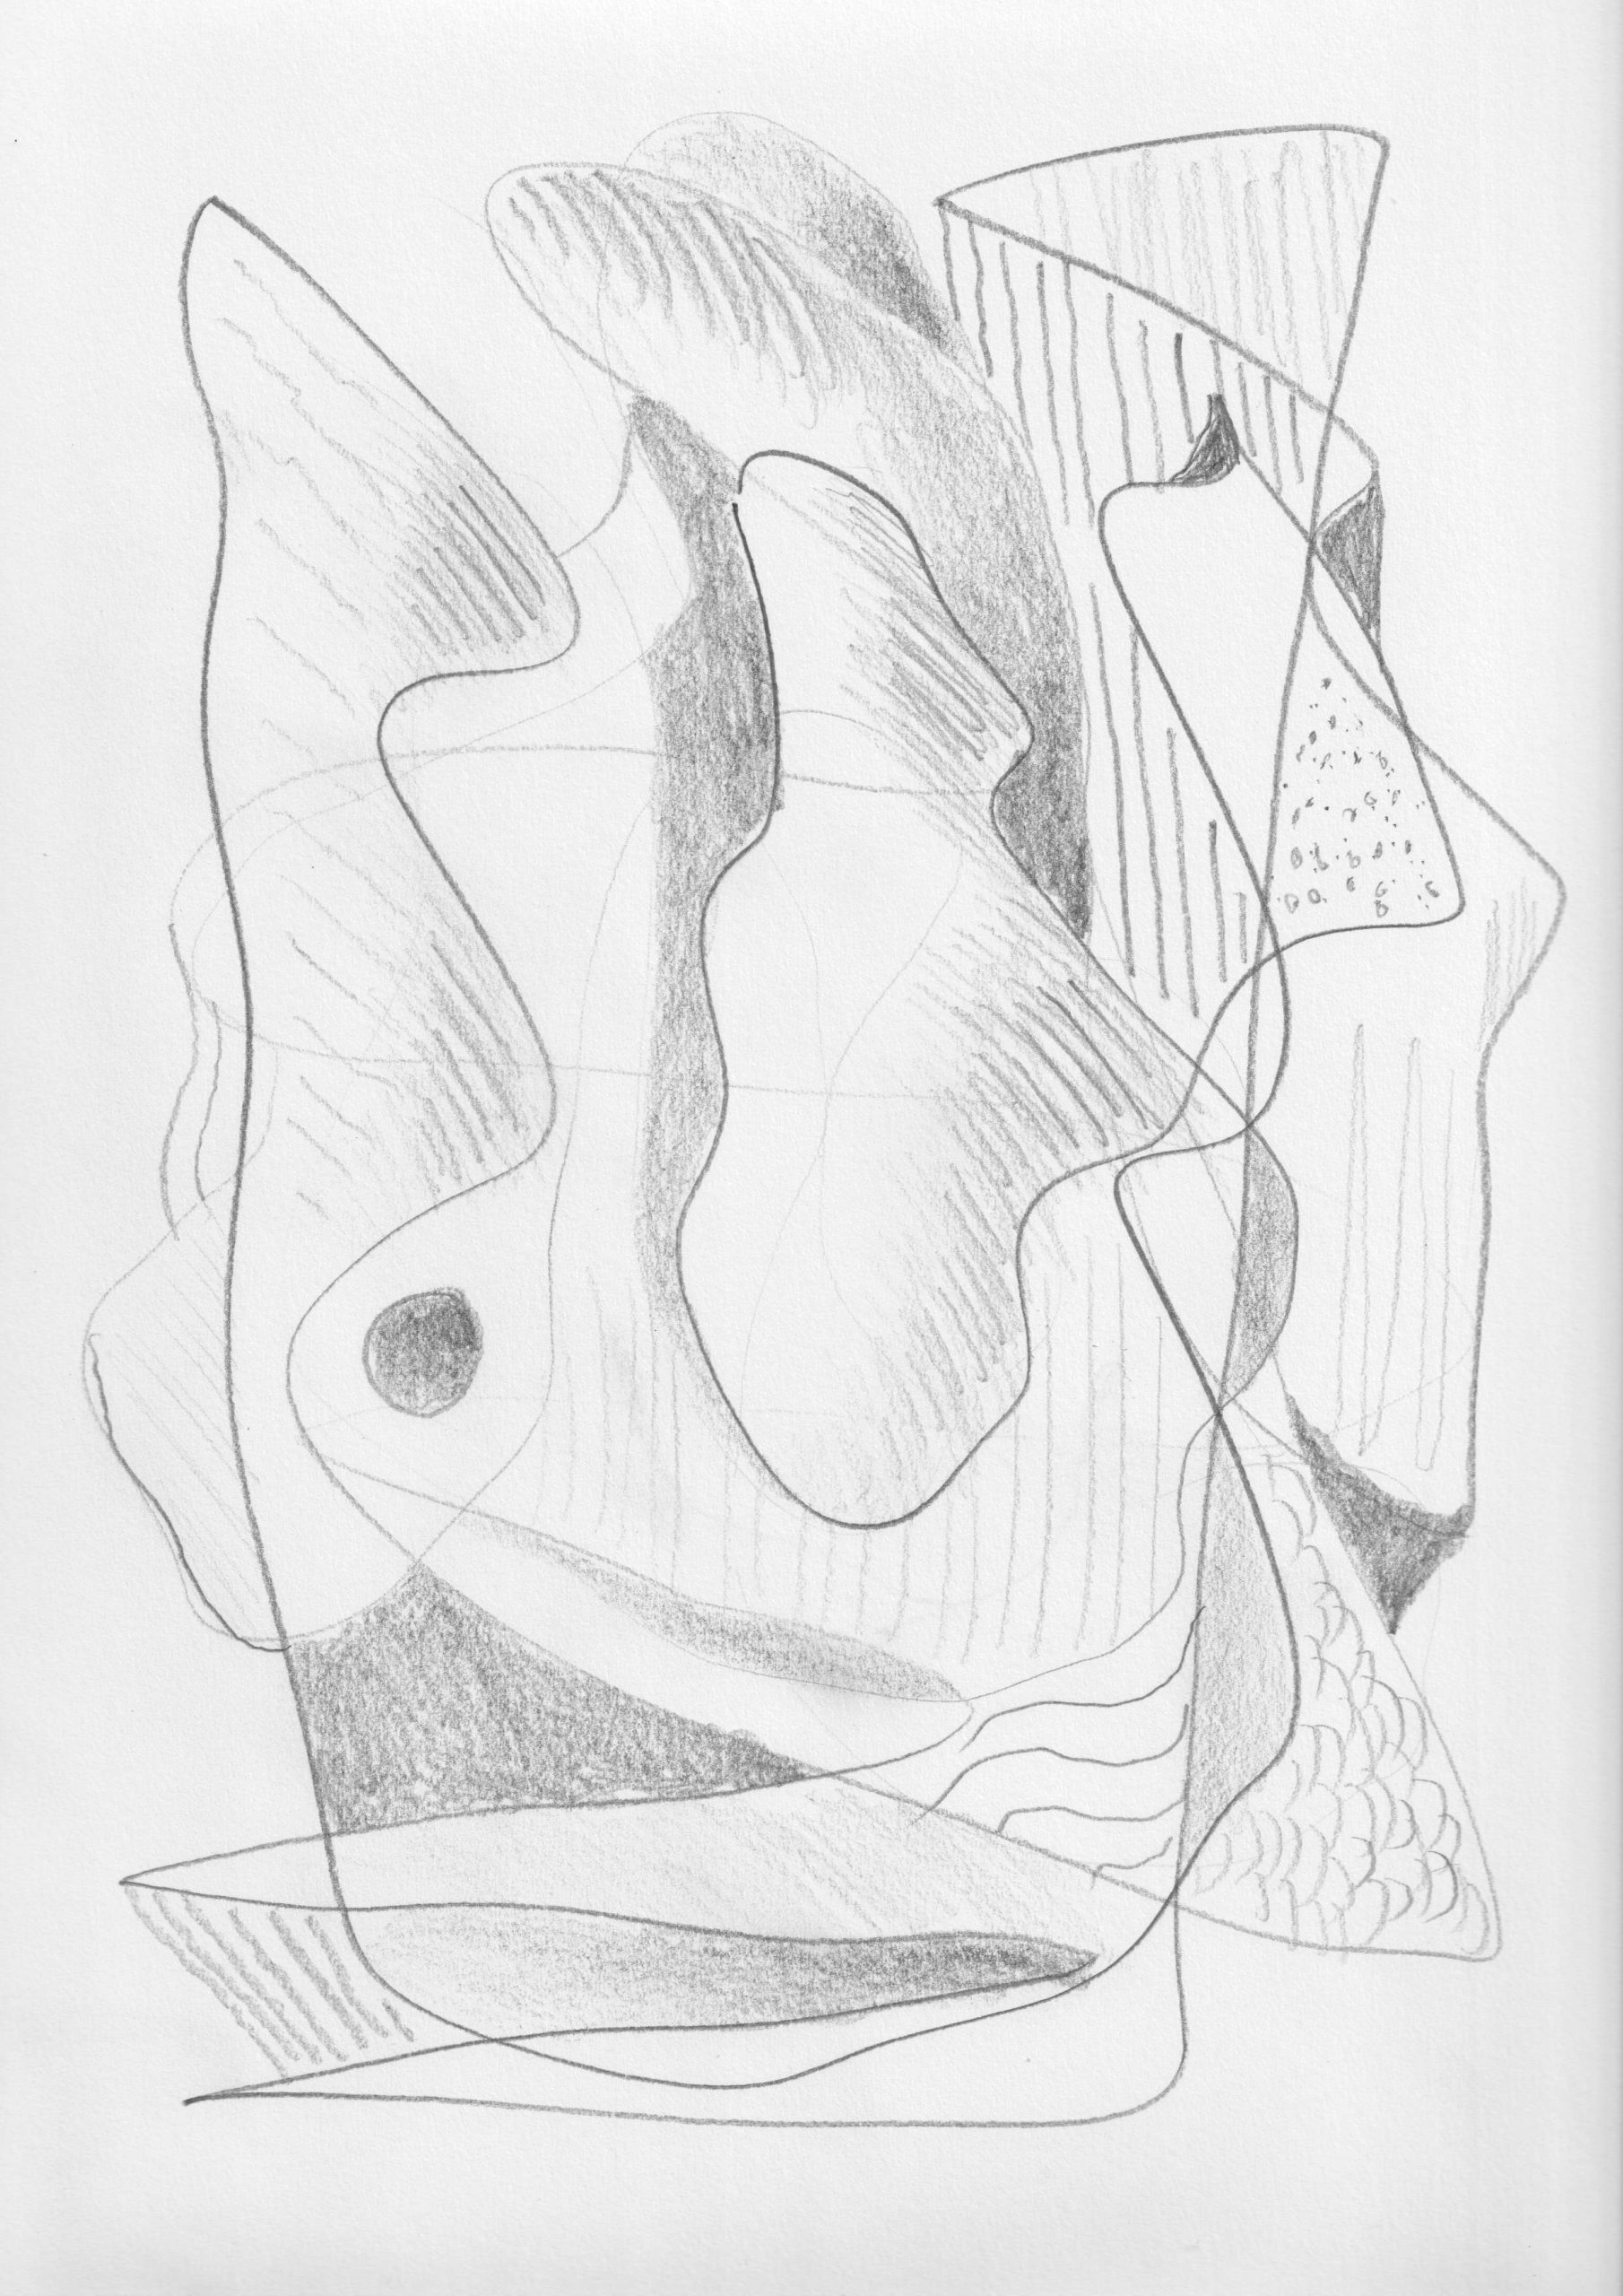
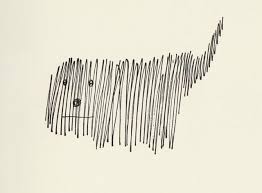
Hatching can fill an entire plane (left). Hatching can even consist of dots (center). Hatching can also follow the curves of a shape (right).

Exercise 3: Draw another endless line (max. A4) like you may already have done in Chapter 1. I had saved mine. Fill resulting spaces with all sorts of hatching and maybe gray tones.