Chapter 1 | PENCIL AND PAPER

If there is a B on a pencil, it’s a soft pencil. With softer pencils you can draw both very light and very dark. The more B’s (2B, 3B, 4B etc.) the softer. If there is an H on a pencil, it is a hard pencil. With hard pencils you can draw very precisely, but it always remains light gray. The more H’s (2H, 3H, 4H etc.) the harder. An HB pencil is right in between.

A 2B pencil is a nice basic pencil for drawing both light and dark, while erasing and sharpening pencils is still very easy. For precise drawings, fort example where you use a ruler, an HB or H pencil is nice. You will then be less likely to get stains. For stronger light-dark contrasts, choose for example a 4B pencil.
BASIC GRIPS:
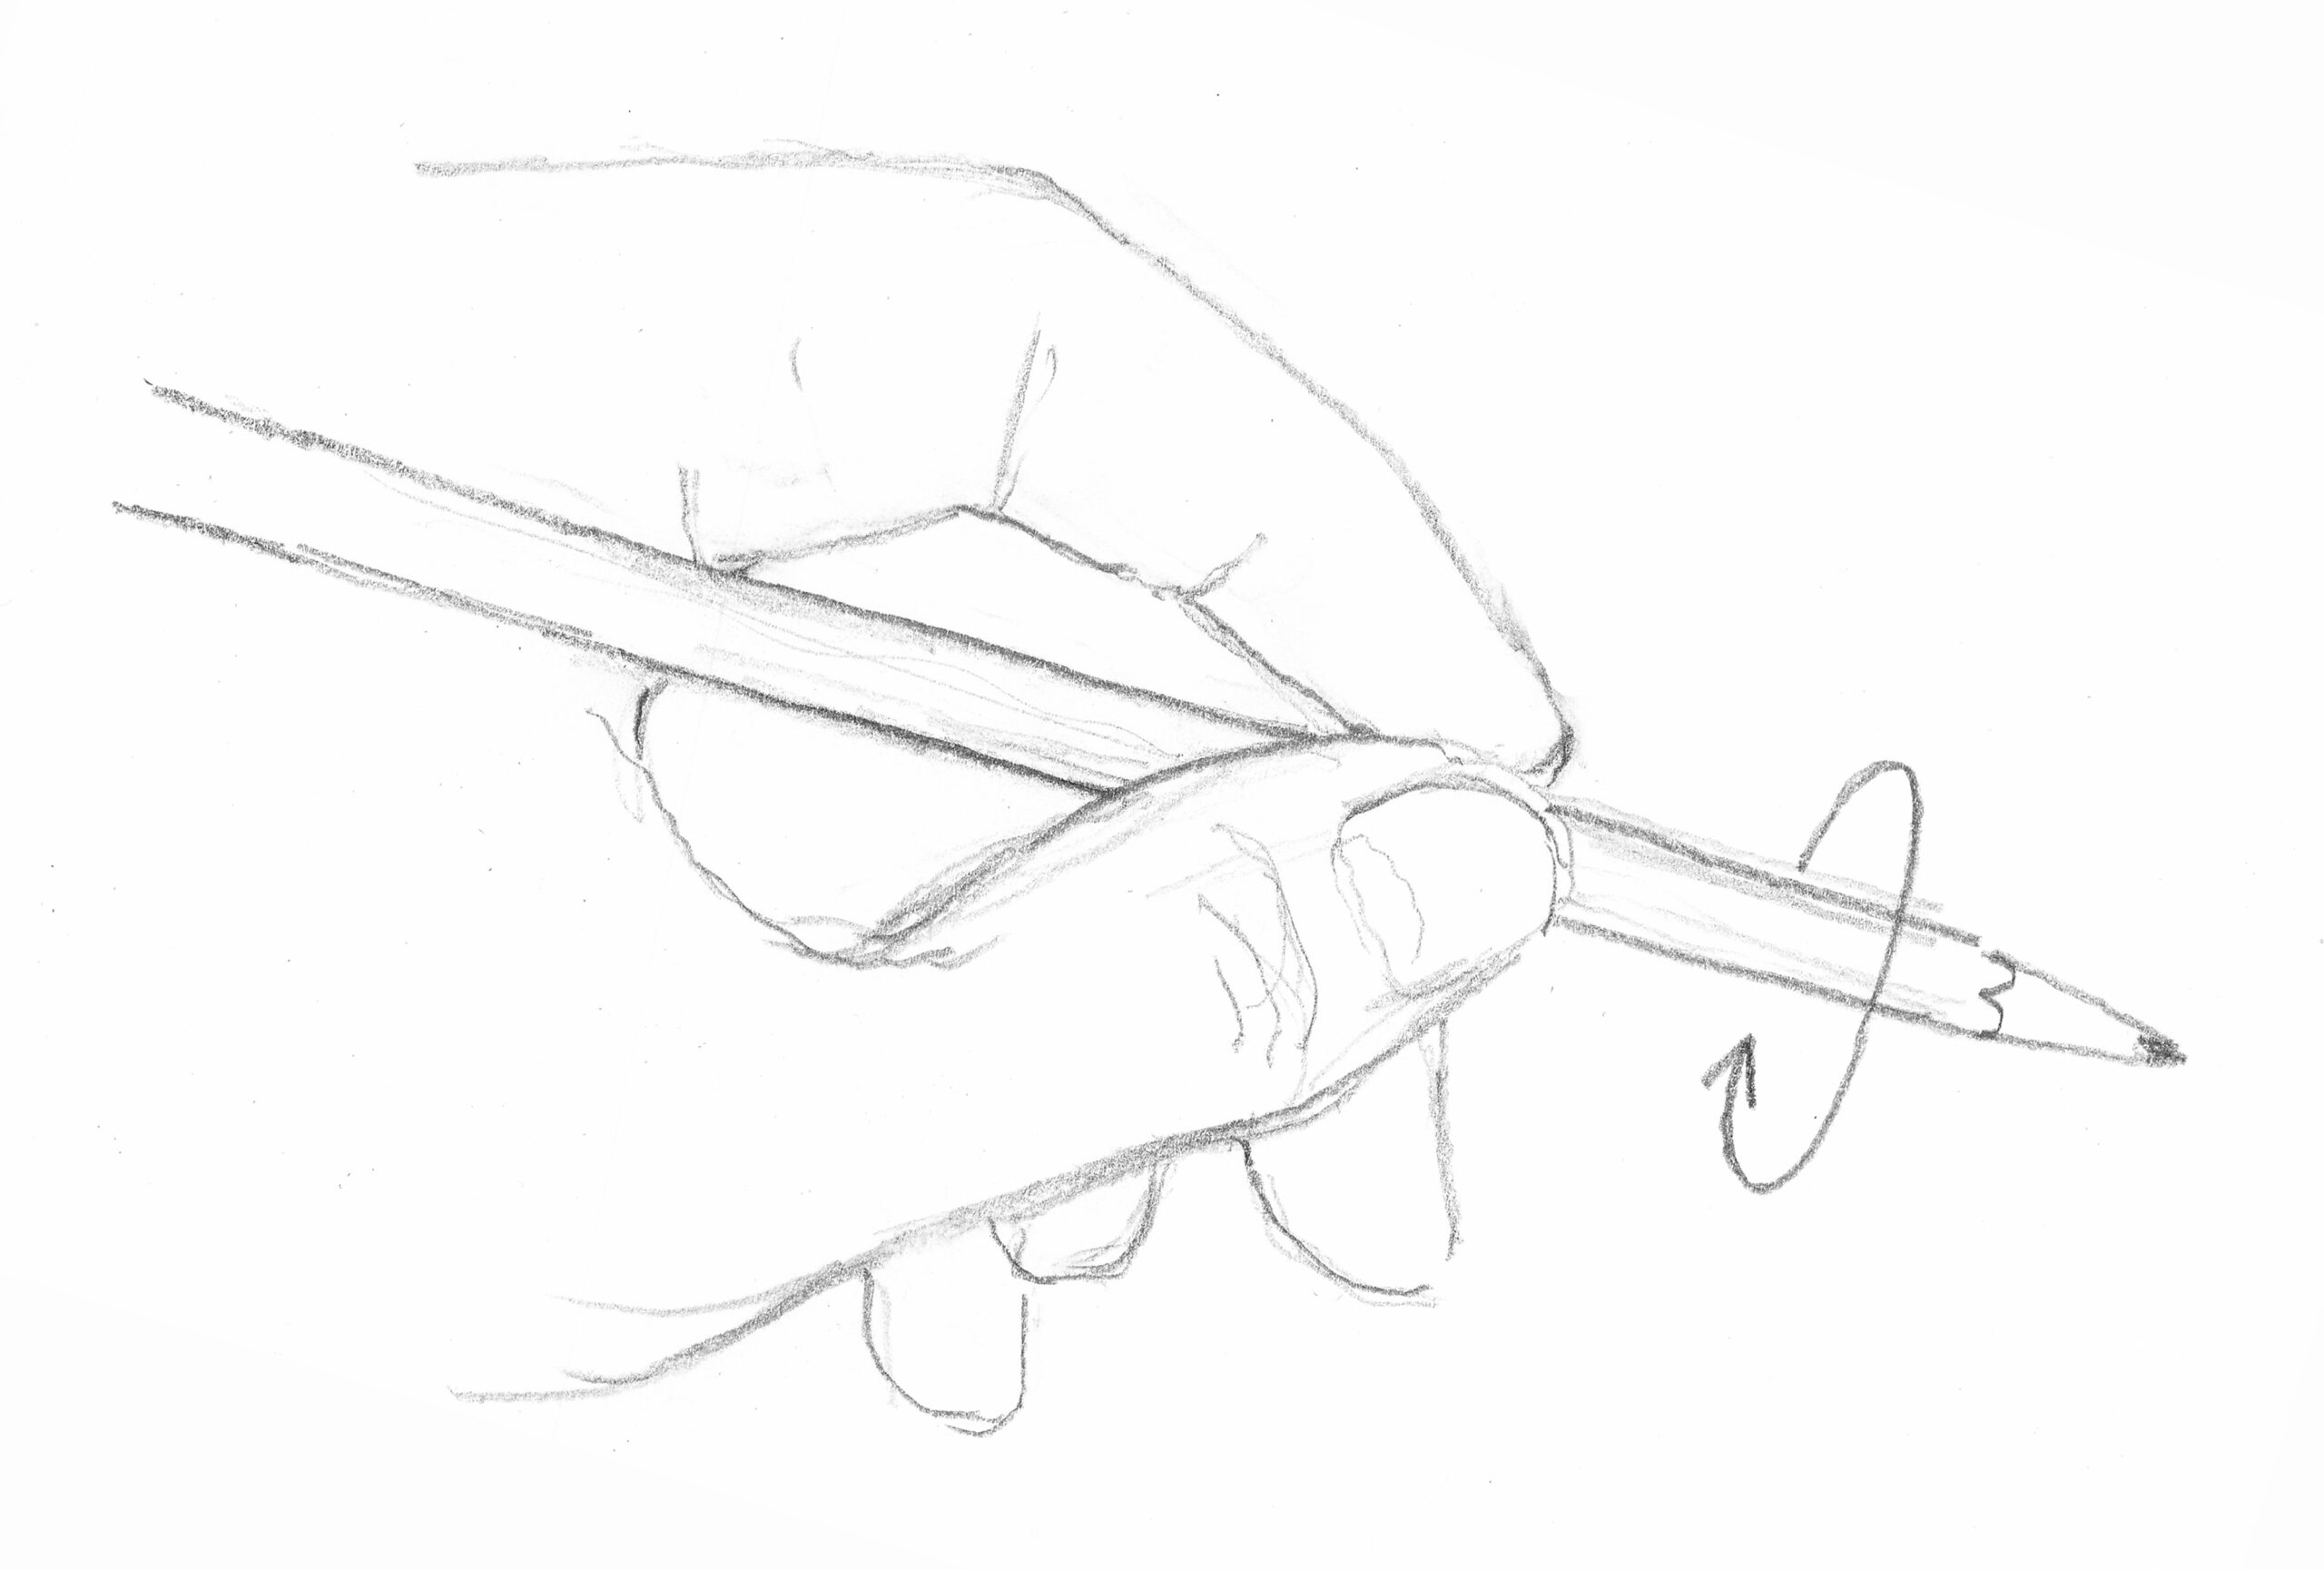
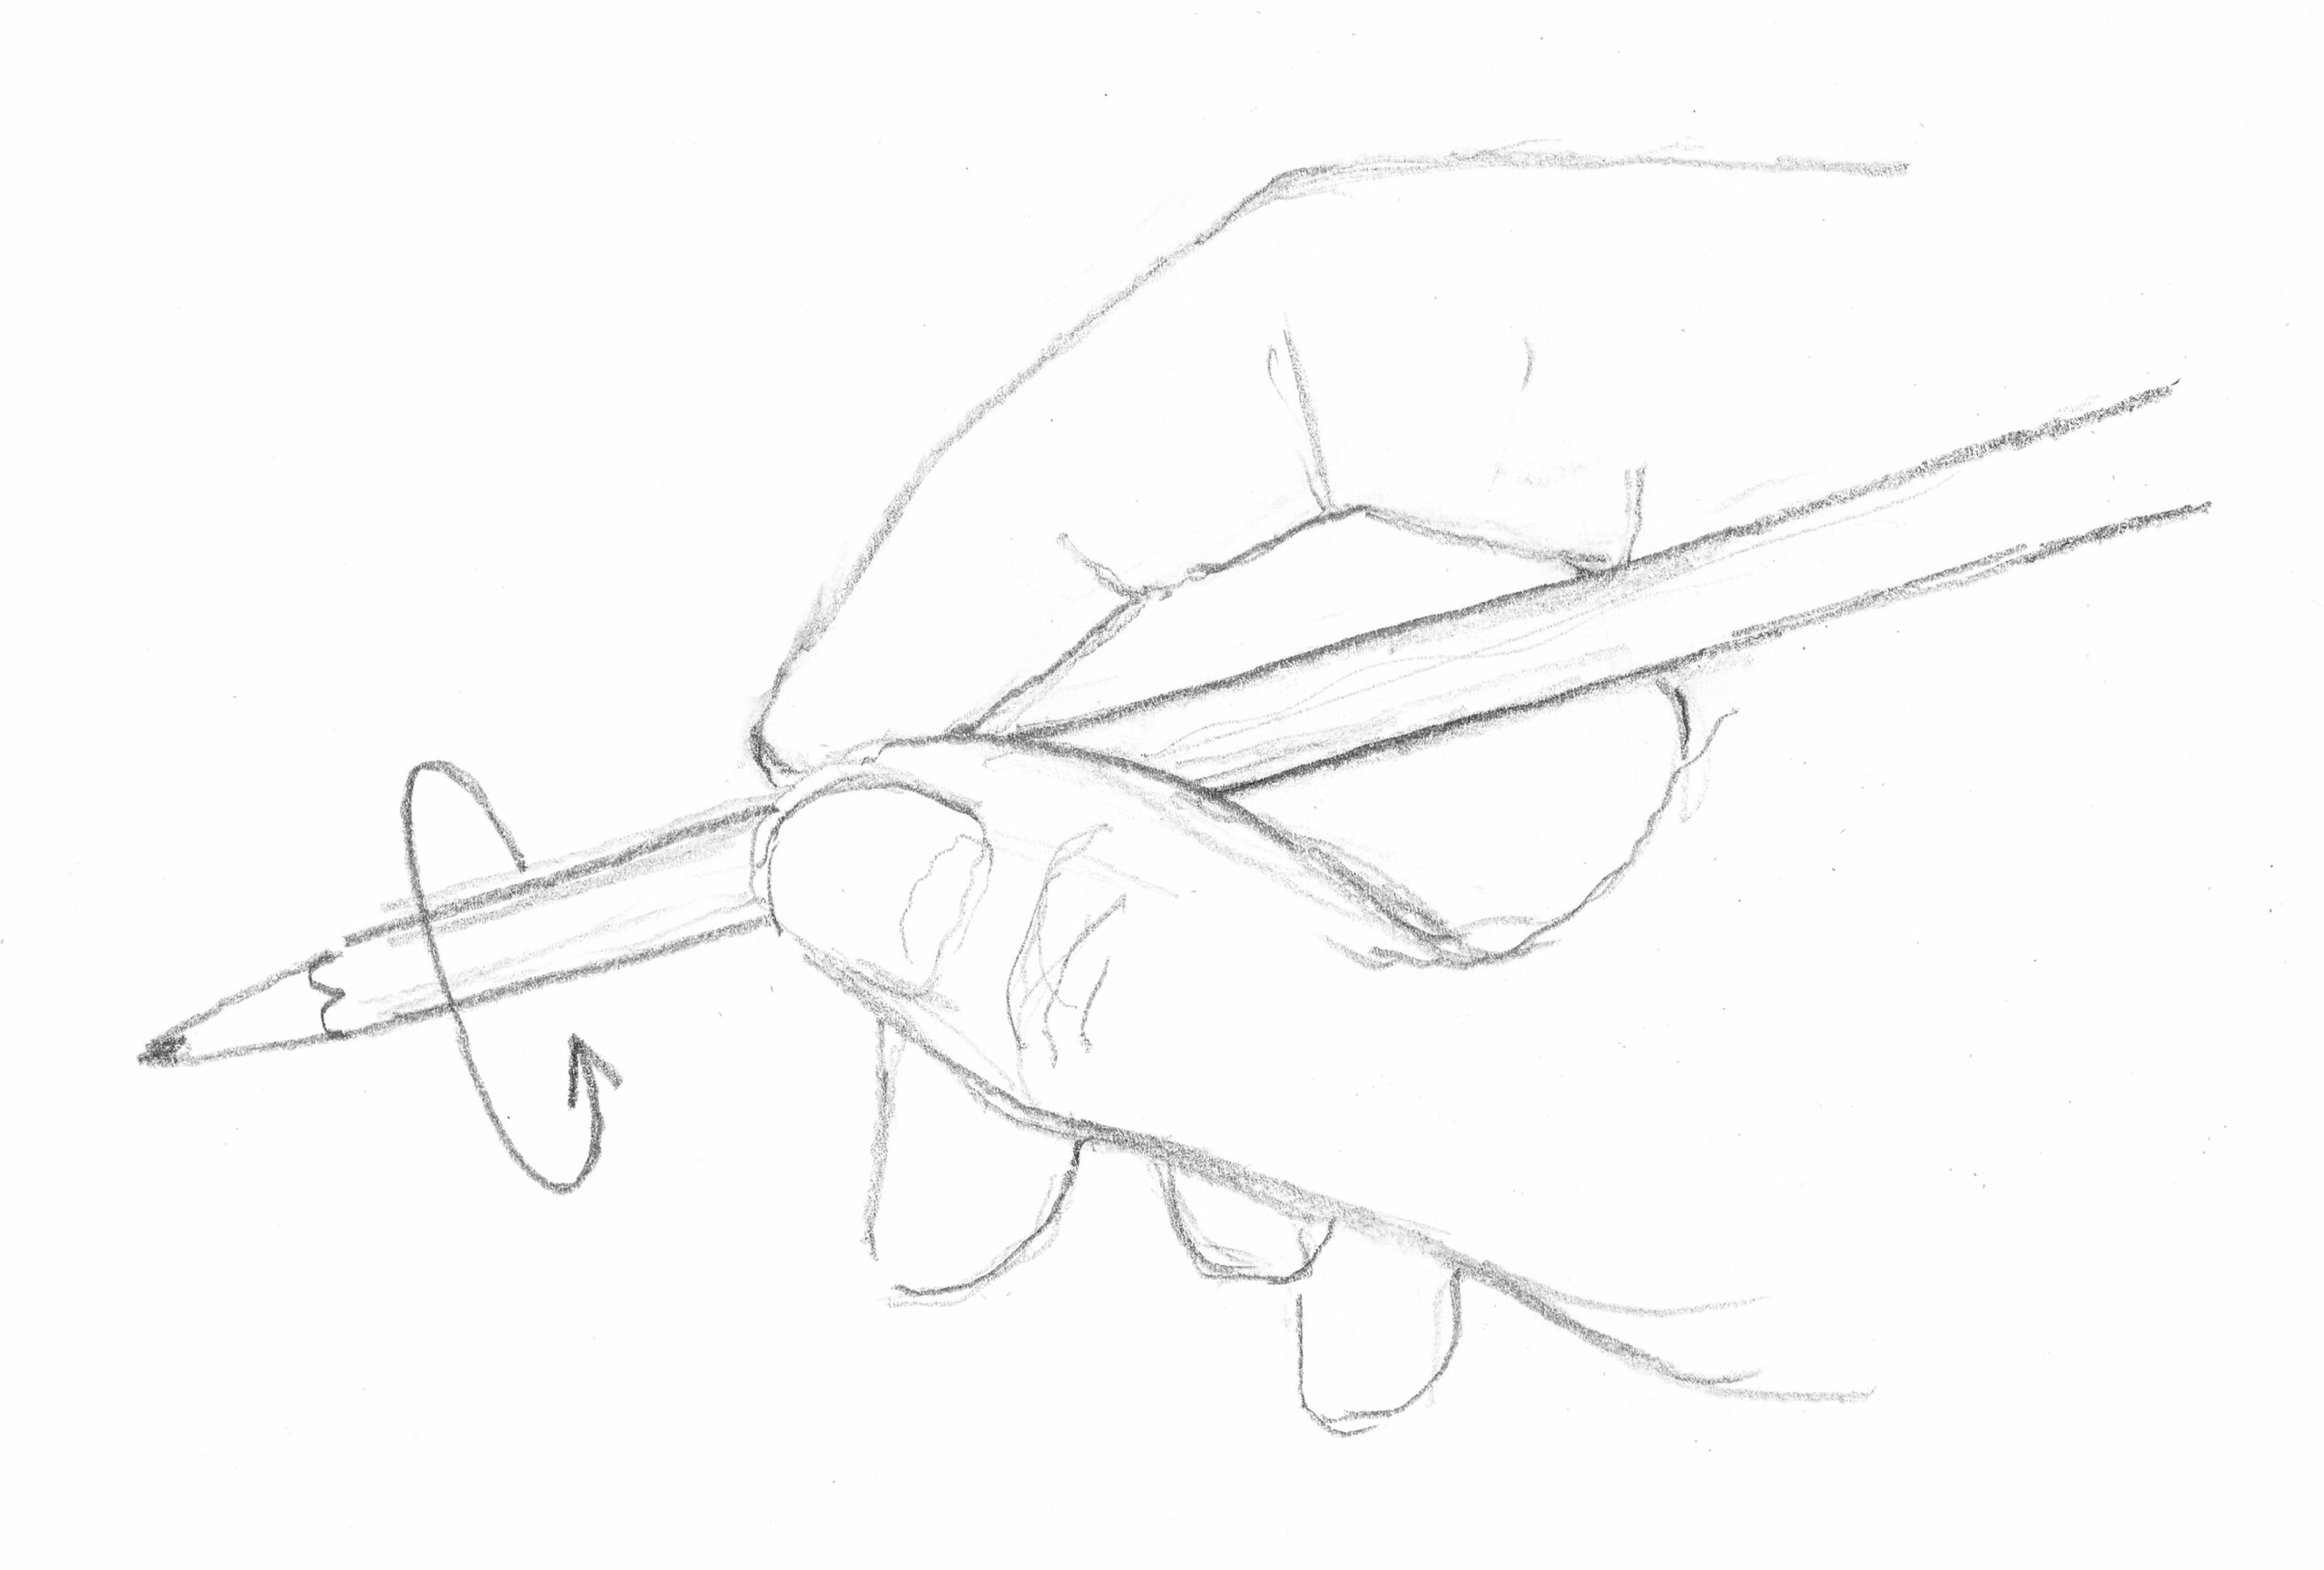
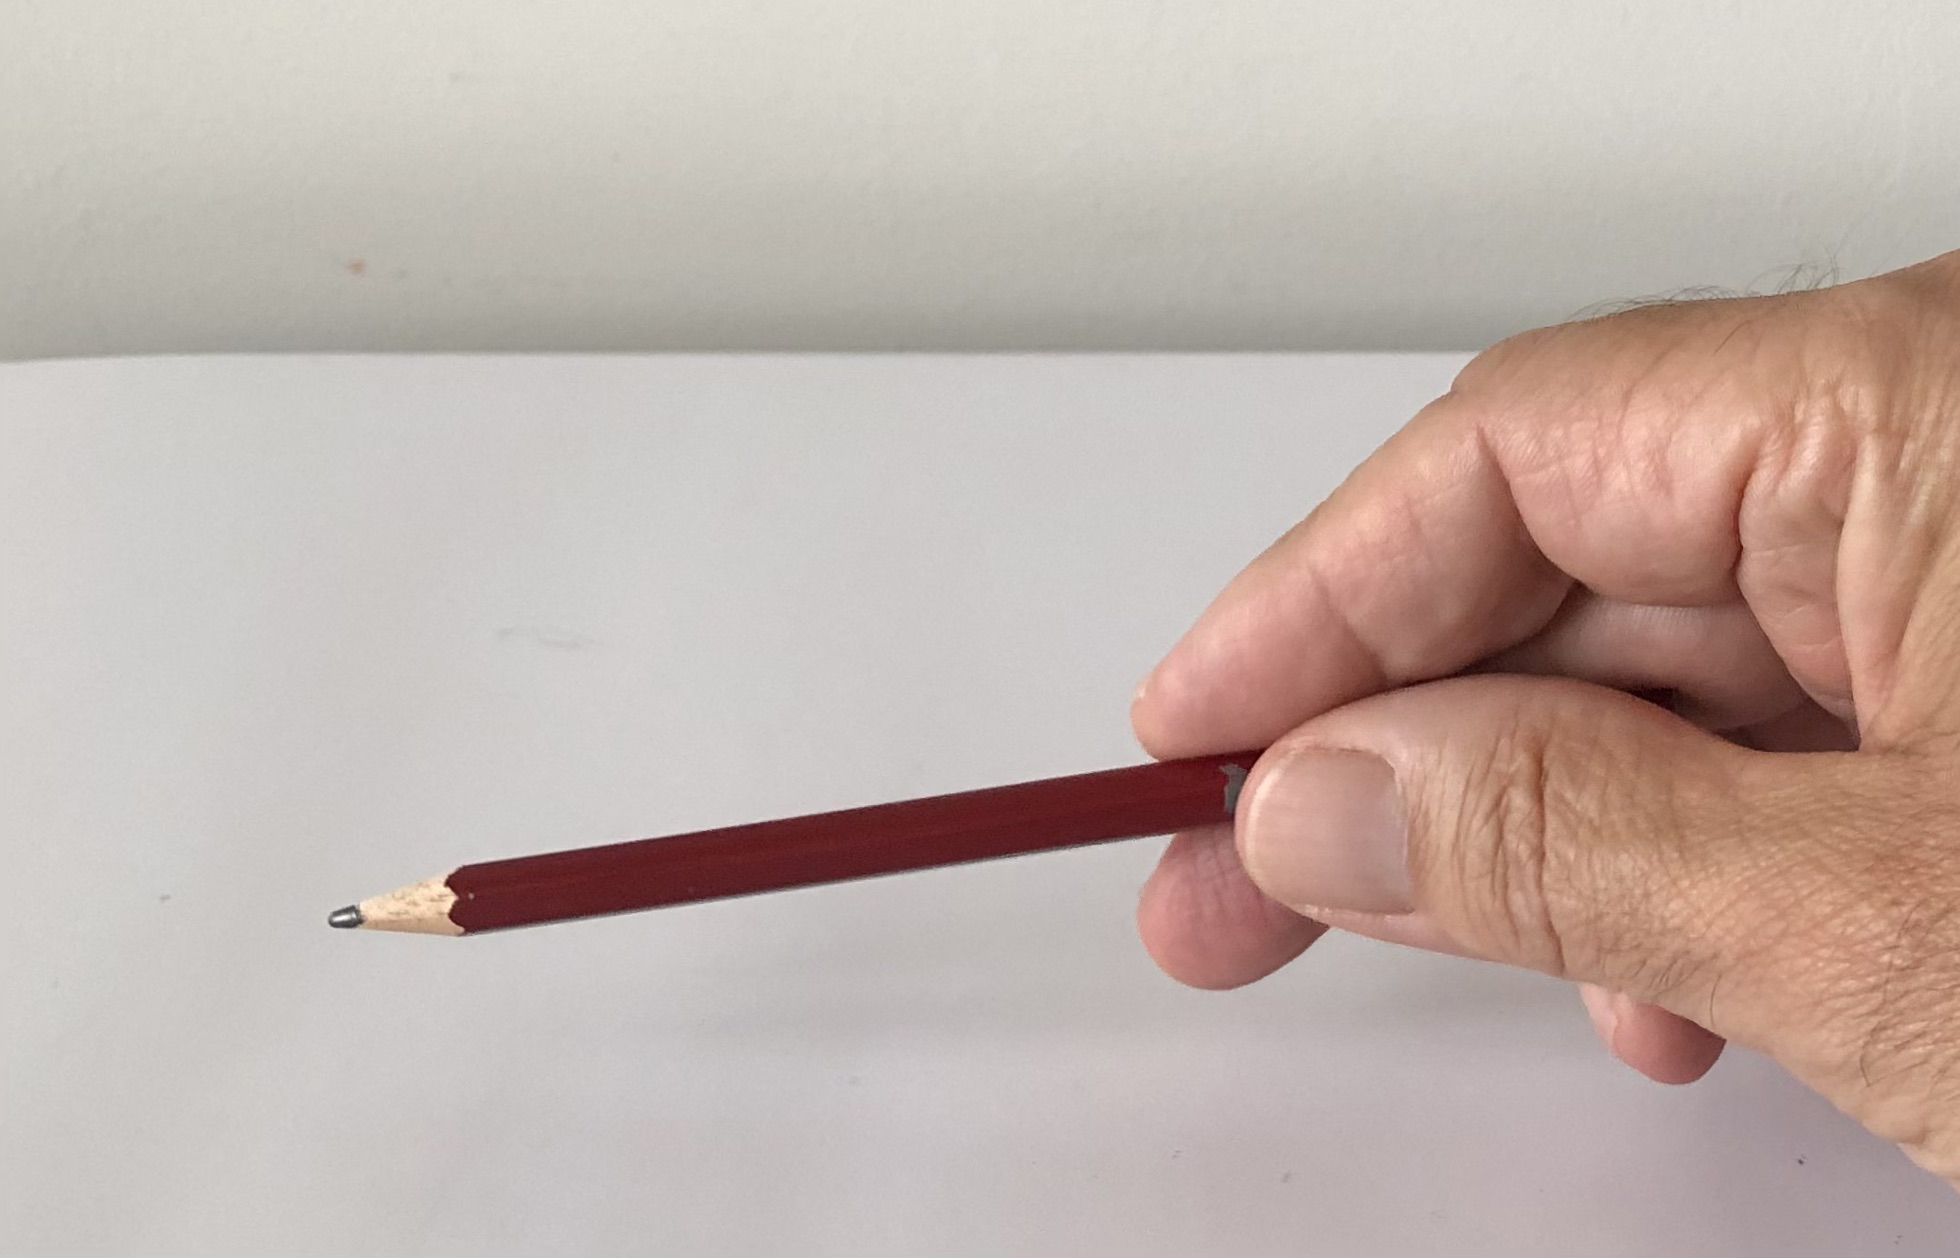
Exercise 1: Hold your pencil loosely, don’t squeeze it. Let the pencil roll loosely between your fingers (image). Don’t hold your pencil too close to the tip. This way you will see better what you are drawing.
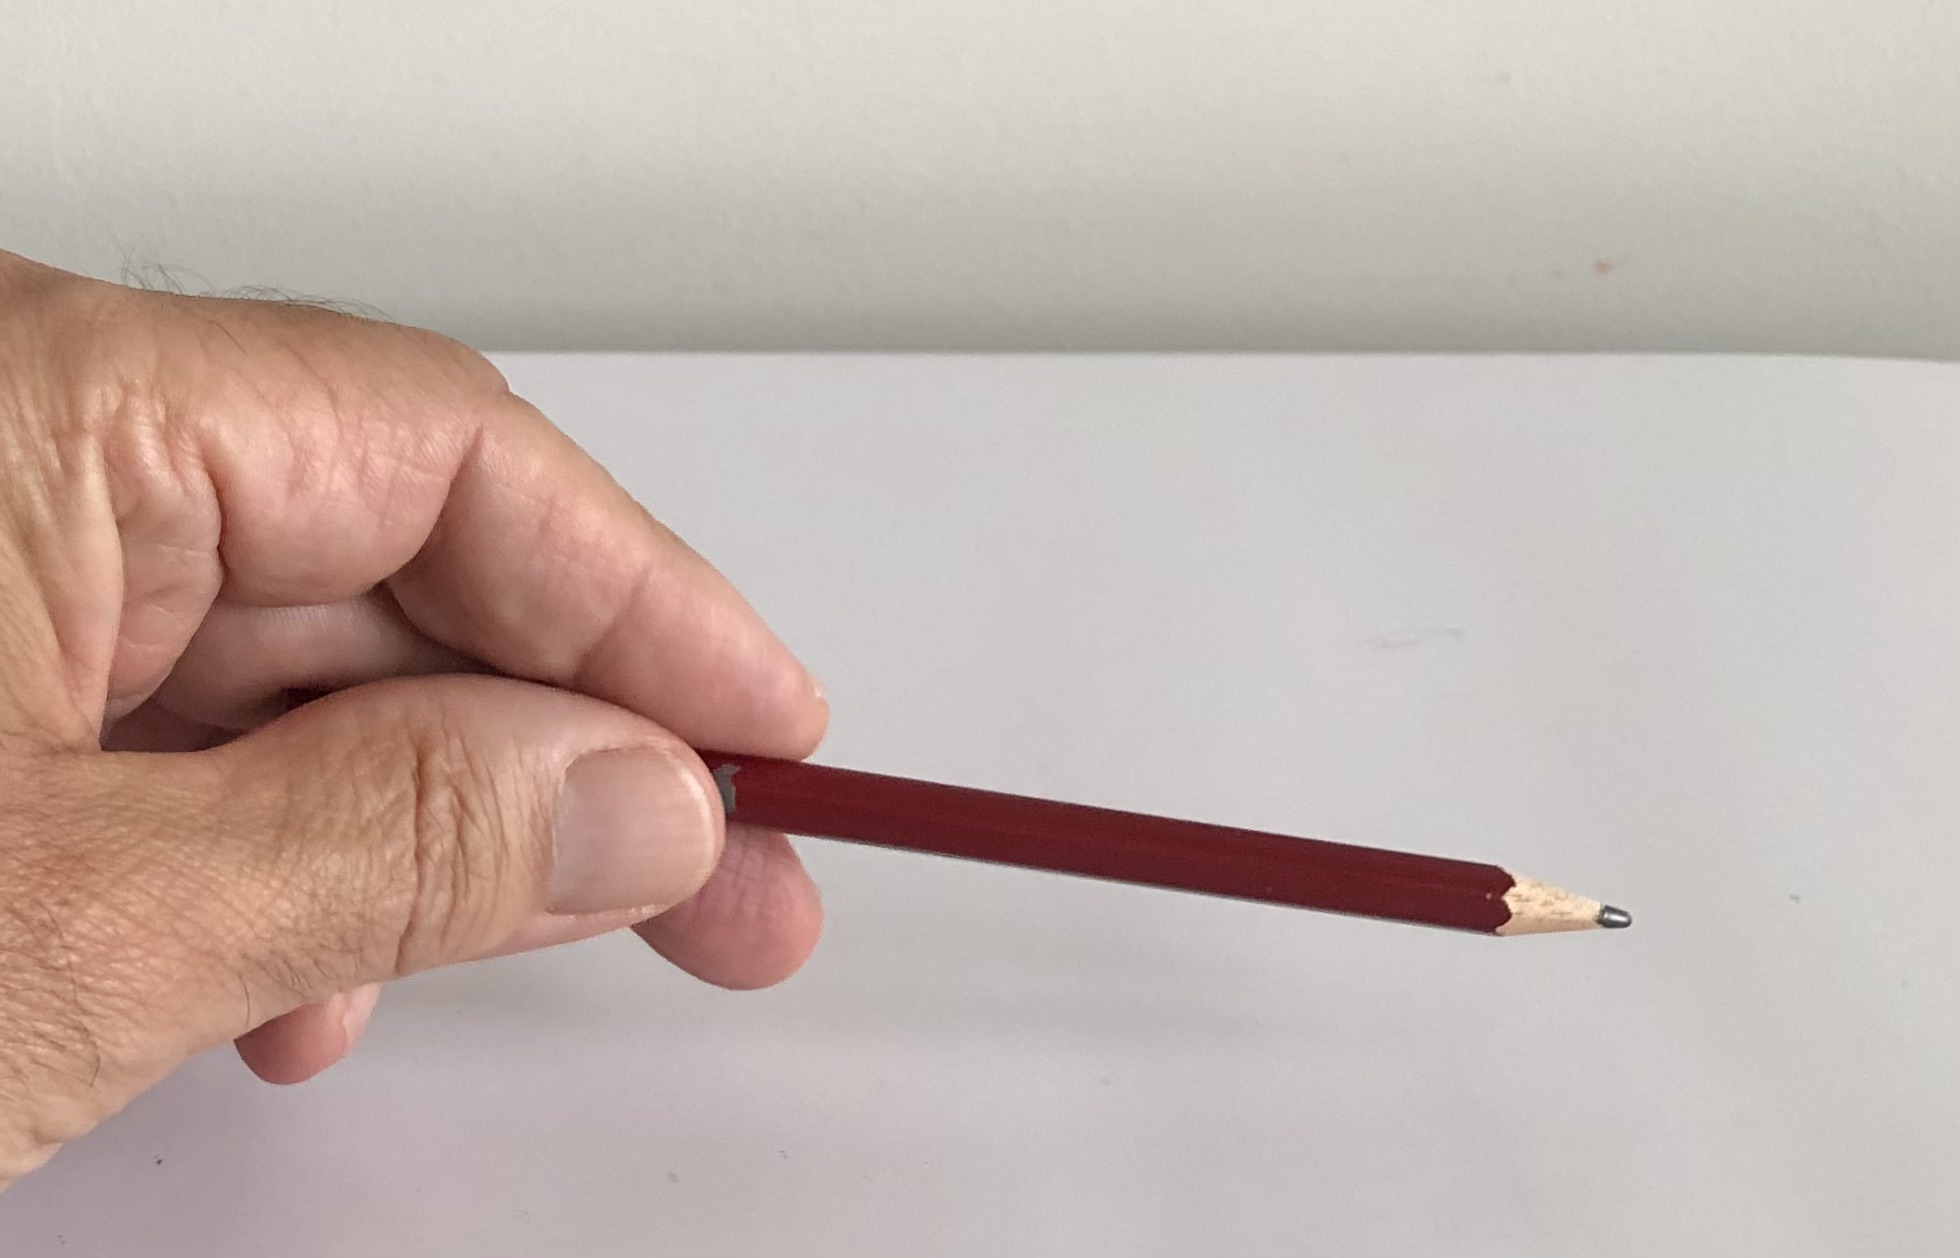
You can also hold the pencil more at the end (photo). The end then rests in the palm of your hand. Handy for example if you want to draw with the side of your pencil tip or if you draw larger shapes on a vertical easel.
DRAWING LIGHT AND DARK
With a steady and relaxed pencil grip, you can achieve large differences between light and dark by pressing harder or softer, even lines as light as the threads of a spider’s web. Try it out in the next exercise.
Exercise 2: Watch the video. Draw an ‘endless’ line across your entire paper, without letting go of your pencil on the paper and without stopping anywhere in between.
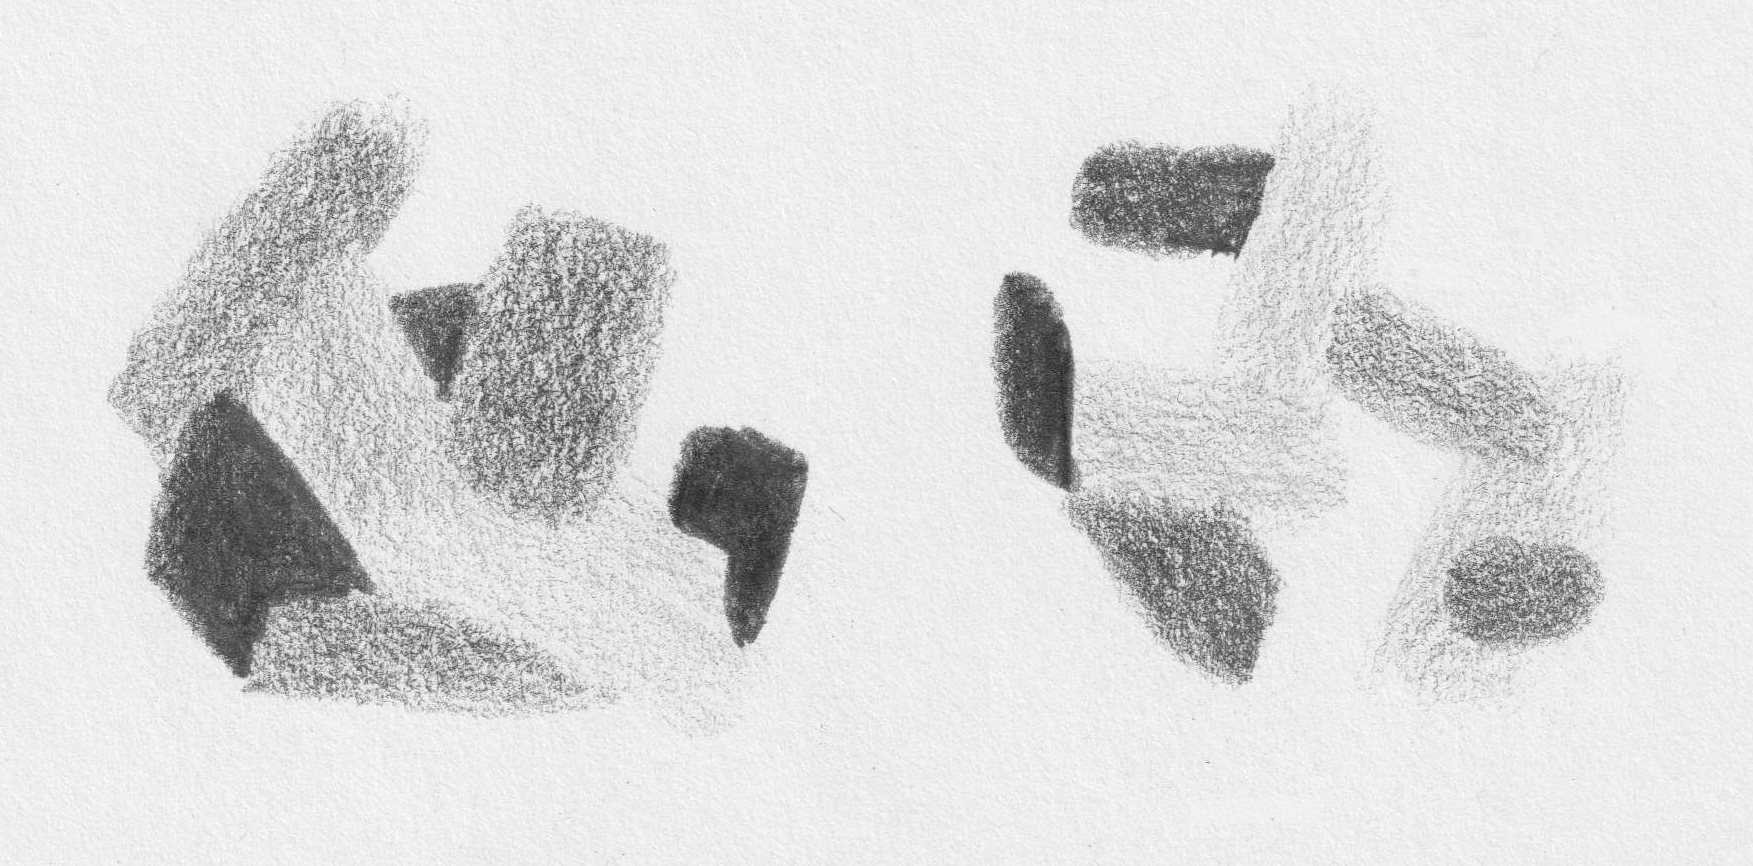
Exercise 3: Randomly draw some areas in different shades of gray, without any lines around them. Use the side of your pencil tip if necessary.
TO SHARPEN OR NOT TO SHARPEN
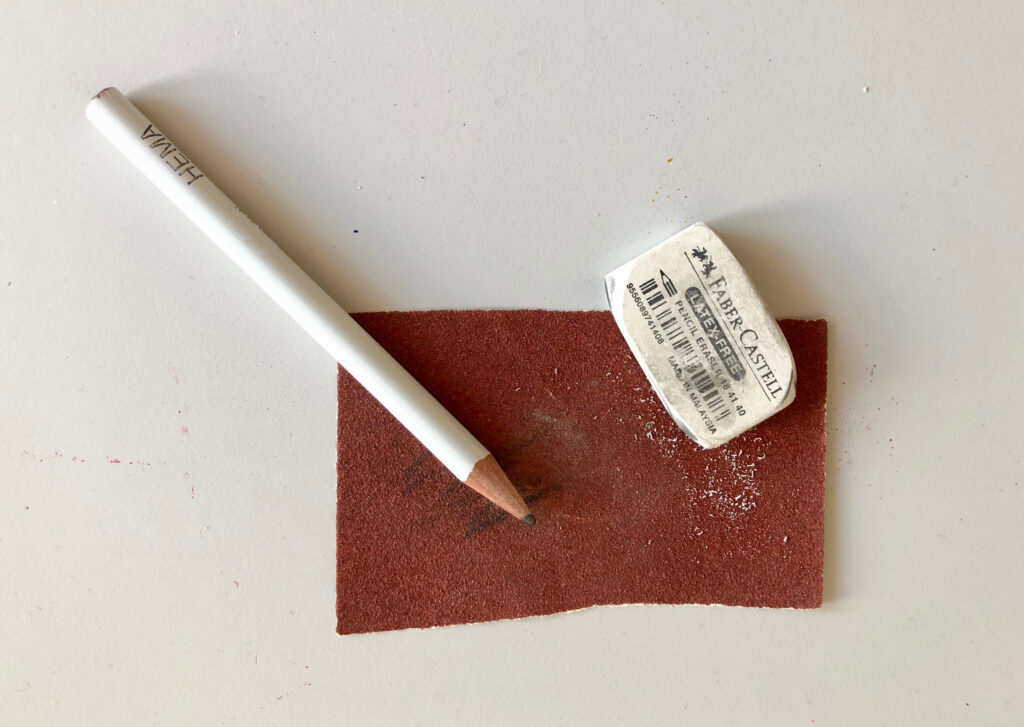
A sharp point on your pencil is nice and sometimes necessary, but for drawing soft gray tones like in exercise 3, a sharp point is inconvenient. You can always make a sharp point rounder with sandpaper. With the same sandpaper you can also clean a stained eraser.
CHOOSING PAPER
Maybe you have already found a nice type of paper to draw on, in loose sheets or a dummy/sketchbook. The smooth white A4 or A3 copy paper from packages is fine to draw on, but it is also nice to use a bit thicker (for example 120 grams), coarser and/or slightly tinted paper such as off-white, grey or beige.
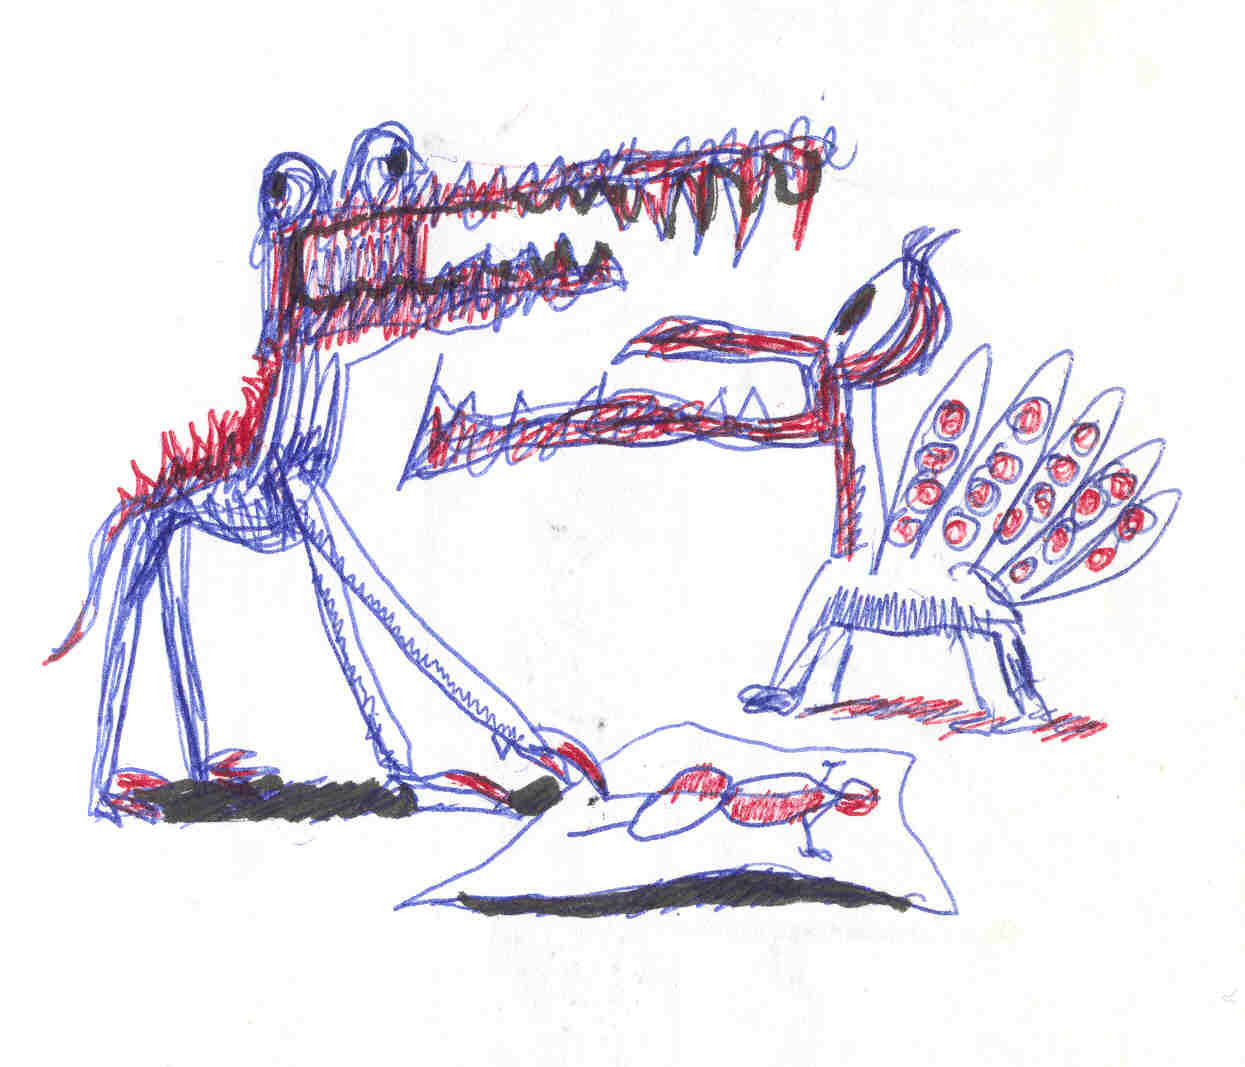
Of course, Basispotlood.nl won’t stop you if you feel like drawing with totally other materials! In this drawing a blue and red Bic ballpoint and a black marker.
