Chapter 1 | HANDS
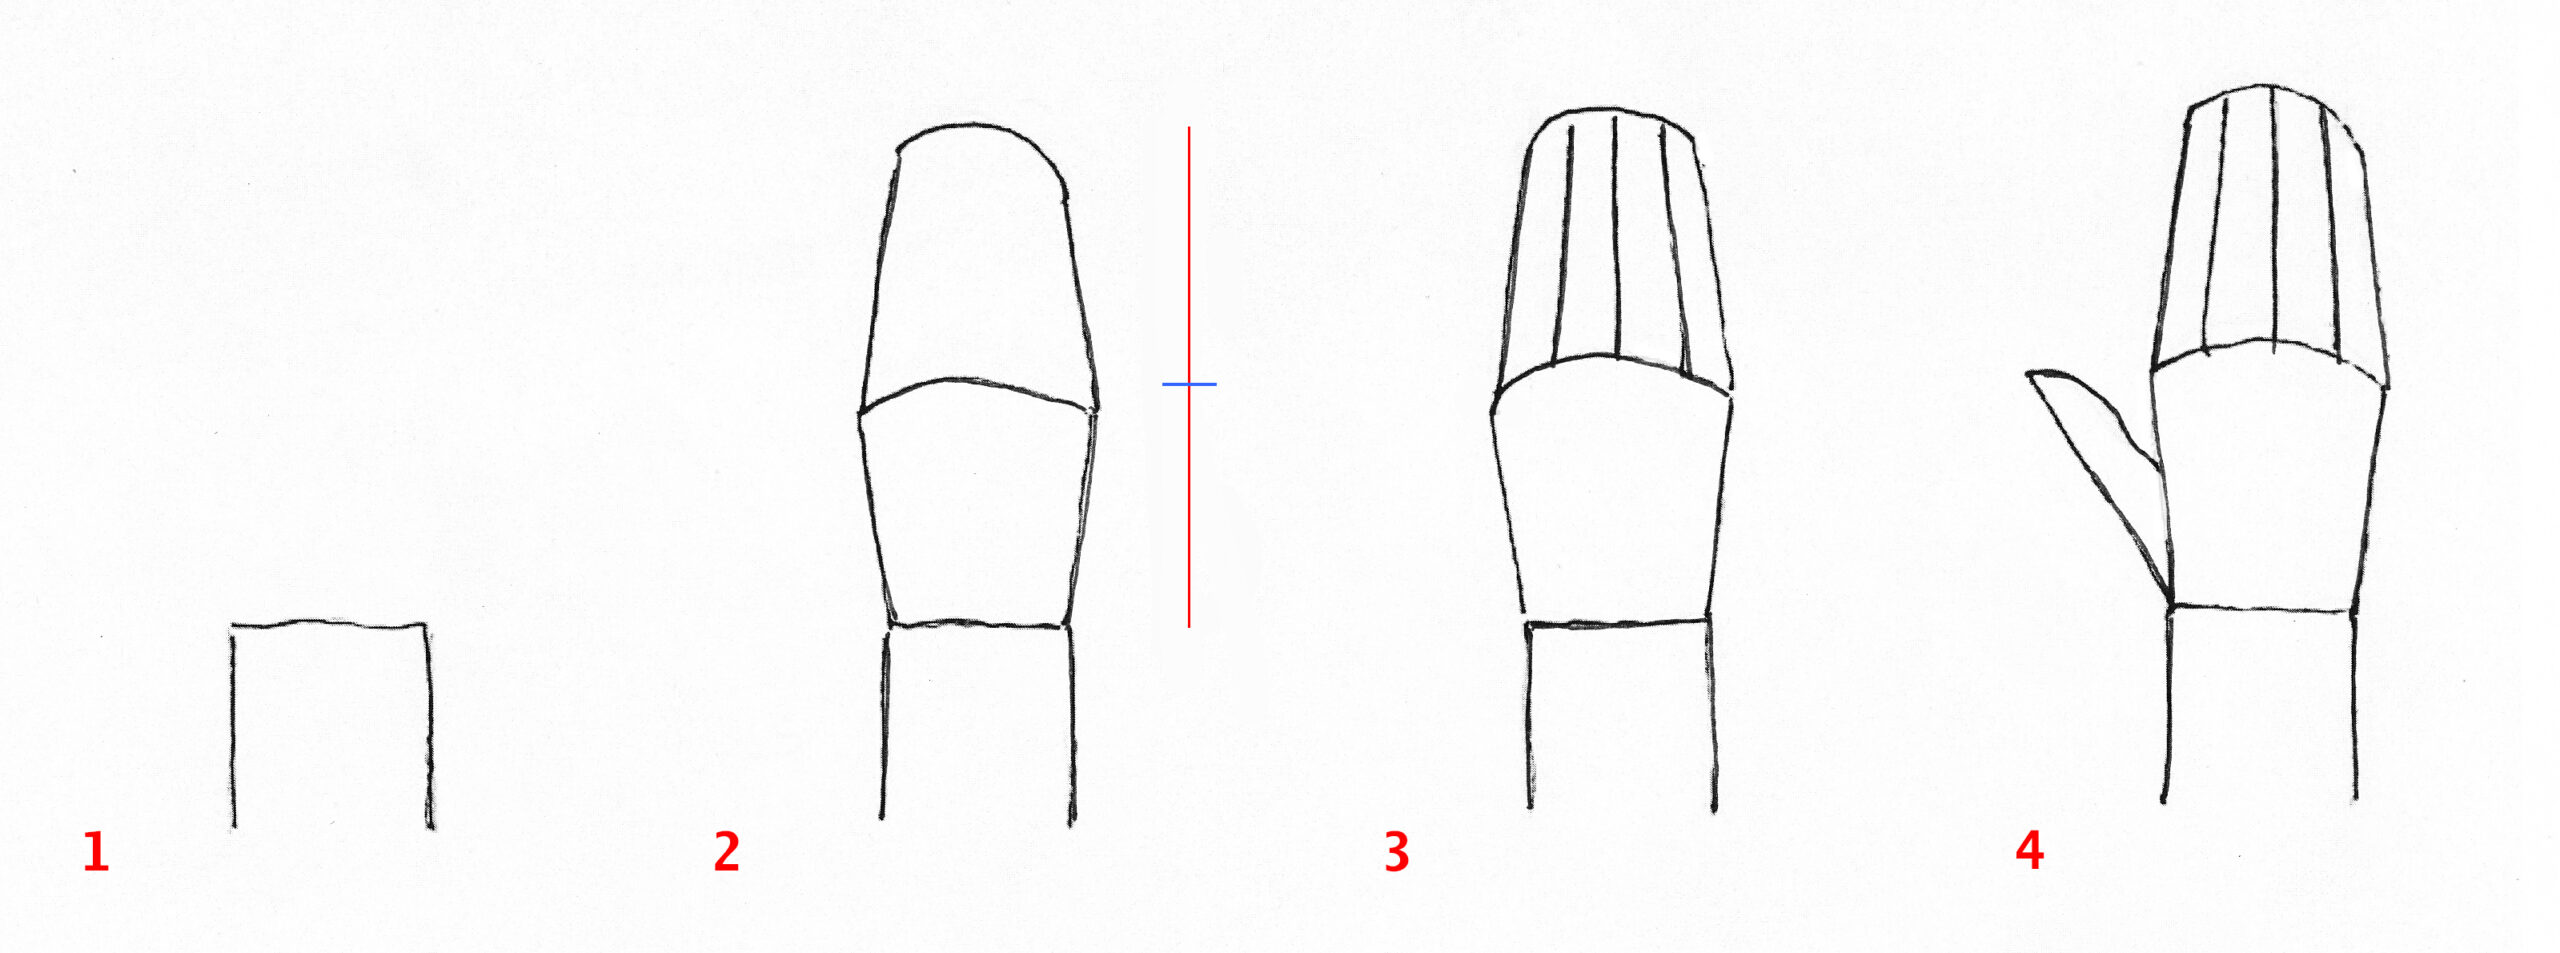
Exercise 1: In the next image I show you the structure of the hand. Draw the row from left to right one by one. Don’t skip a drawing.
Step 1: the wrist (always start the following steps with the wrist).
Step 2: the back of your hand and the shape where the fingers fit. Note the arc shapes. If you hold your fingers together, they are narrower at the fingertips. Just check with yourself.
Step 3: Divide the space for the fingers into quarters.
Step 4: Finally, draw the thumb that starts at the wrist. Draw the thumb fairly straight on the outside and a little rounder on the inside.
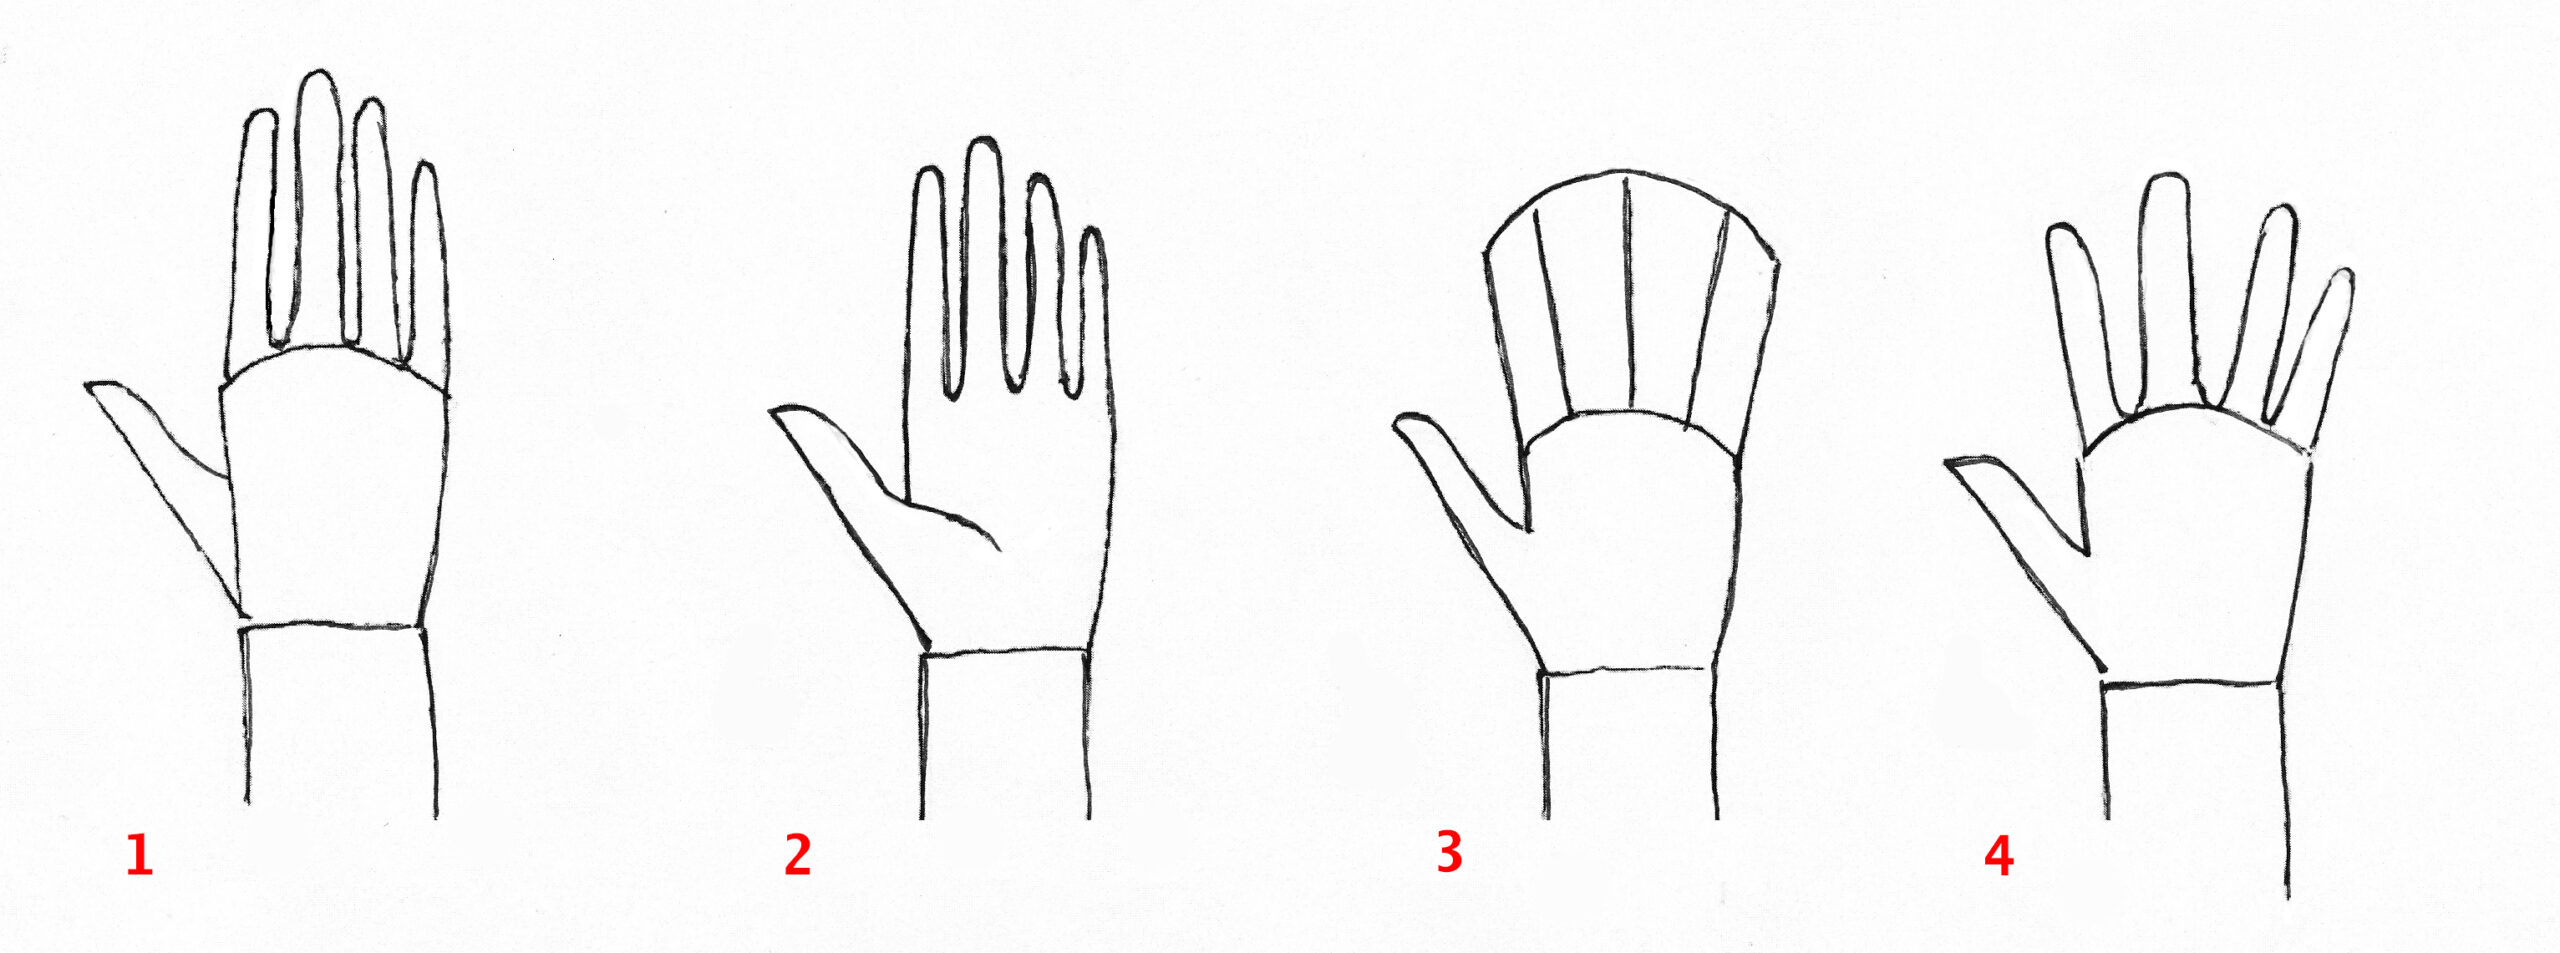
Exercise 2: Draw the next row of hands one by one. In drawing 1 the shapes have been made a bit rounder and the fingers are looser from each other. In drawing 2 you see the same hand on the inside, with the palm. In drawings 3 and 4 the fingers are spread.
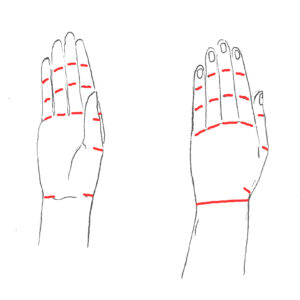
In the following examples the red lines indicate where the wrist, fingers and thumb can bend. The nails are now also drawn. Short or long nails are always slightly less wide than the fingers themselves. Nails lie in their ‘nail bed’. On the right an example with long nails.
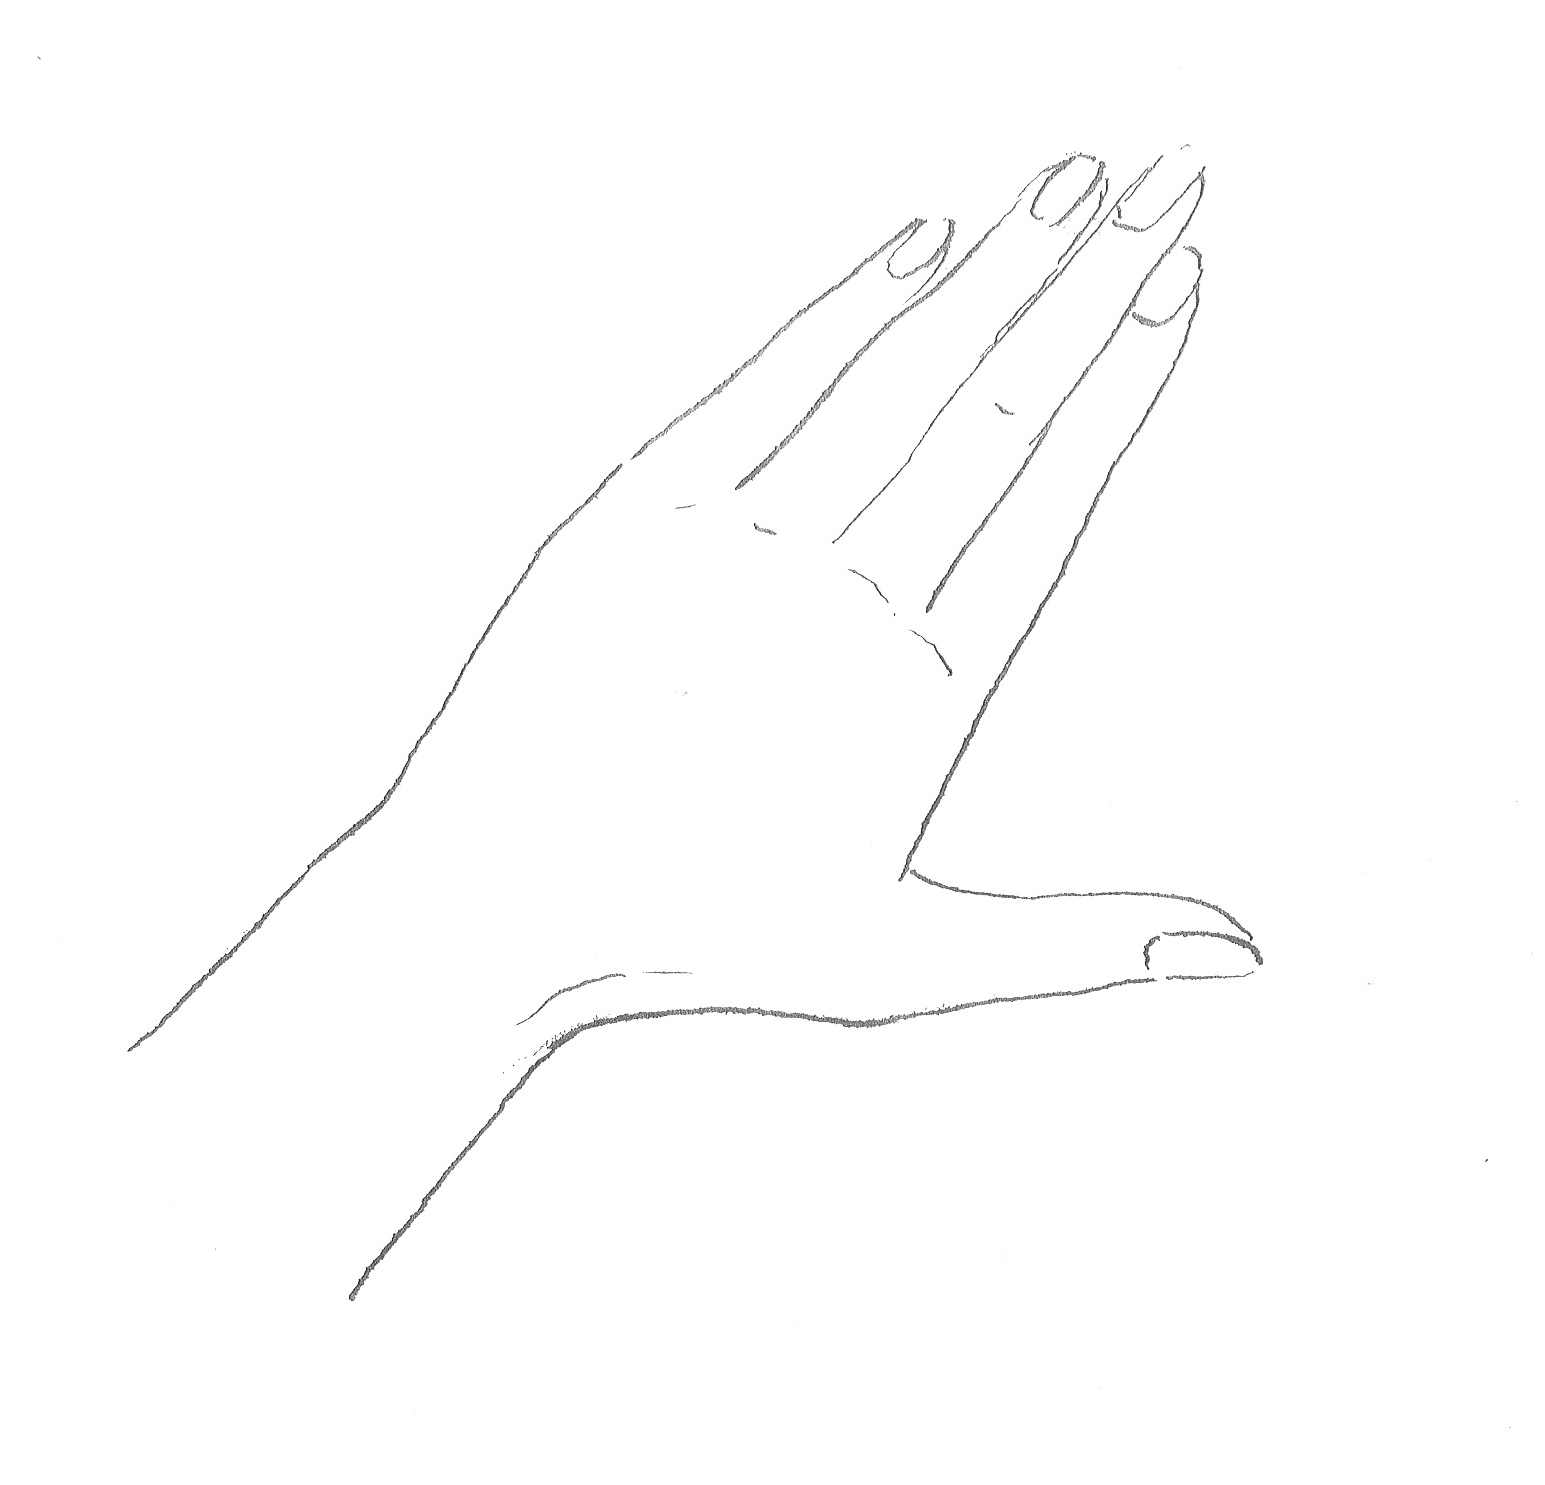
Exercise 3: Take a look at the model hand in different poses. Draw some of these hands and let them do or hold something of your own choice.
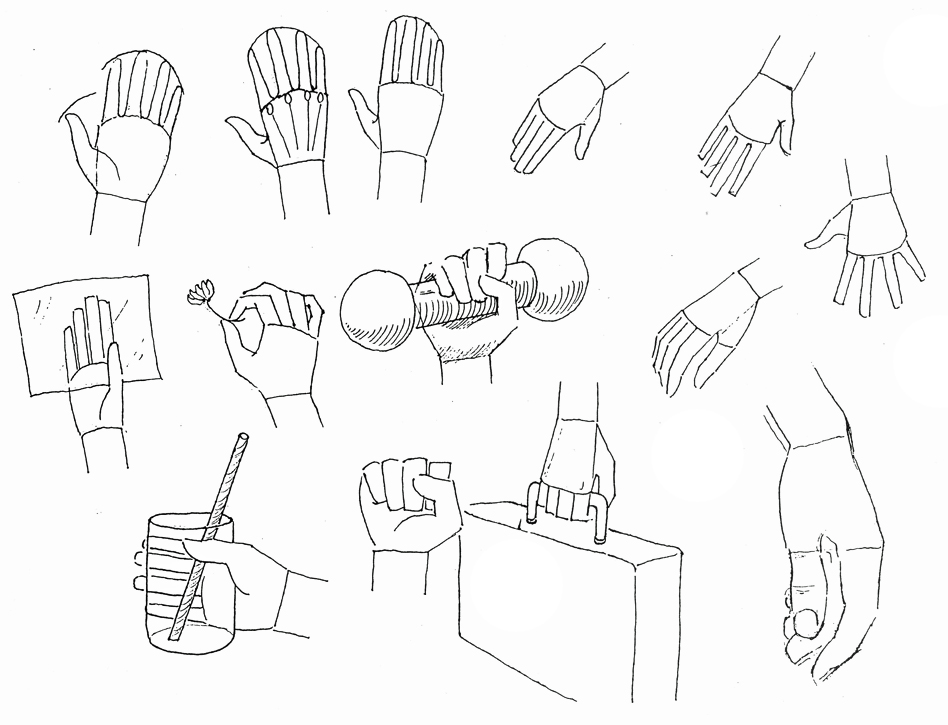
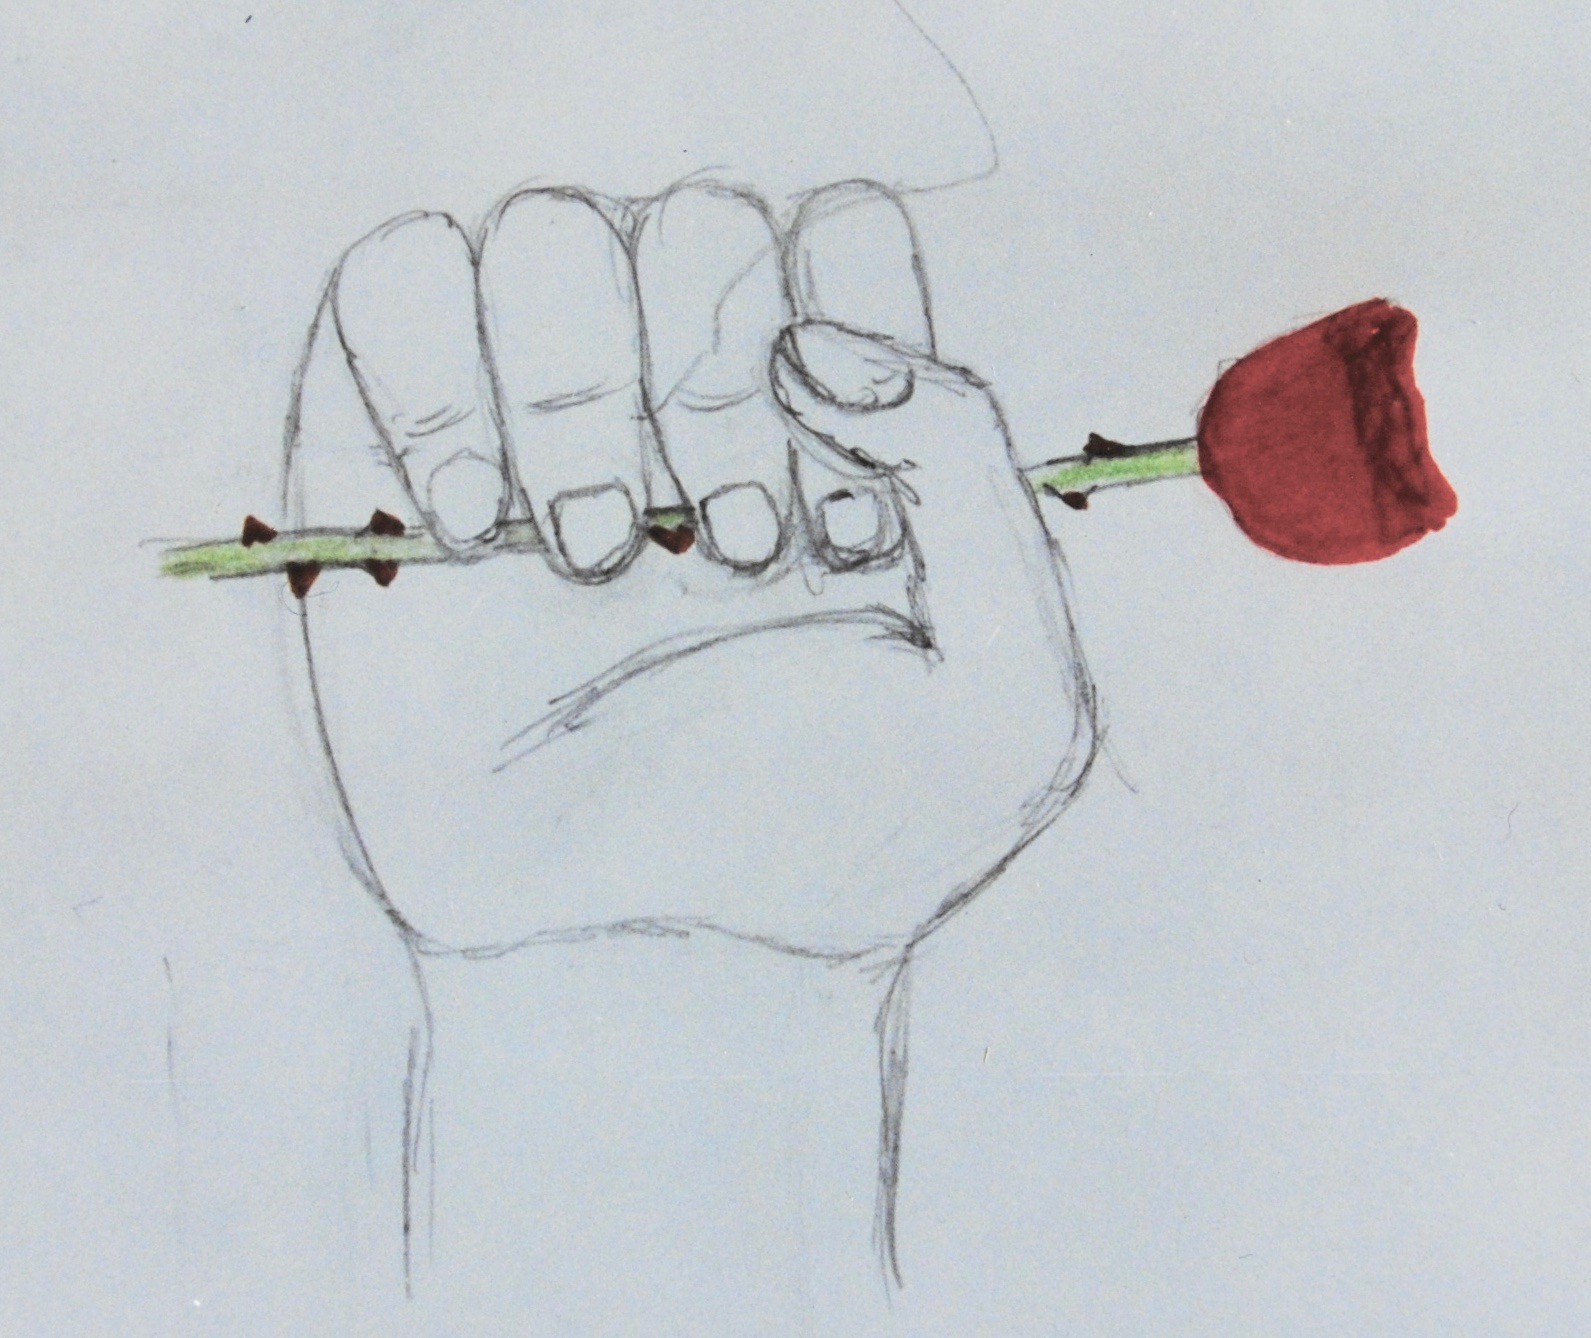
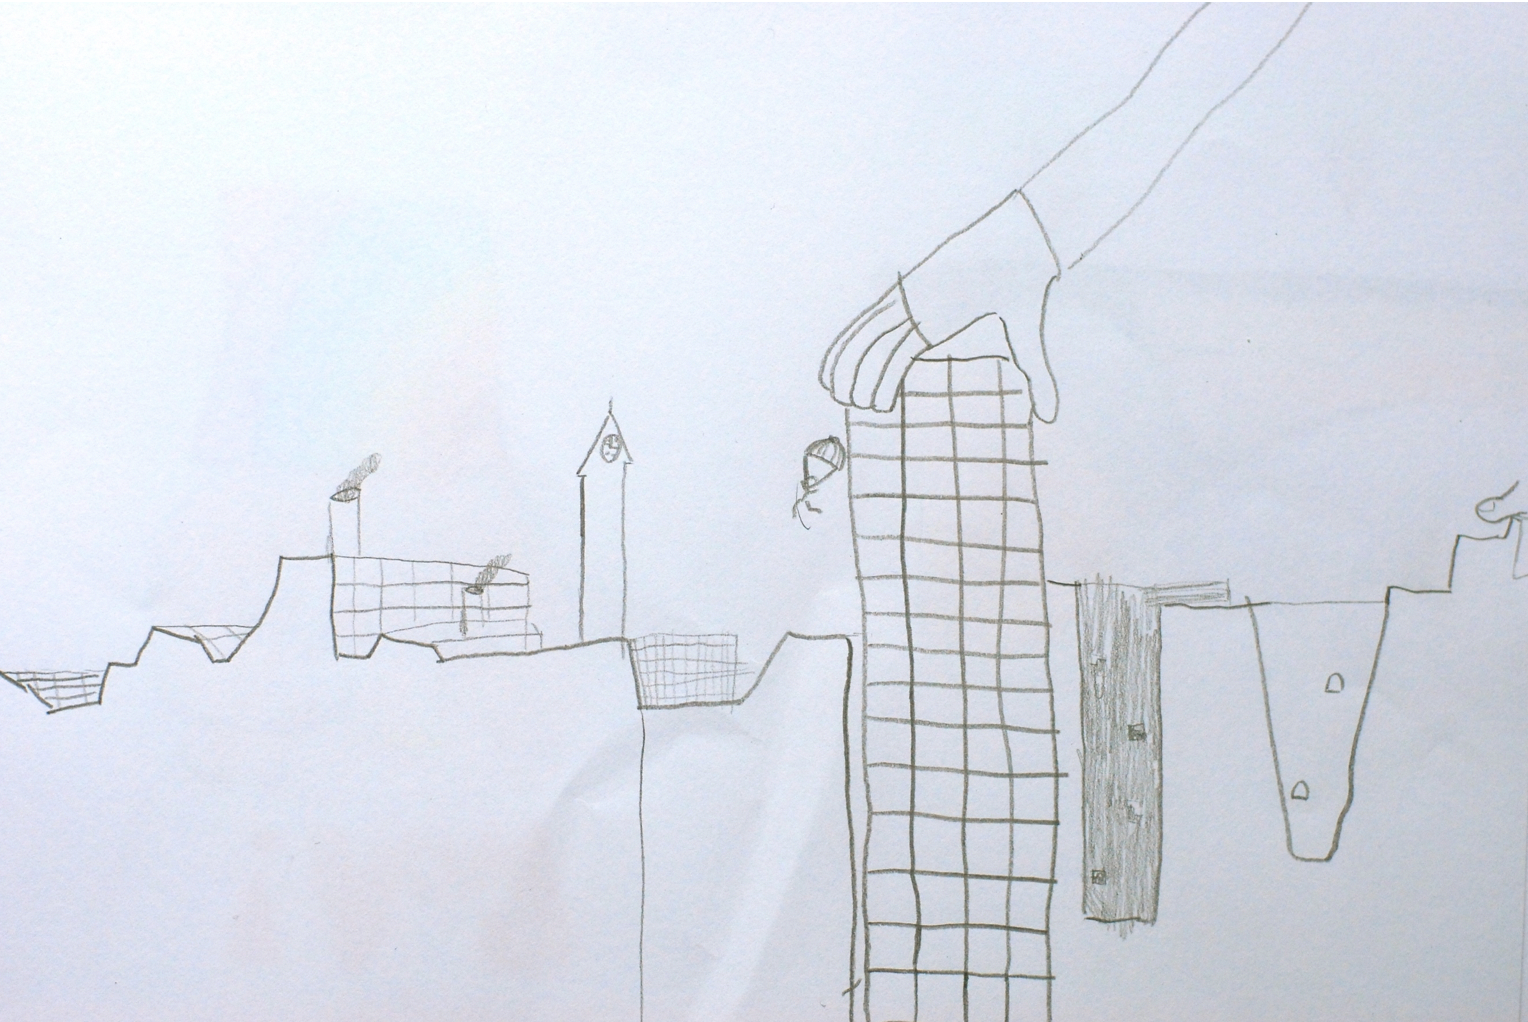
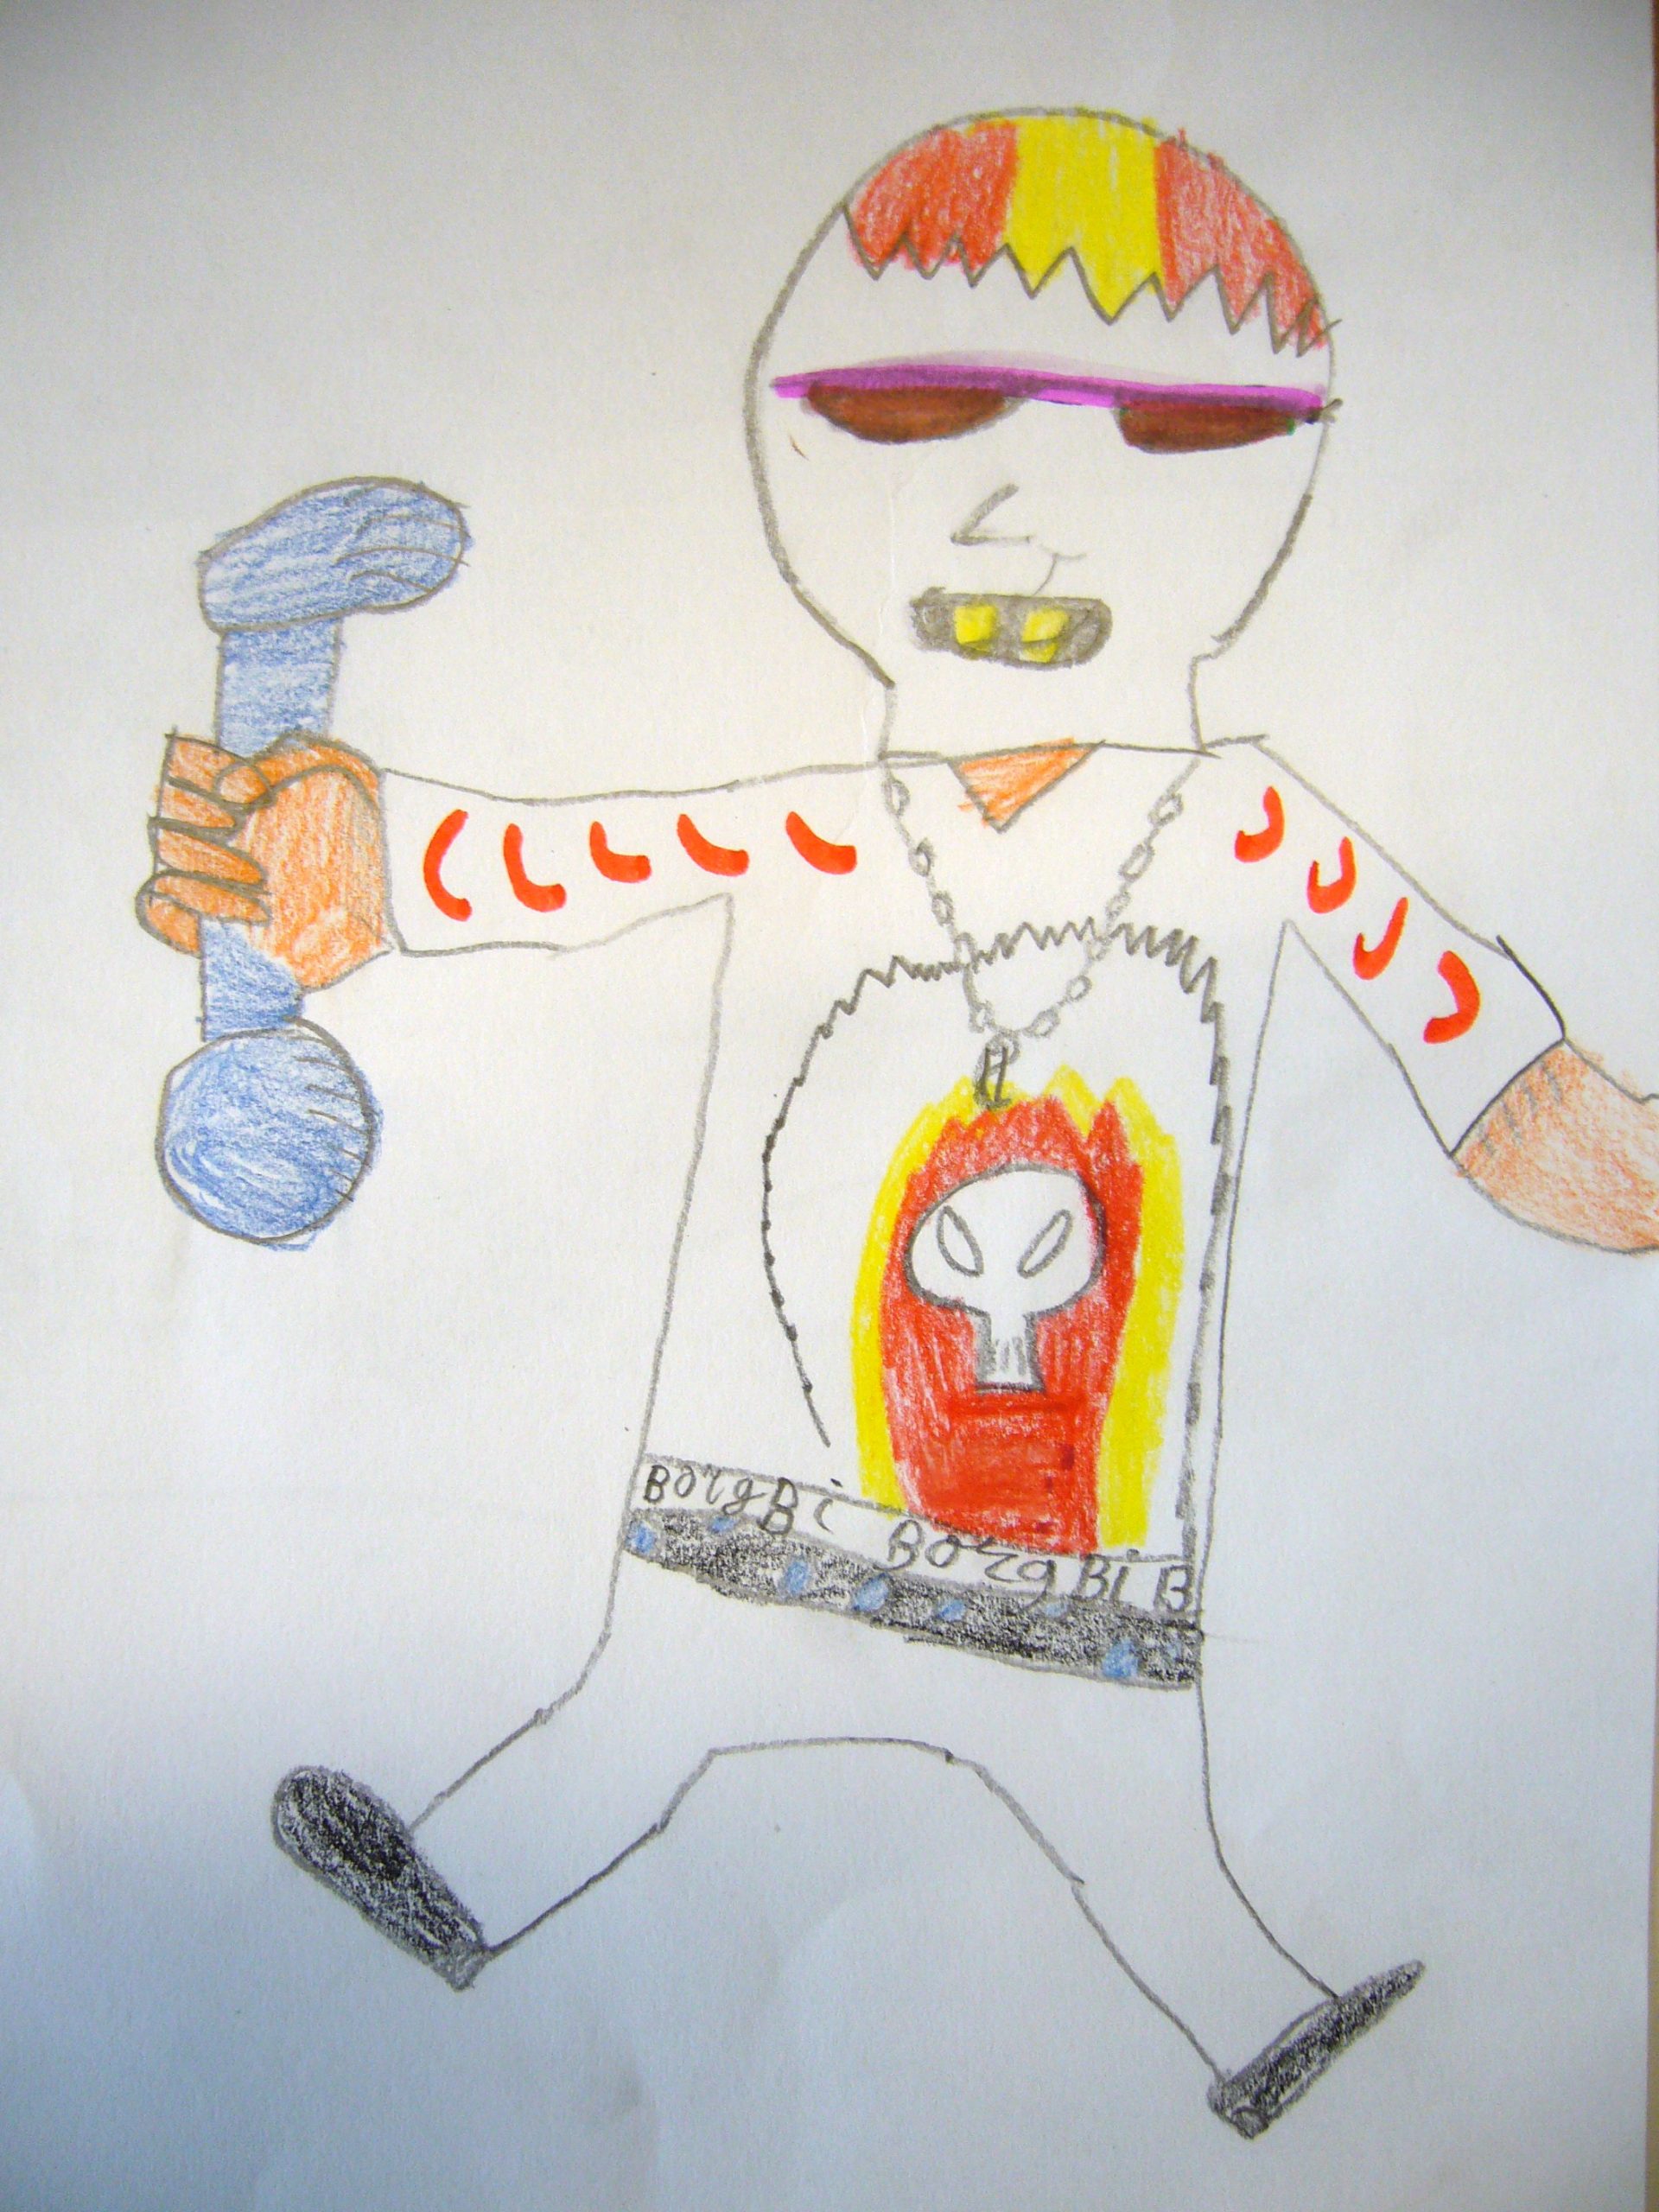
Here are some examples of pupil’s results:
