CHAPTER 3 | MOUTHS

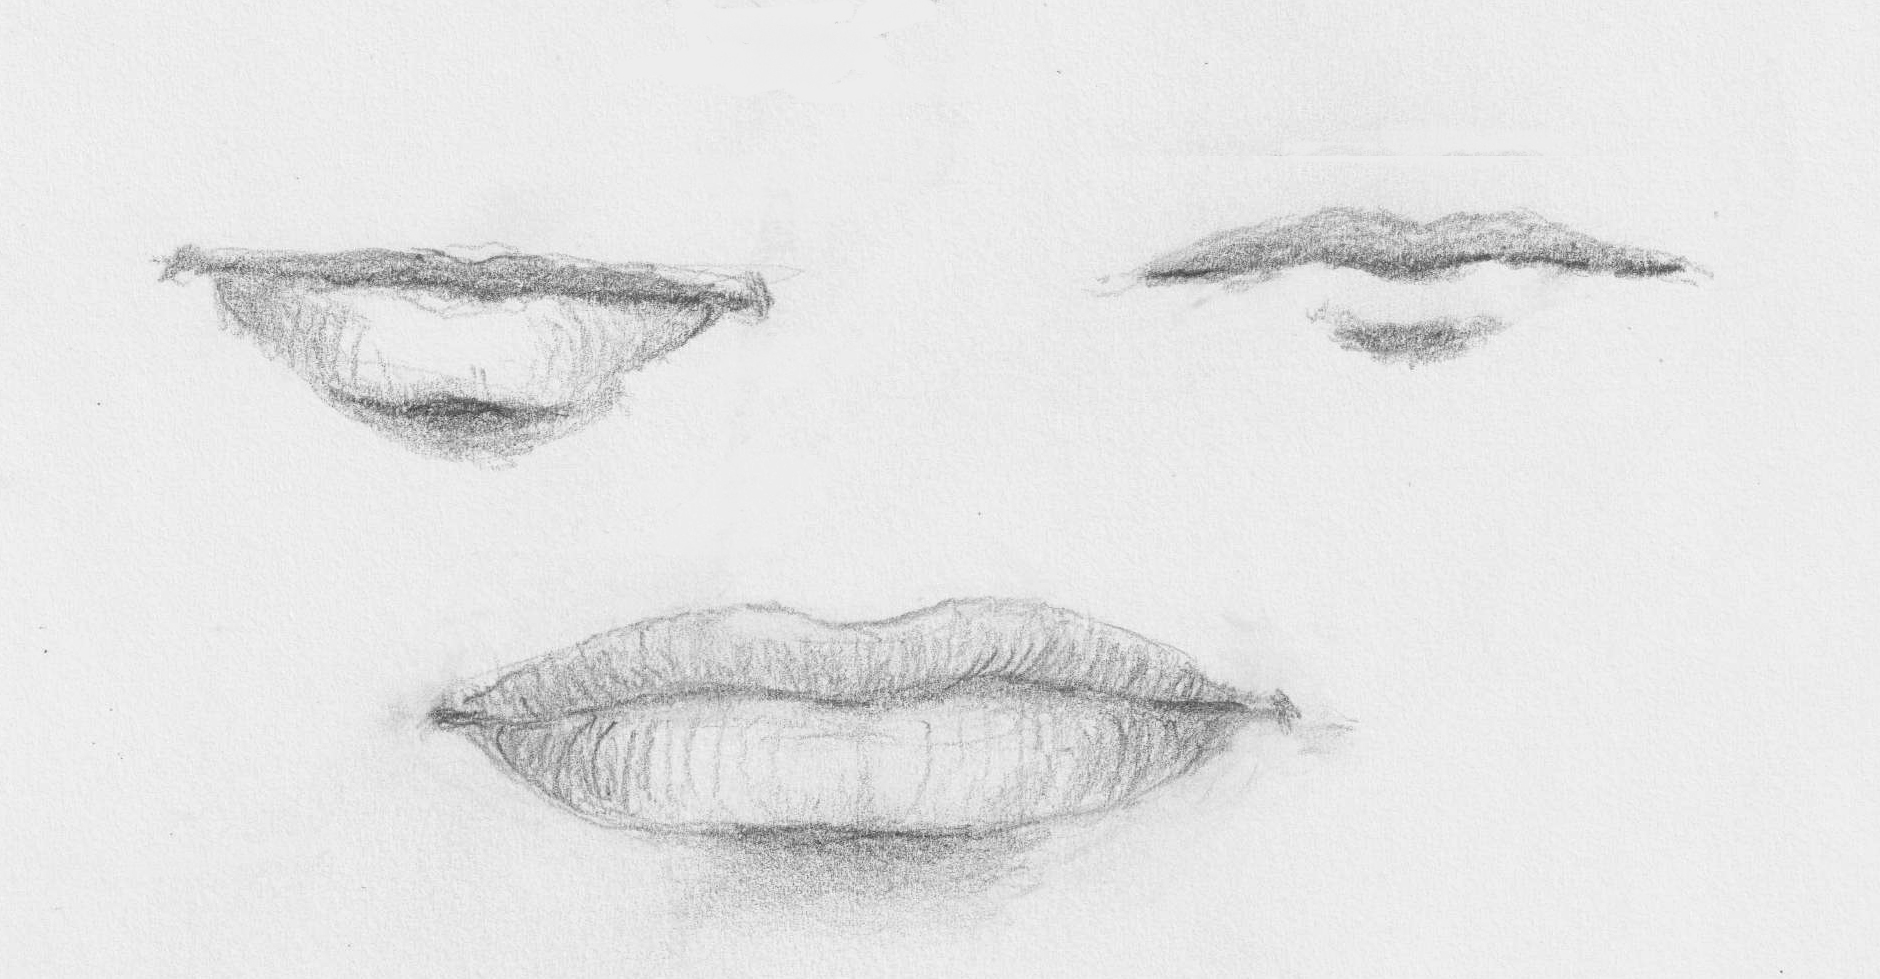
MOUTHS FROM THE FRONT
You can see from these three mouths that you hardly need anything else then shadow.
.
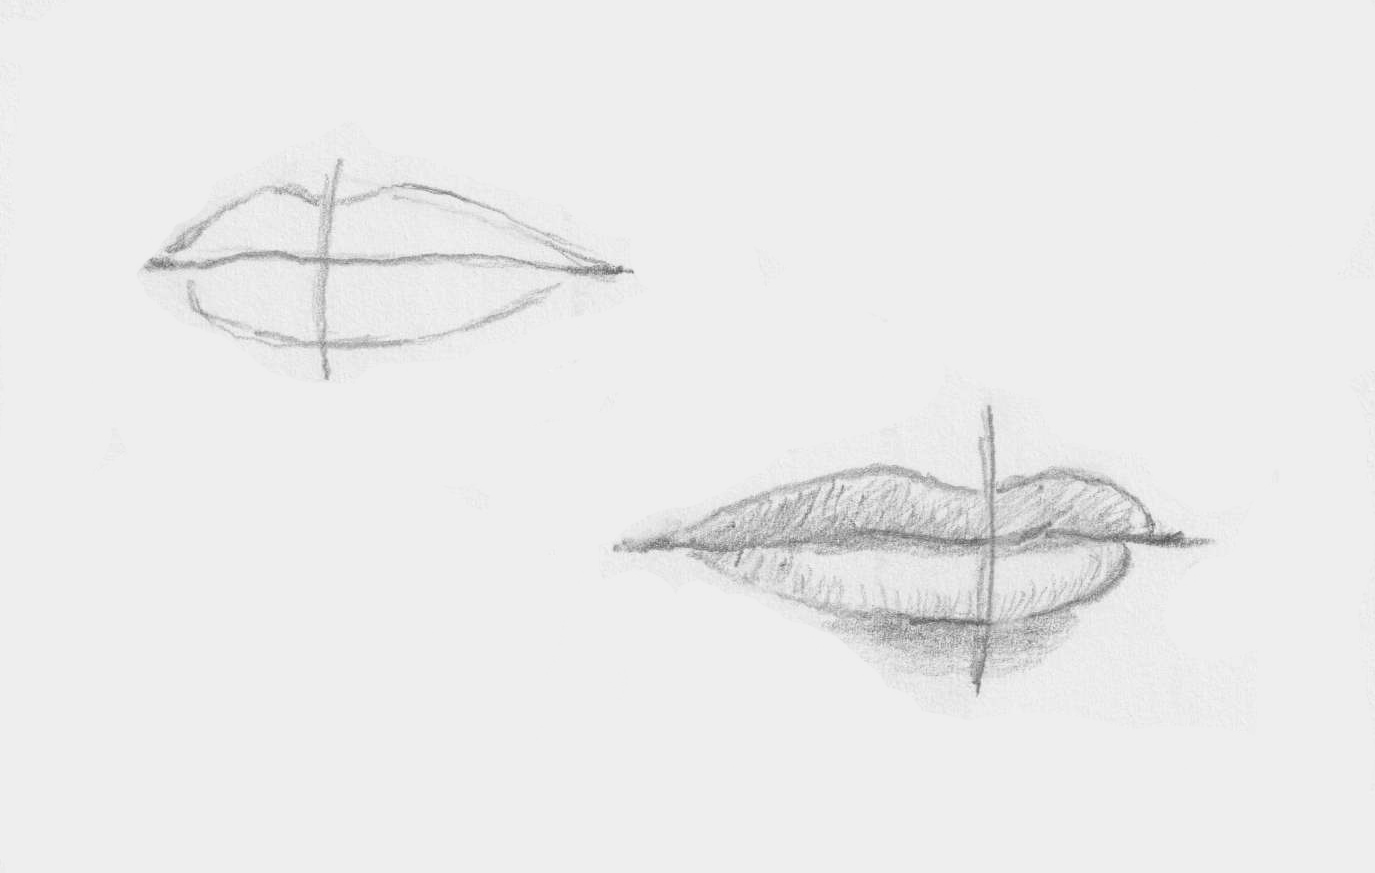
Exercise 1: Draw one or more mouths using the following four steps.
Step 1: Start with the slightly wavy line between the lips, a bit darker at the corners of the mouth. Step 2: Draw the upper lip as a shadow shape, without a thick edge. Step 3: Draw a line and some shadow to indicate the shape and bottom of the lower lip (feel the hollow there with yourself). Step 4: If necessary, show the curves of the lips in more detail with additional shadow/hatching.
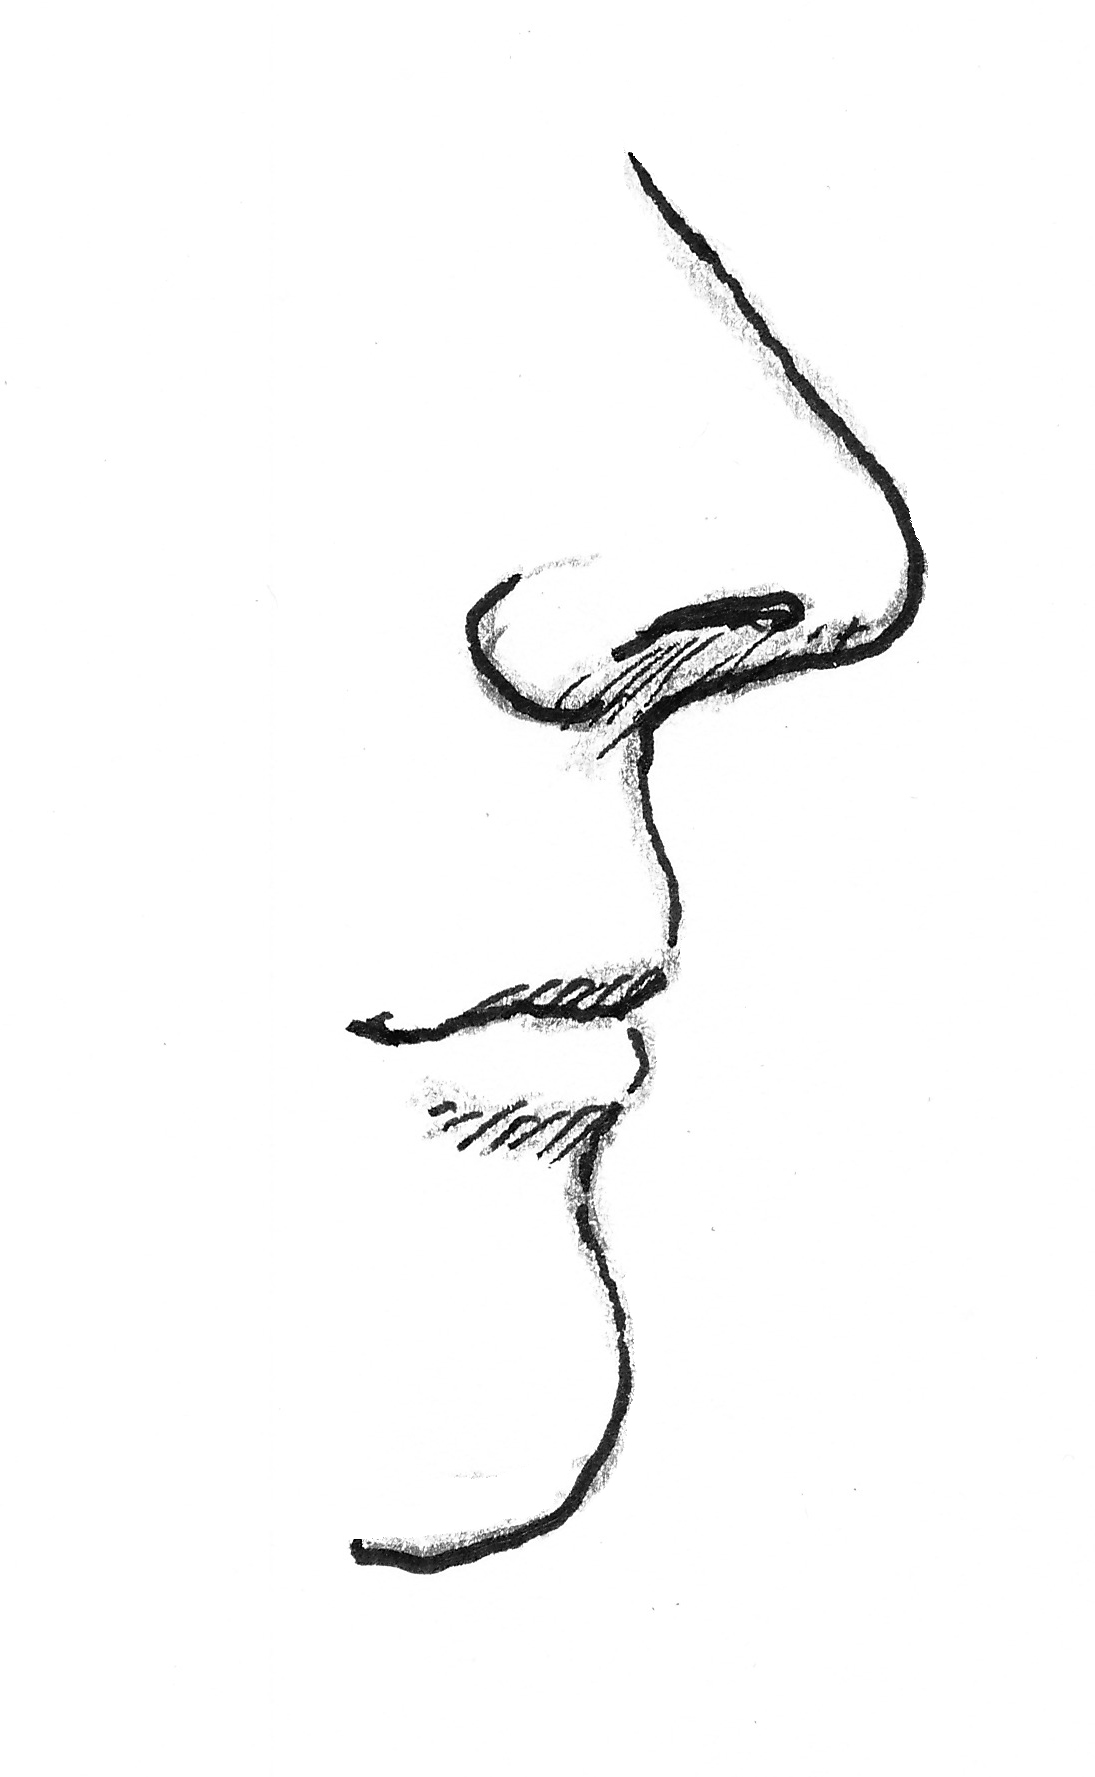
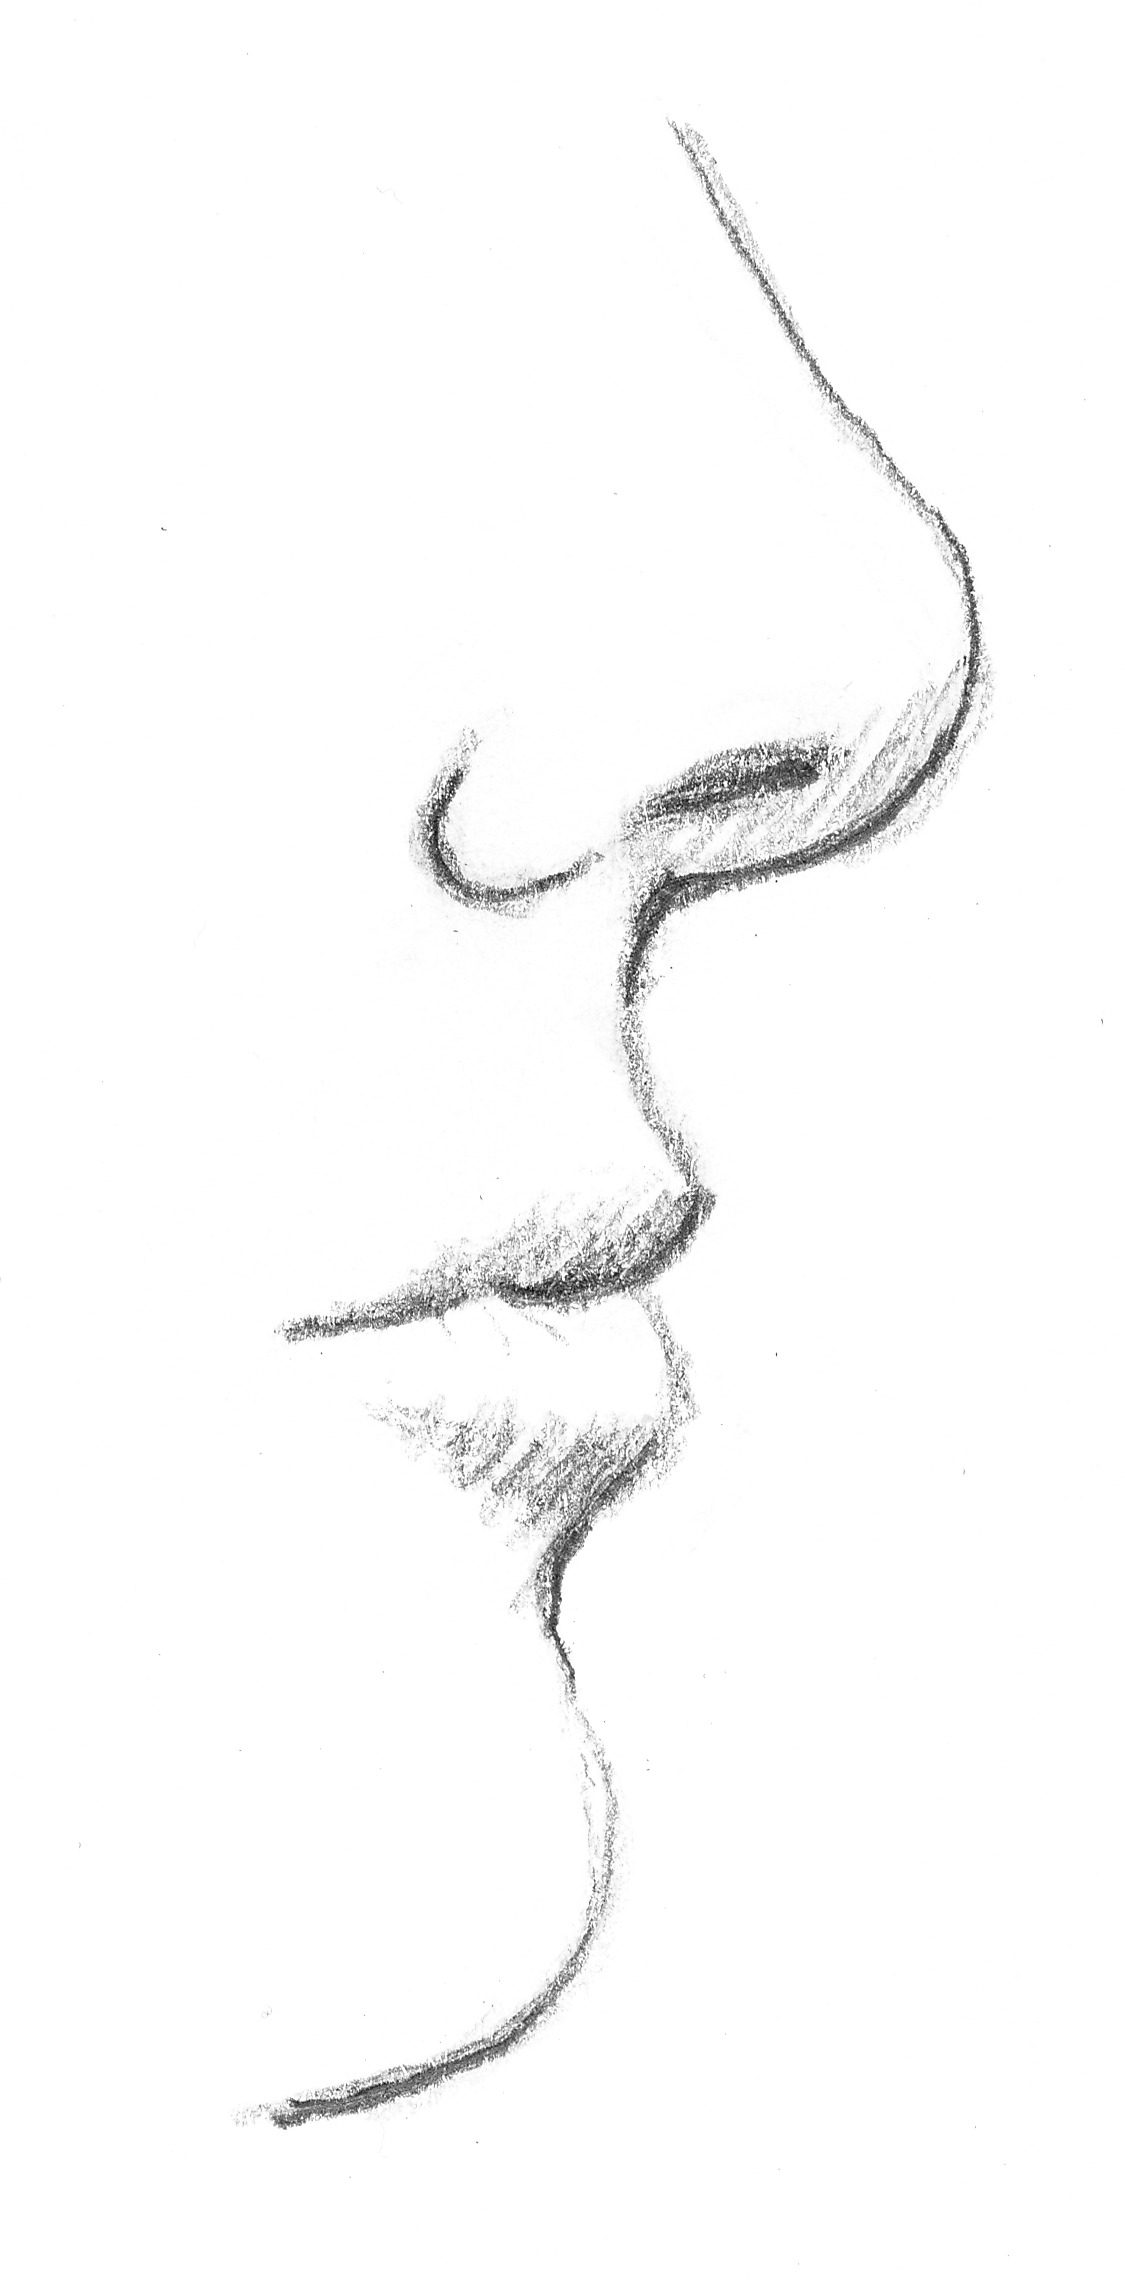
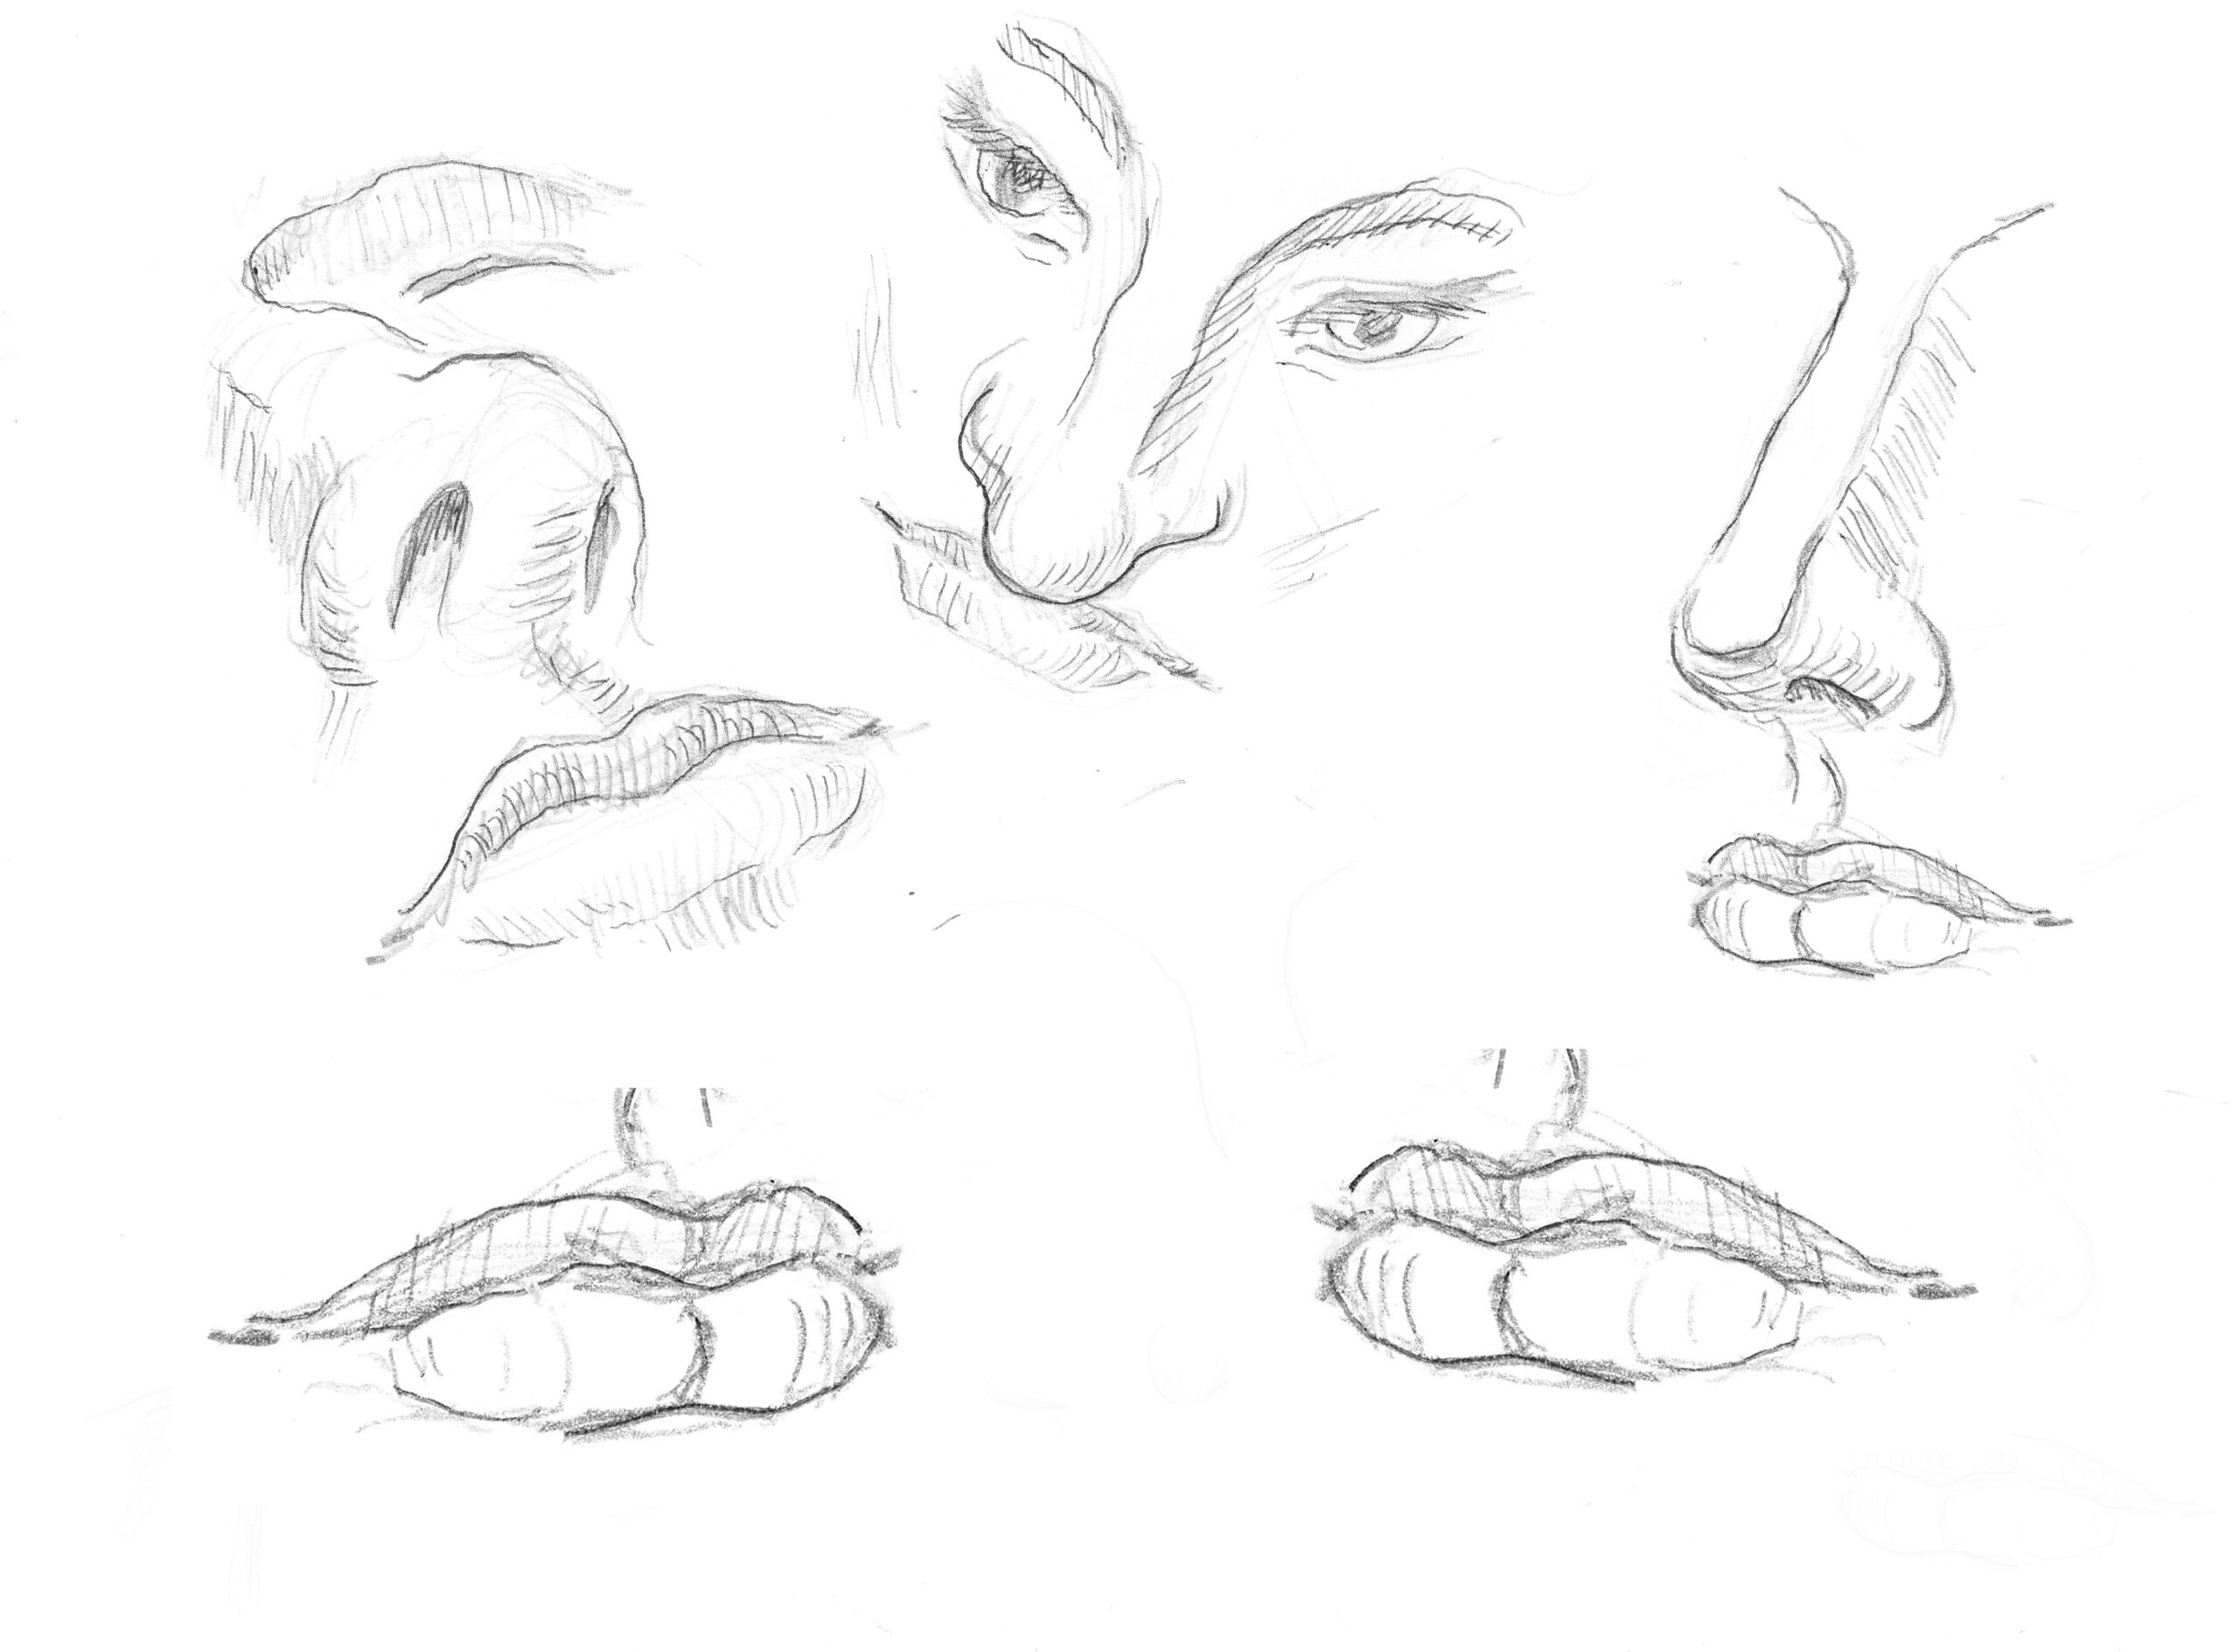
MOUTHS FROM THE SIDE
From the side you draw the mouth again like a little vertical wave. The line between the upper and lower lip is different for everyone and in every portrait. You don’t need thick edges for the lips. Shadow is more important. The colored mouths come from old Italian portraits.
Exercise 2: Redraw these mouths from the side or find other examples in drawn or painted portraits.


OTHER VIEWS
Exercise 3: Note that with a mouth half seen from the side, the back half becomes much smaller, just like with the whole face. Try drawing one.
This way you can try out different positions.
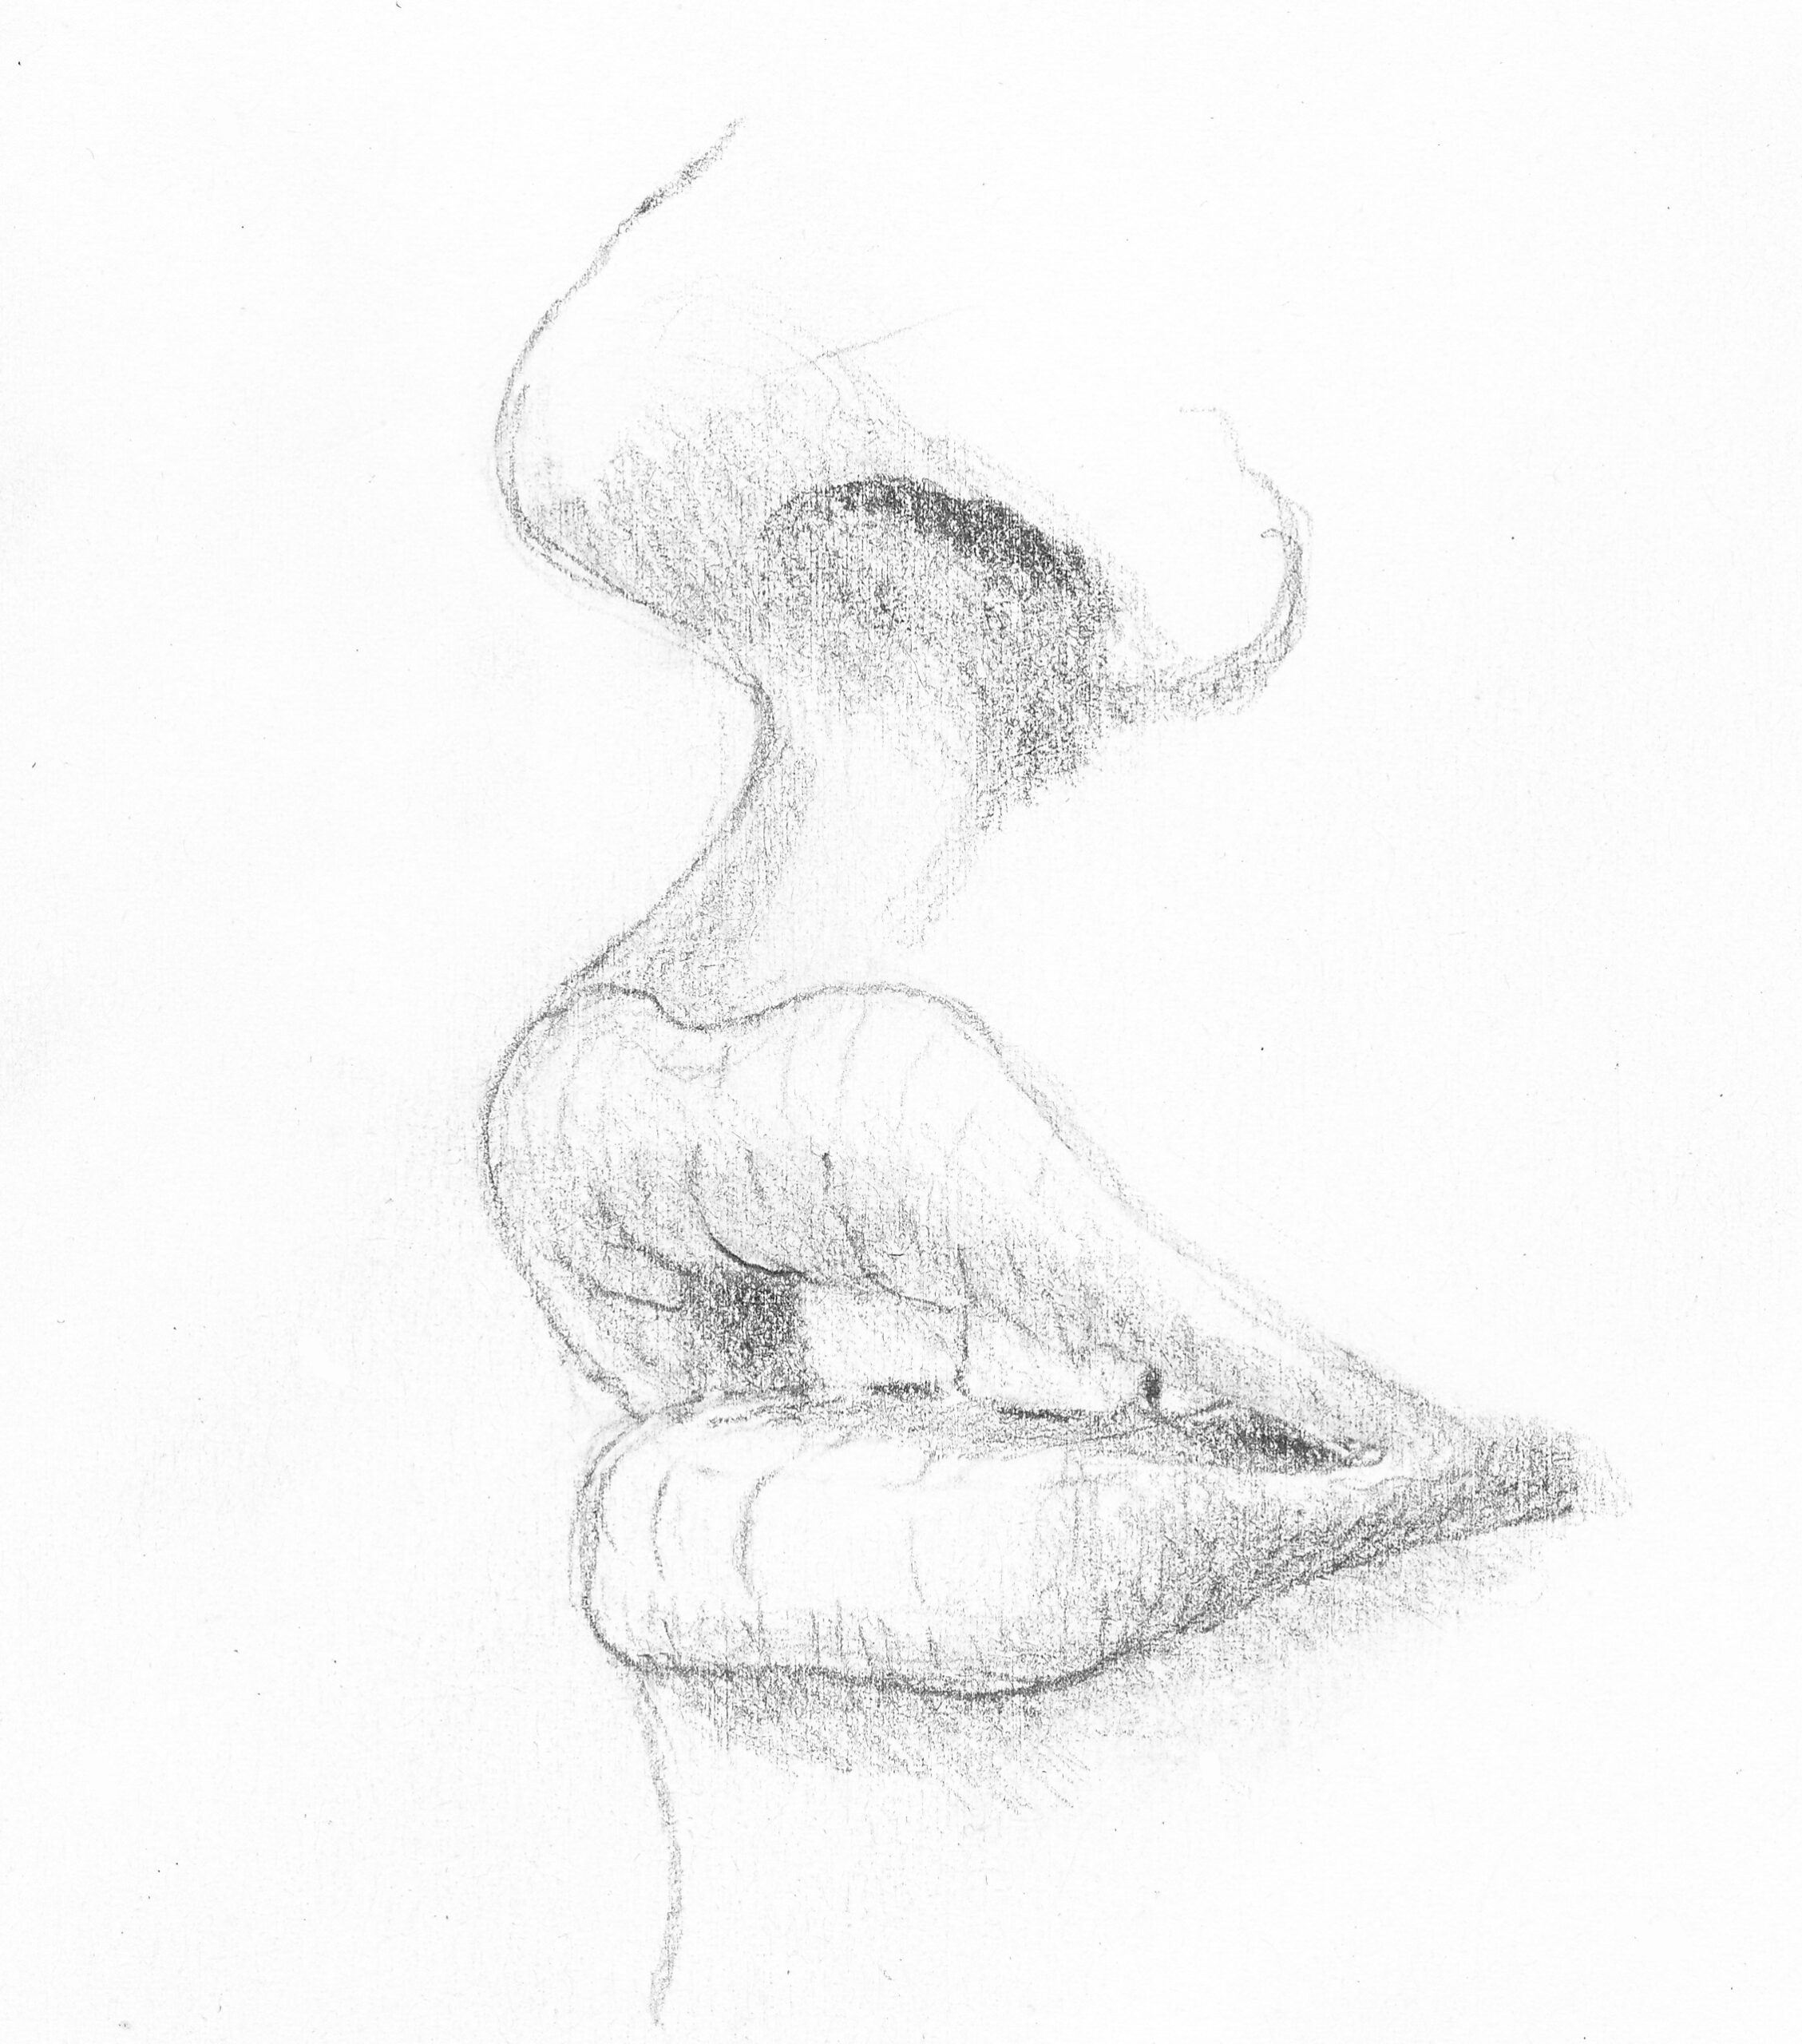
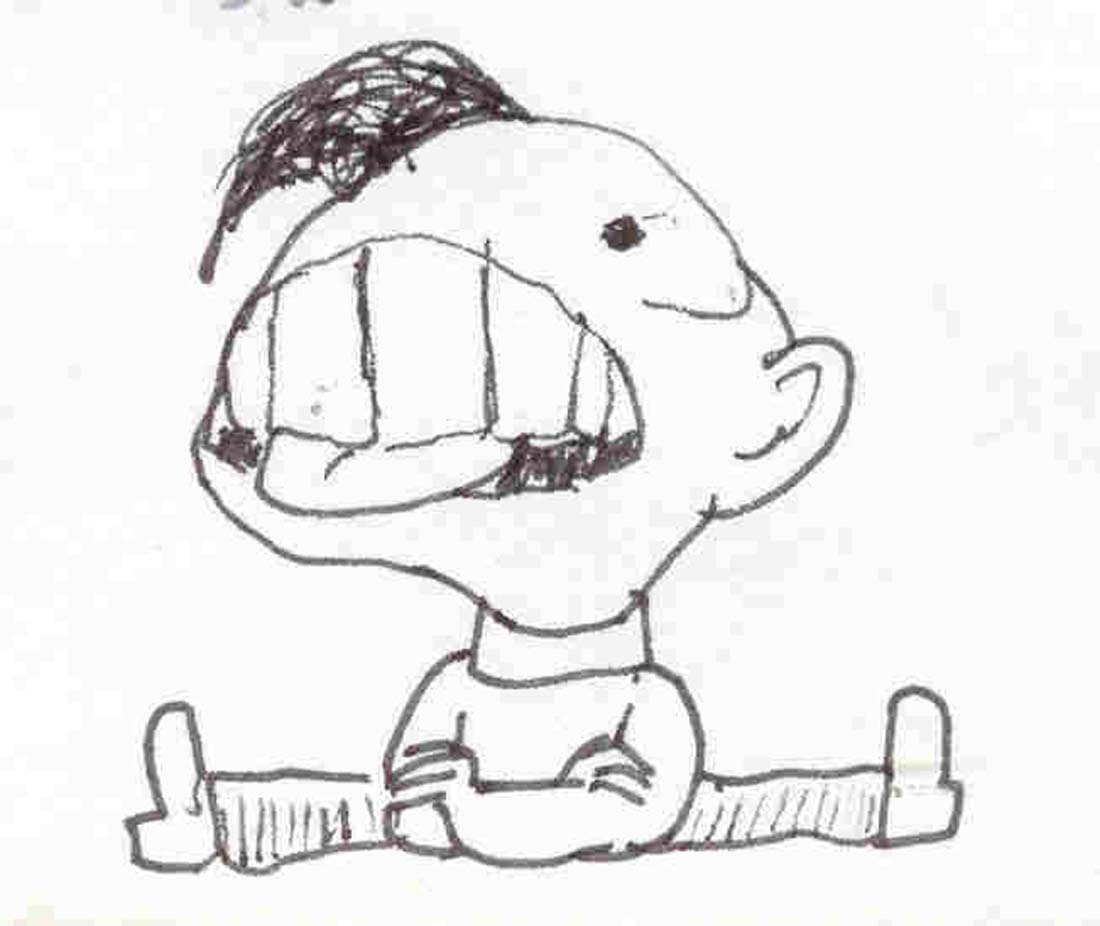
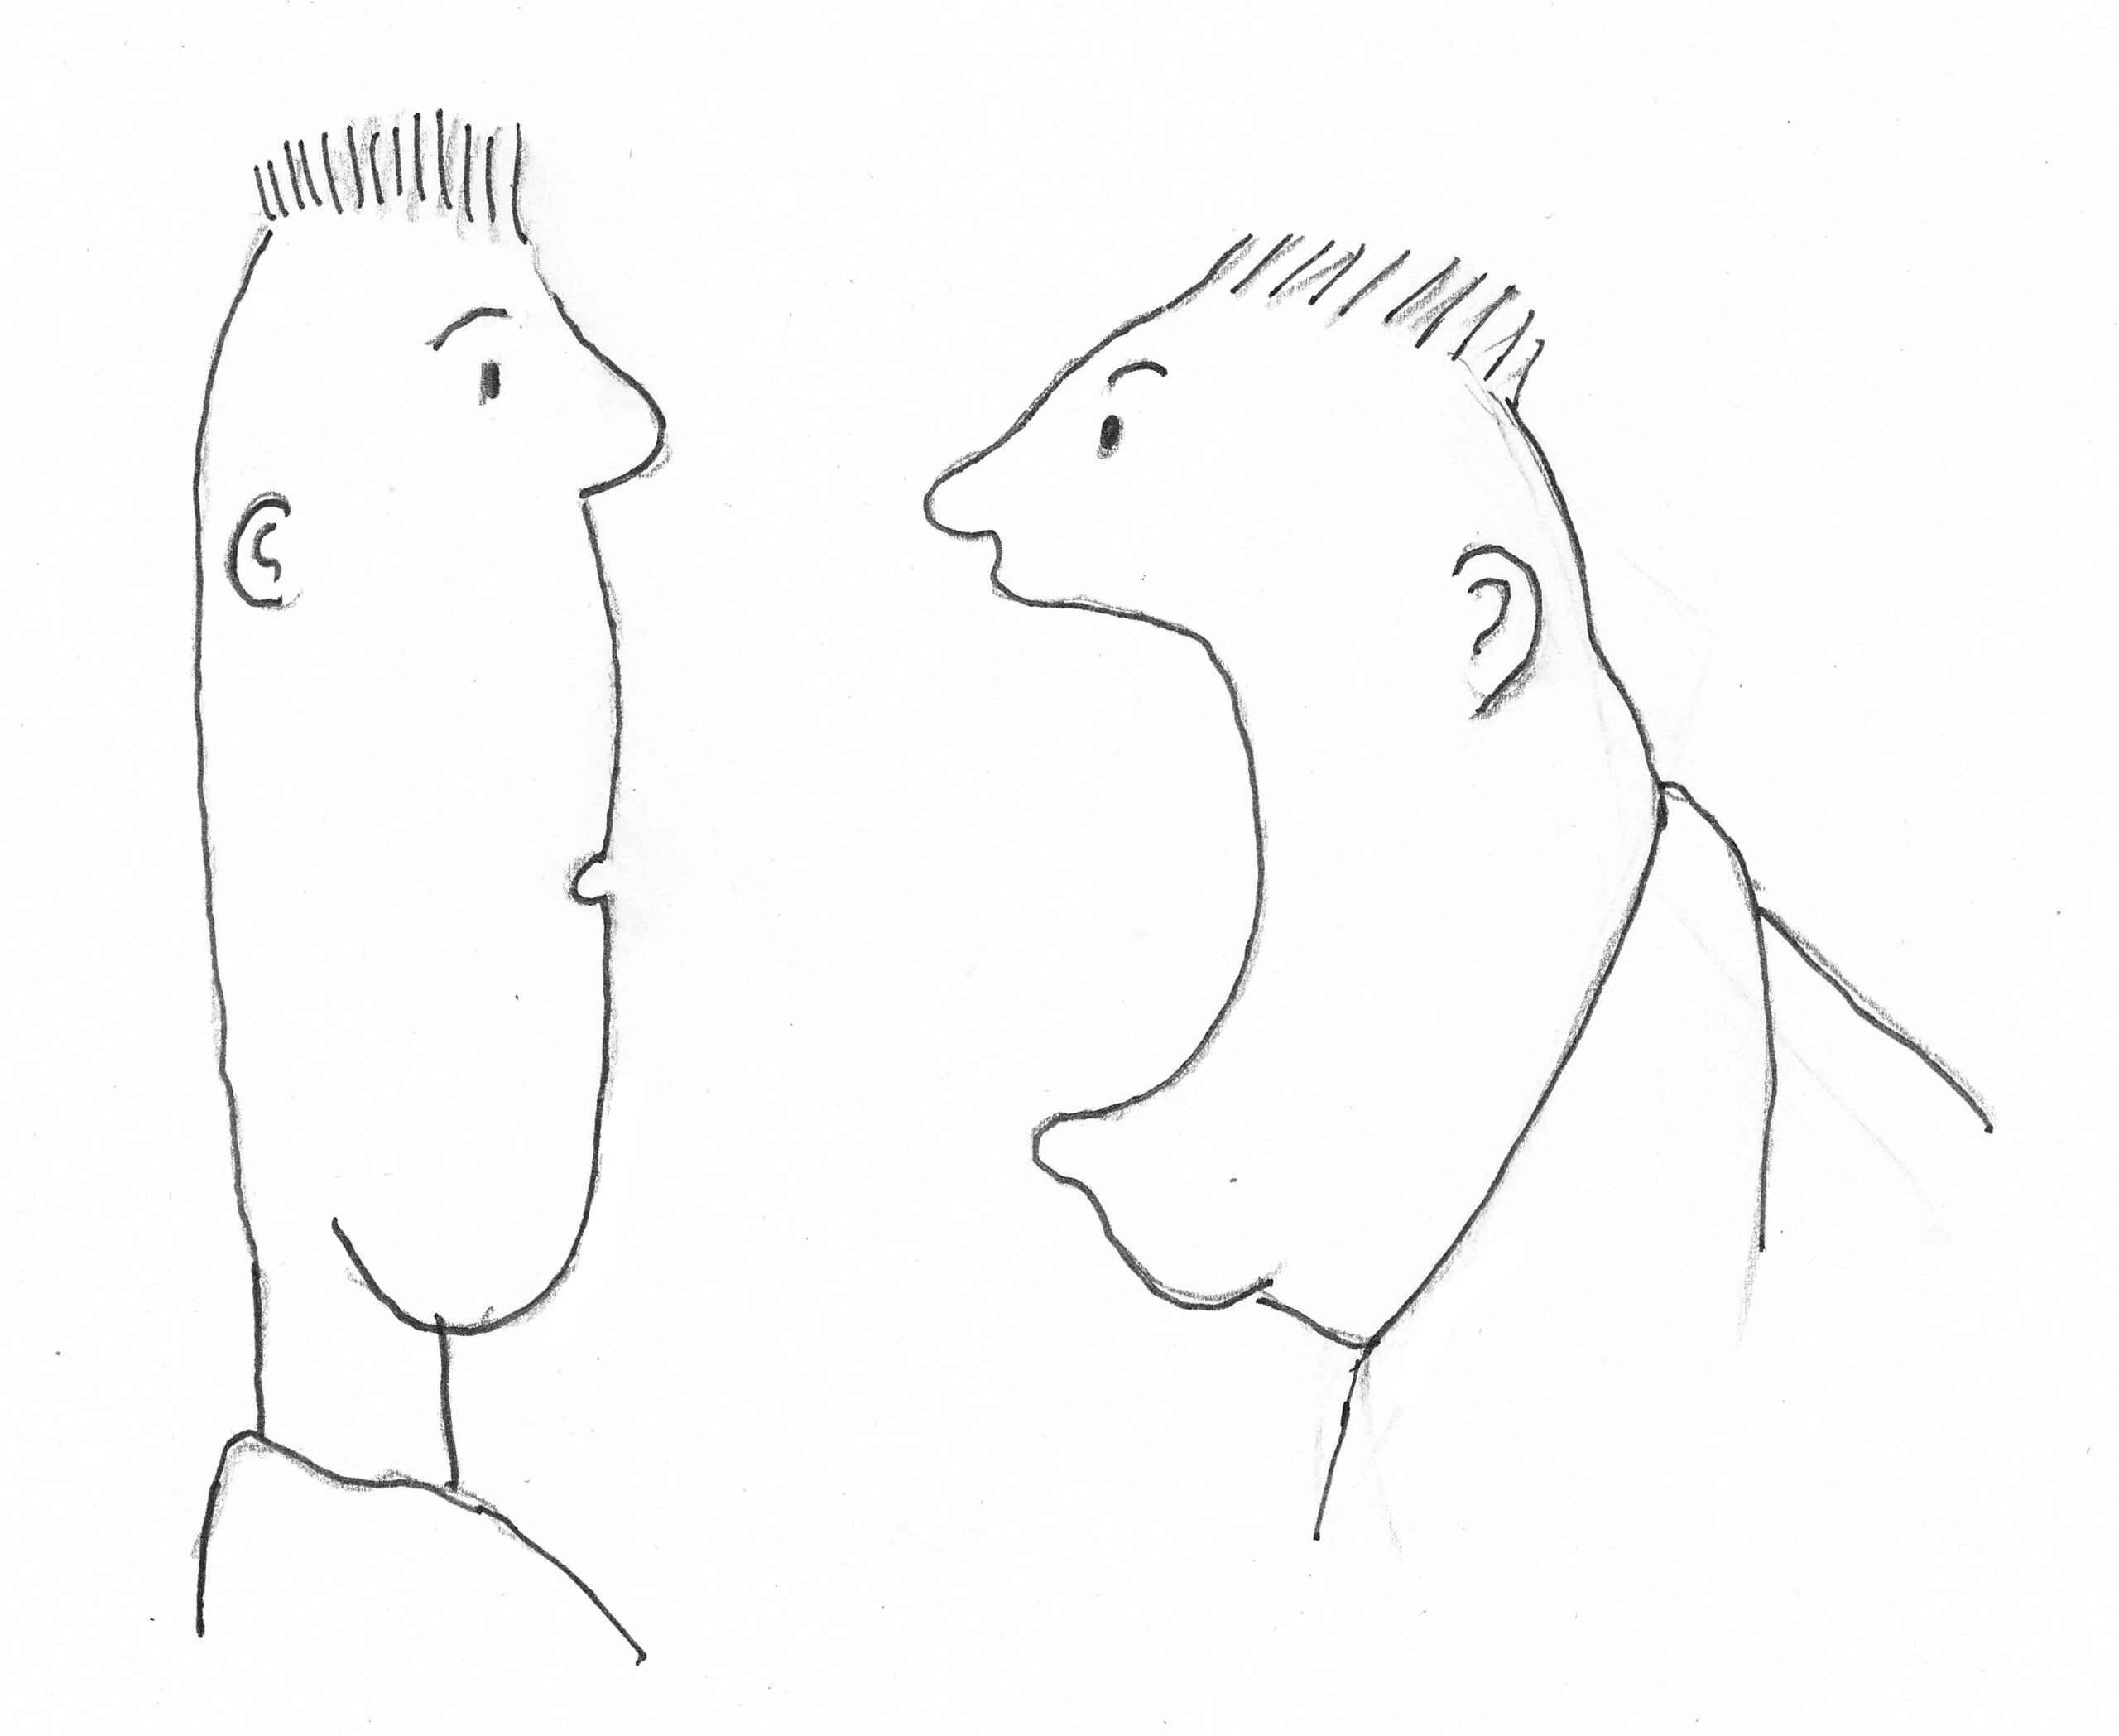
EXTRA: Maybe you like to make up crazy mouths. I drew the character ‘Clever’ and someone with a really big mouth (a blowhard) versus someone who is a bit quieter.
What you learn a lot from is copying mouths (or other parts) in existing portrait drawings. Copying (especially color) photos has disadvantages: photos often have shiny spots and shadows that do not fit well with a drawing and are confusing. You then have to be very selective in what you use from the photo (image). Smiling mouths with bared teeth are very difficult and fit better with a quickly taken photo than a slowly drawn portrait. Furthermore, the question is why drawings and paintings should look like photos (unless you like that of course). In drawn or painted portraits the mouth is usually closed because the person portrayed has been sitting still for a while. A subtle smile is of course possible.