CHAPTER 2 | NOSES
There are many ways to draw noses. In this chapter I will show you a few.
SIMPLIFIED NOSE STRUCTURE FROM THE FRONT
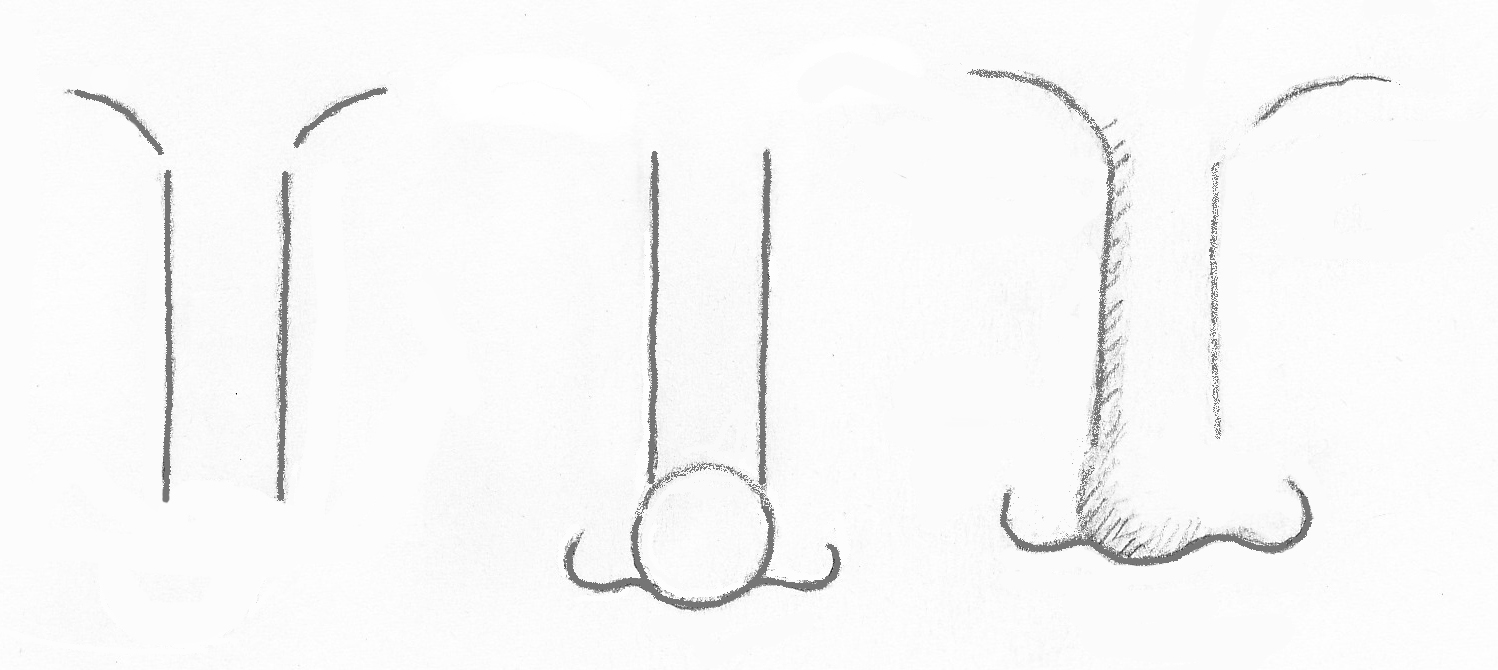
Exercise 1: Draw the structure of a nose in three steps as in the first picture. Feel with your own nose whether this structure is correct.
Step 1 (left): The nose starts between your eyebrows with a hard bone. Feel this with your own nose. The bone is drawn very straight here for convenience. .
Step 2 (middle): At the bottom of the bone your nose becomes soft, in the middle drawn as a ball. That is ‘the tip of our nose’. The nostrils appear on either side.
Step 3 (right): A little shadow gives the nose some volume. The light side of the ball is erased.
Exercise 2: Draw a nose this time with visible nostrils (picture). Here the nose bone has taken on a little more shape. Feel/look at the shape of your own nose bone.
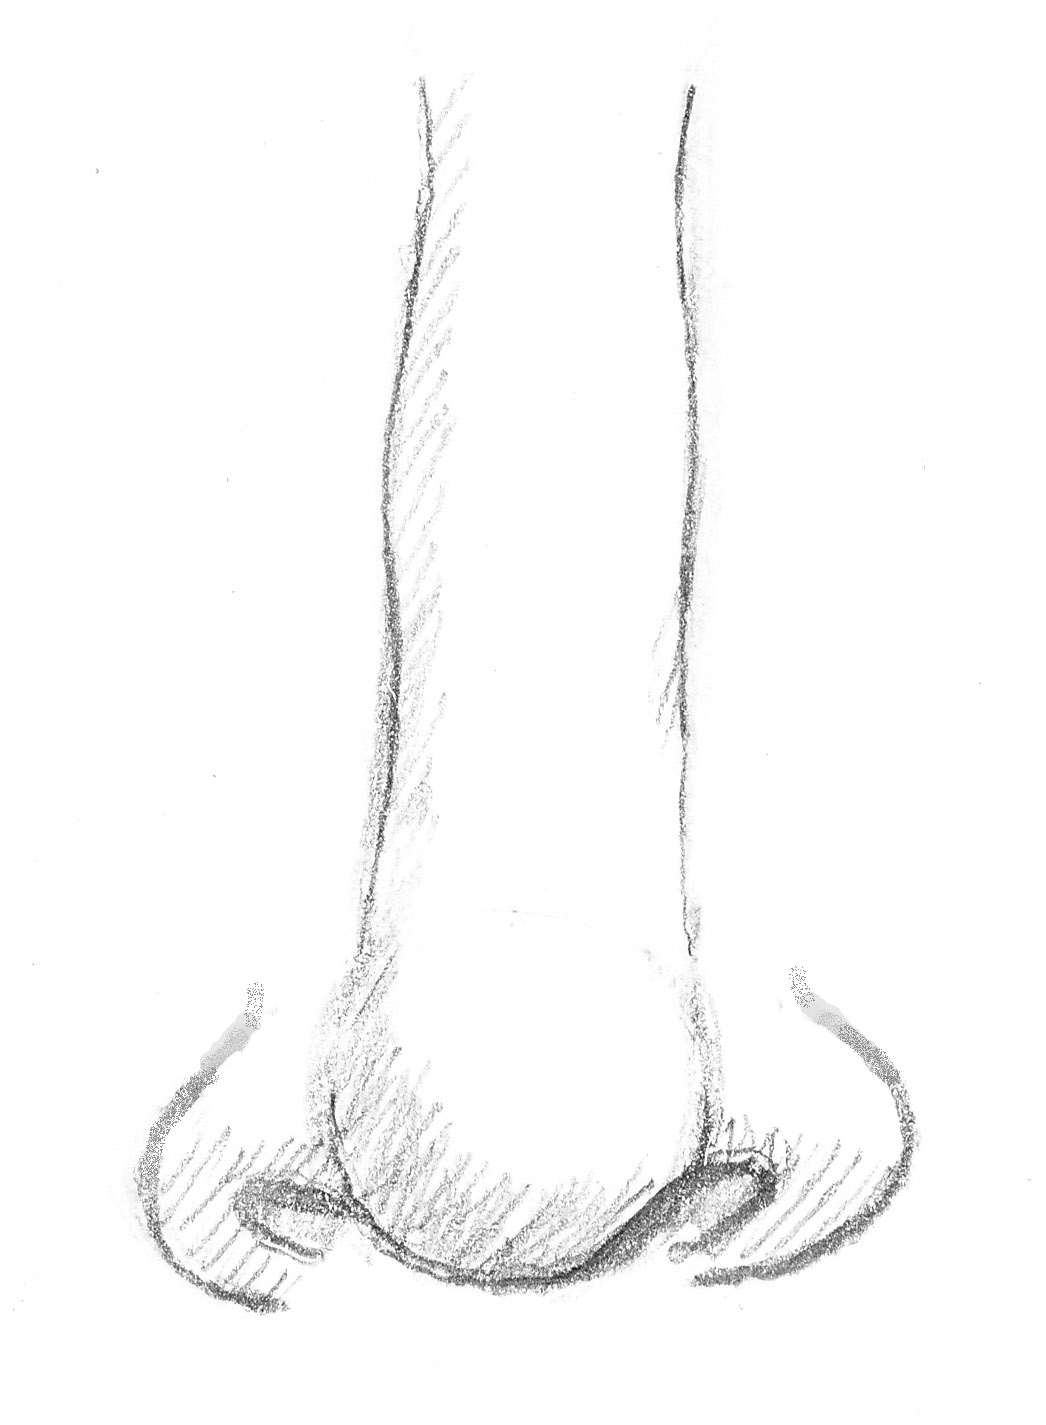
In the next example on the left, the nose is divided into areas: front, sides, bottom. You should then able to decide where shadows will appear in a certain light direction. With light from our direction as a viewer the ‘receding parts’ such as both sides, the bottom with the nostrils and the hollow of the eye sockets are shown darker. Ultimately, every nose is different, so these kinds of strict schemes might even prevent you from drawing what you want or what you see.

The very strict scheme on the top left made me want to make something else out of it. That is one of the things I like about drawing.


THE NOSE FROM THE SIDE
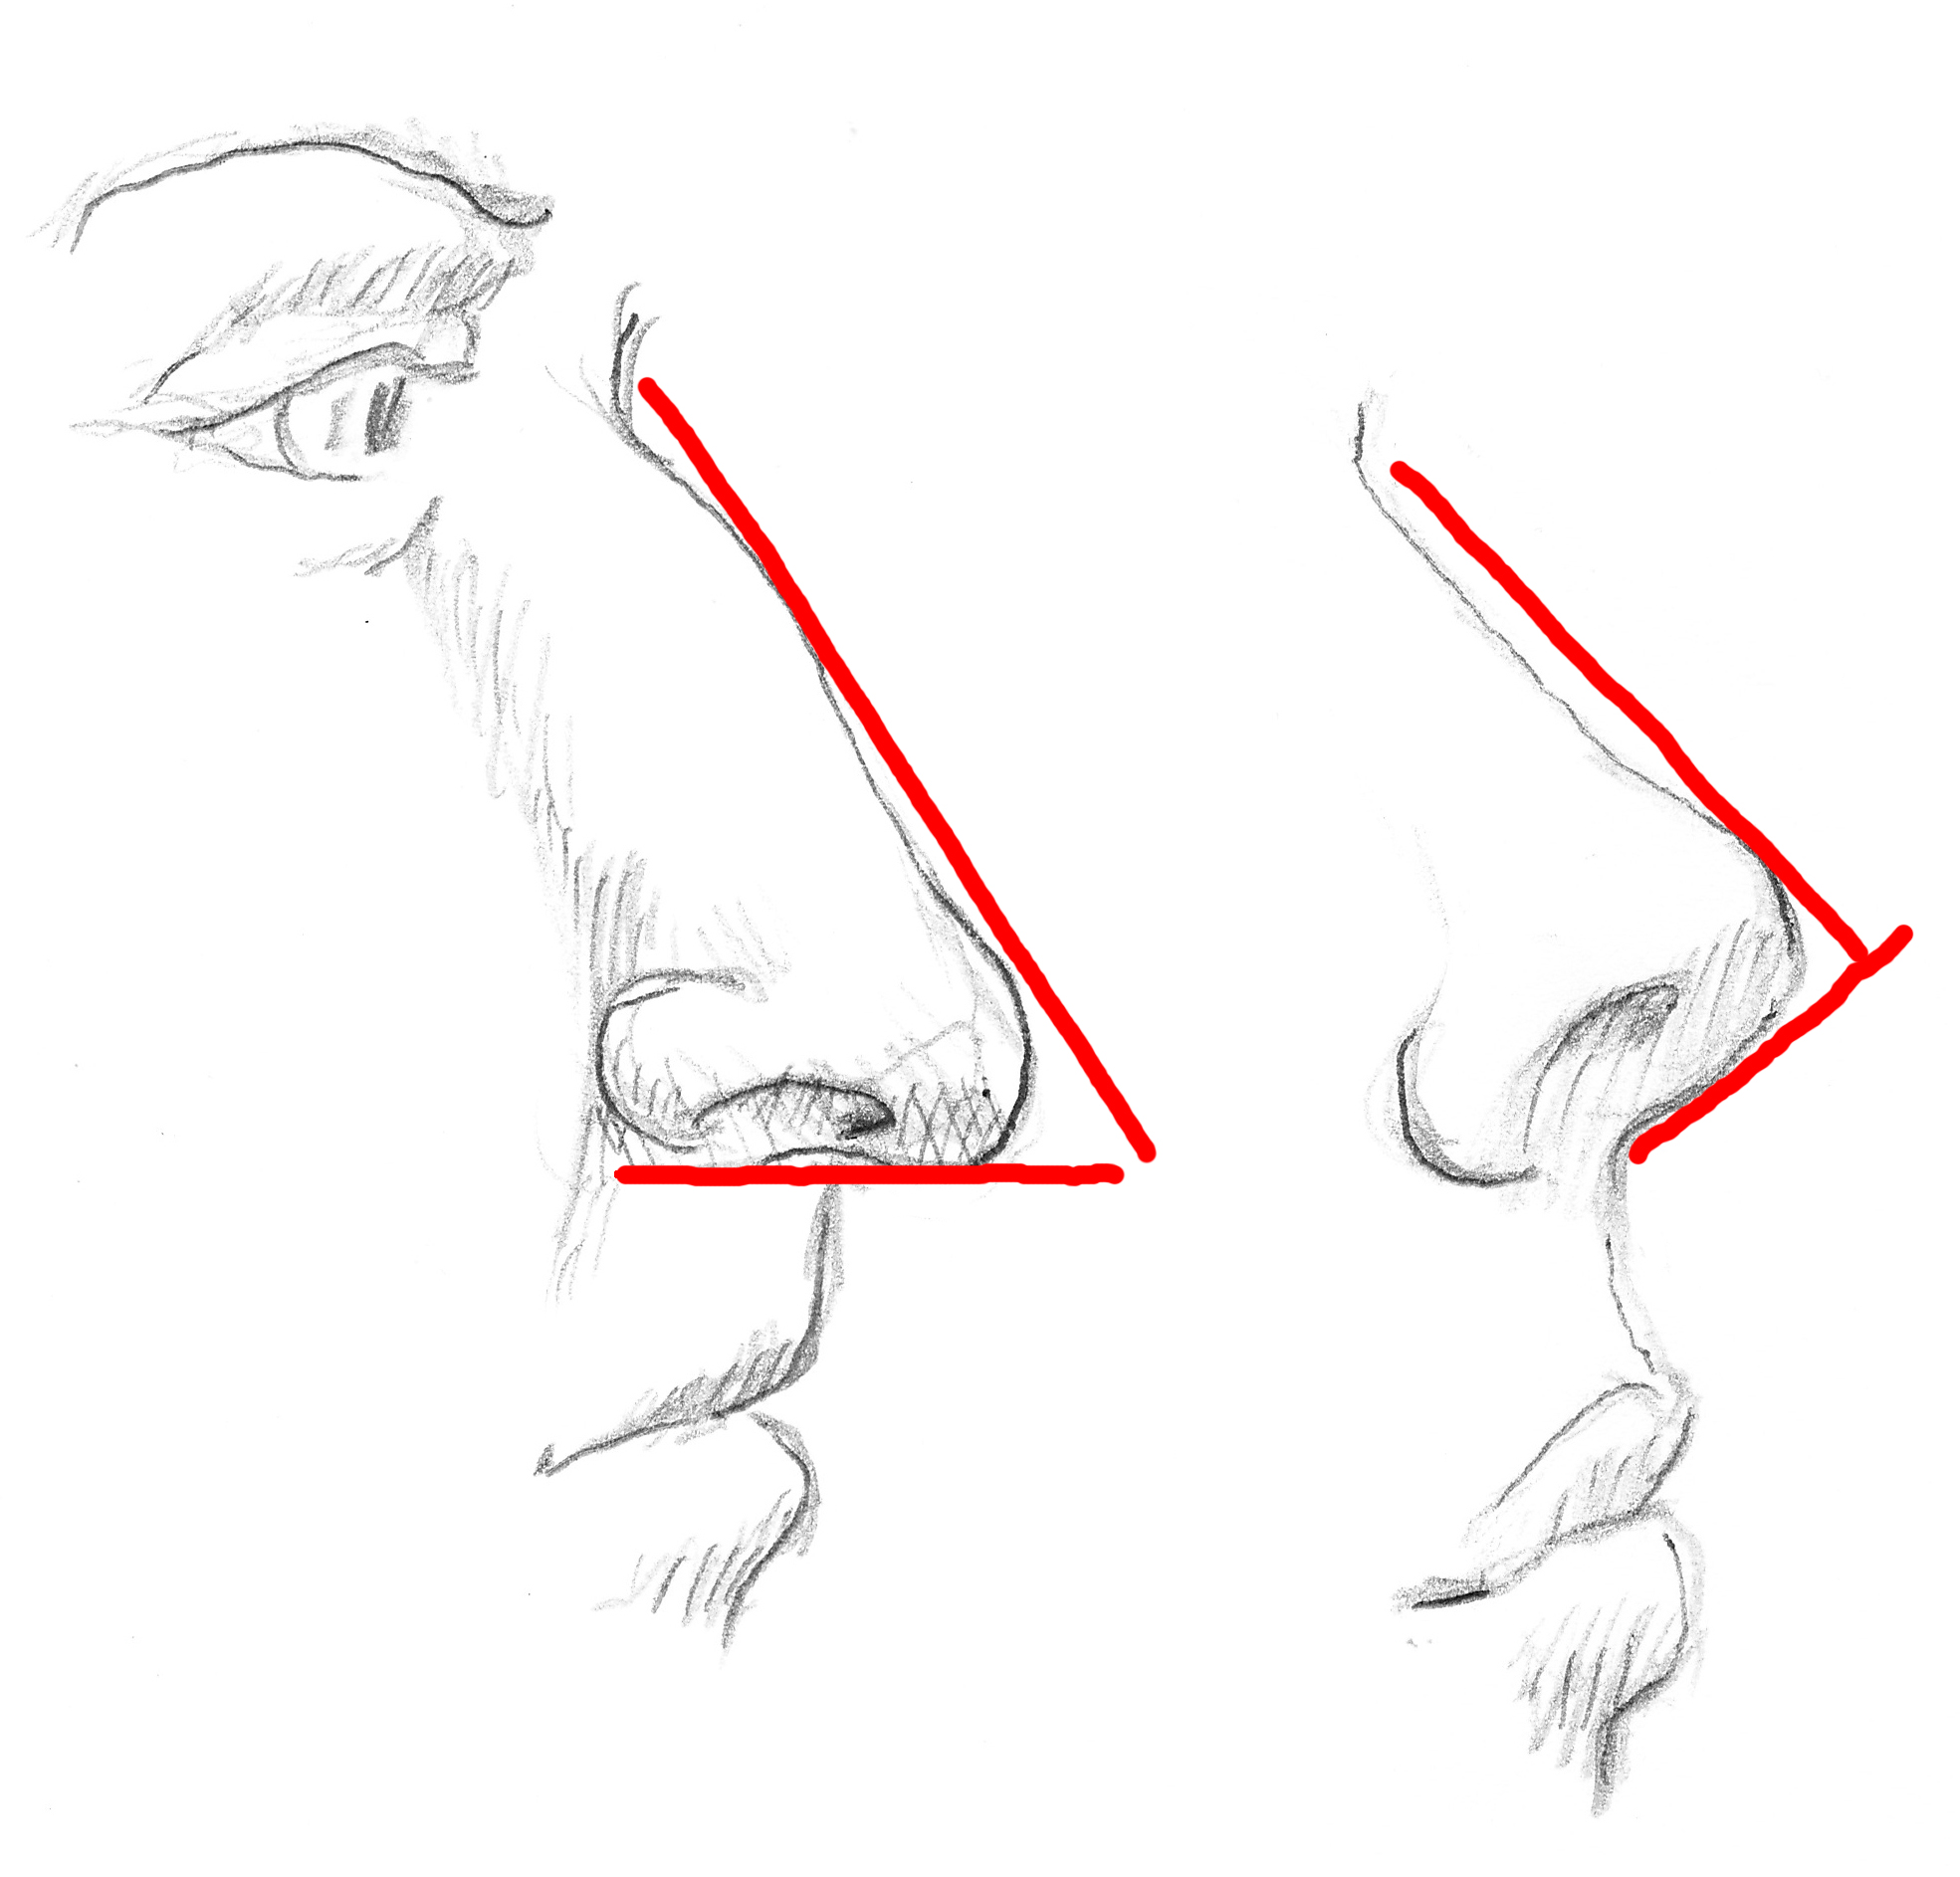
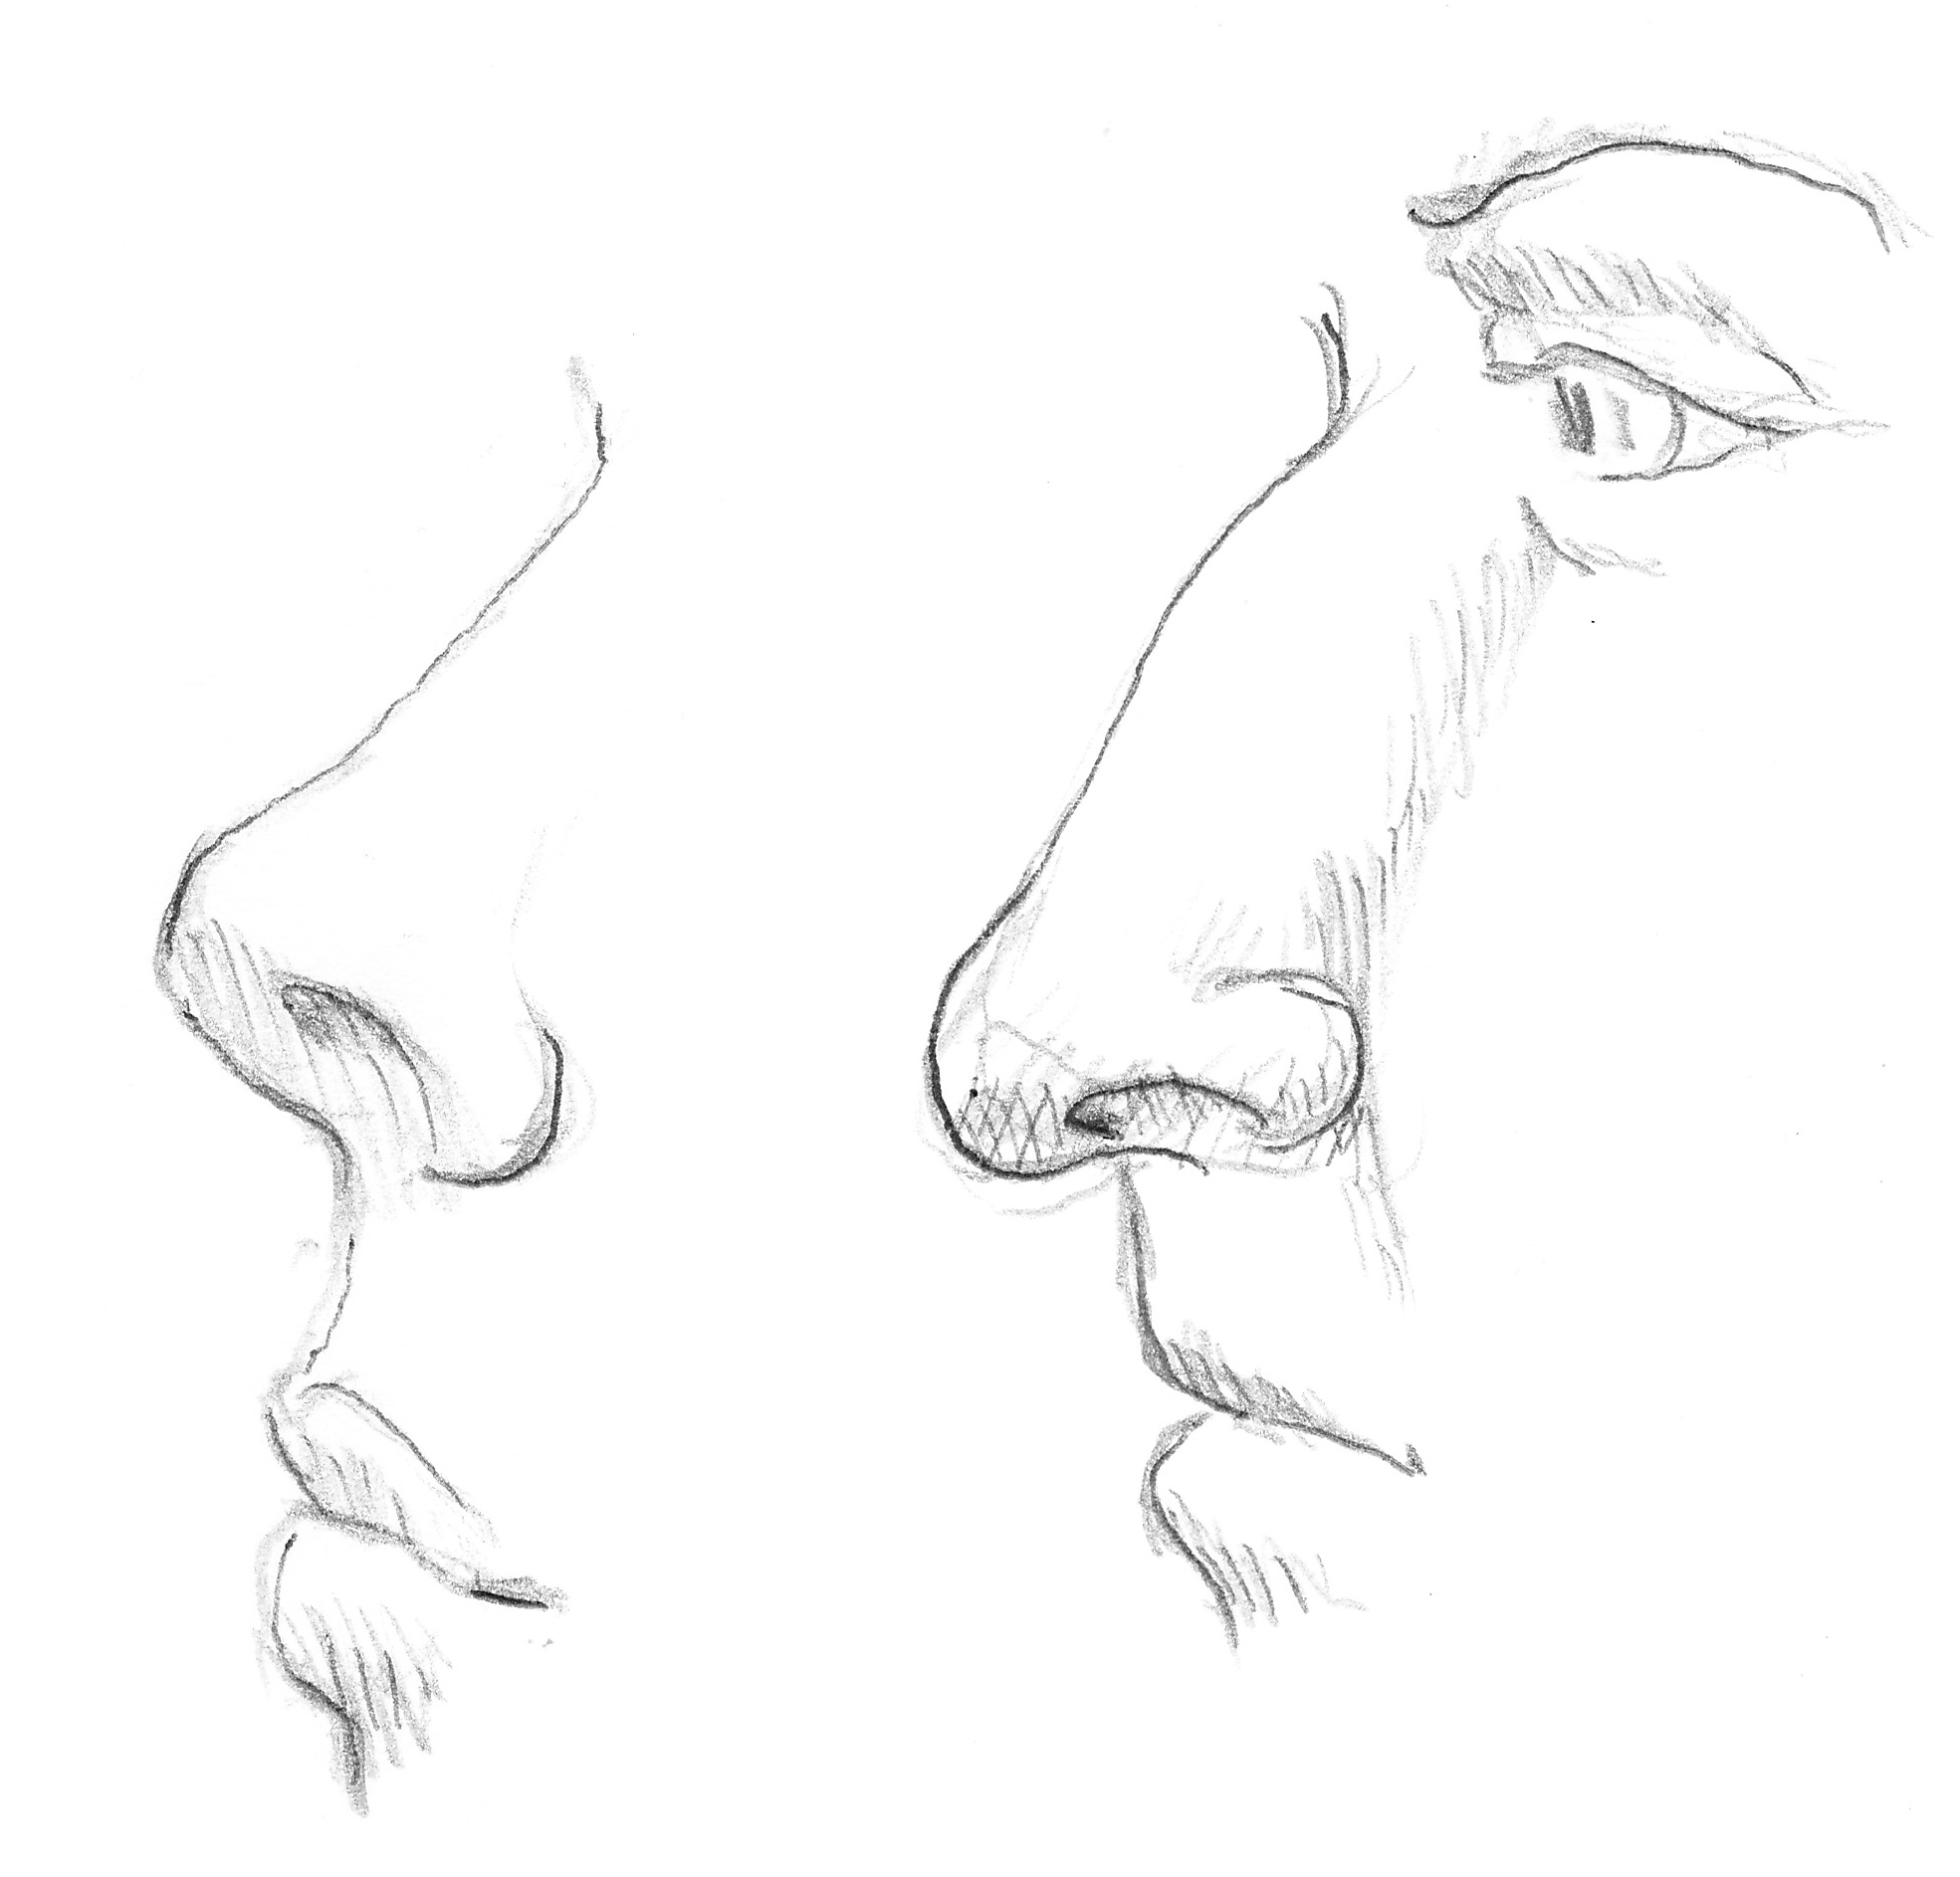
With a nose from the side, straight assisting lines are useful. Here a upturned nose and a crooked nose, with and without the (red) assisting lines.
Exercise 3: Draw a profile with a crooked nose and one with an upturned nose, looking at each other.
OTHER VIEWS
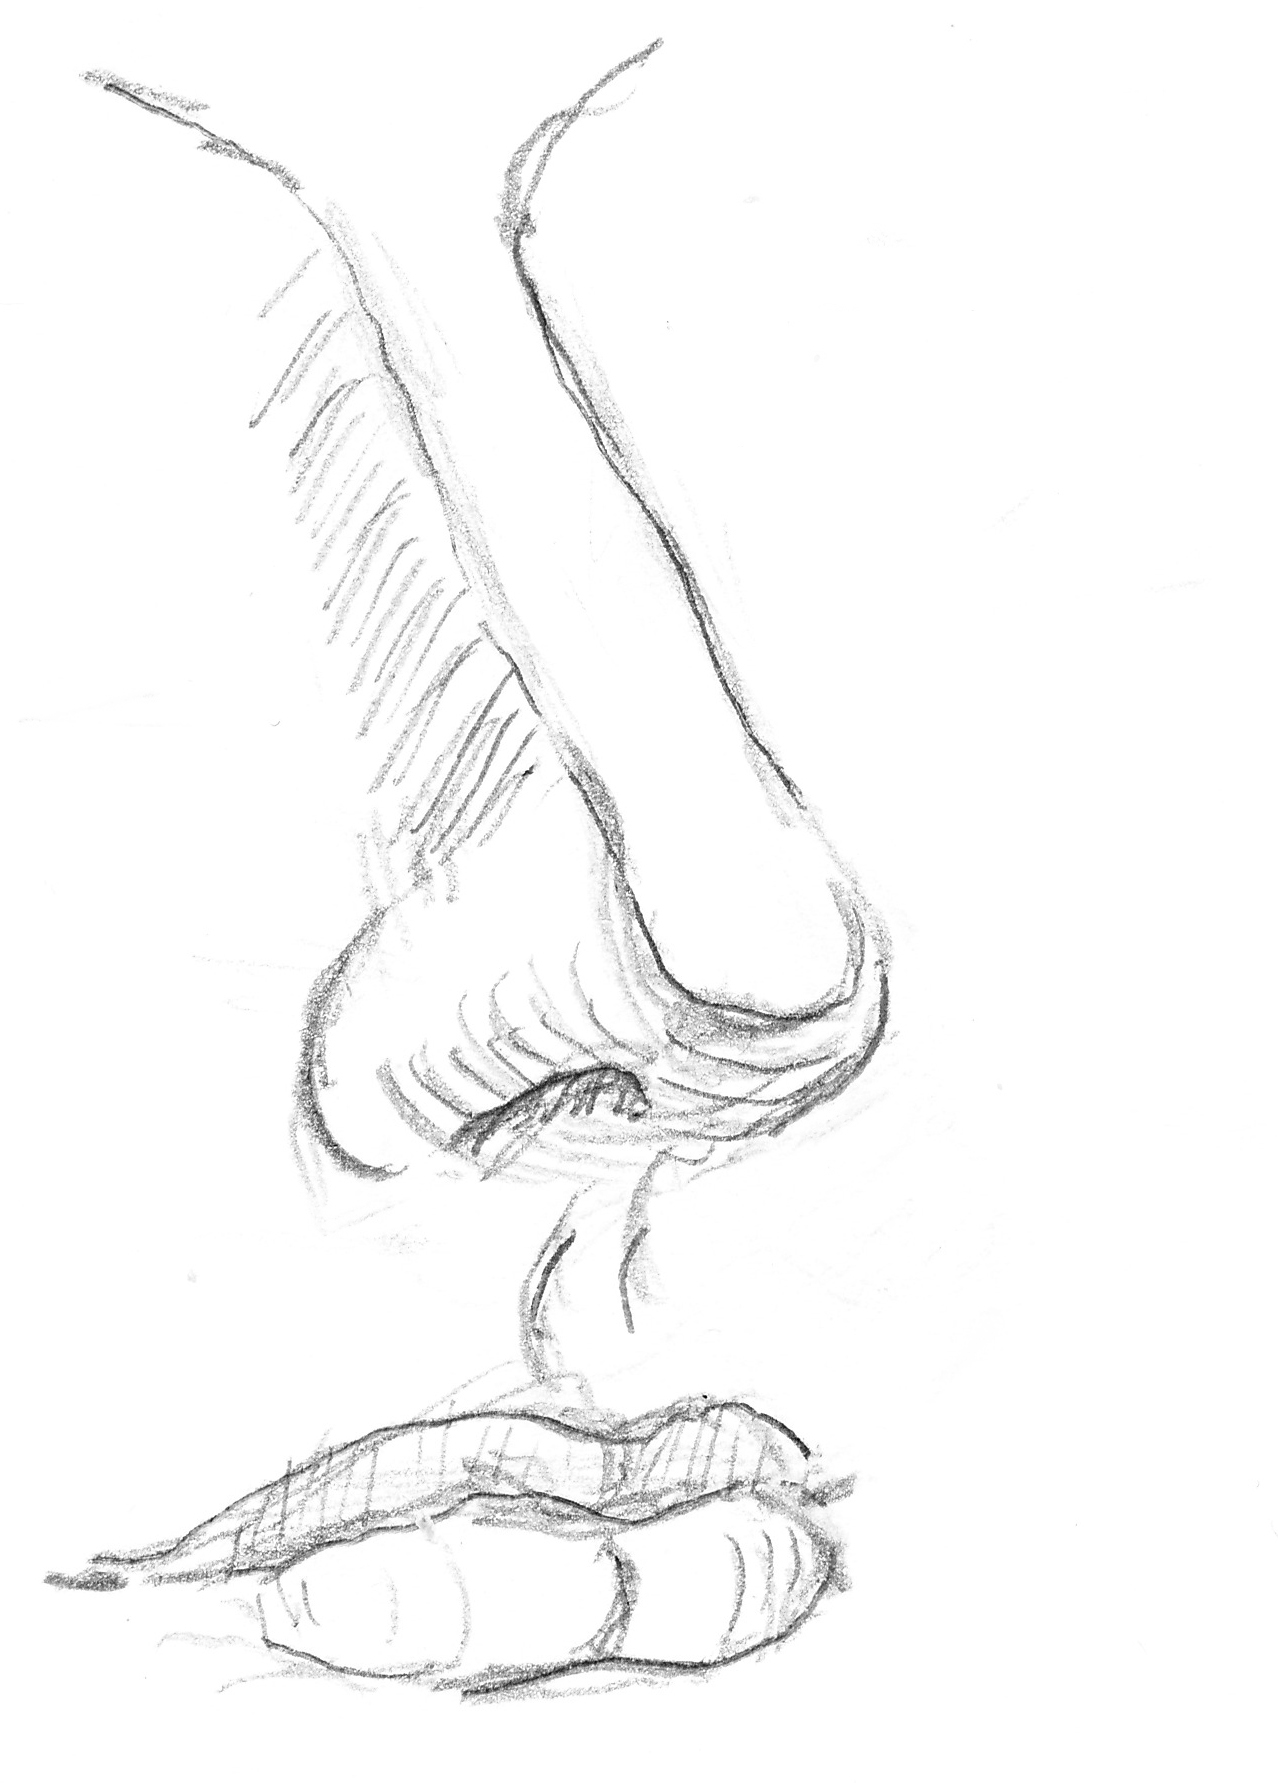
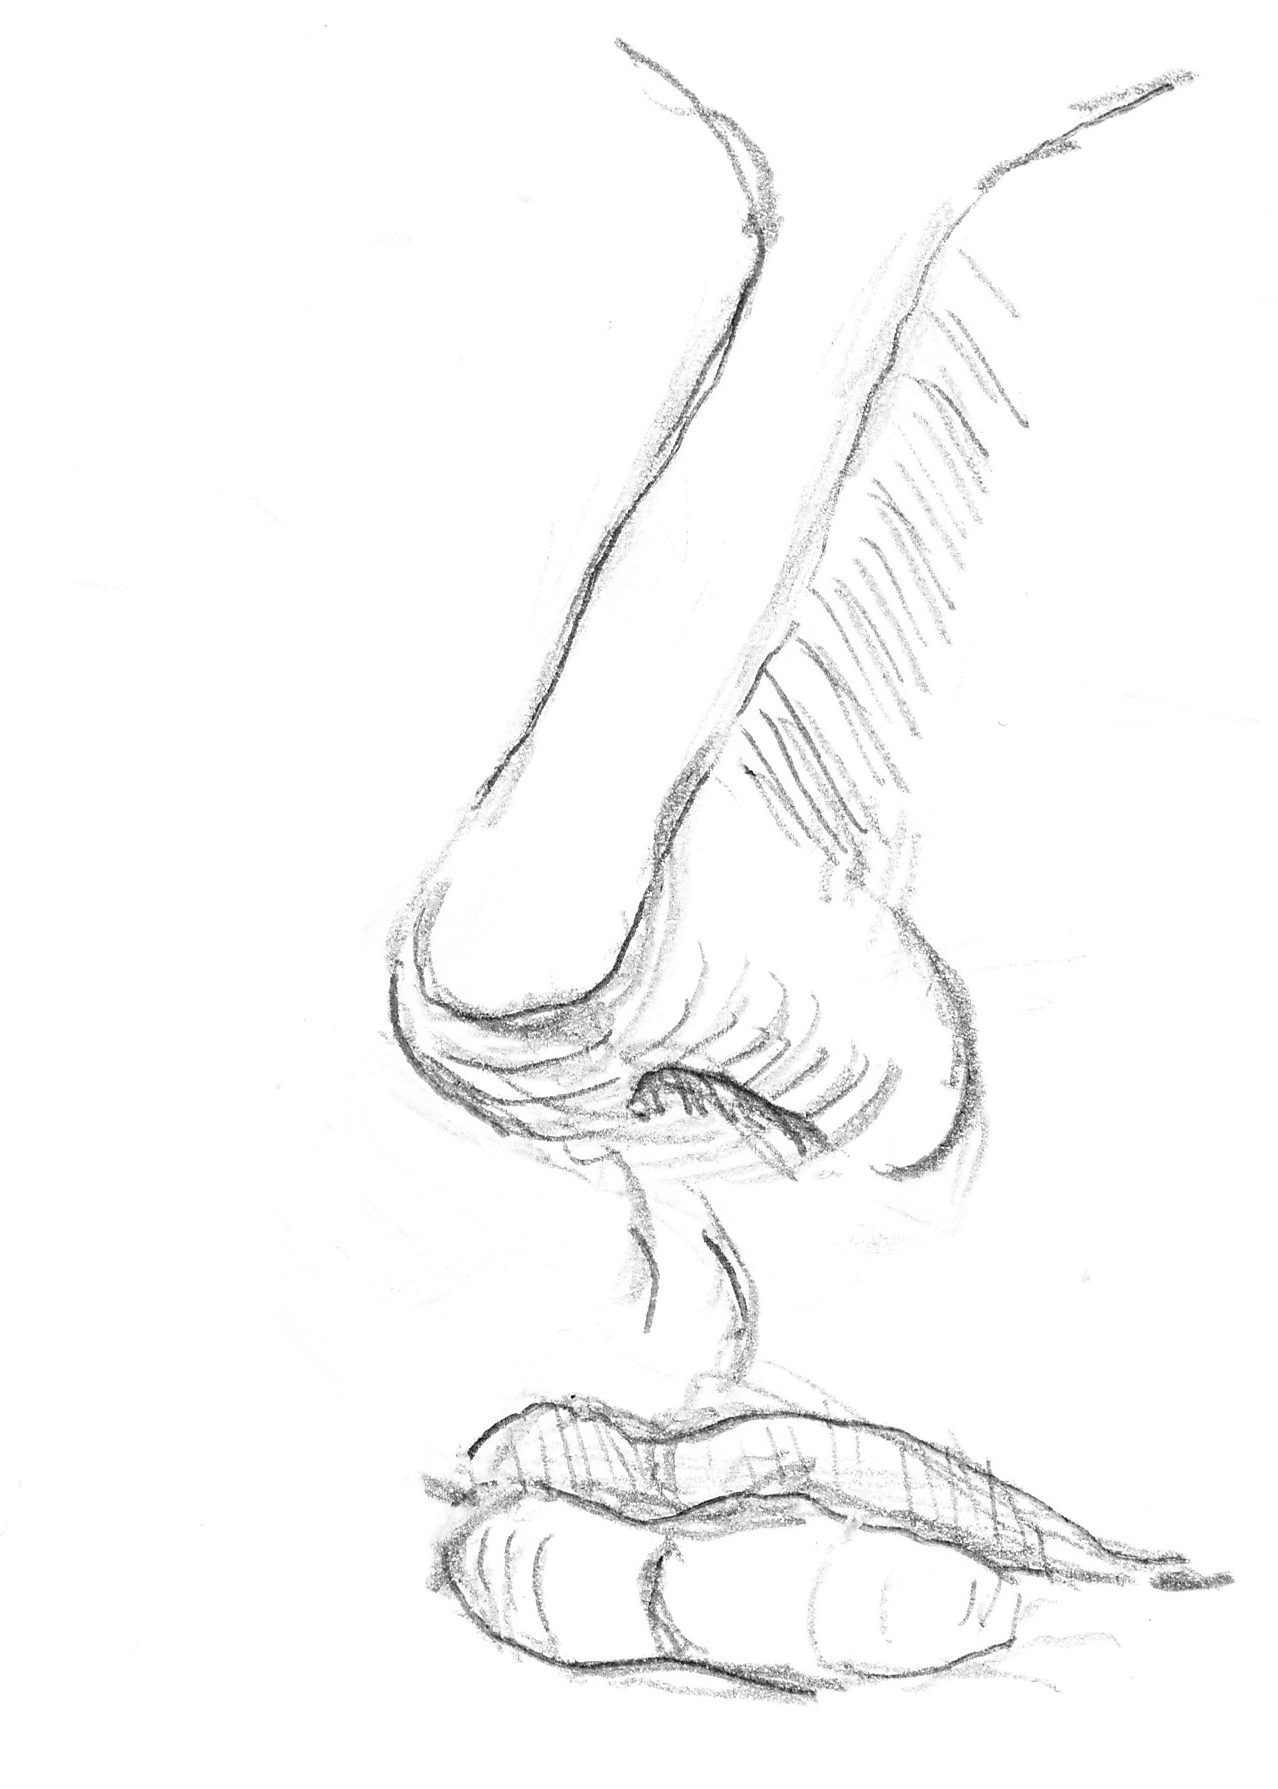
Exercise 4: Try a nose in three-quarters as below. Clearly show that the nose has a front. That front side is often forgotten. You can lighten those lines later. The shadow lines (hatching) nicely follow the shape/roundness of the nose.

EXTRA: there are of course many other ways to draw noses. Maybe you’d like to draw some of the following noses below or make noses up yourself.
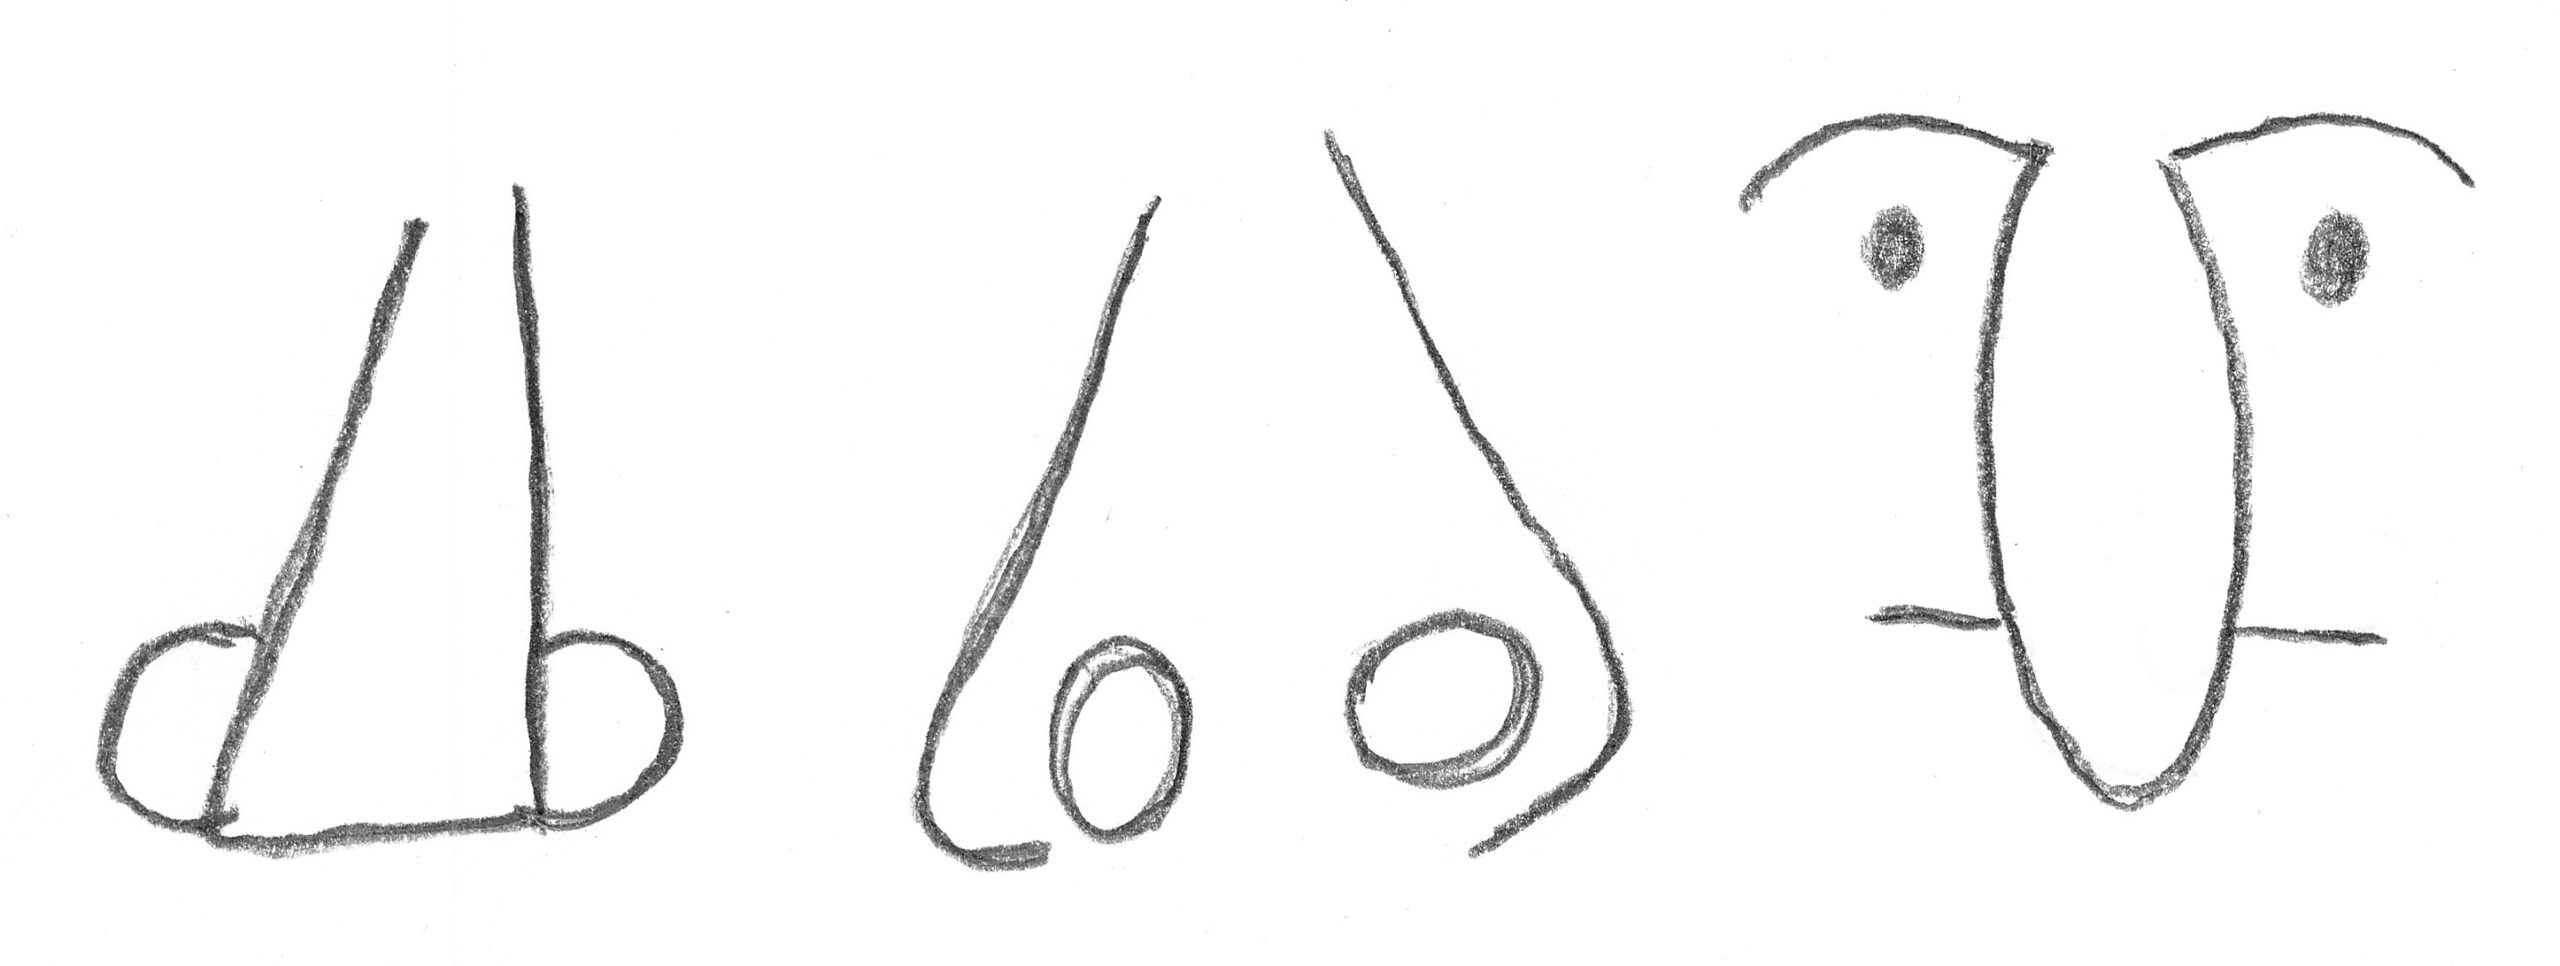
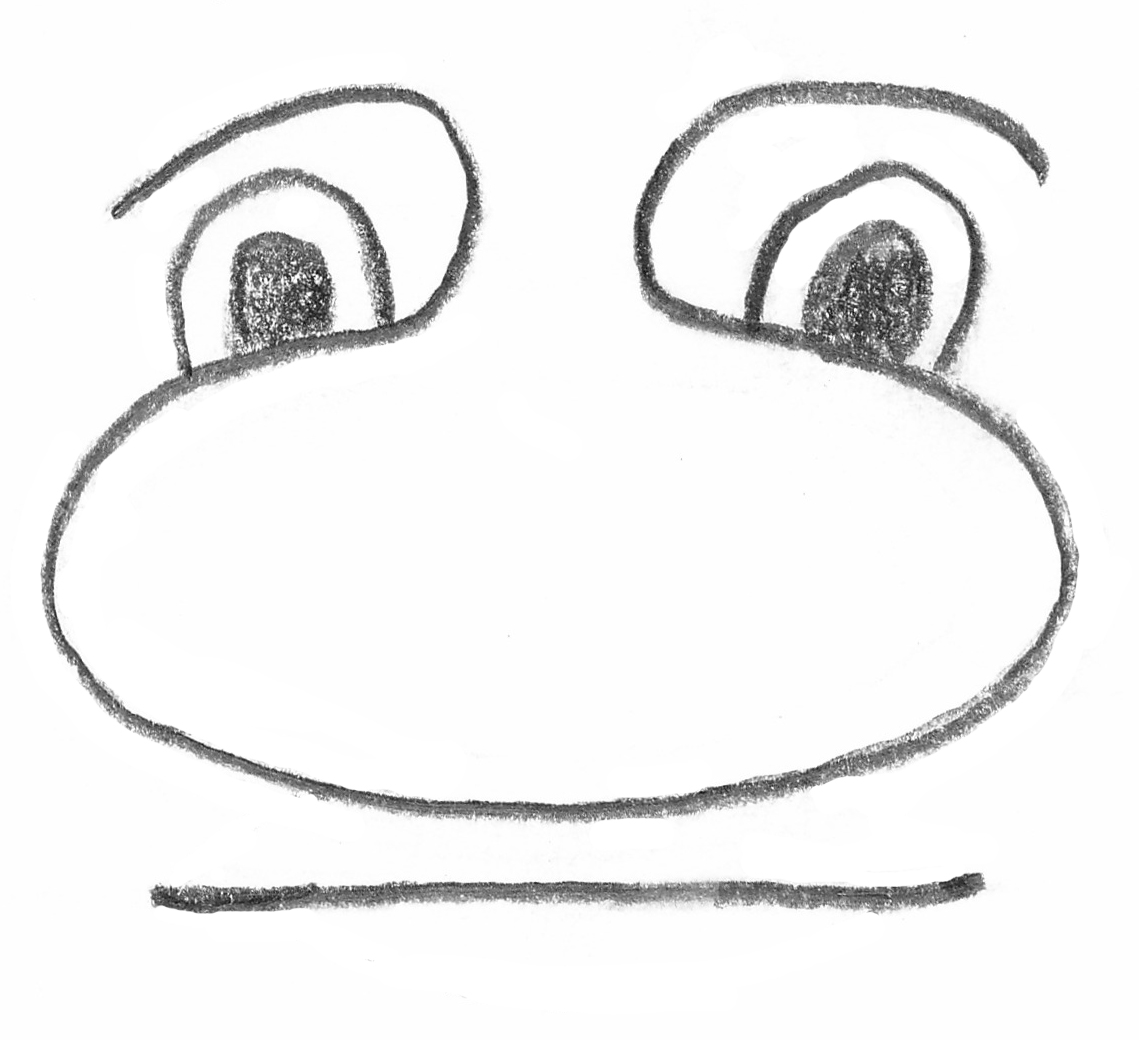

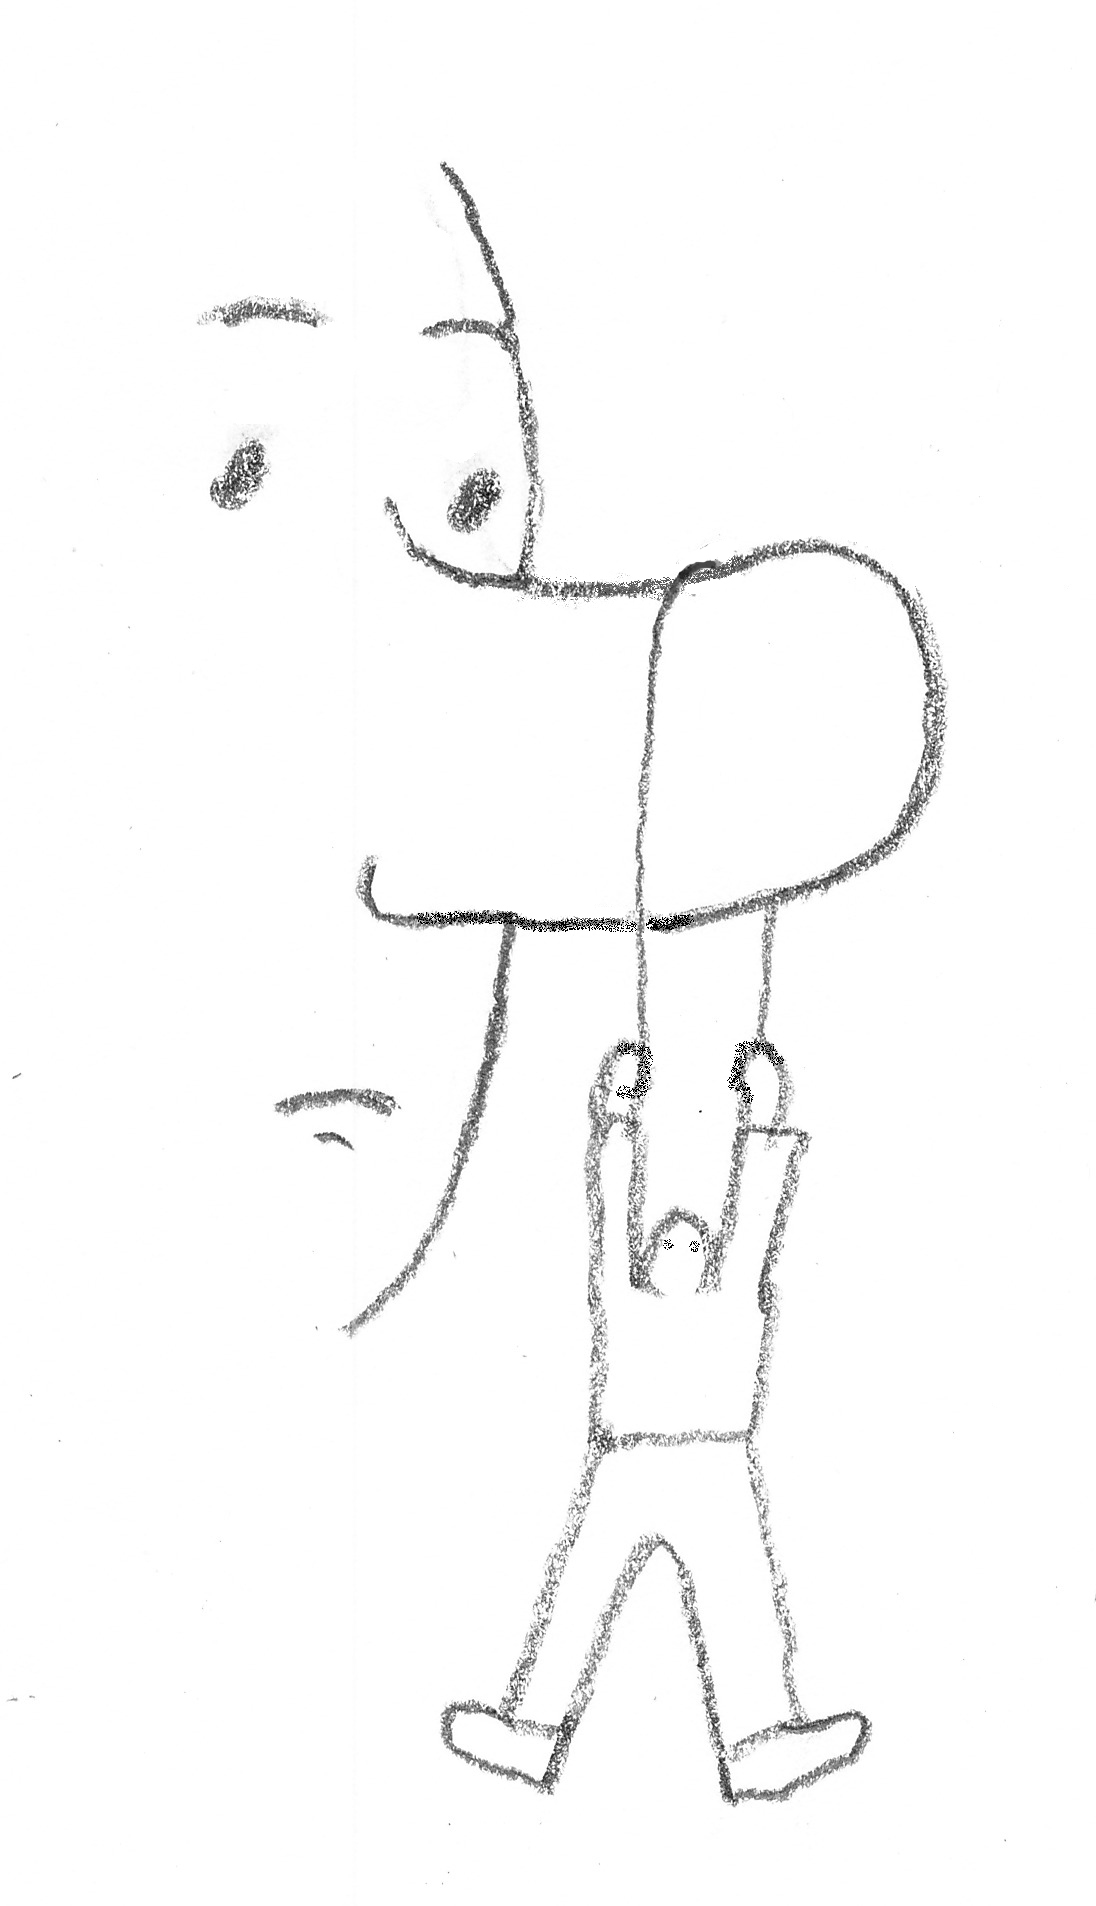

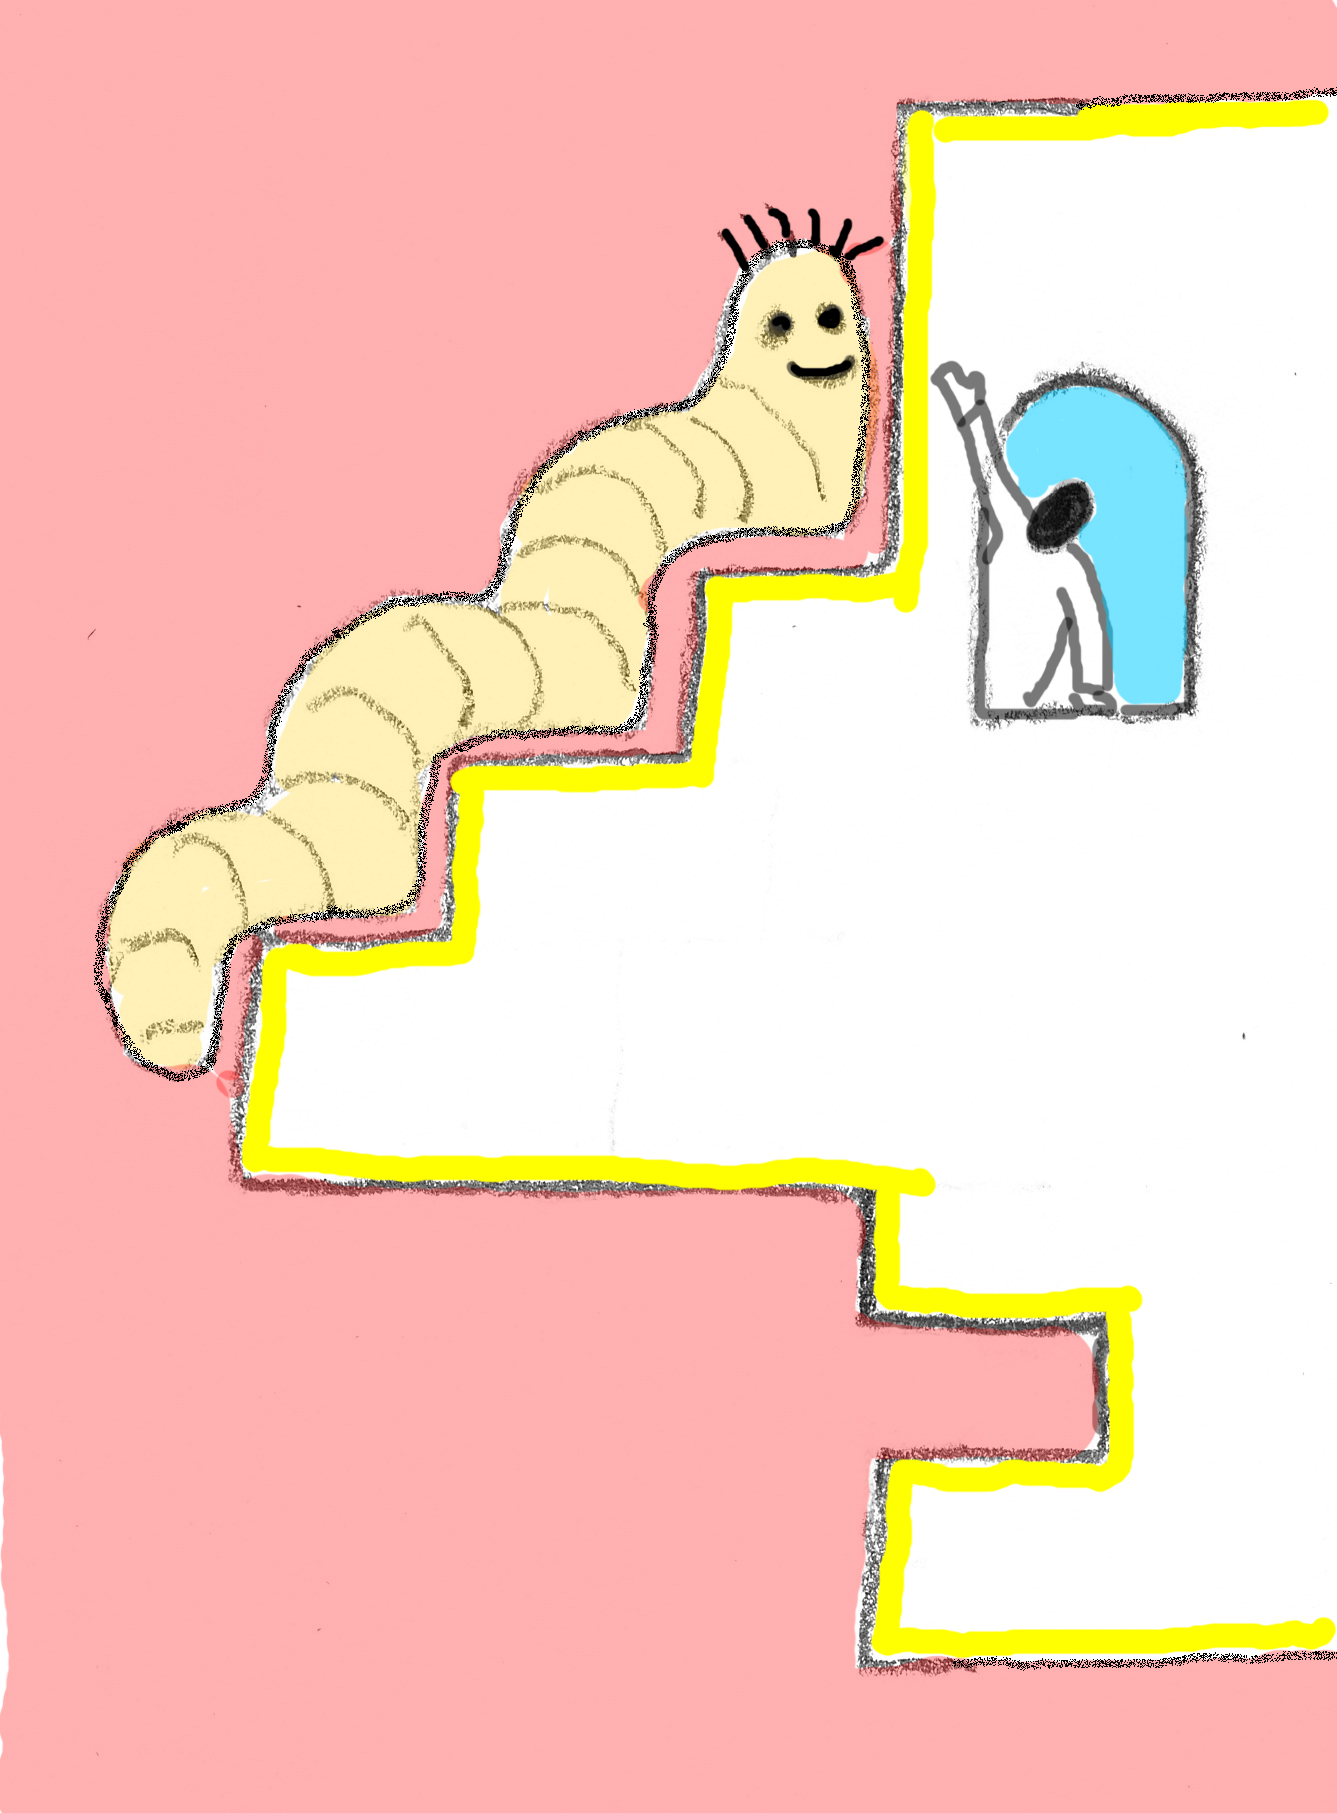
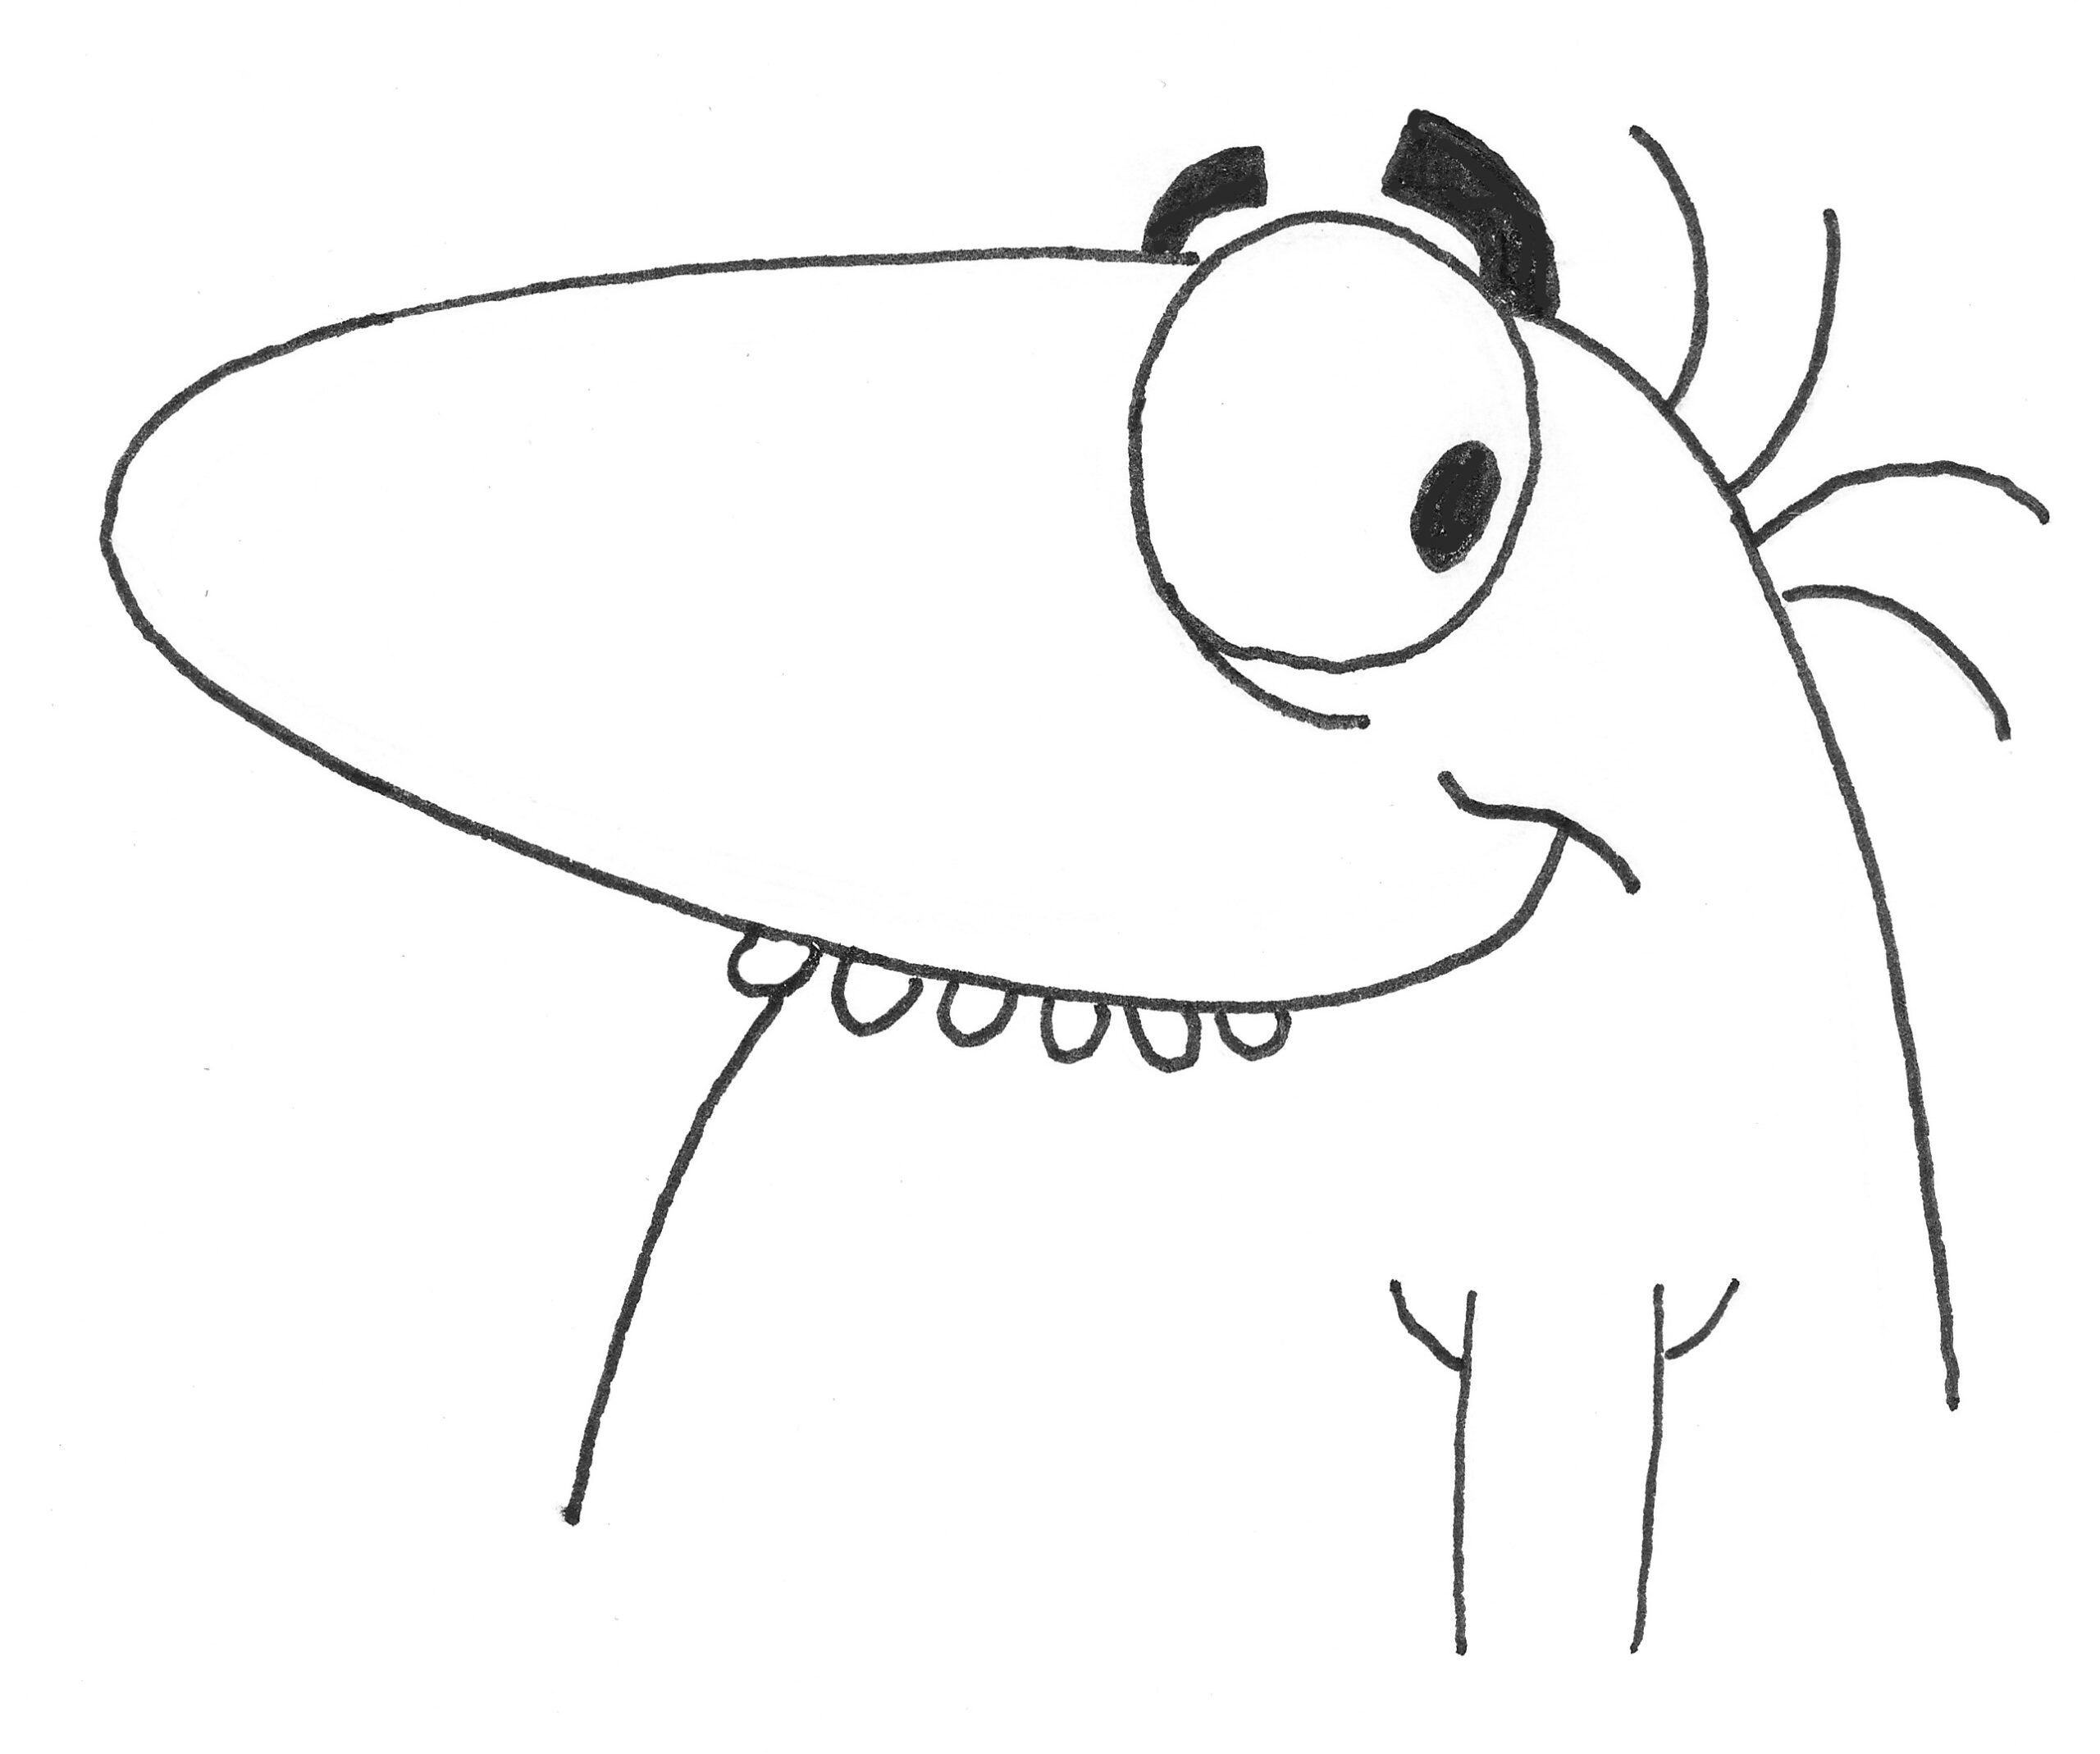
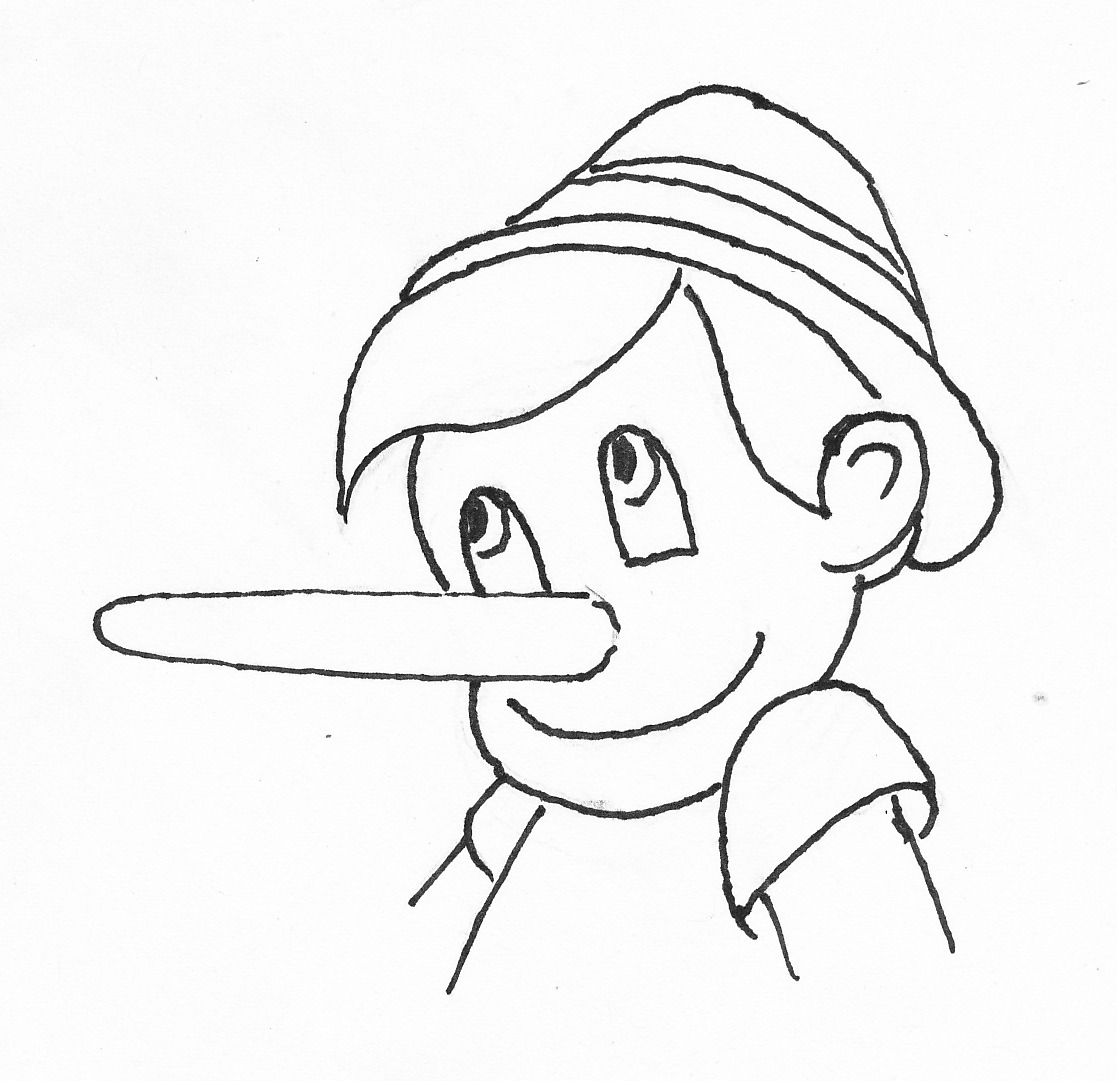
Especially in comics and cartoons you’ll come across special noses. For example Big Nose from Pink Panther has a huge nose and Pinocchio gets a long nose when he tells a little lie.
