Chapter 1 | THE HORSE JUMP

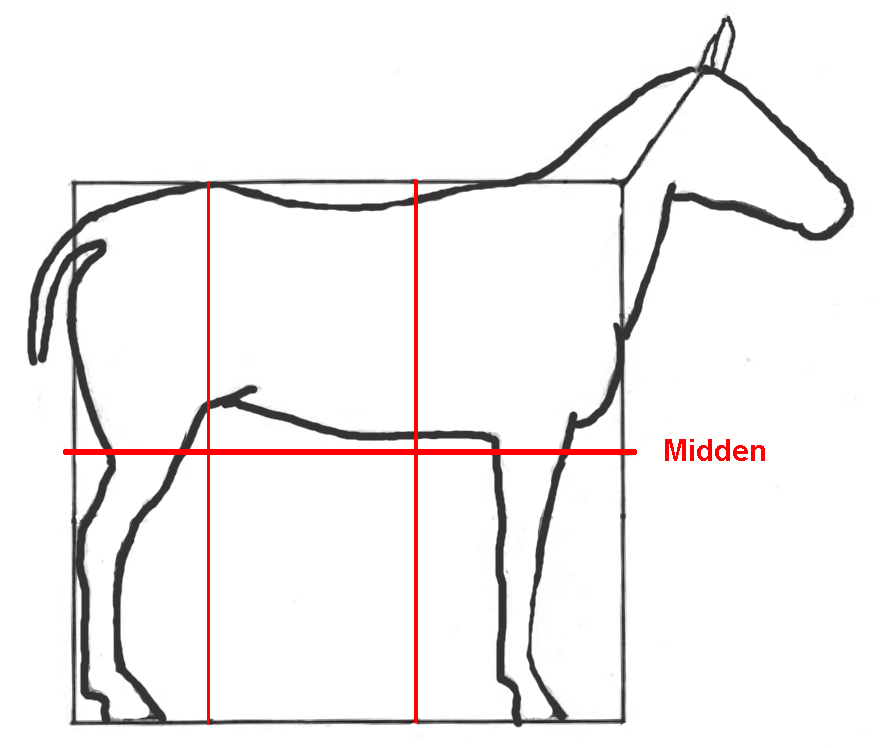
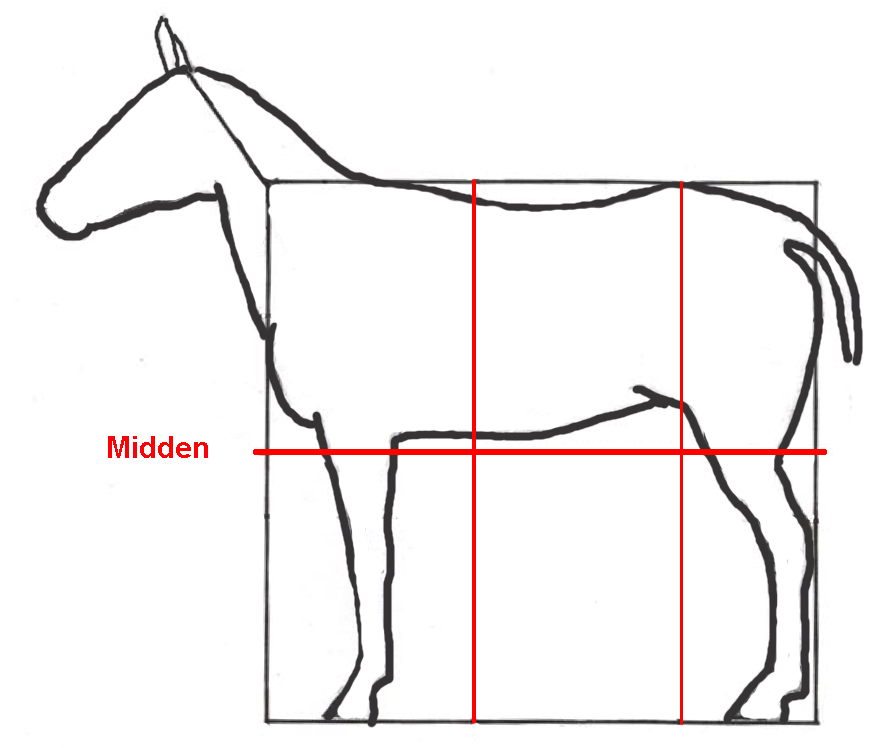
Exercise 1: Perhaps you already enjoy drawing horses often, but if not, here’s a proportional model of a horse from the side. When copying the model, start with a square of at least 15 x 15 centimeters and a horizontal line down the center (dotted or red here). You can also download one of the images, print it out, and trace it. Then you can color, decorate the horse, and so on.
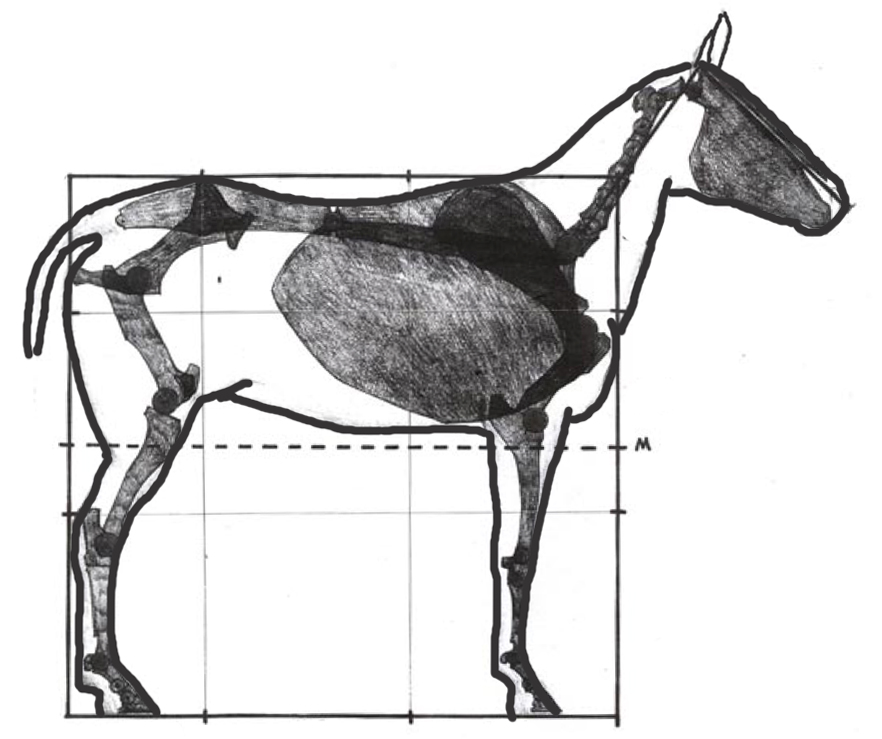
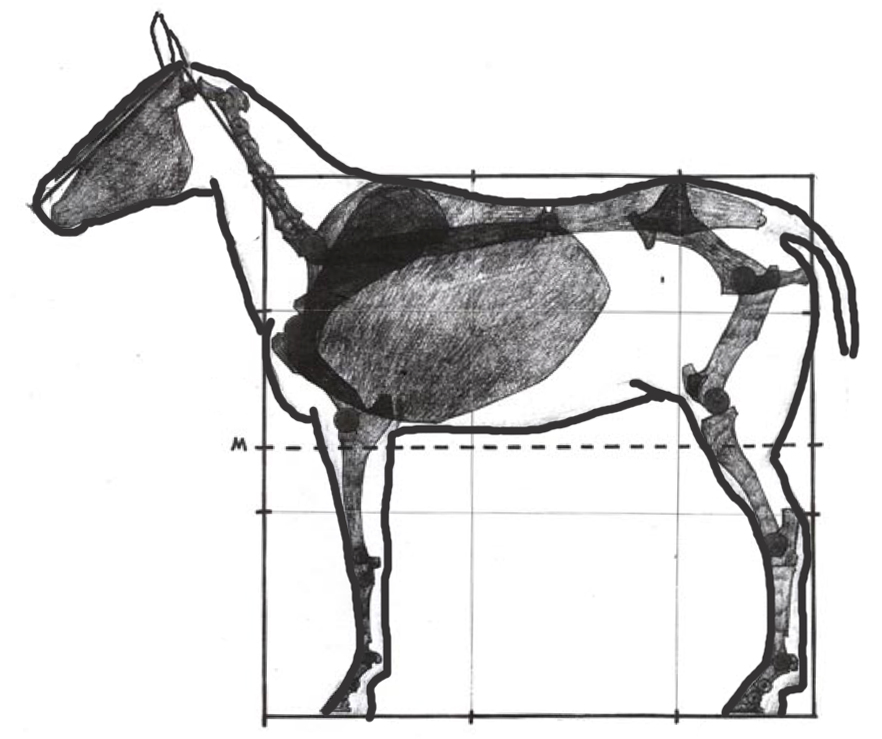
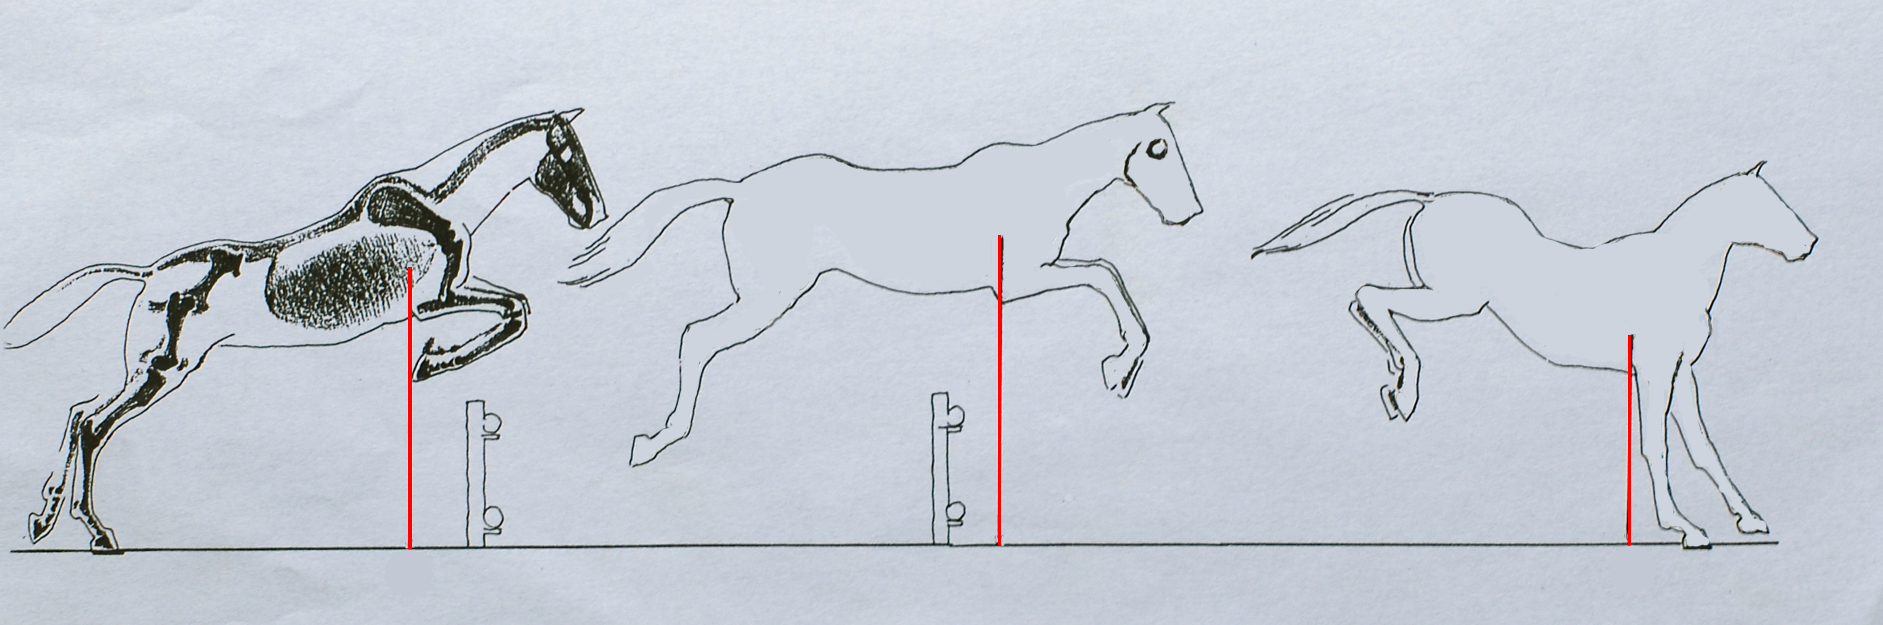
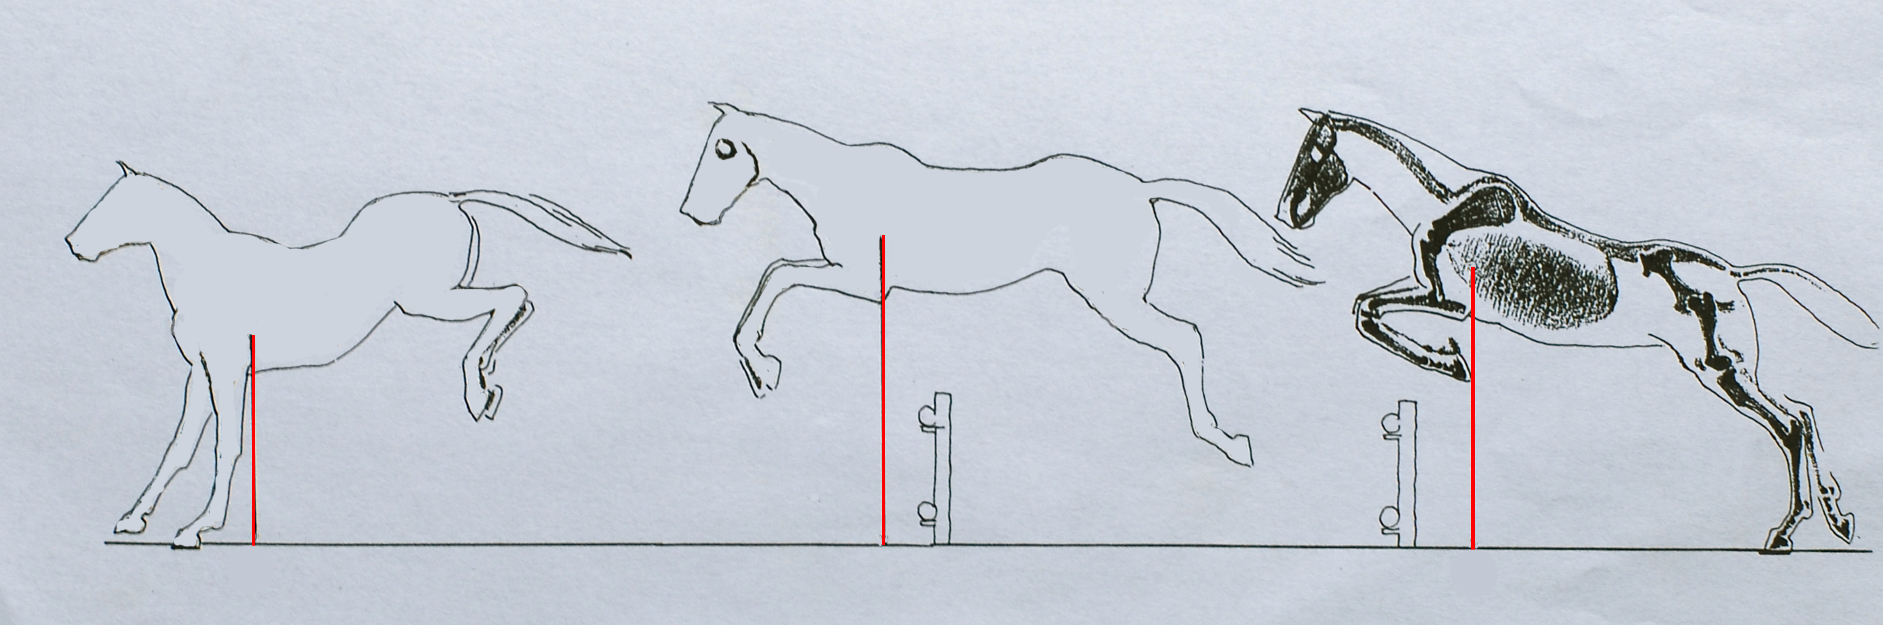
Exercise 2: In the next image a horse jump is shown. The skeleton is still visible in the take-off. The three red lines indicate the height of the breast during the jump. Try drawing one of the poses. And now comes the part: make the horse jump over something else: a wall, houses, cars, ditches, chasms and so on. Of course you can give your horse a rider!
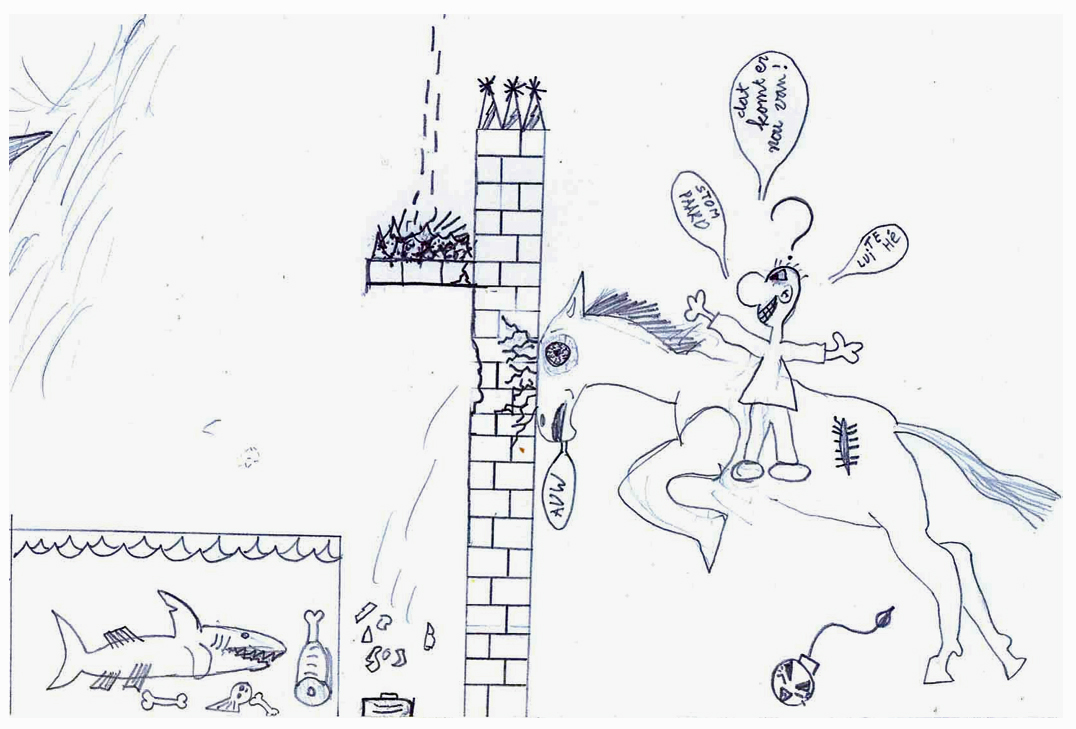
Some of us like to draw dangerous things, in this case very unpleasant for the horse. Fortunately, the horse is very strong and can still just say “AUCH!”. So he will be fine. The rider shouts all kinds of things, but of course he is not capable to ride at all. The wall is starting to give way due to the shock; there are already cracks in it and pieces of stone are loosening on the other side. The horse’s posture is very well drawn.
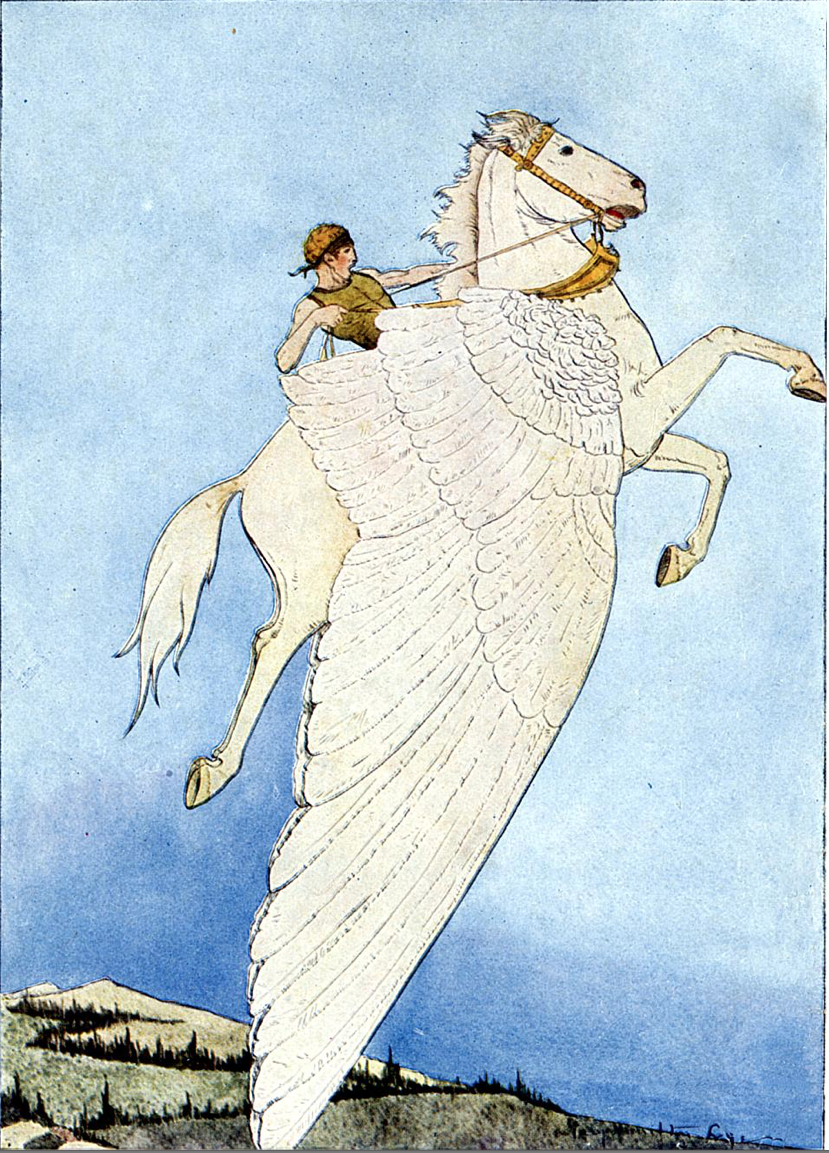
The horse Pegasus from Greek mythology had no trouble jumping because he had wings.Learn more about mythical creatures in the lesson Animals, chapter 1, level 3.