CHAPTER 1 | THE BLOCK PATTERN
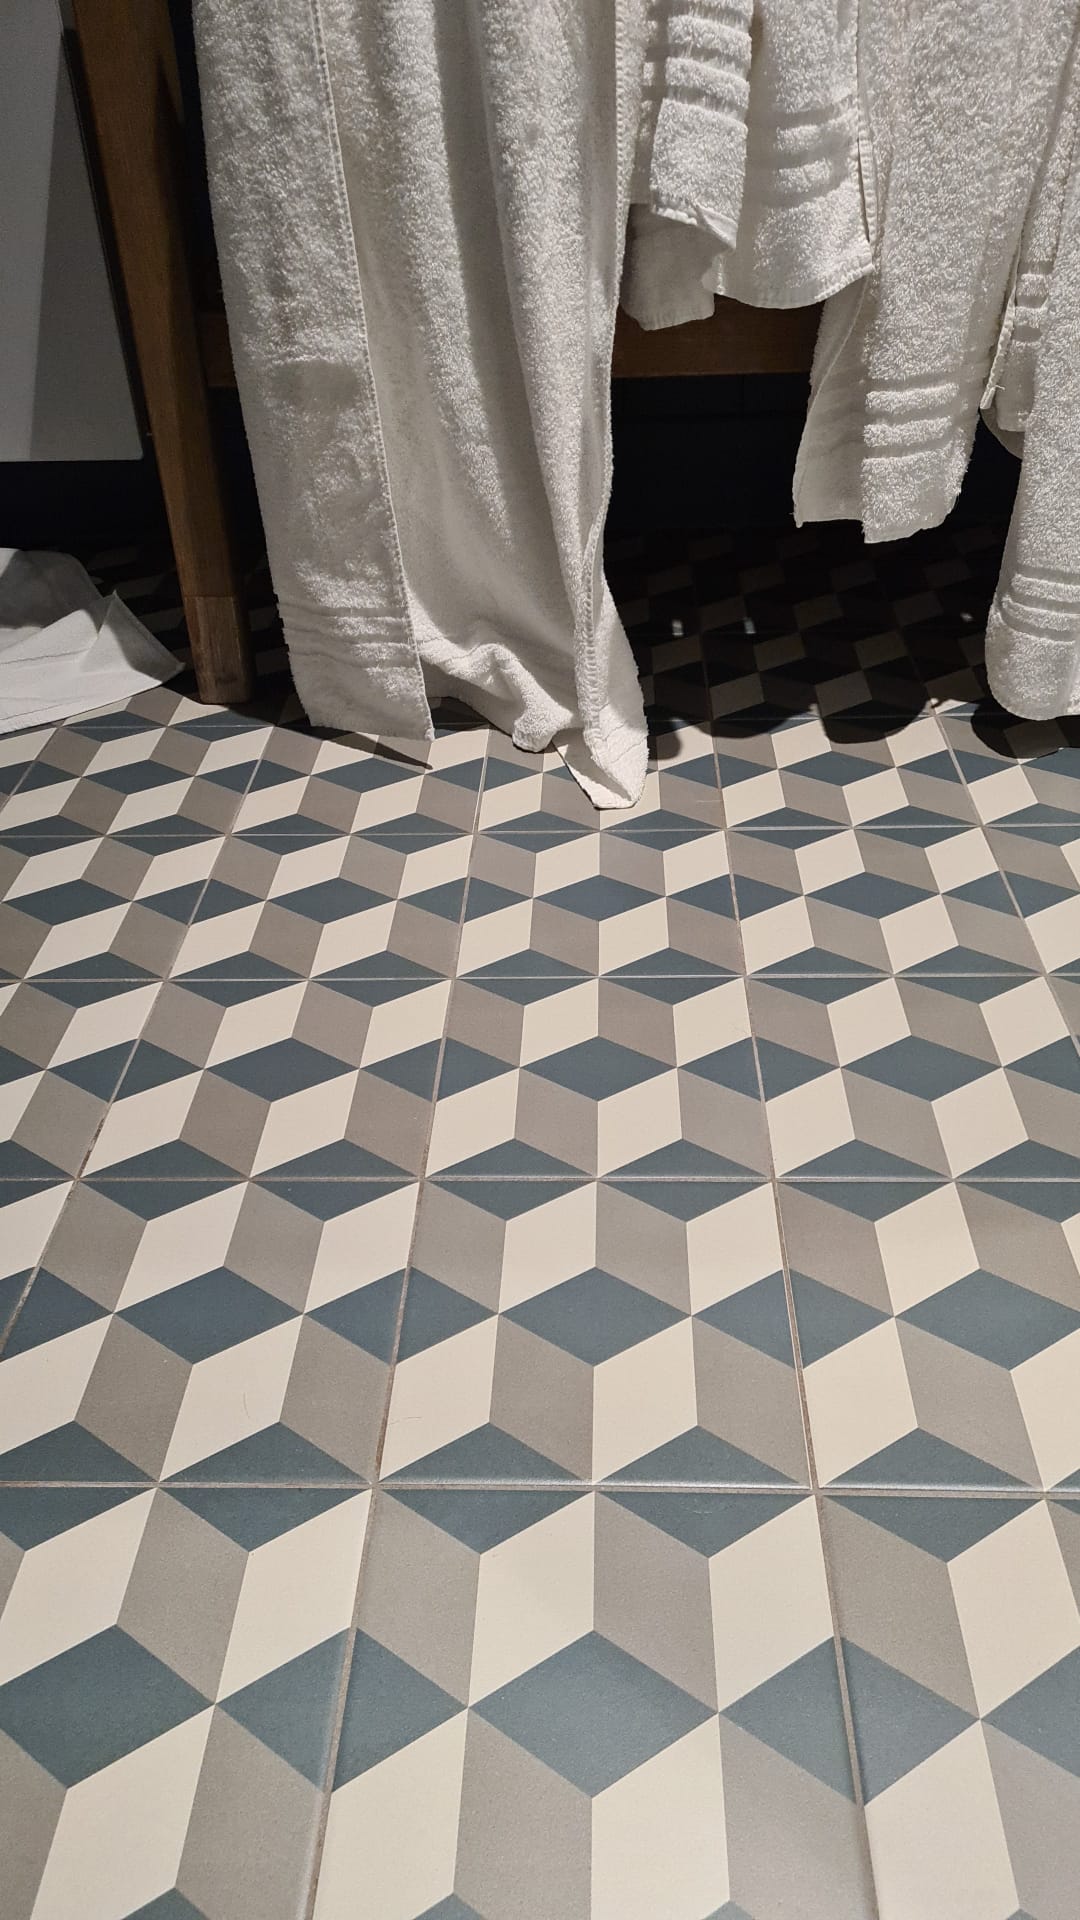
The block pattern is already 2000 years old and is still used as we’ll see later in this chapter. The special thing about this flat decoration is that it creates a 3D illusion. The next examples were discovered during excavations at Pompeii, the city that was destroyed by the fatal eruption of the volcano Vesuvius in 79 BC. The pattern is made of diamond/rhombus-shaped pieces of stone or (glazed) ceramics on a floor or wall.
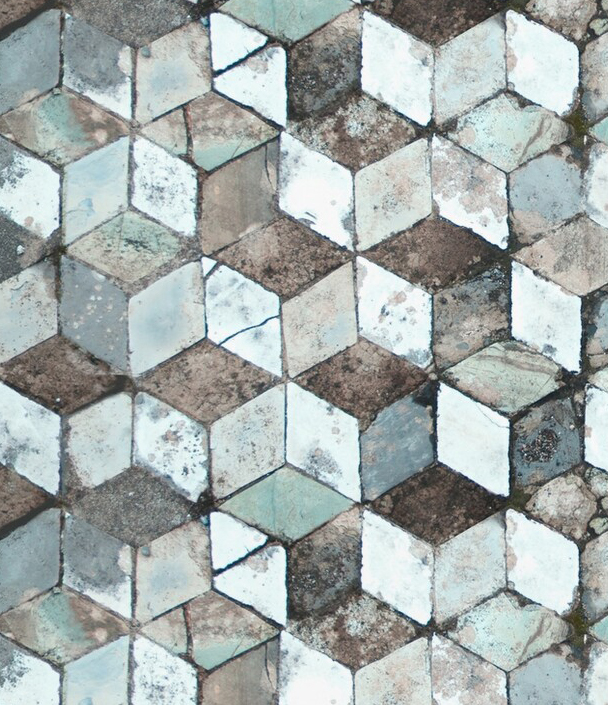
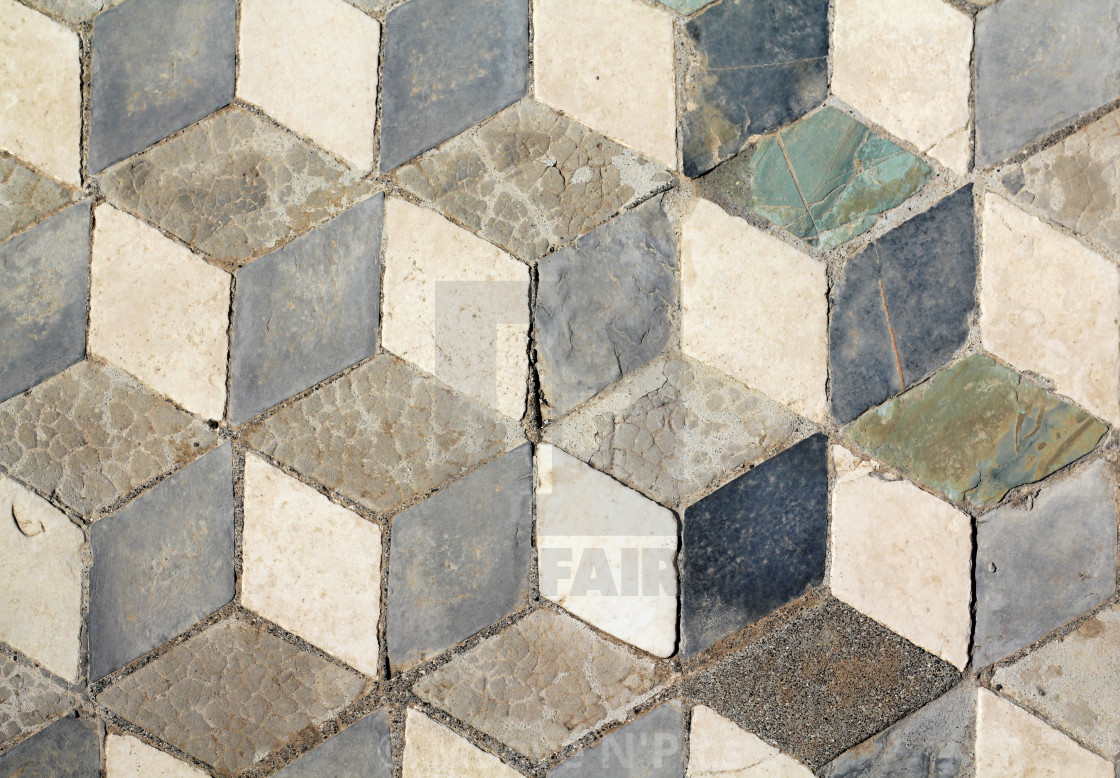
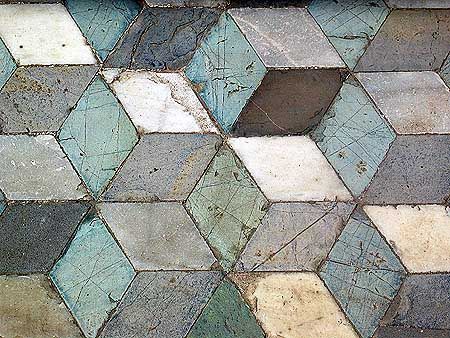
Cube patterns from Pompeii

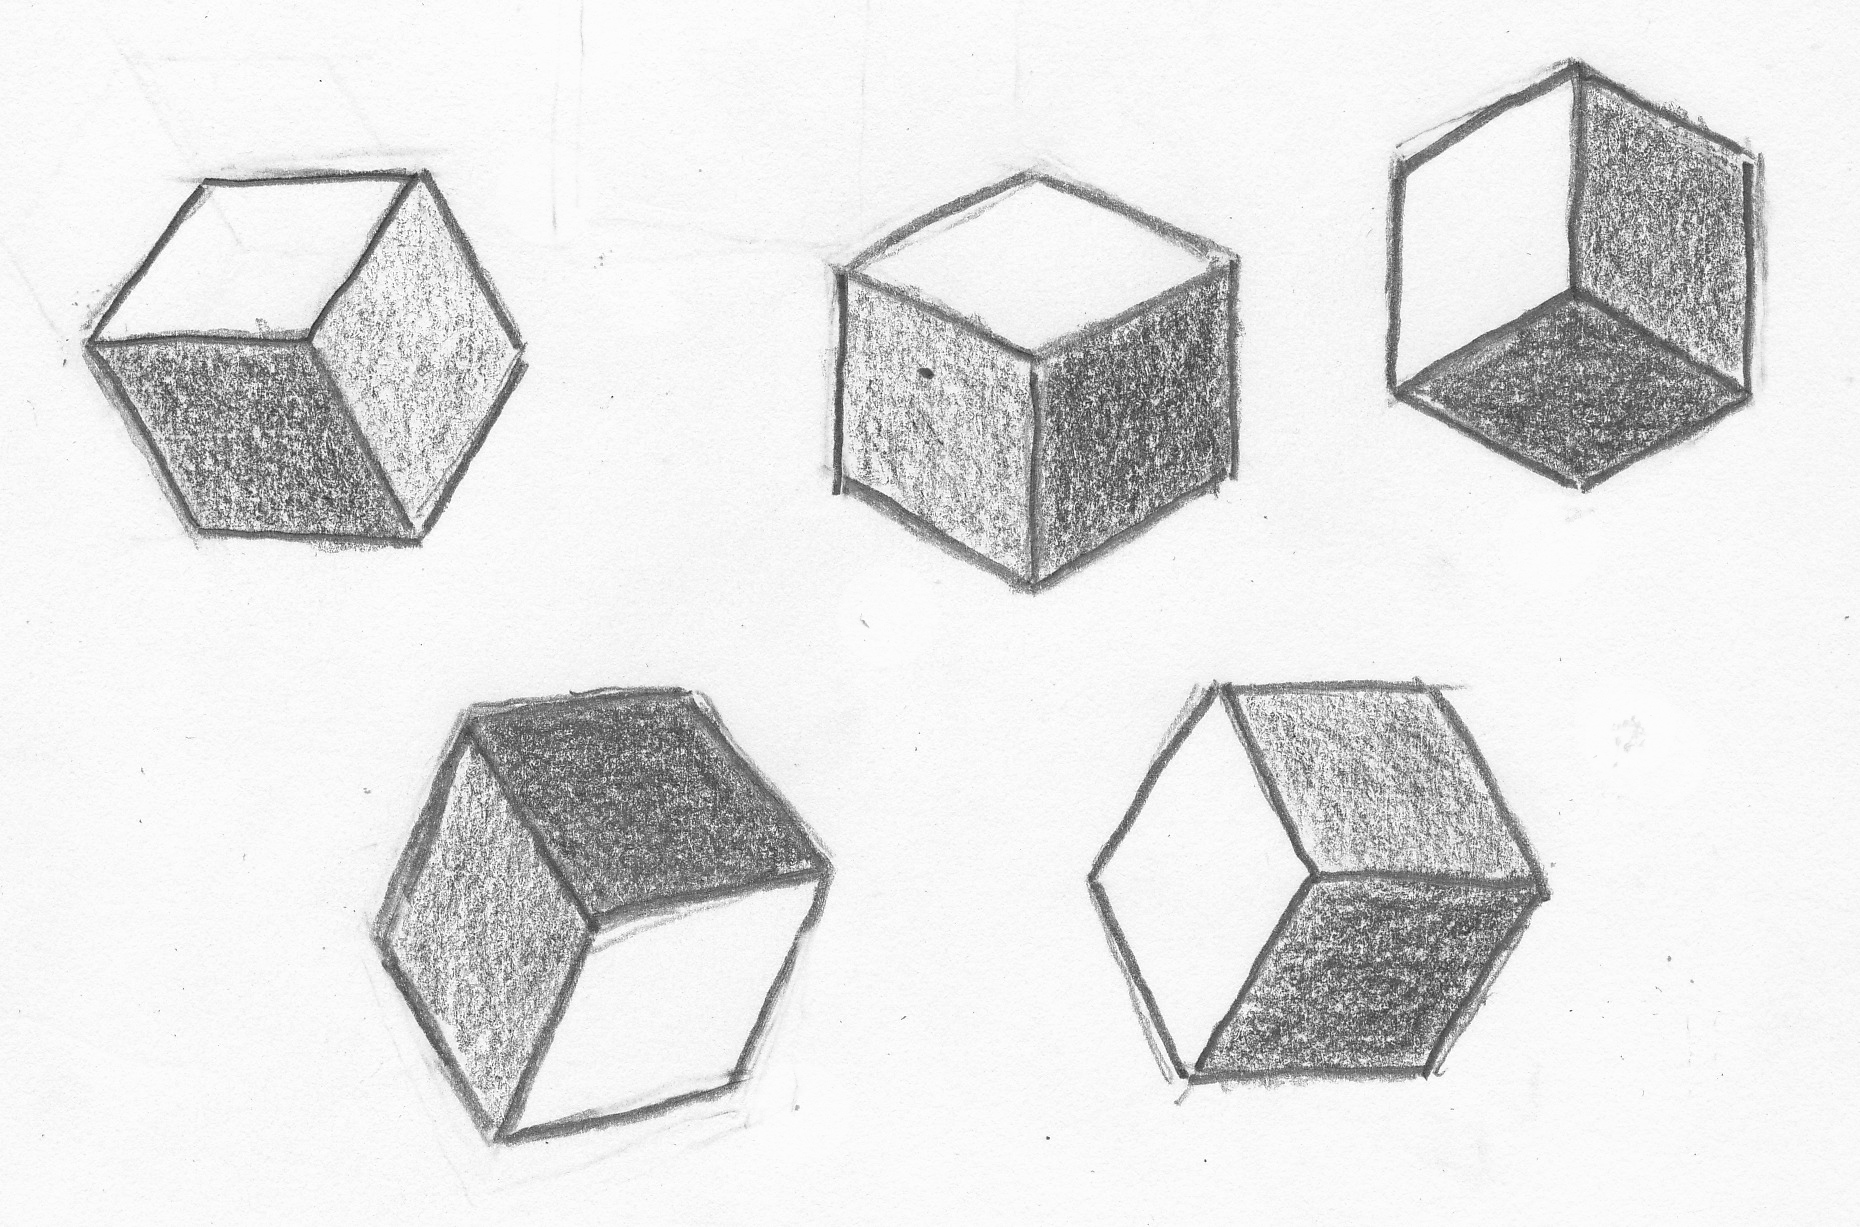
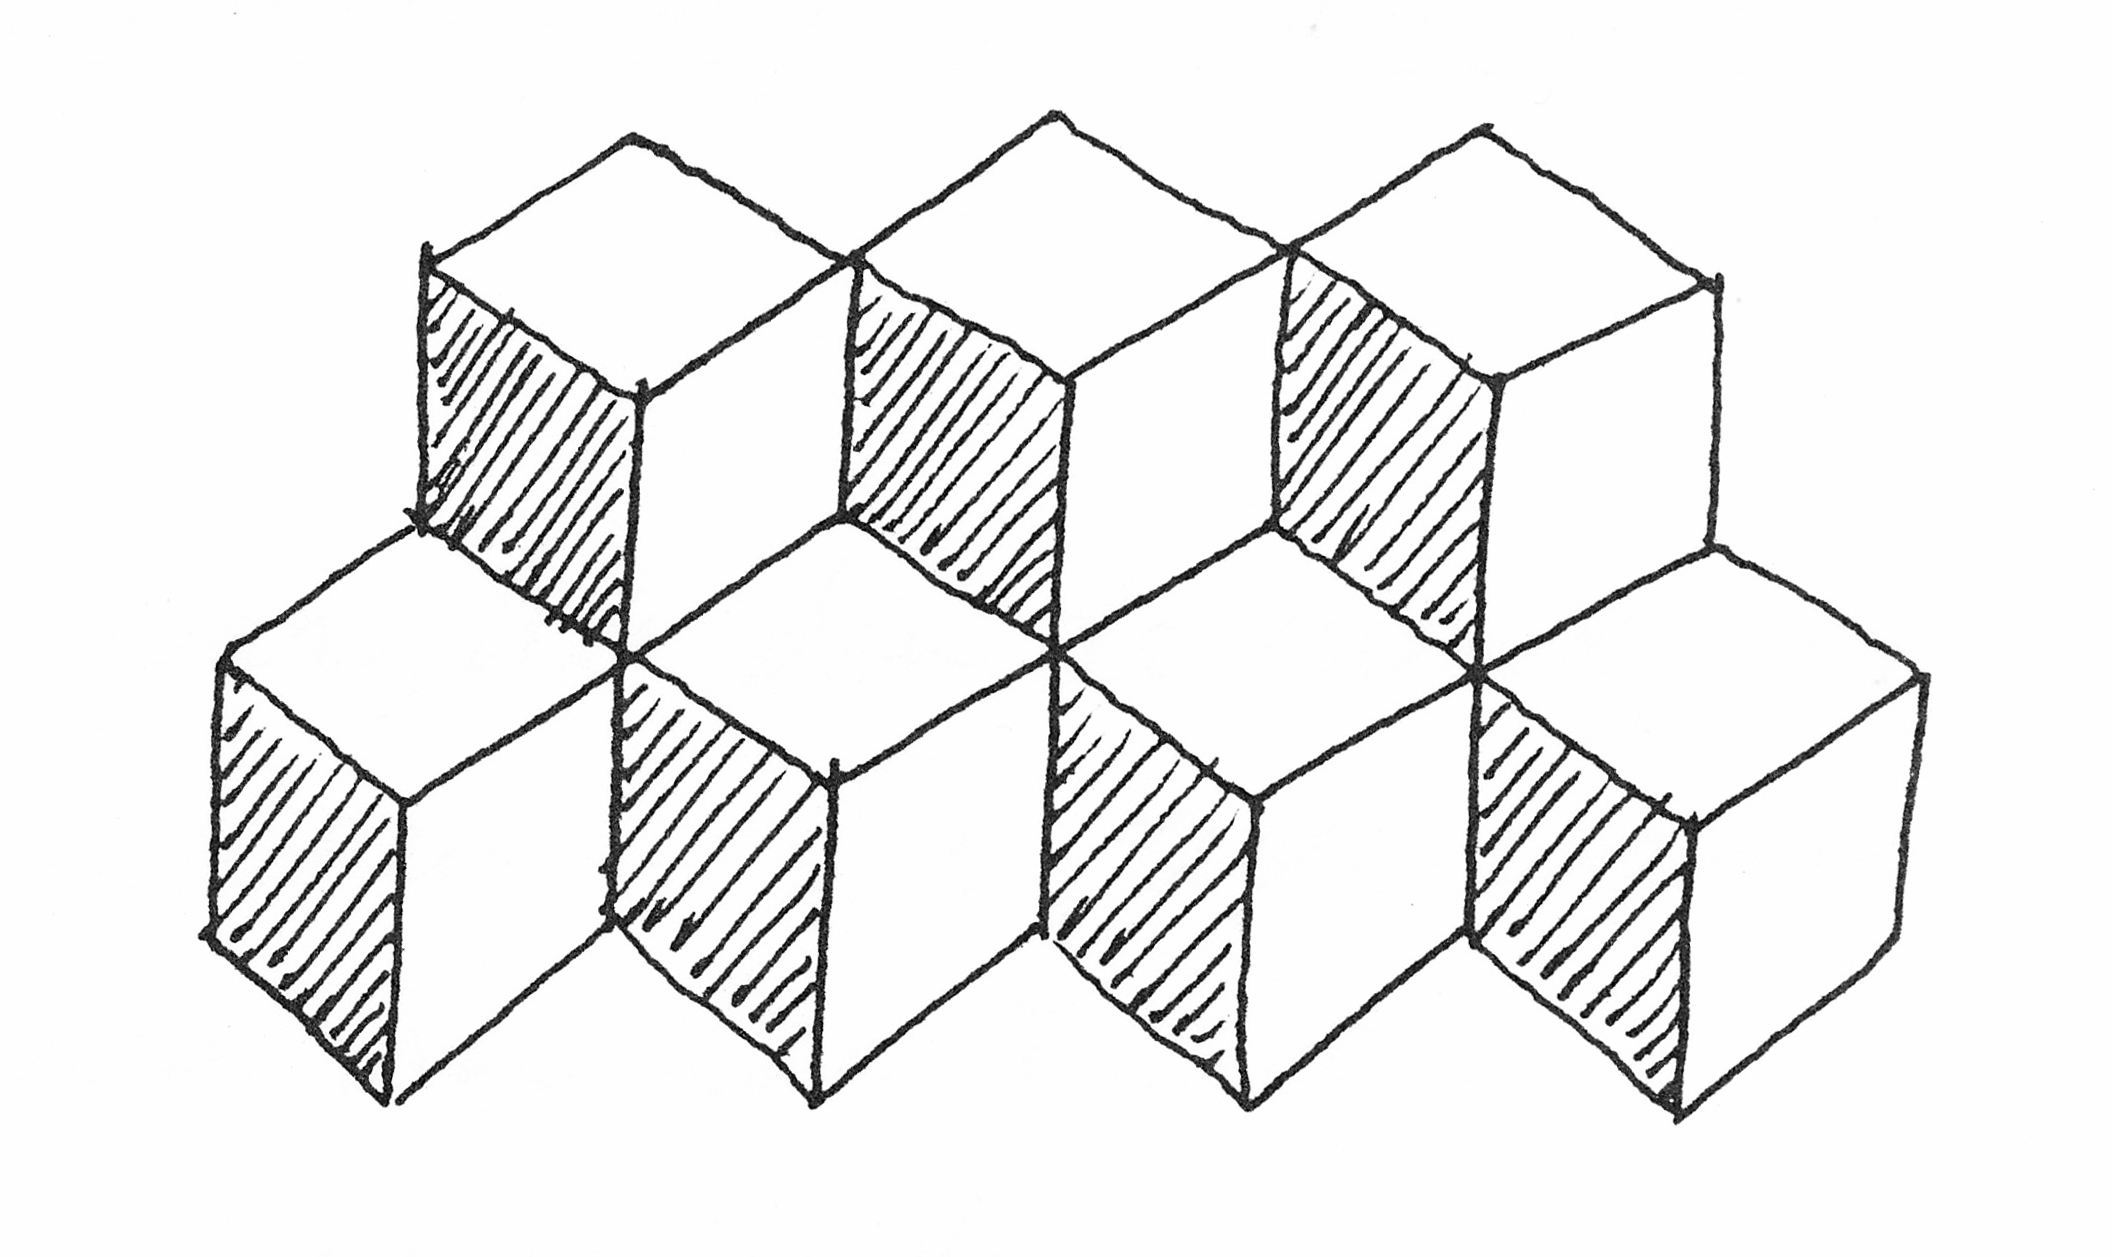
Exercise 1: Draw loose blocks in different positions. You always see three sides of the block! Use shades of gray (anything between black and white) or color to darken two of the three sides.
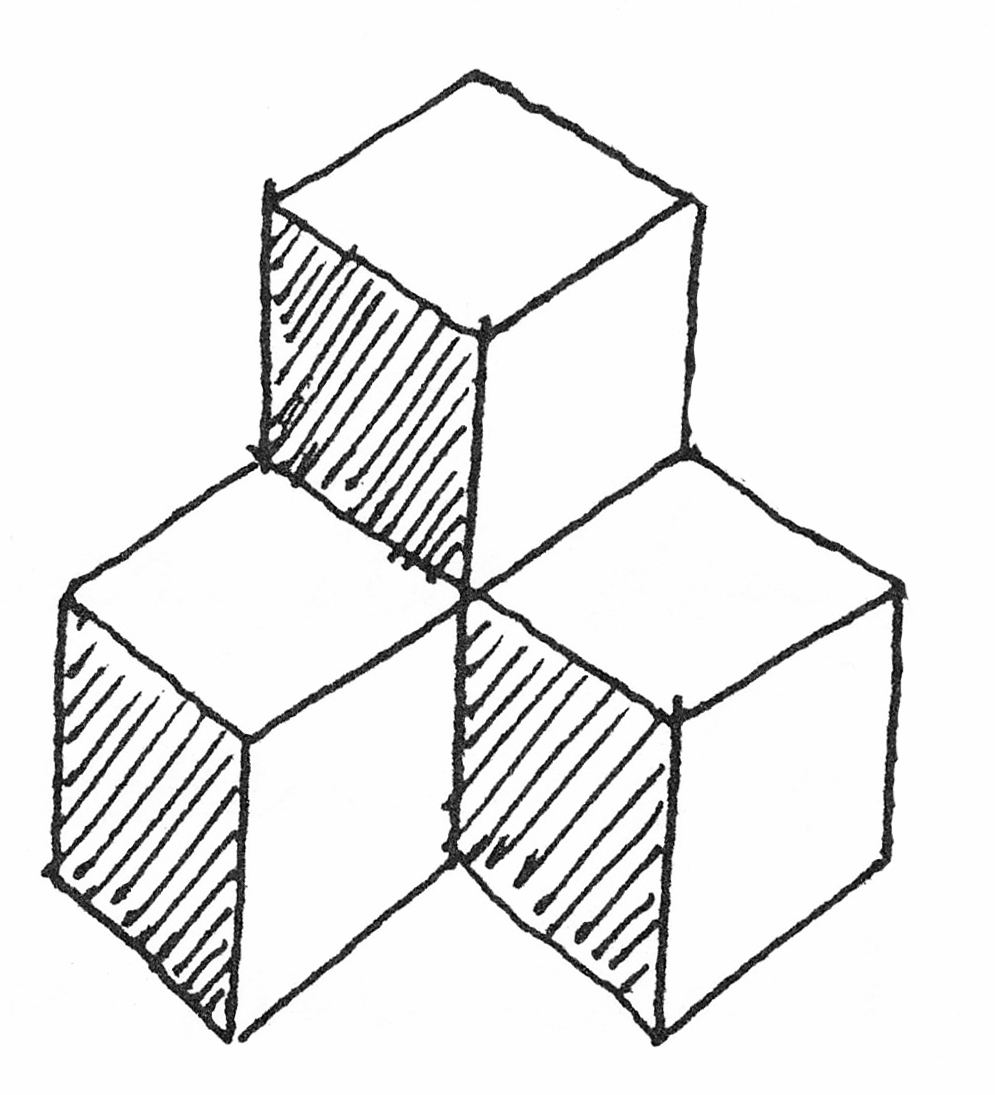
Exercise 2: In a block pattern, all blocks are connected to each other in exactly the same position. Draw a small pattern of 3, 5 or 7 blocks freehand.
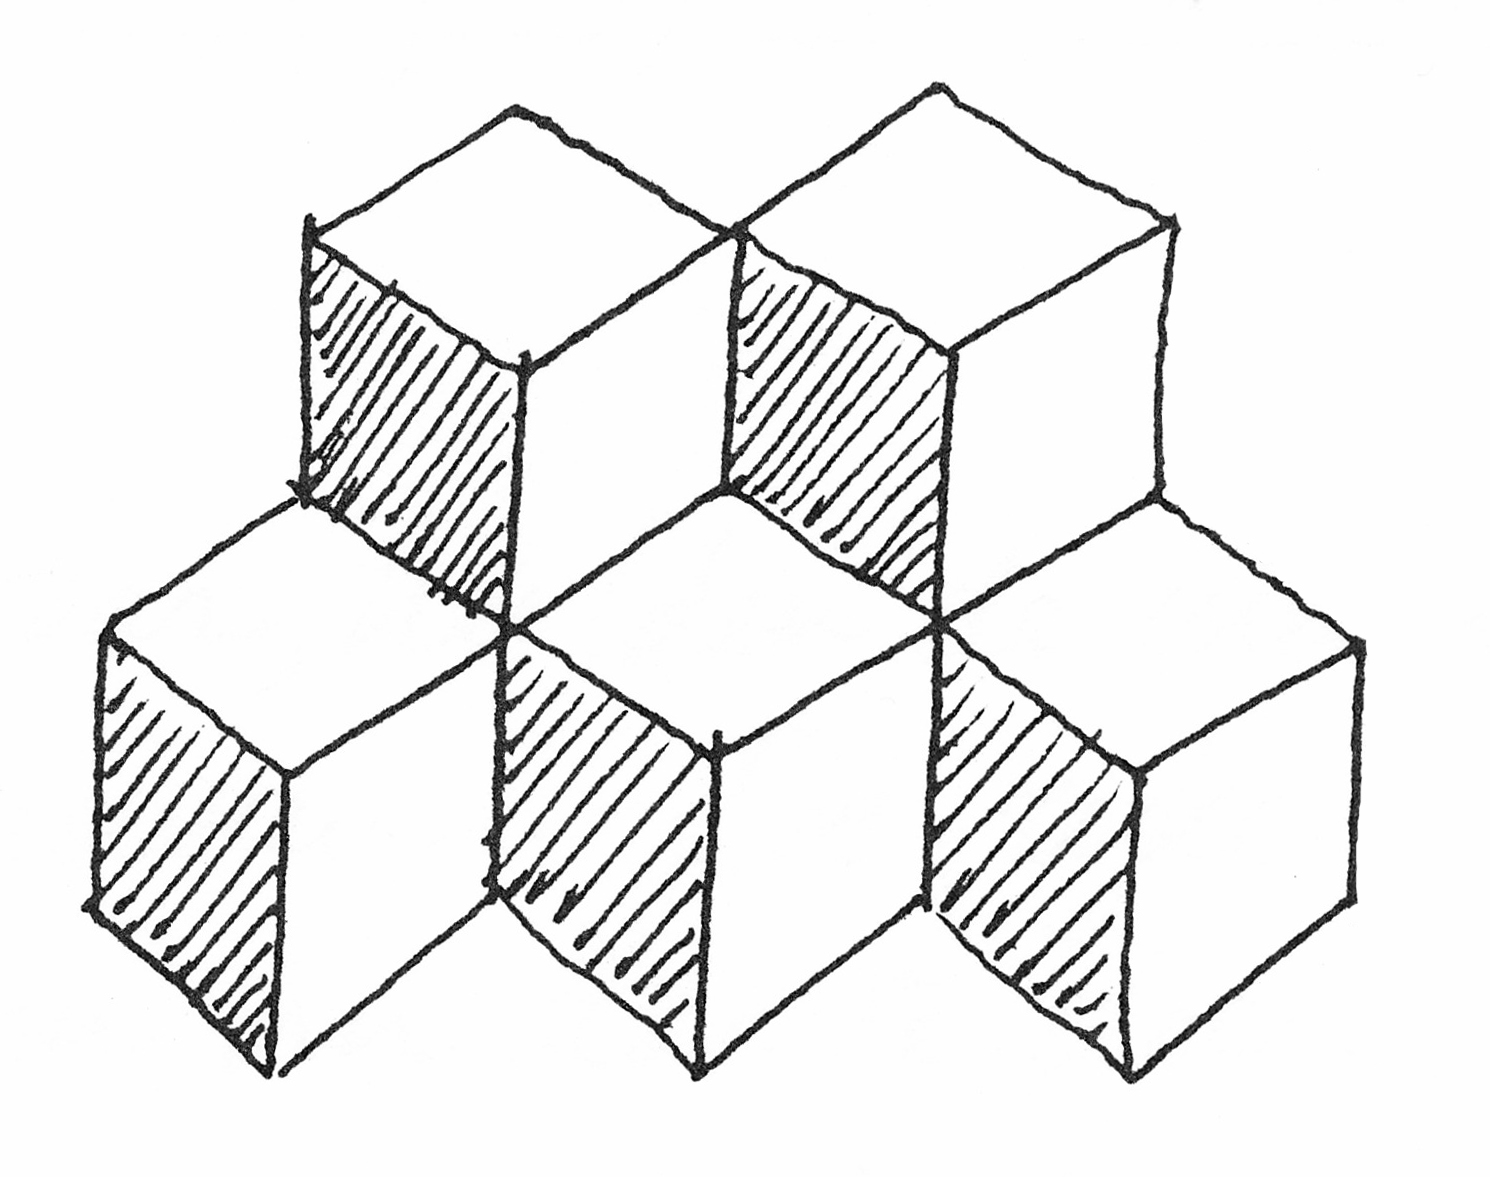
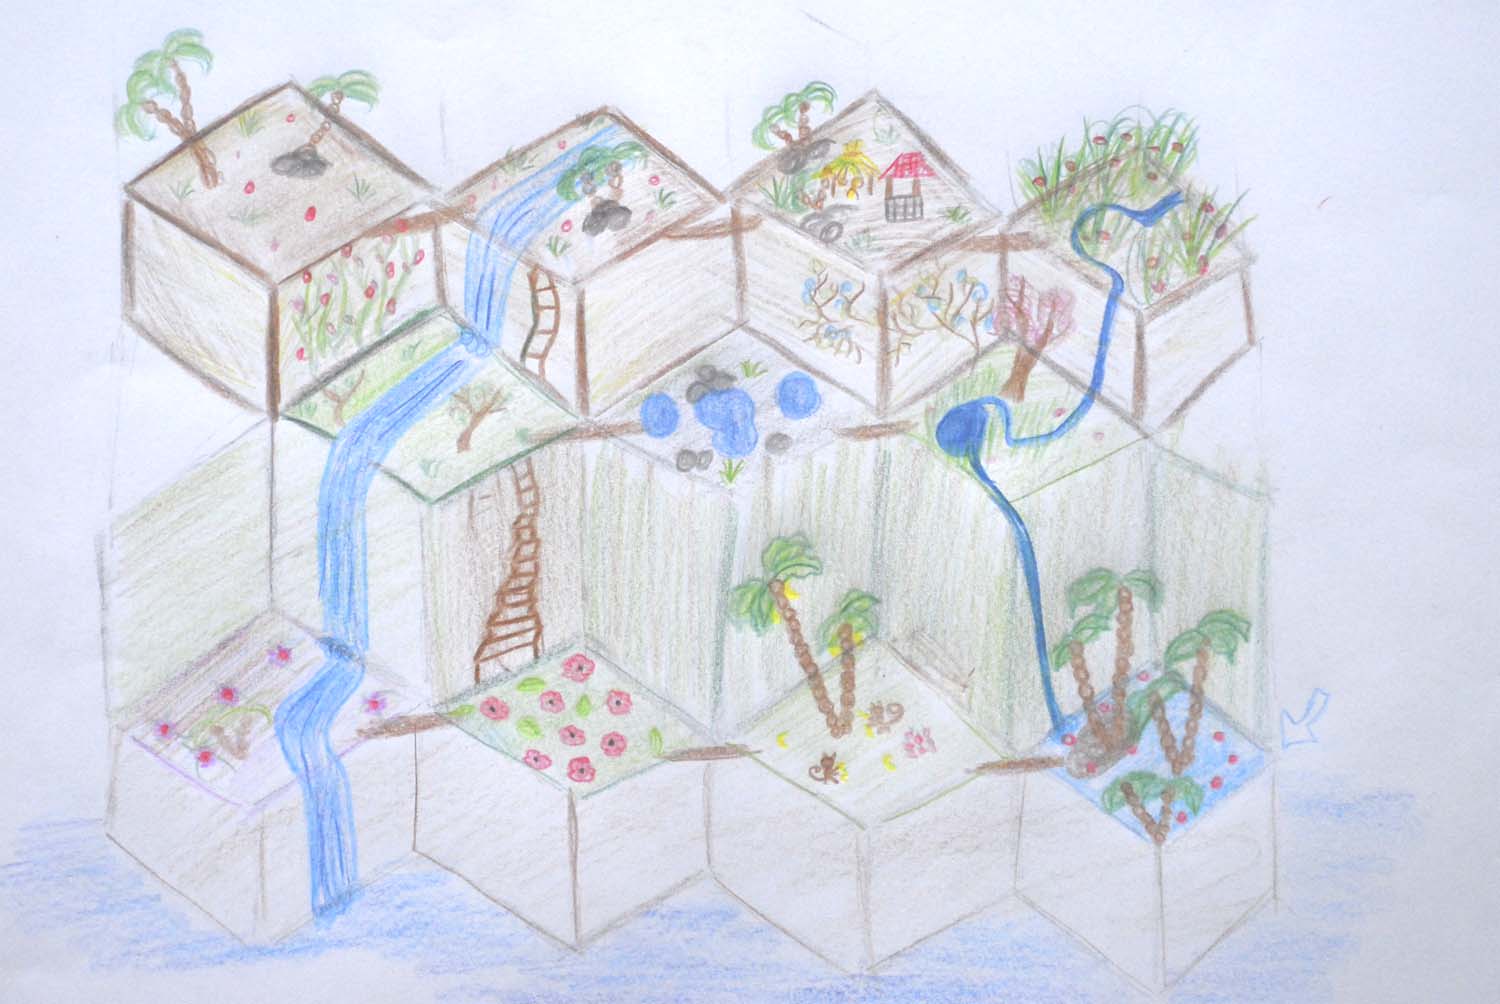
Here a pupil has turned it into a fantastic building with waterfalls, stairs, palm trees, flowers, a well and roof terraces.
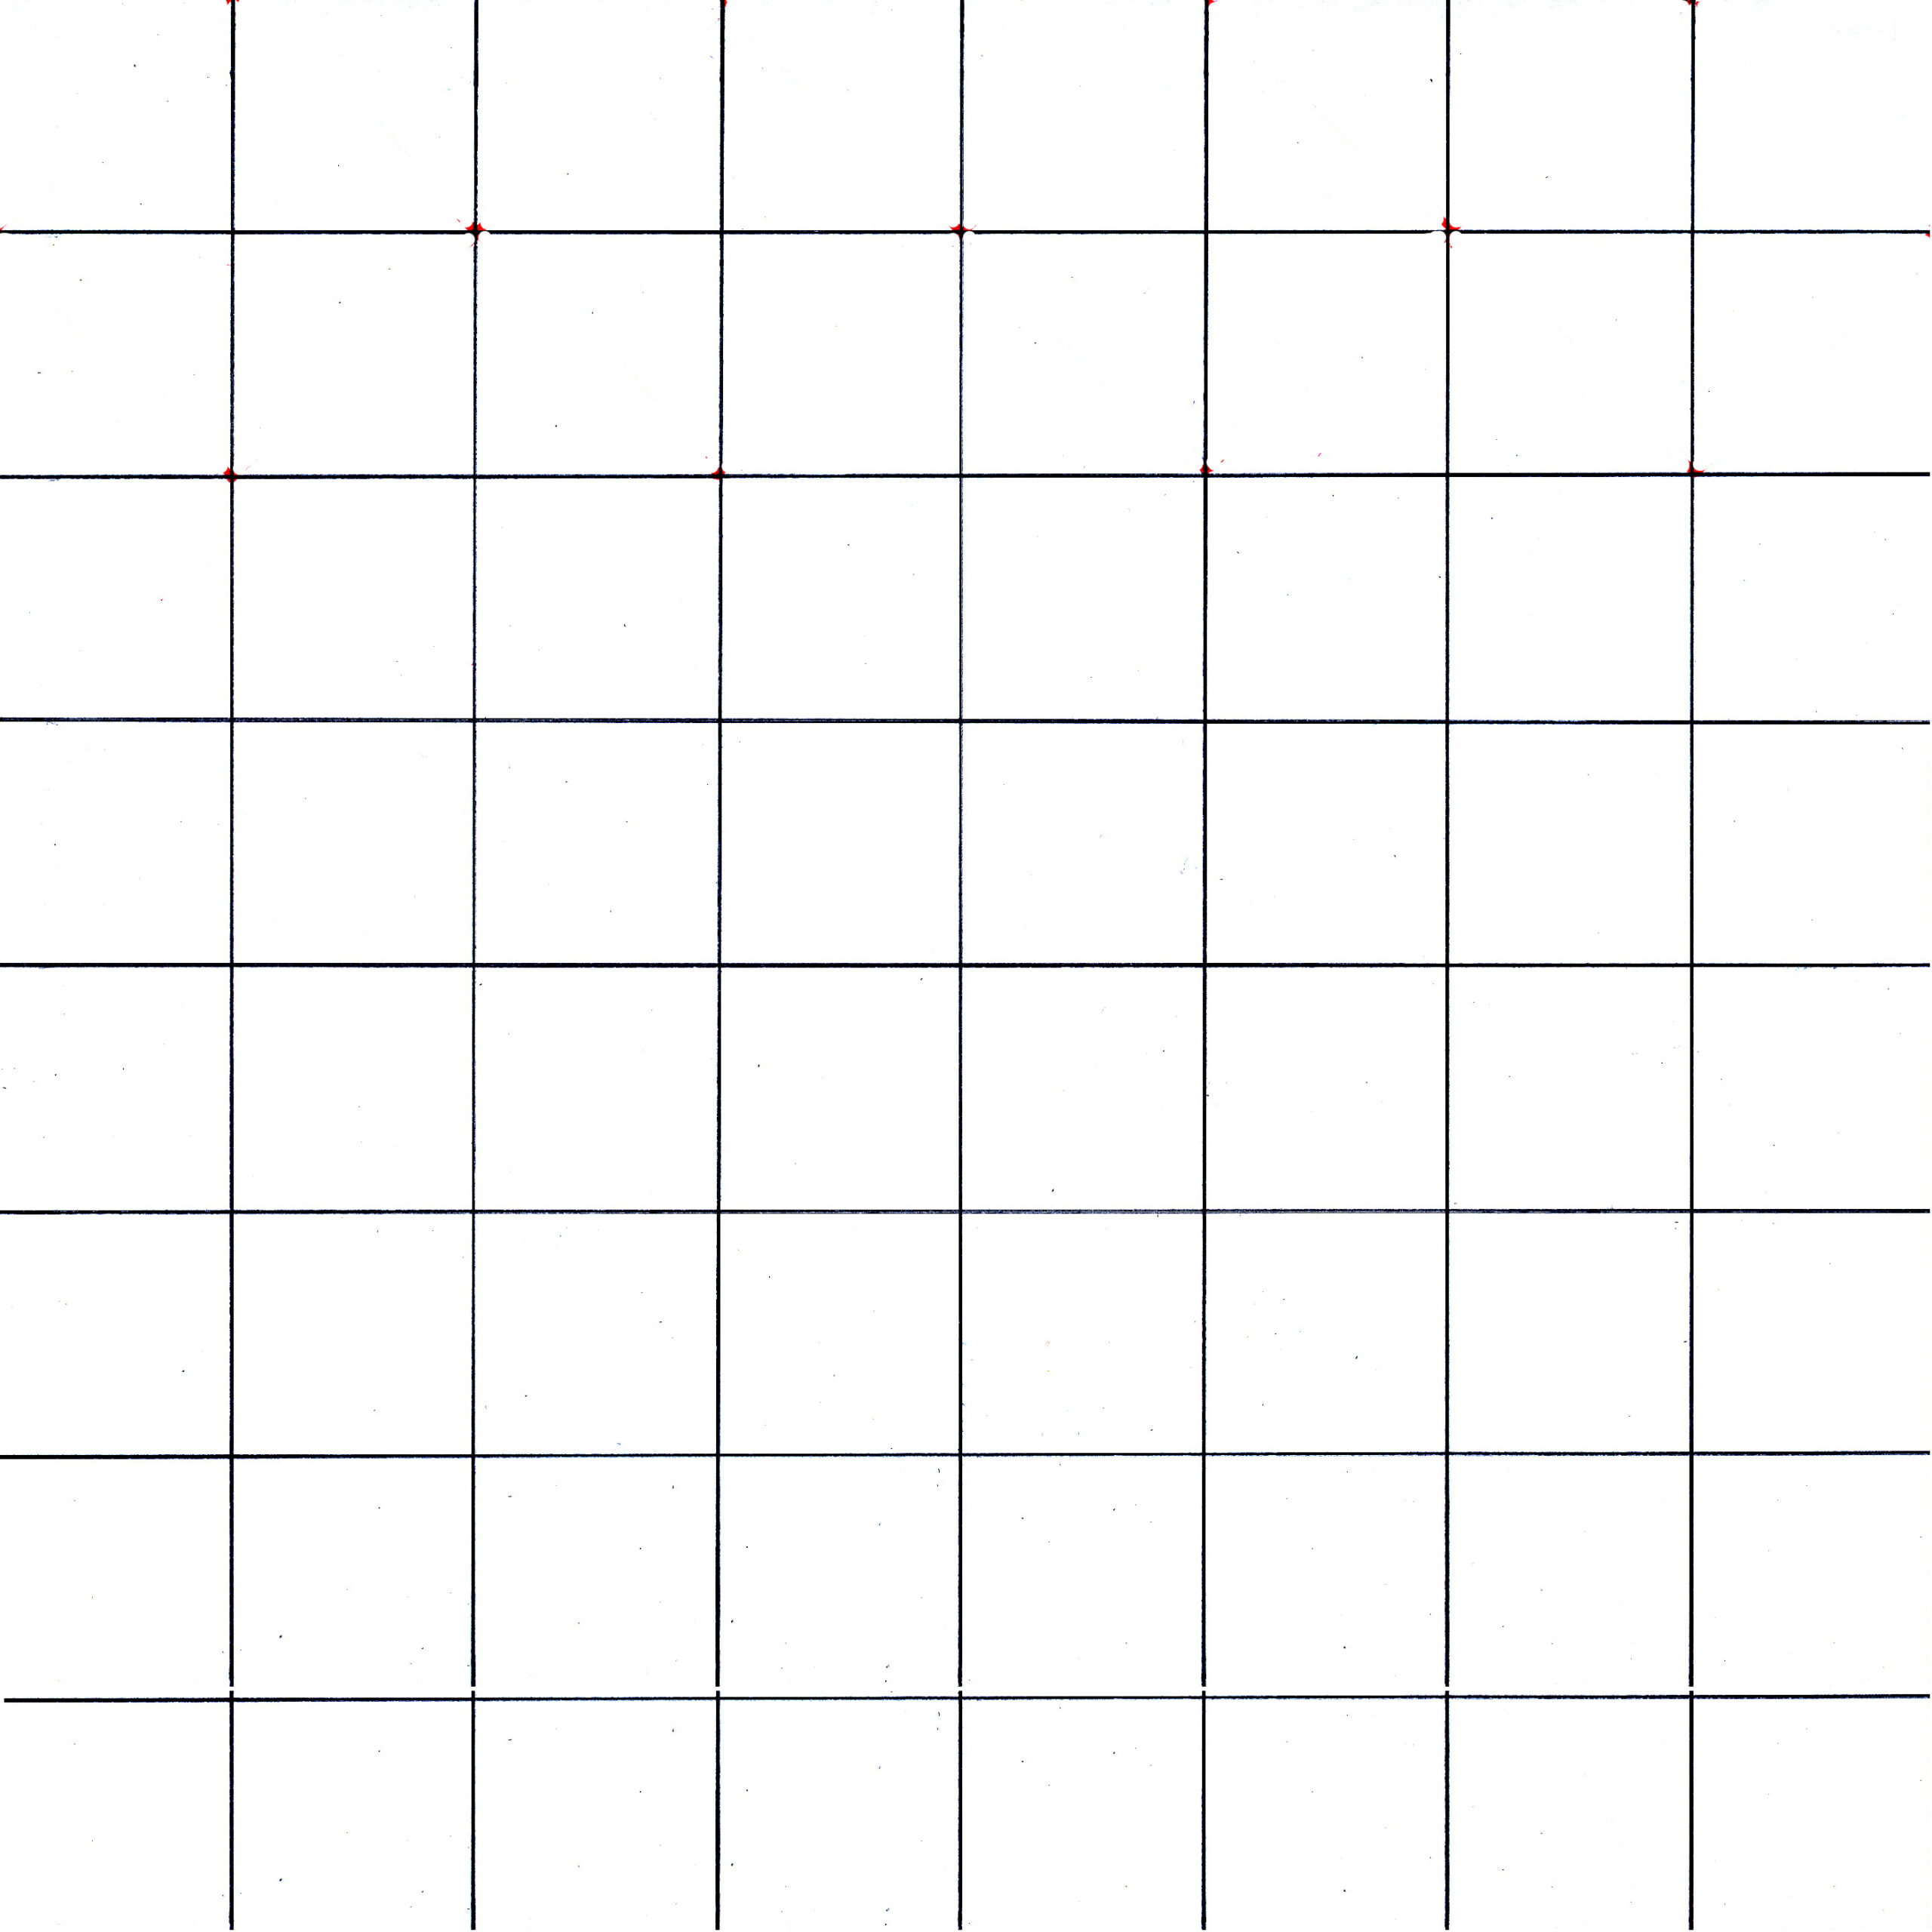
Exercise 3: For drawing a mathematical precise block pattern, using isometric grid paper is by far the easiest. You can buy it or save and print this A4-sized image. If you don’t want the grid lines to be visible in your final drawing, use a light box. Finally, you cut out the part where you have drawn a pattern.


Exercise 4: For a precisely drawn block pattern without an isometric grid, follow these 7 steps. Use a well-sharpened HB pencil and a ruler with centimeter markings.
Step 1: draw a 24 x 24 cm square frame. Divide the frame with your ruler into 3 x 3 cm squares. This will give you 8 rows from left to right and 8 rows from top to bottom.
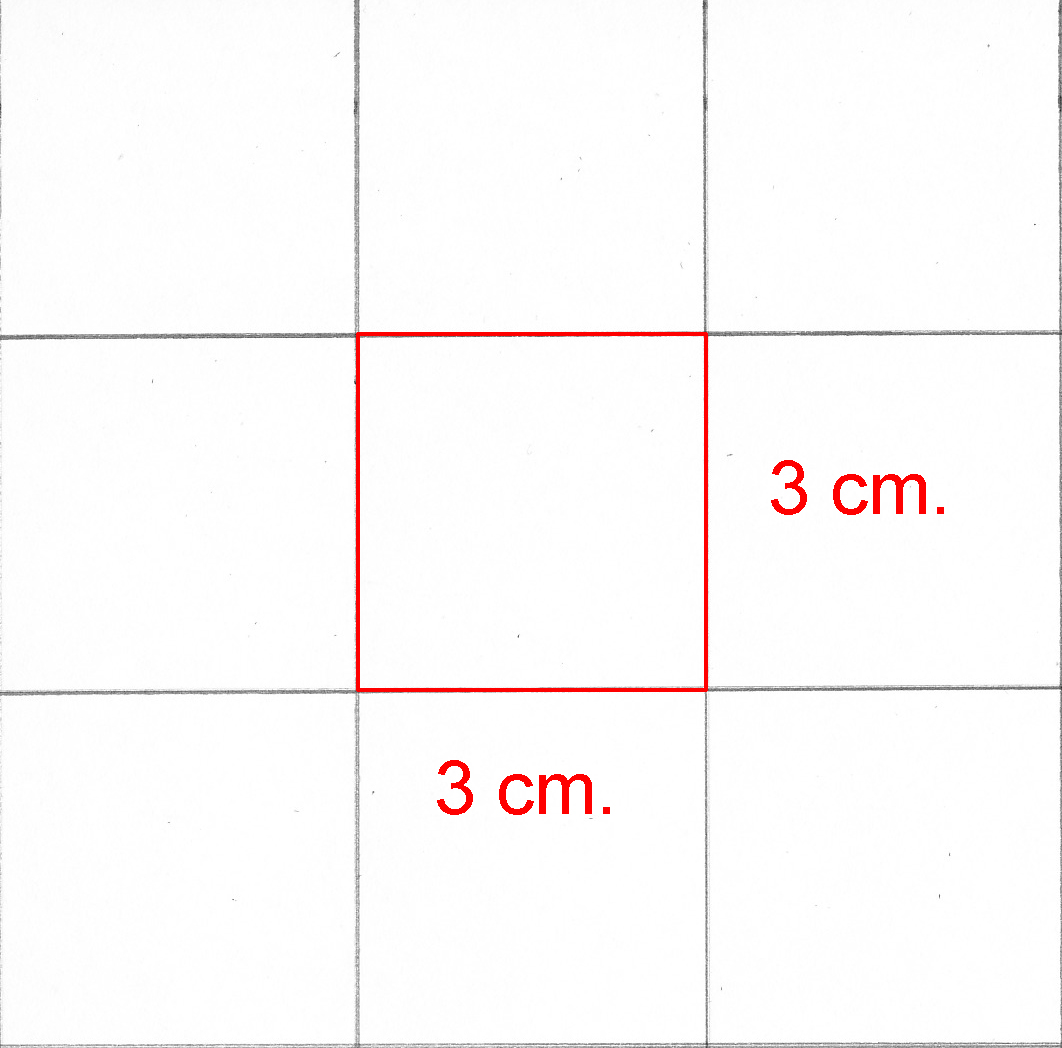
Step 2: Draw the oblique lines (diagonals) in the top two rows. These tilted squares will become the tops of the first row of cubes. For clarity, I made the lines red here.
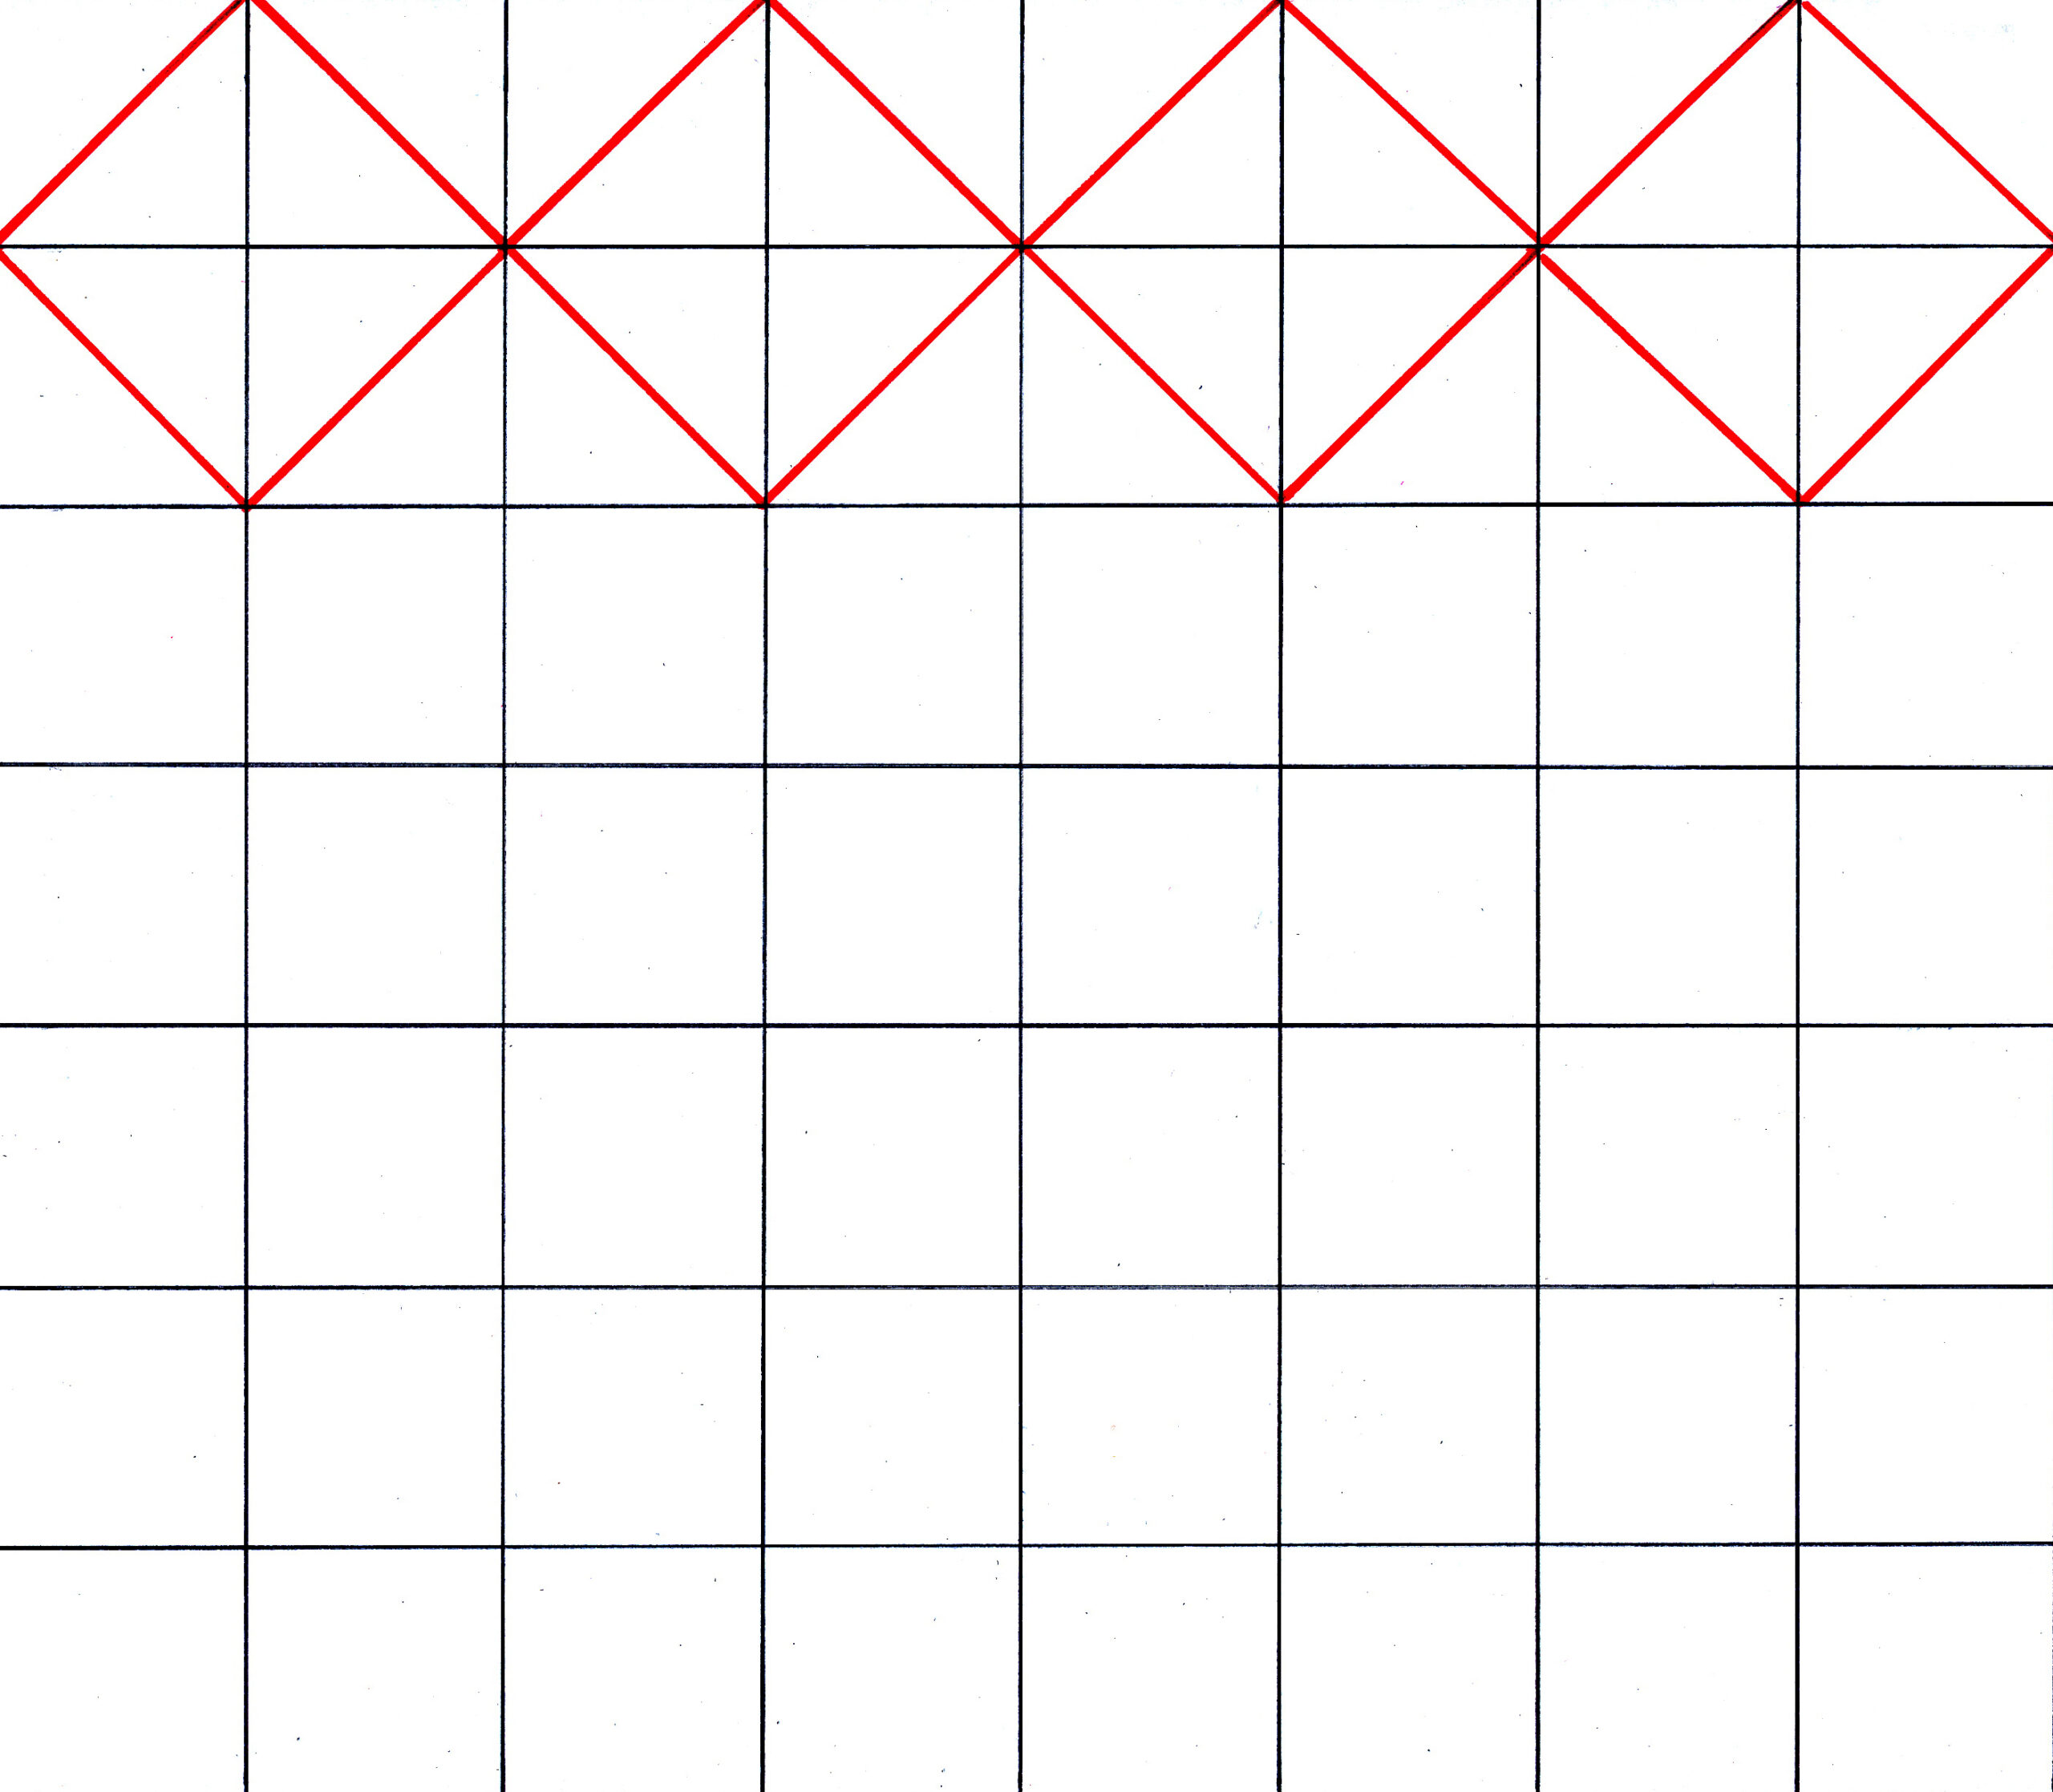
Step 3: draw lines of 3 cm from 9 corners. straight down.
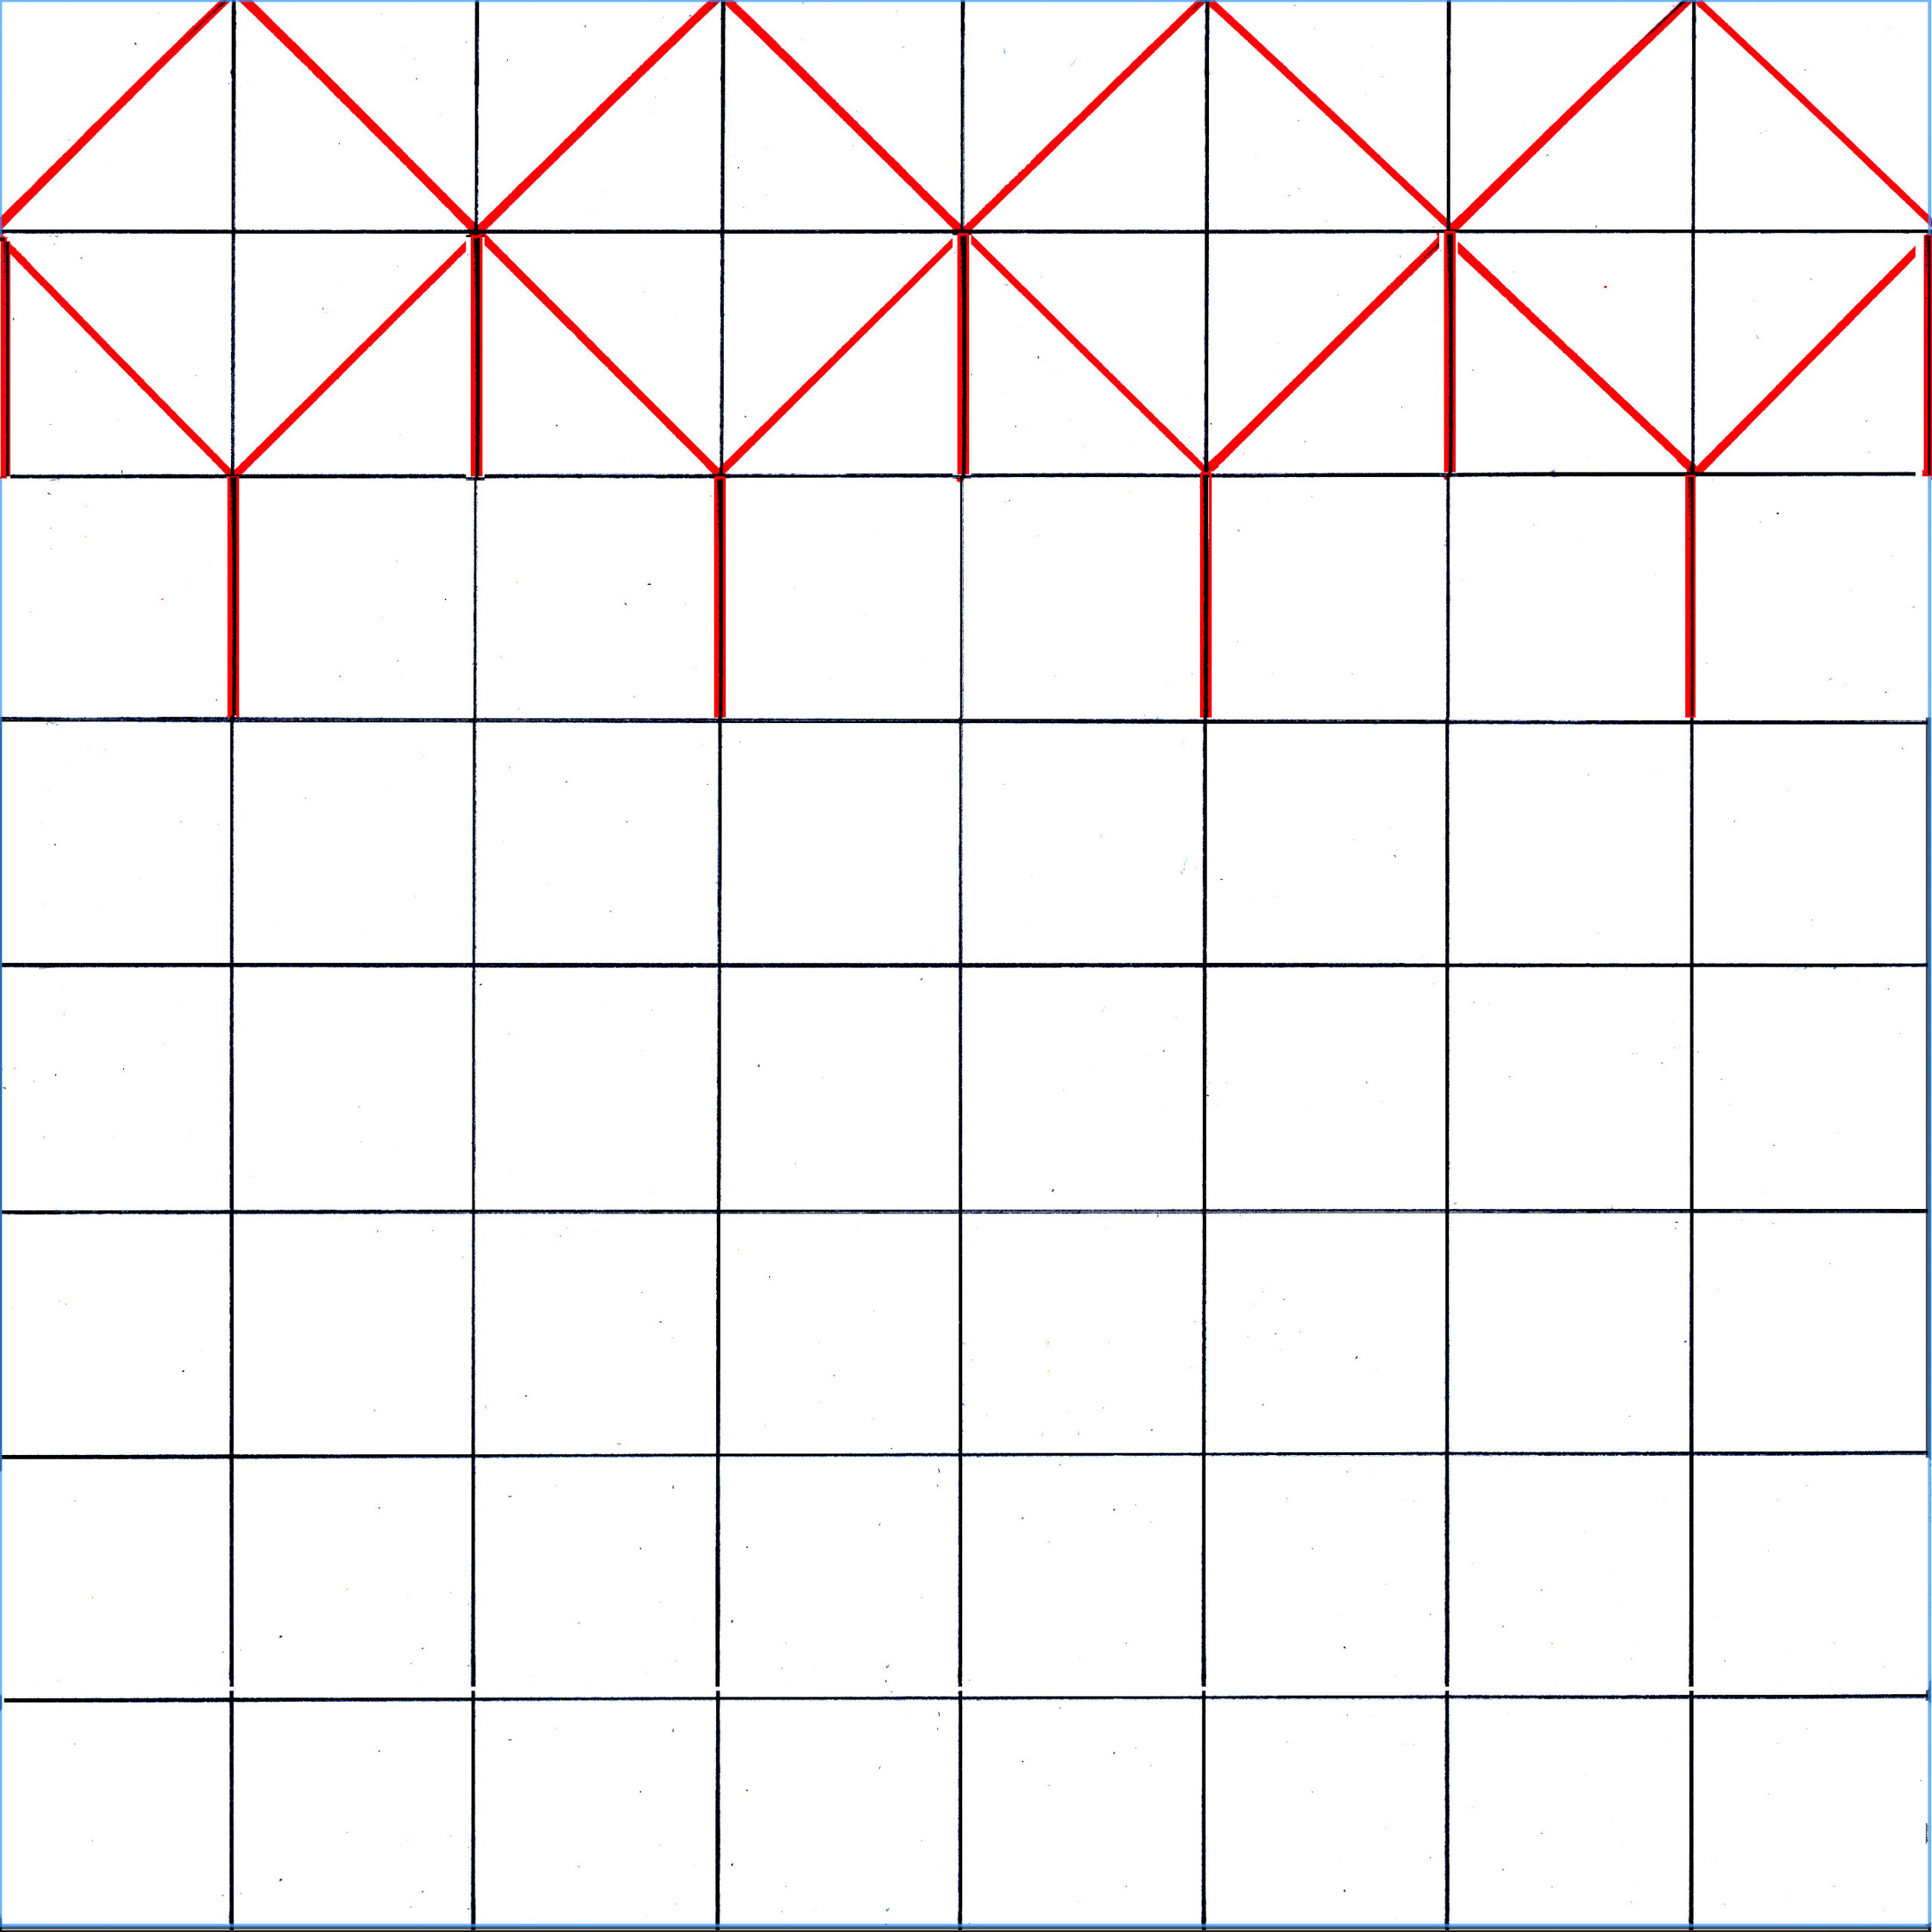
Step 4: finish the first row of blocks with the oblique (diagonal) lines.
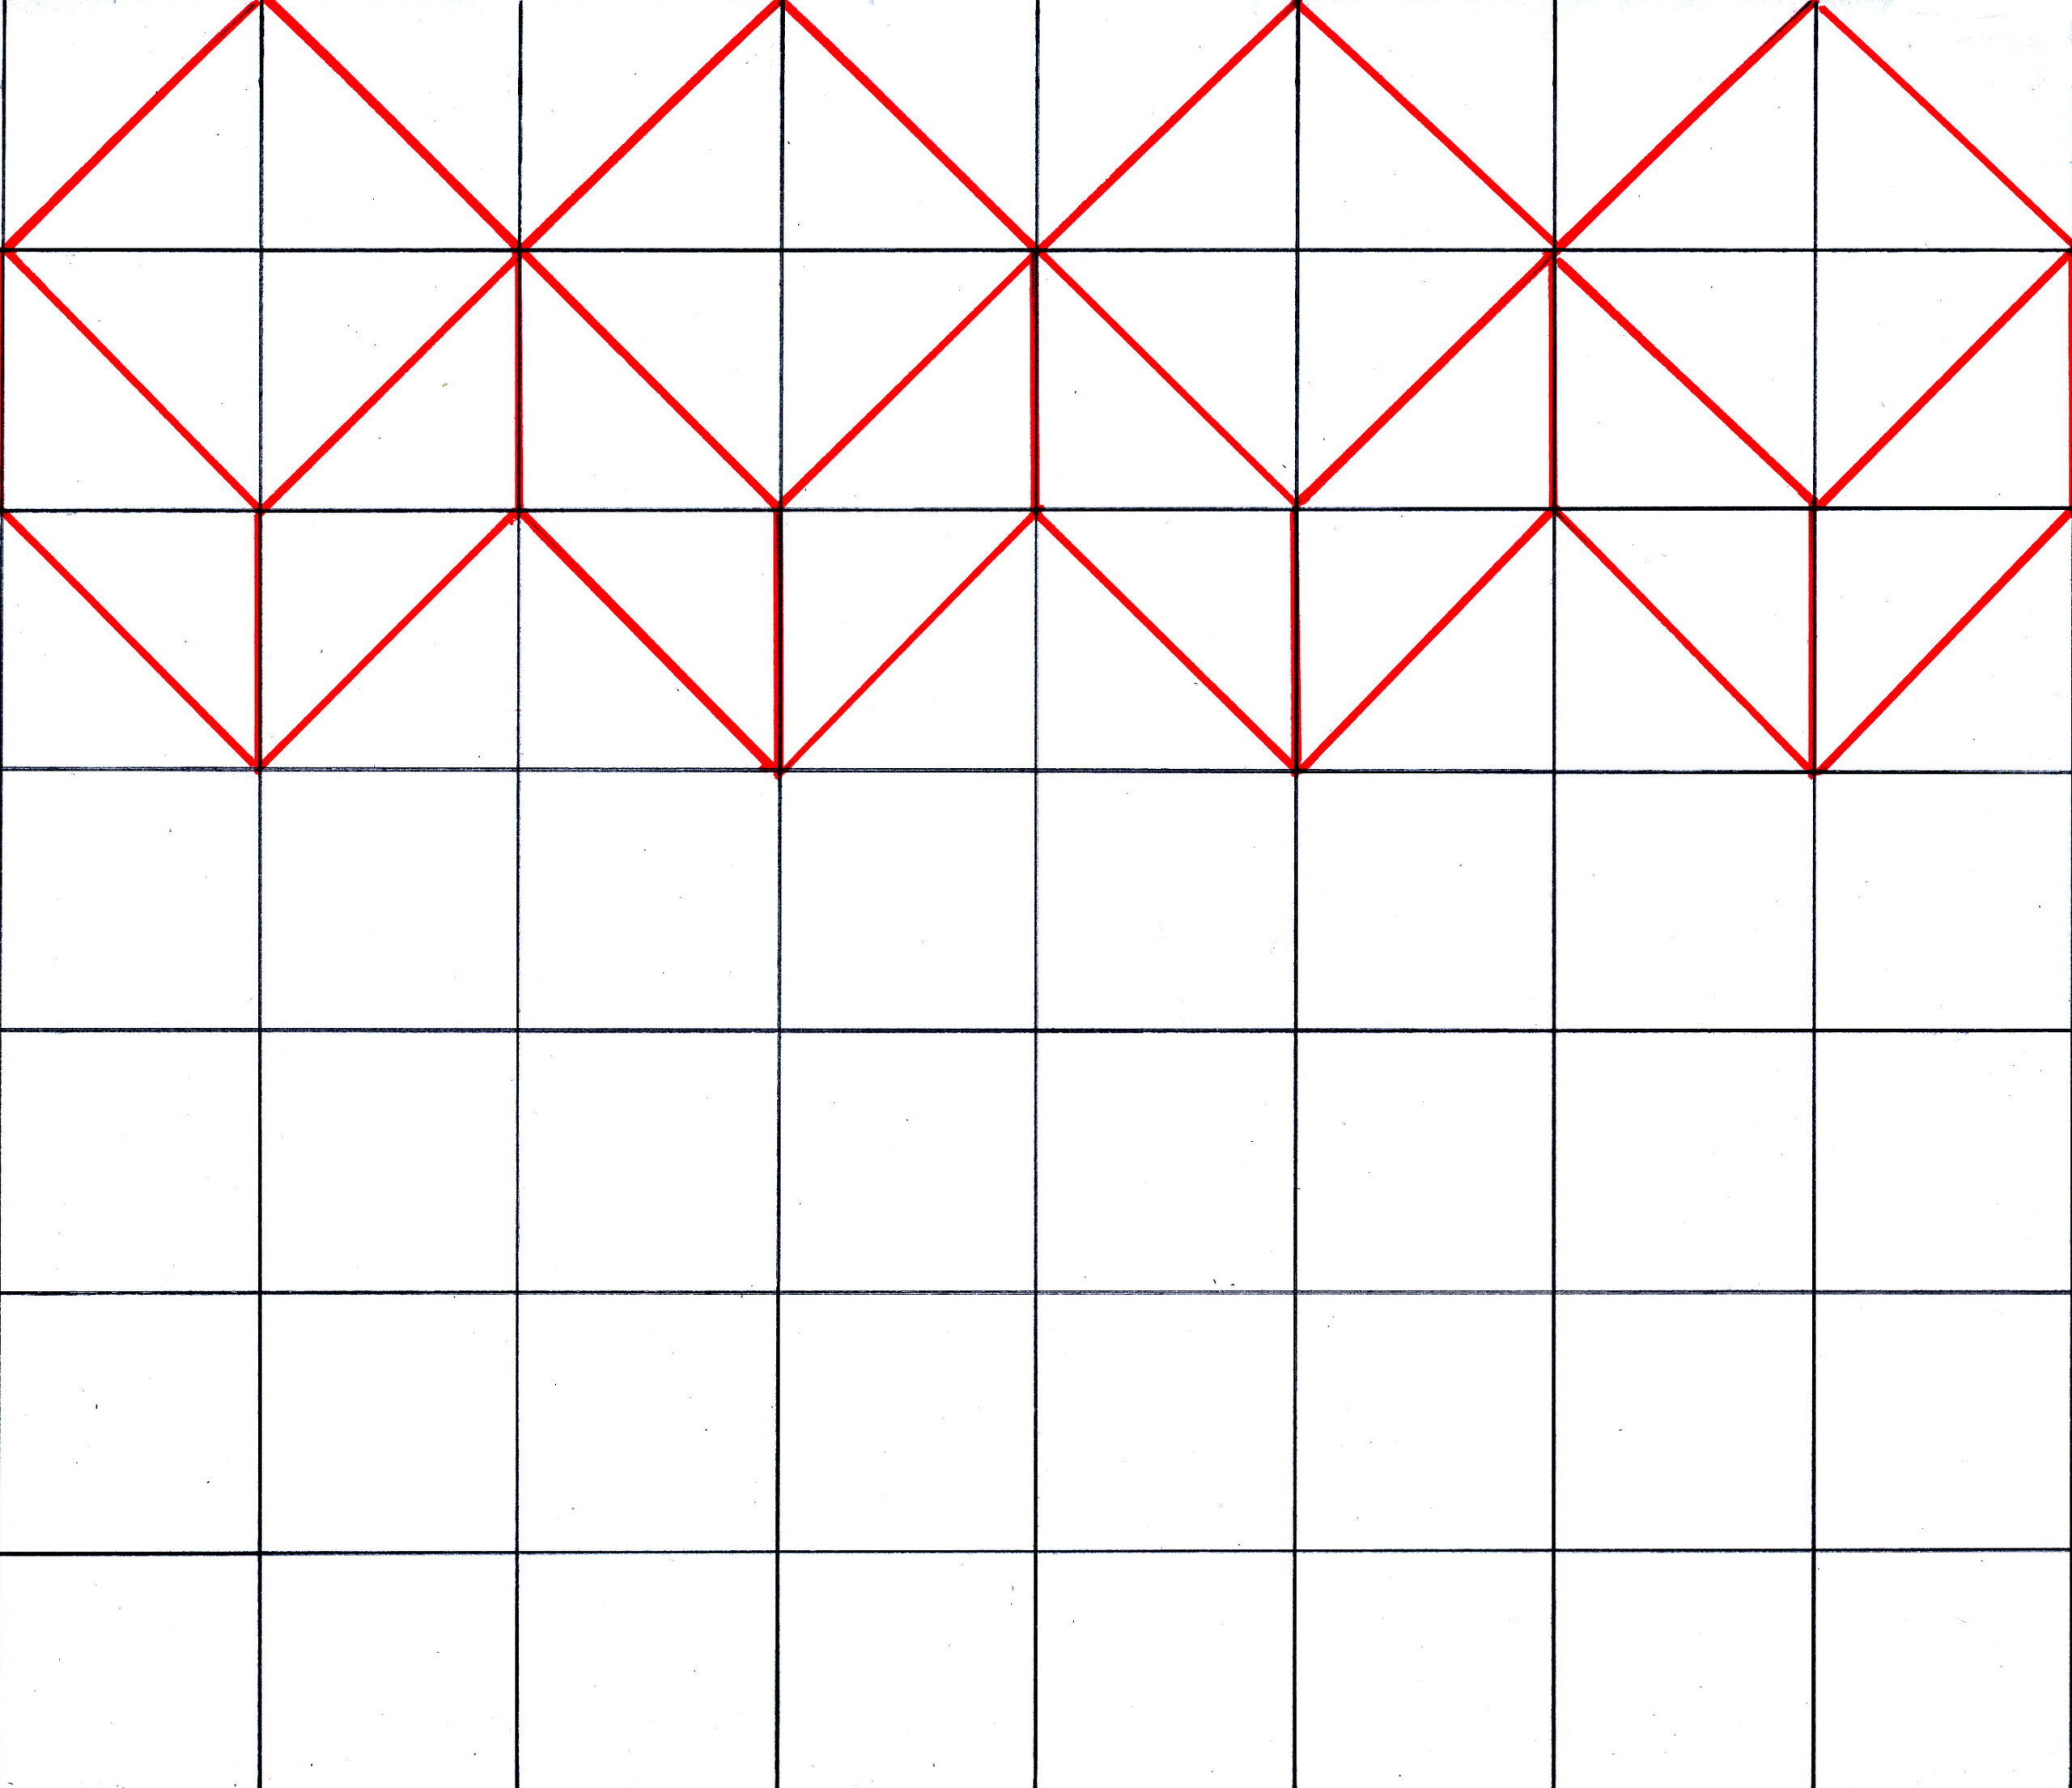
Step 5: finish the tops of the second row of blocks.
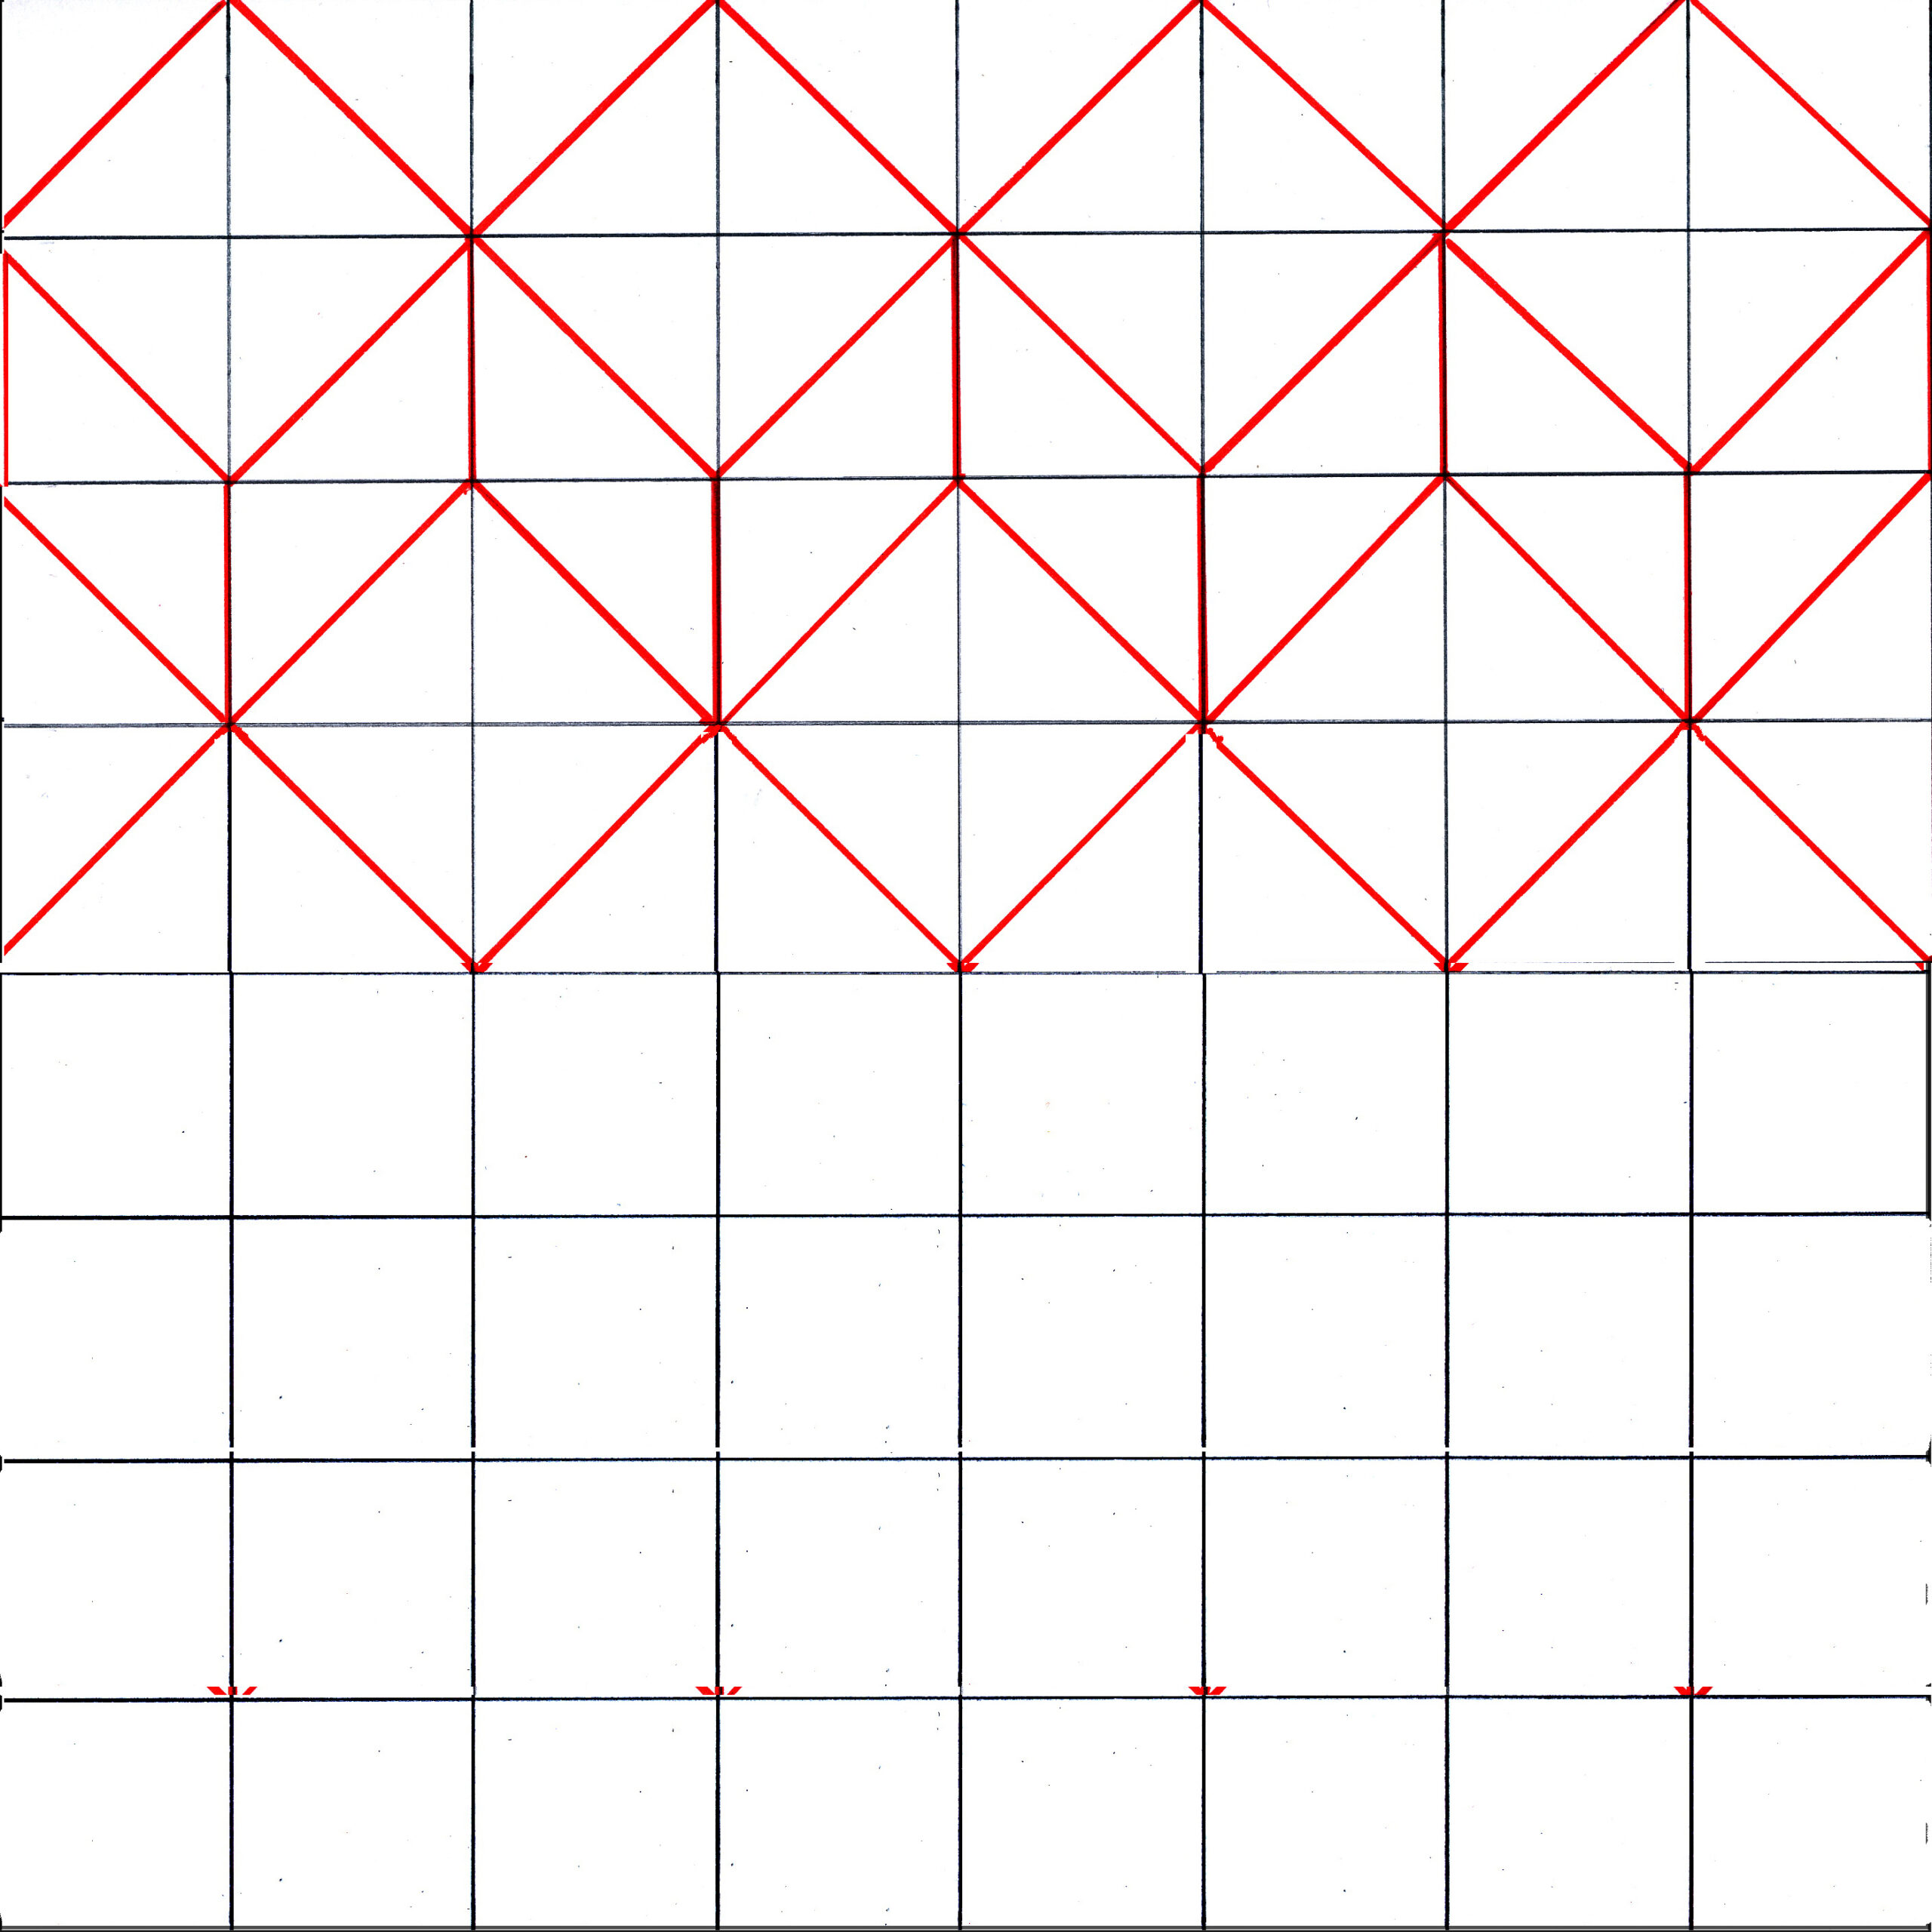
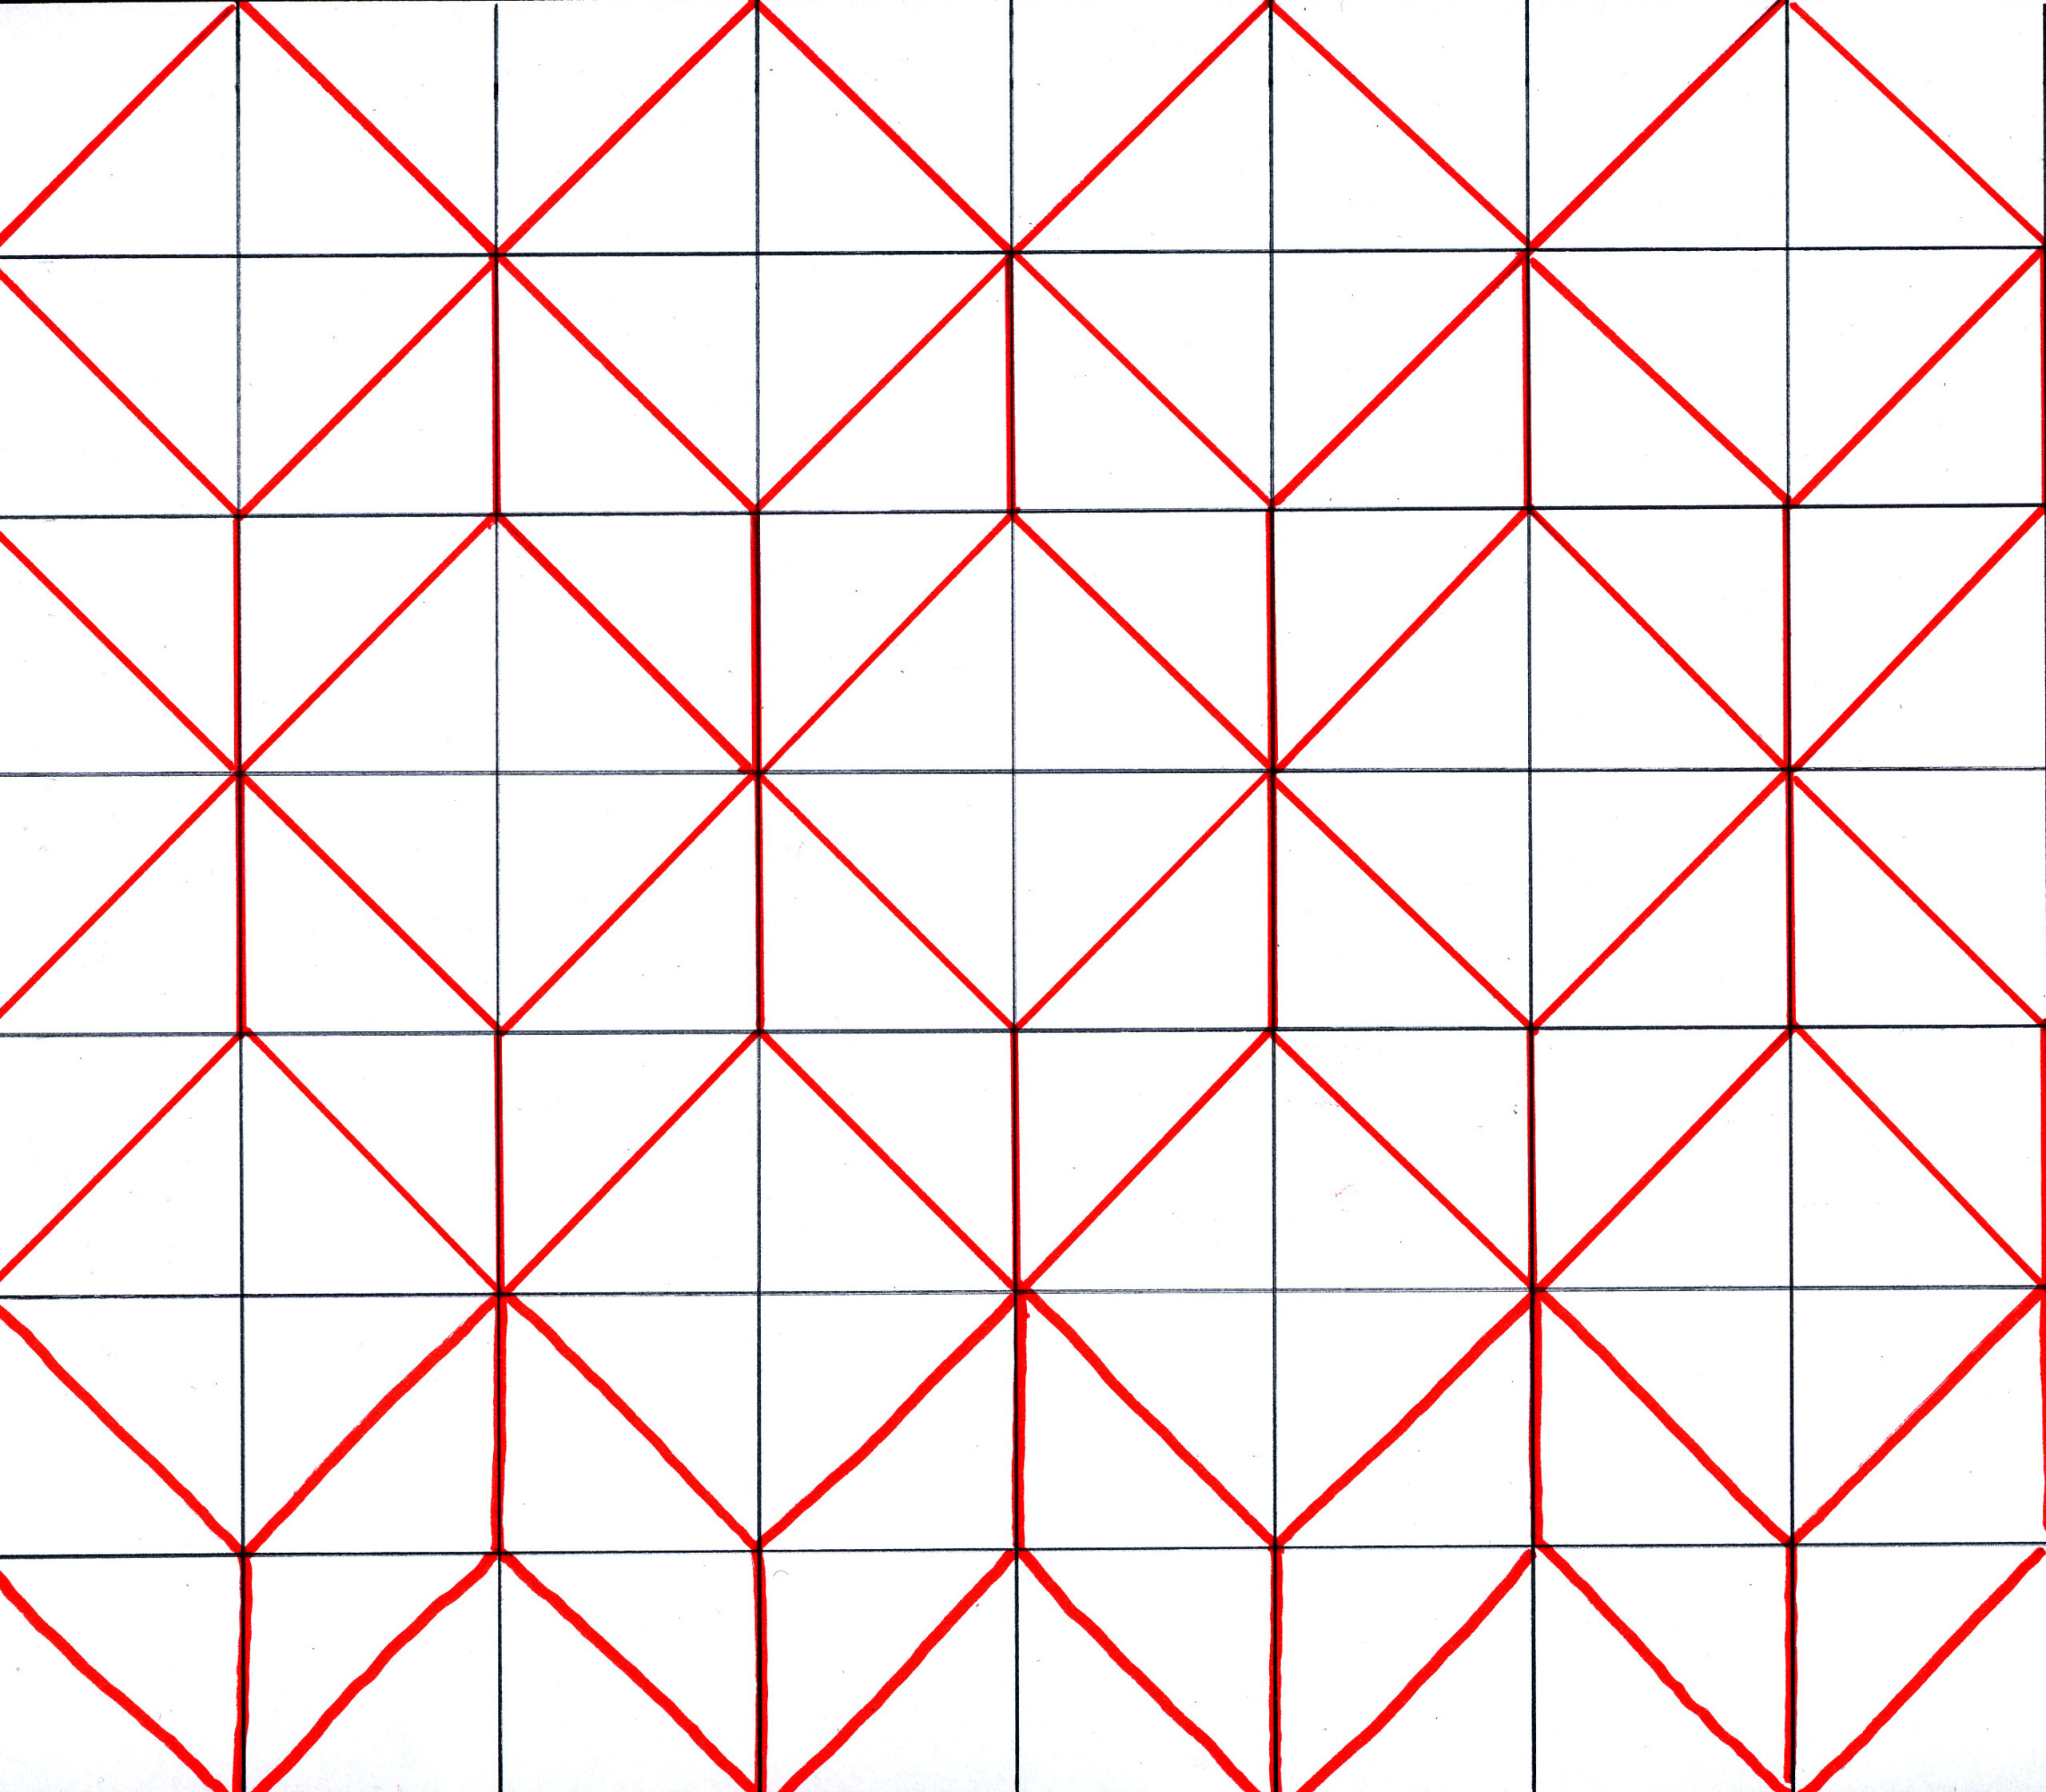
Step 6: repeat steps 3 and 4 to complete the second row of blocks. If you did it right, each block in the second row fits exactly between two blocks in the top row.
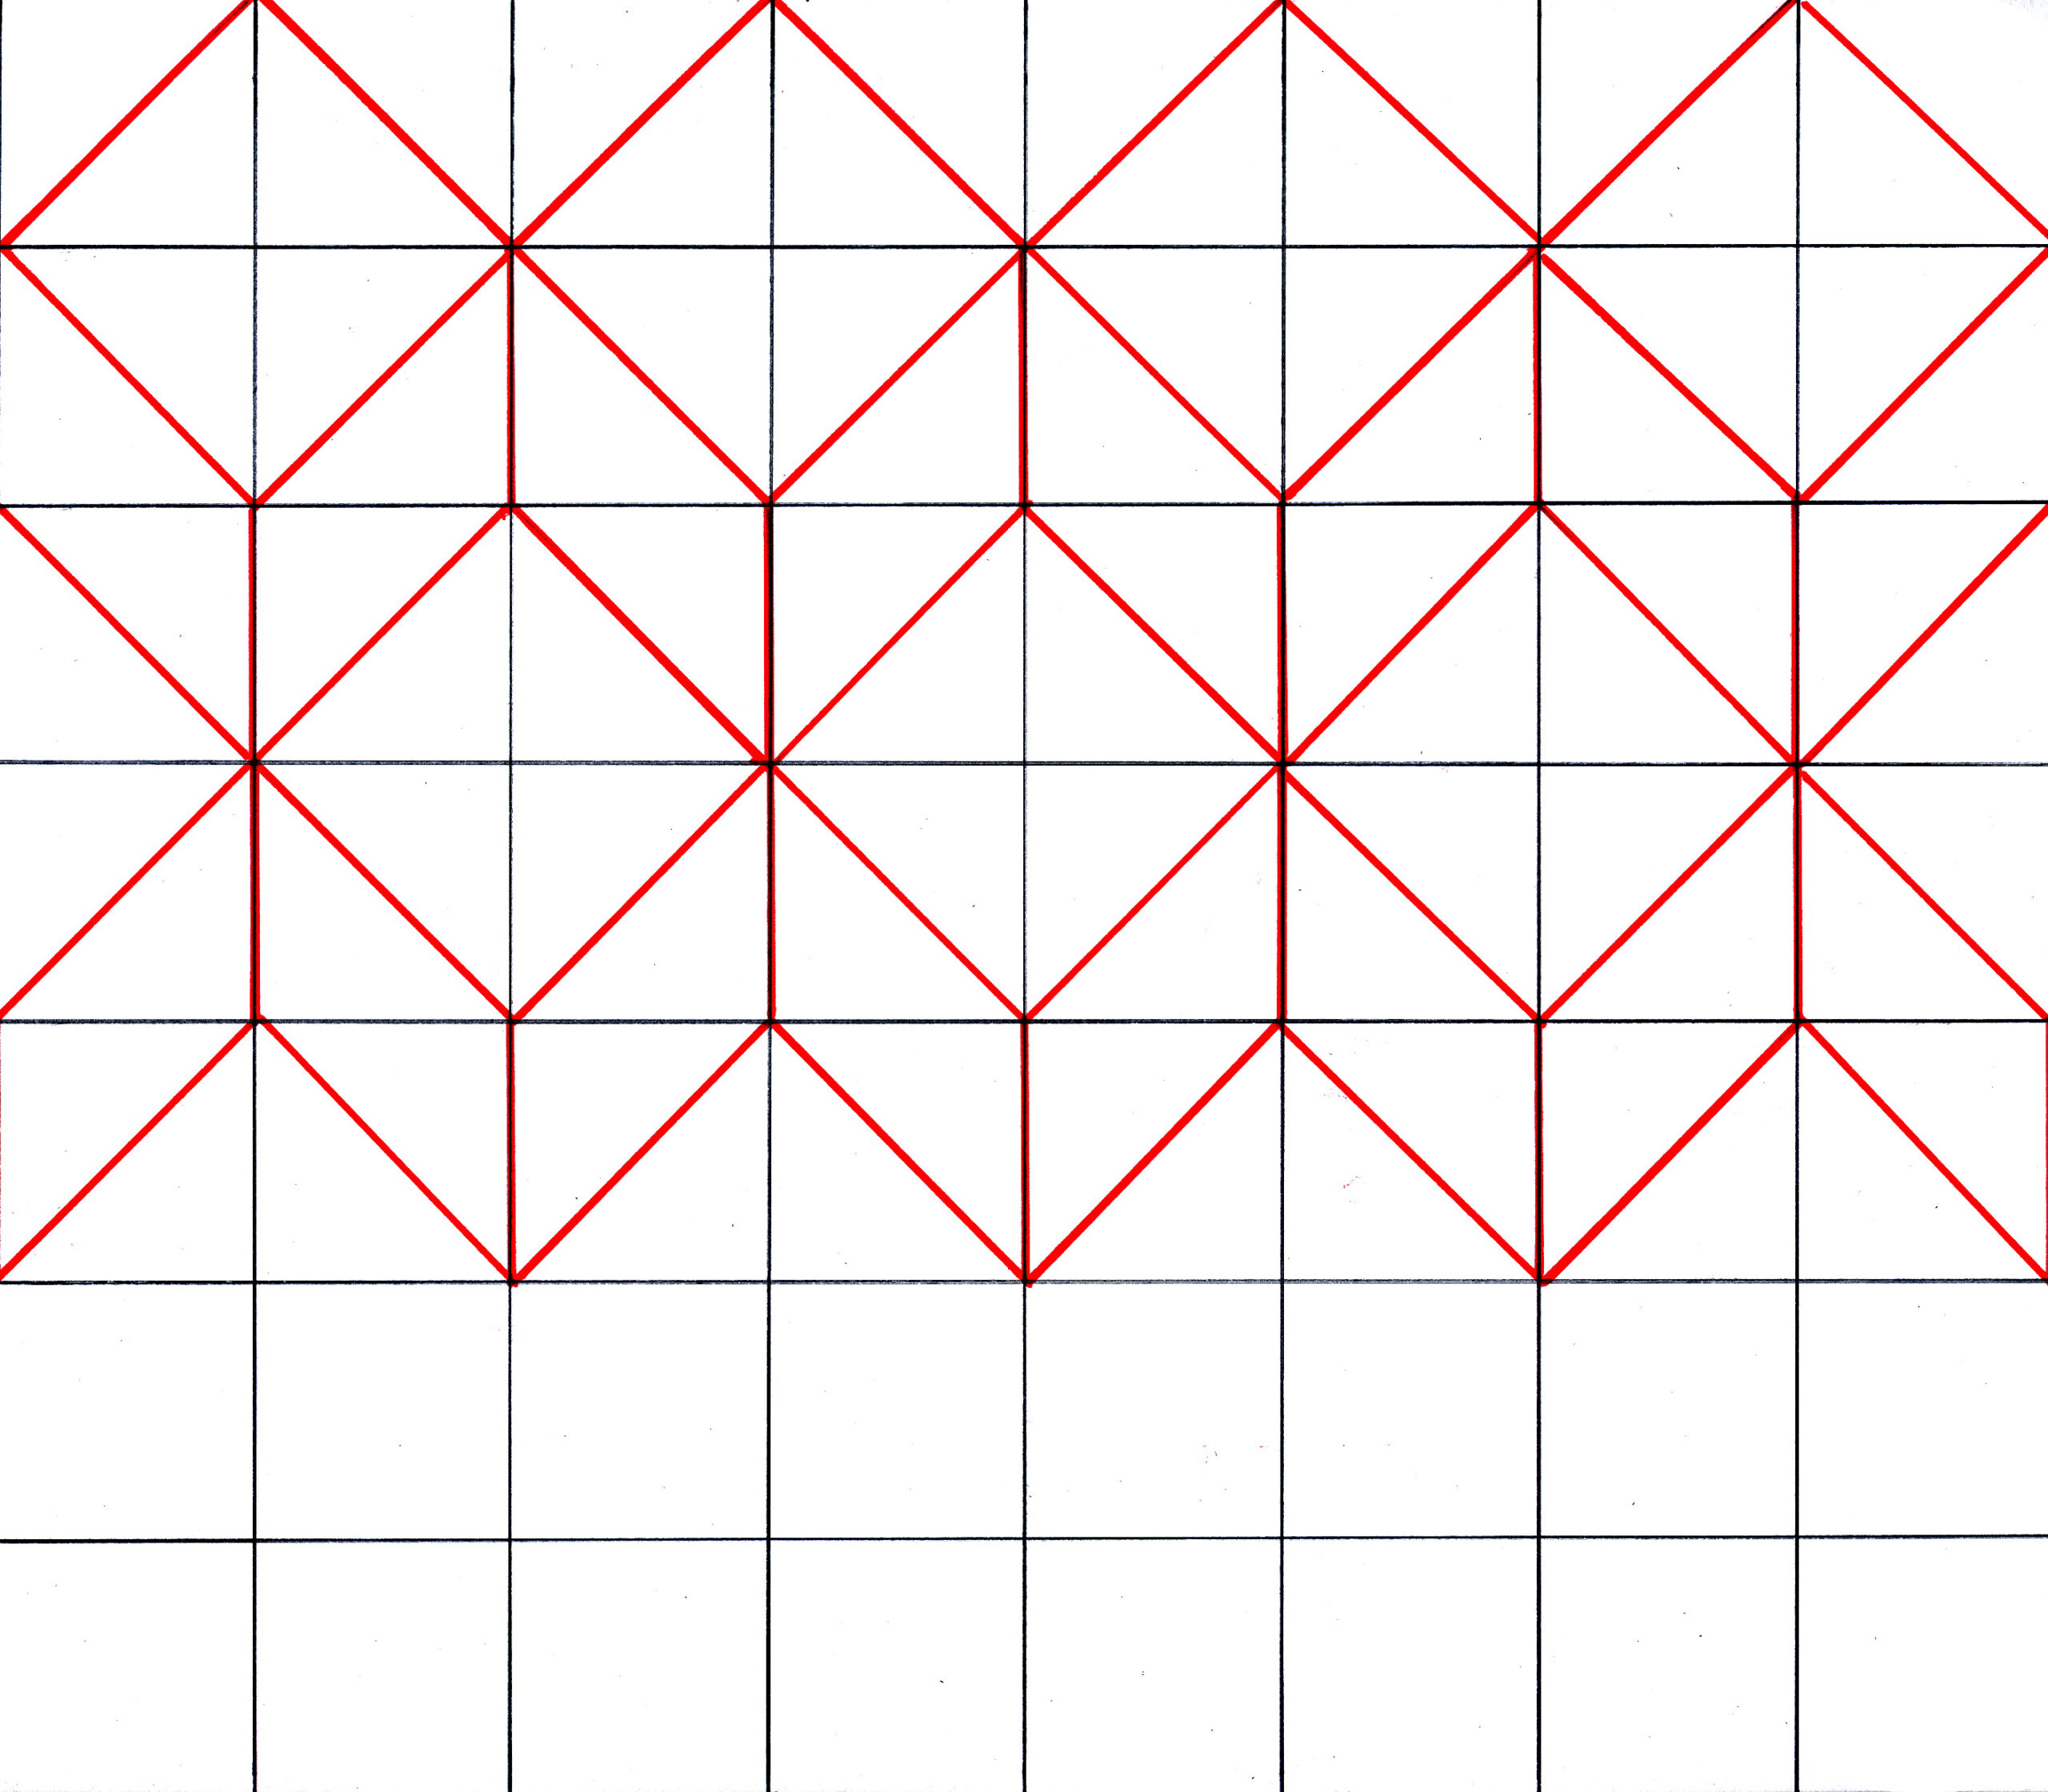
Step 7: add one more row in the same way. Make the lines of the blocks clearer (black or with a color) and finally erase the lines you don’t want to see anymore.
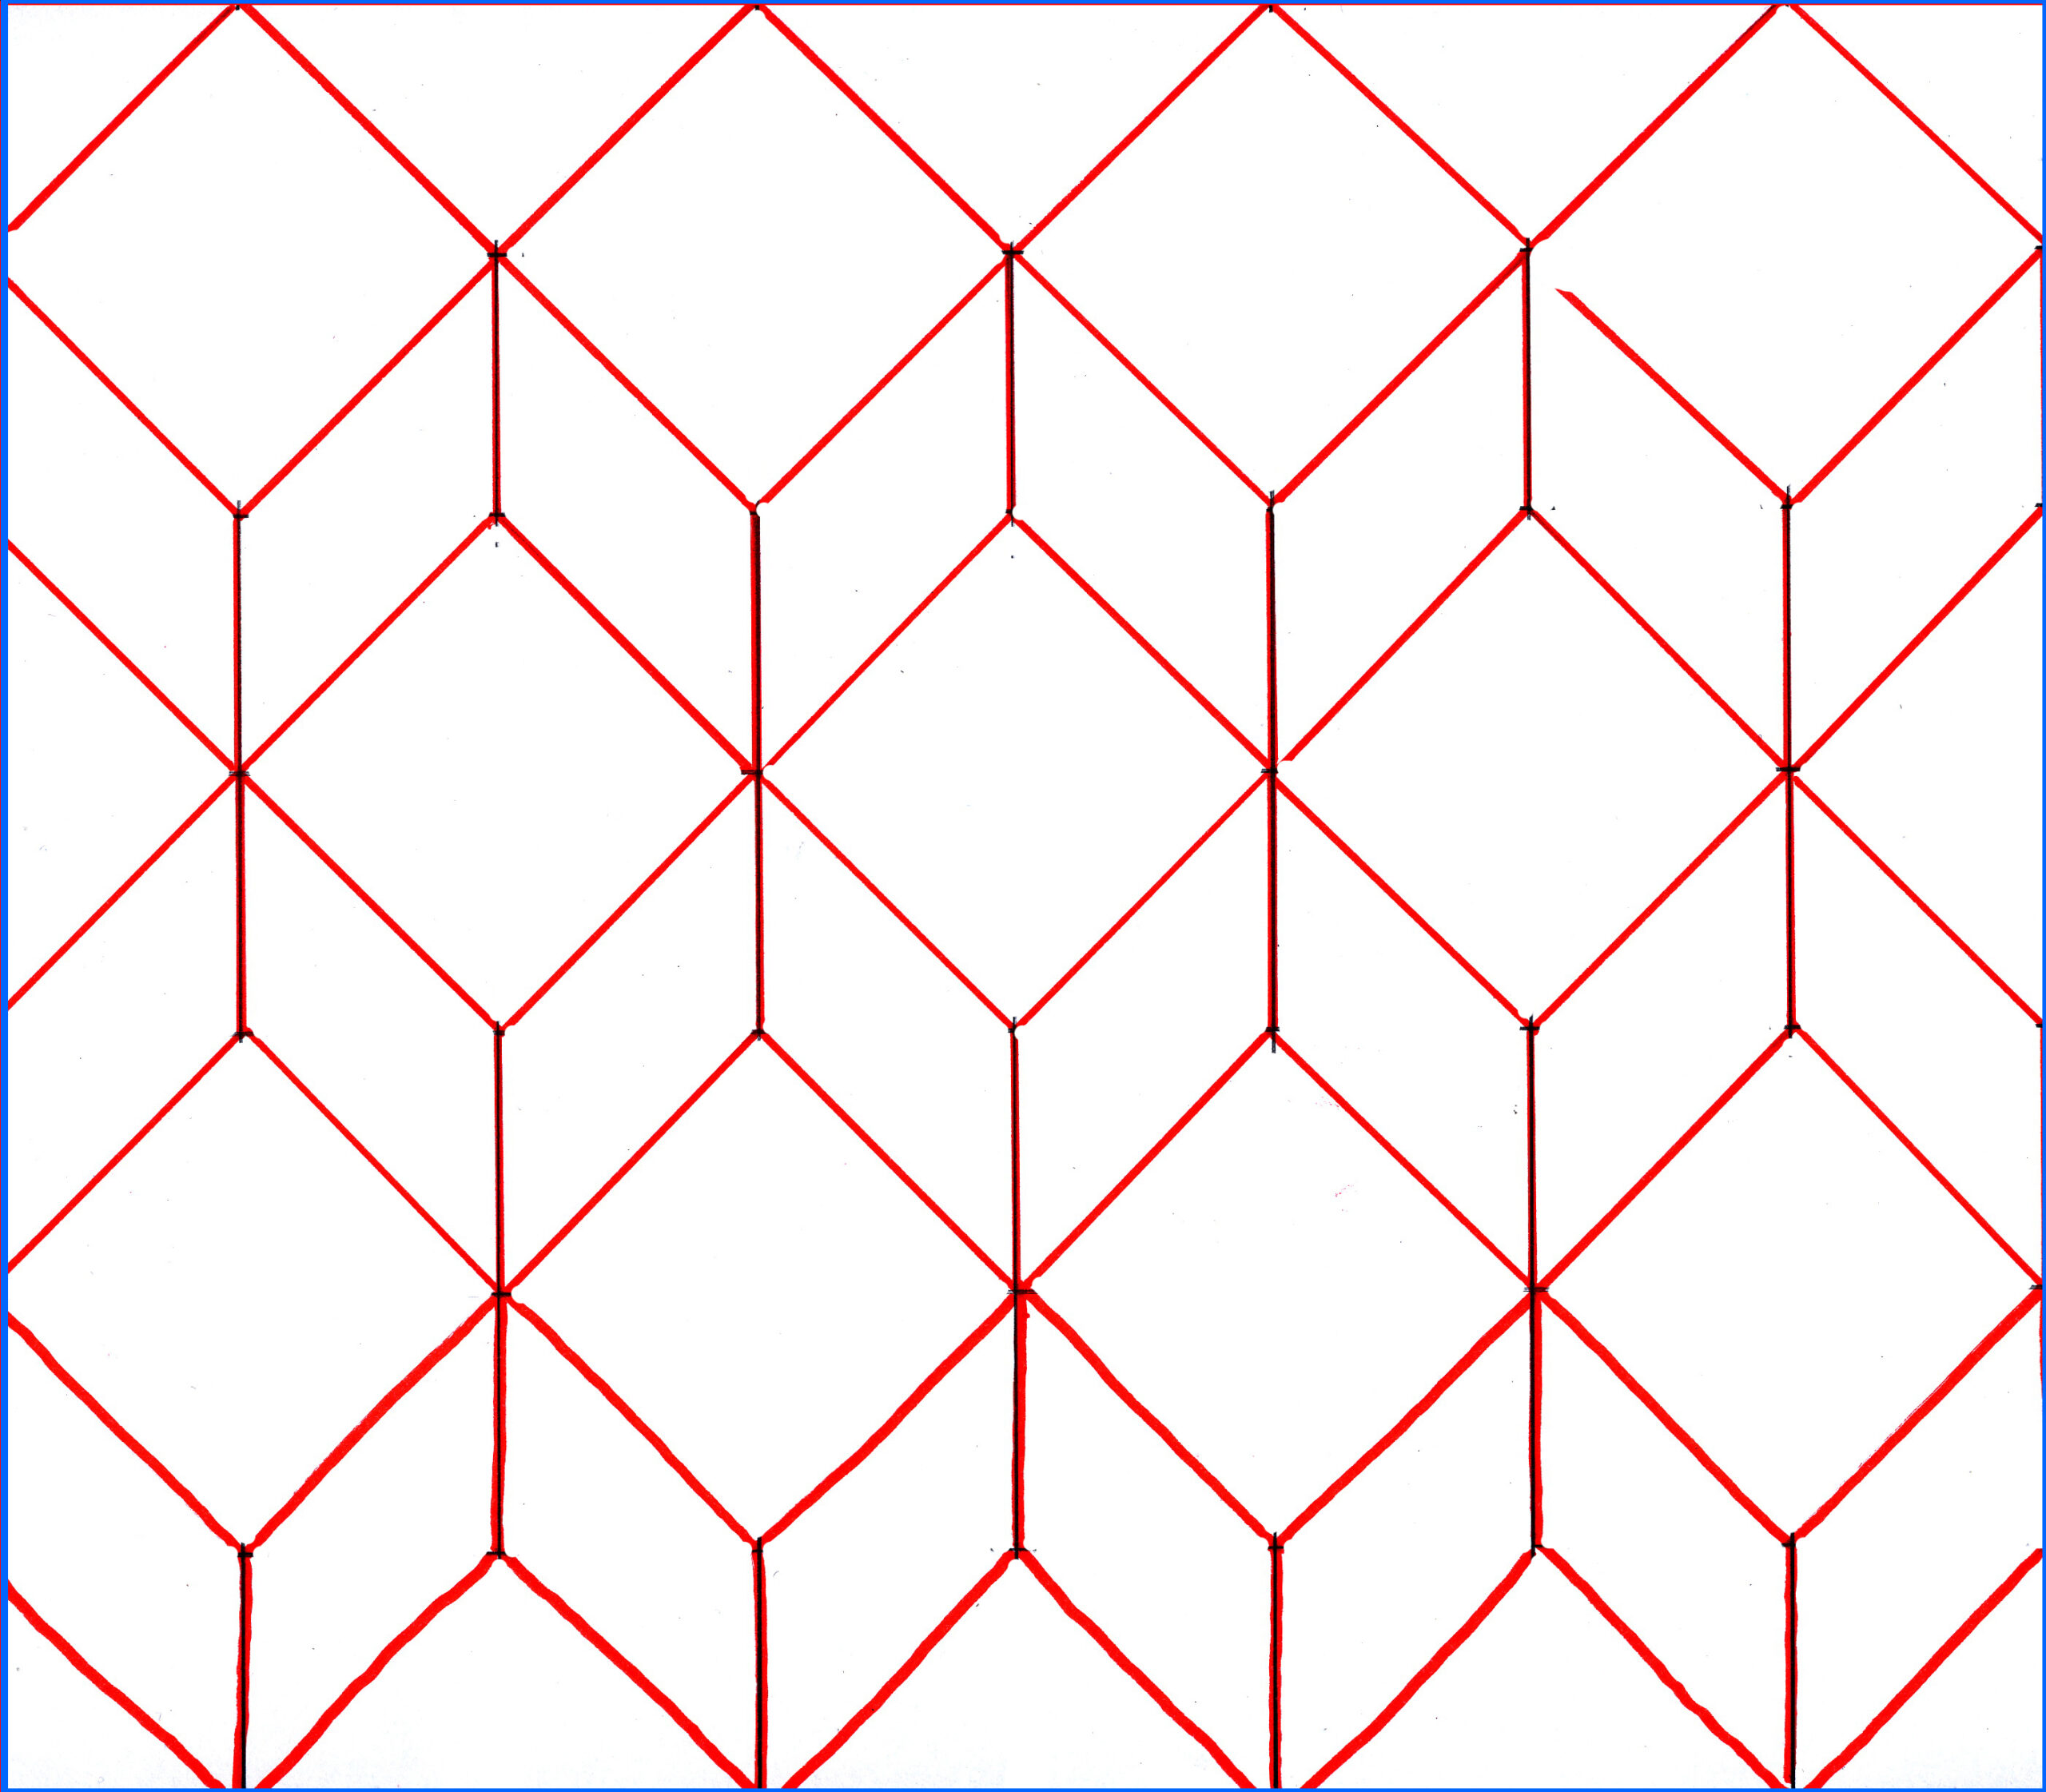
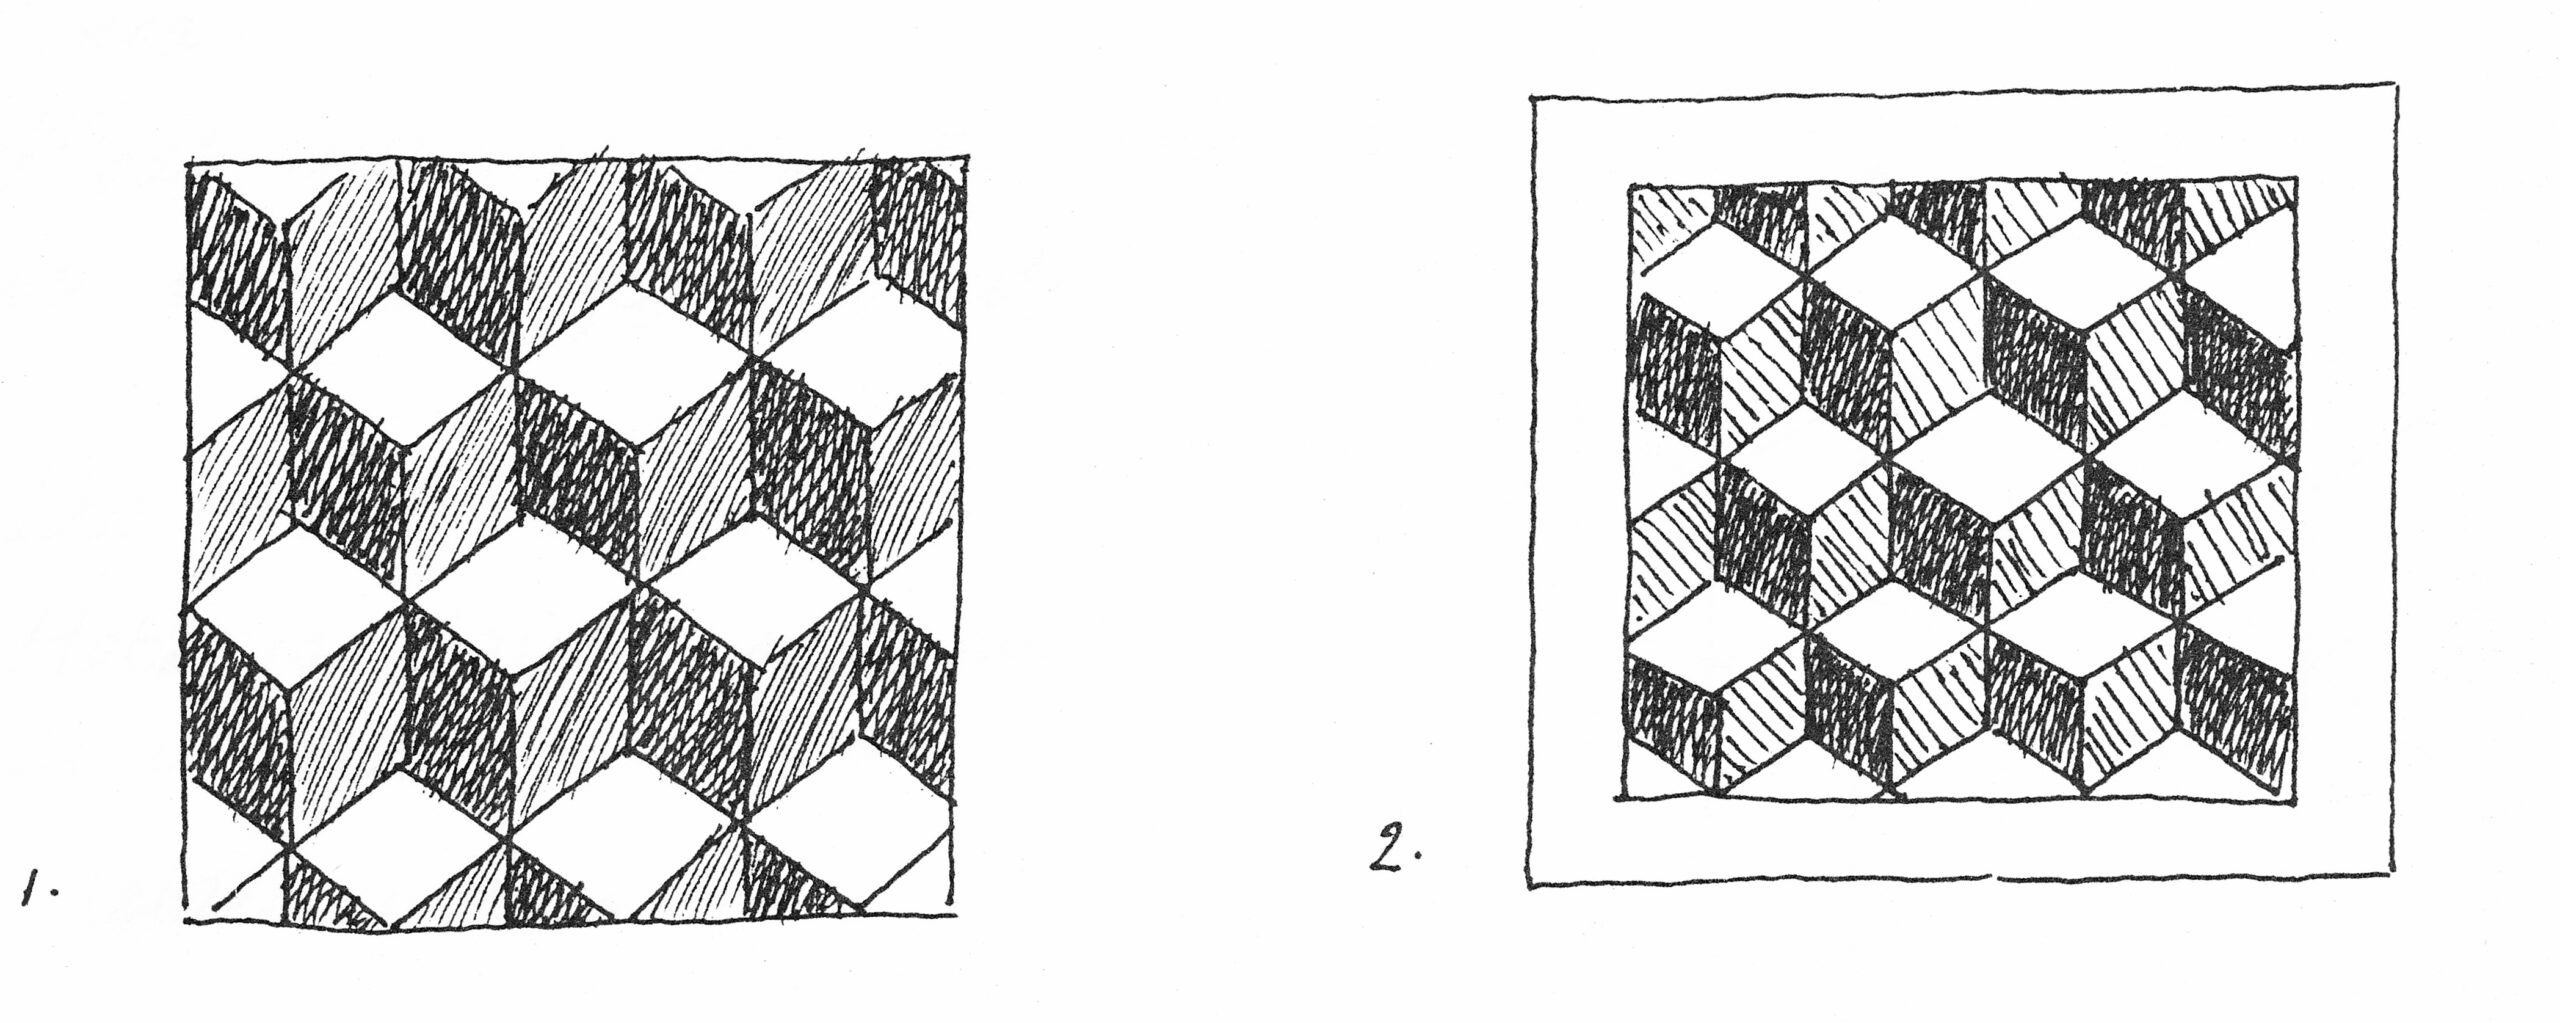
The pattern is now ready. Give each side of a cube a different color as in the examples from Pompeii. It can also be in shades of gray (drawn here with a fineliner) or different shades of the same color.
EXTRA: use paper with an isometric grid (image) to draw a block pattern. Save and print this image if you like. Start by drawing a horizontal row blocks.
EXAMPLES OF THE BLOCK PATTERN IN CONTEMPORARY DESIGN
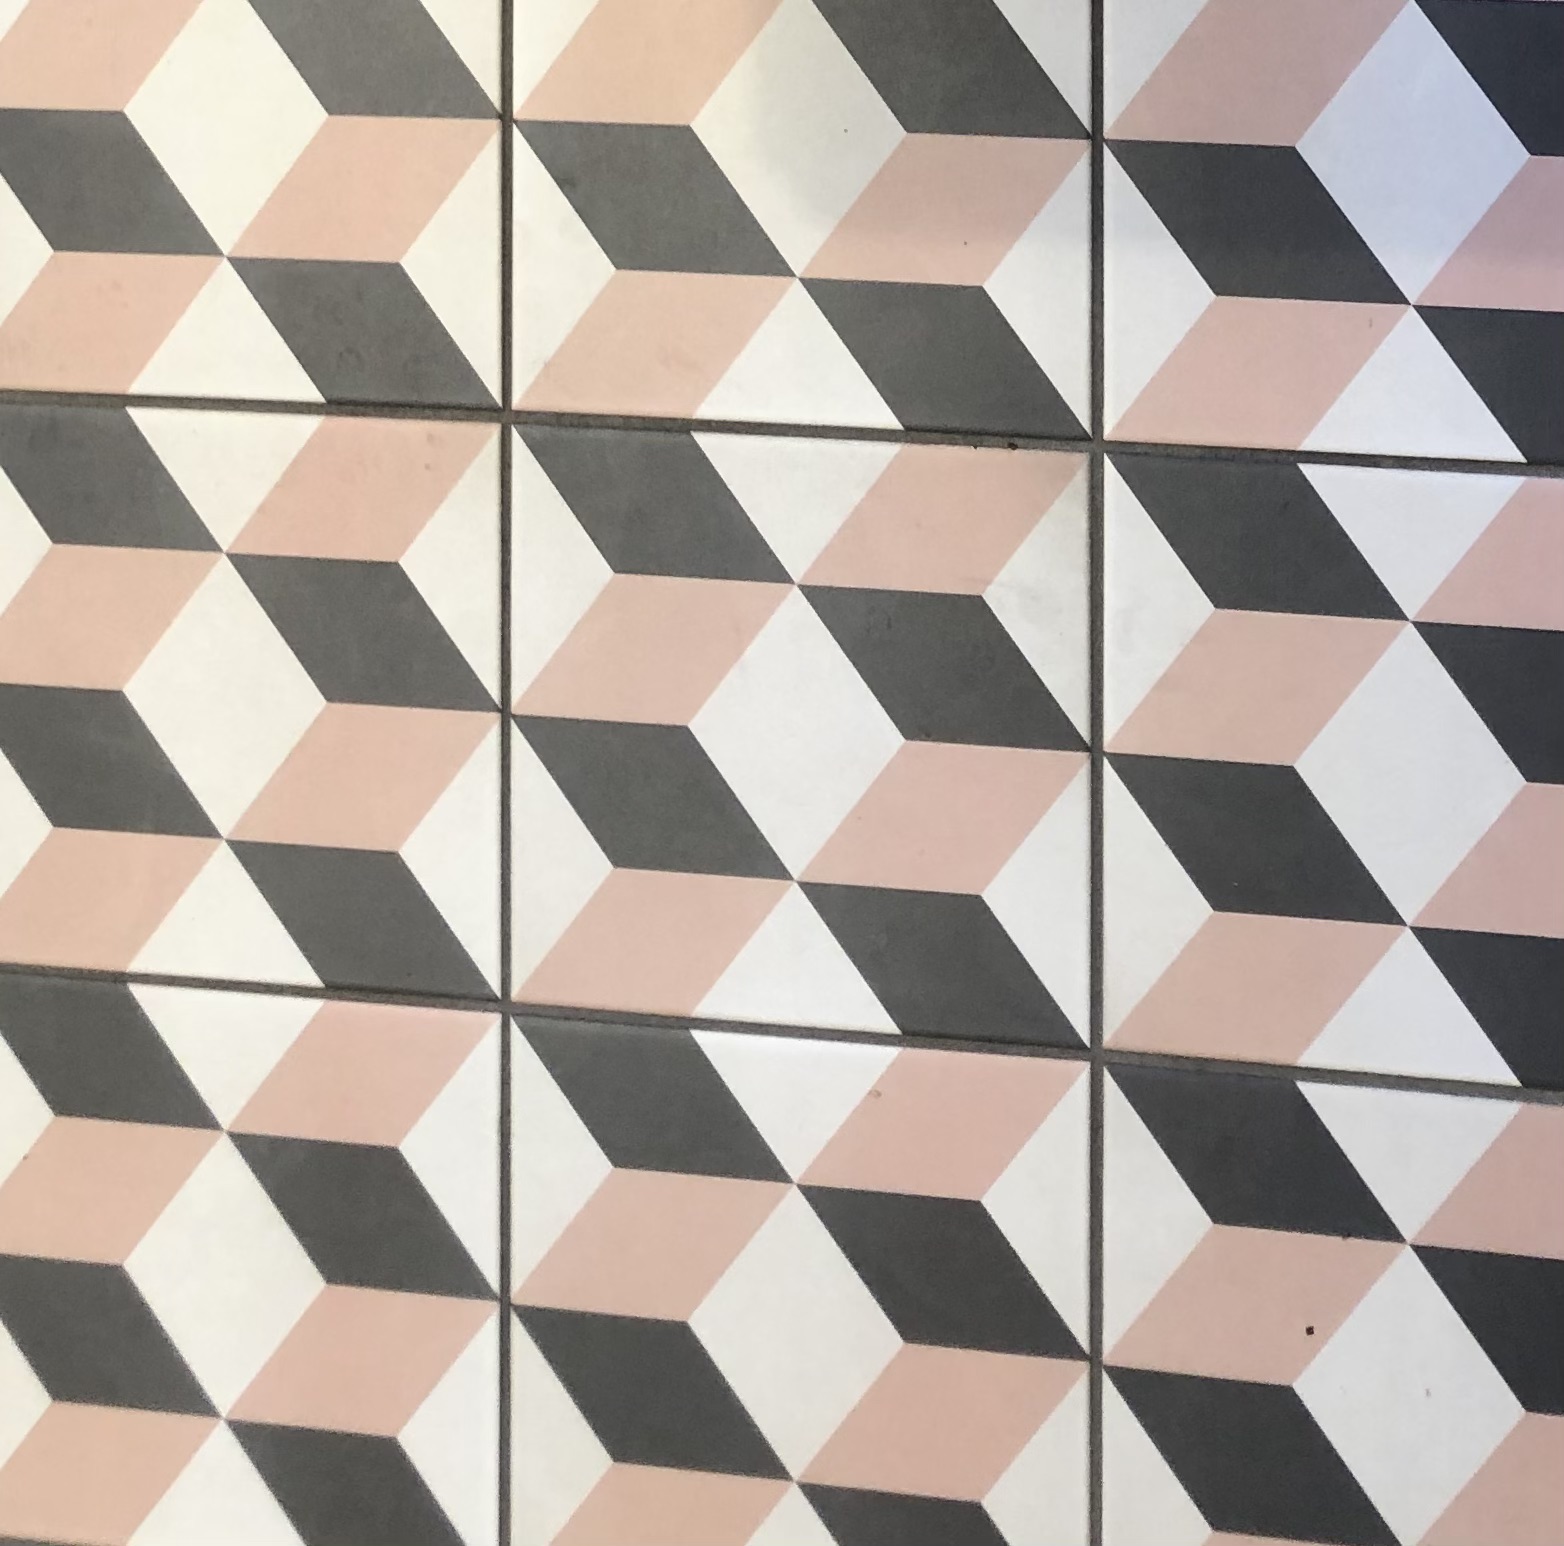
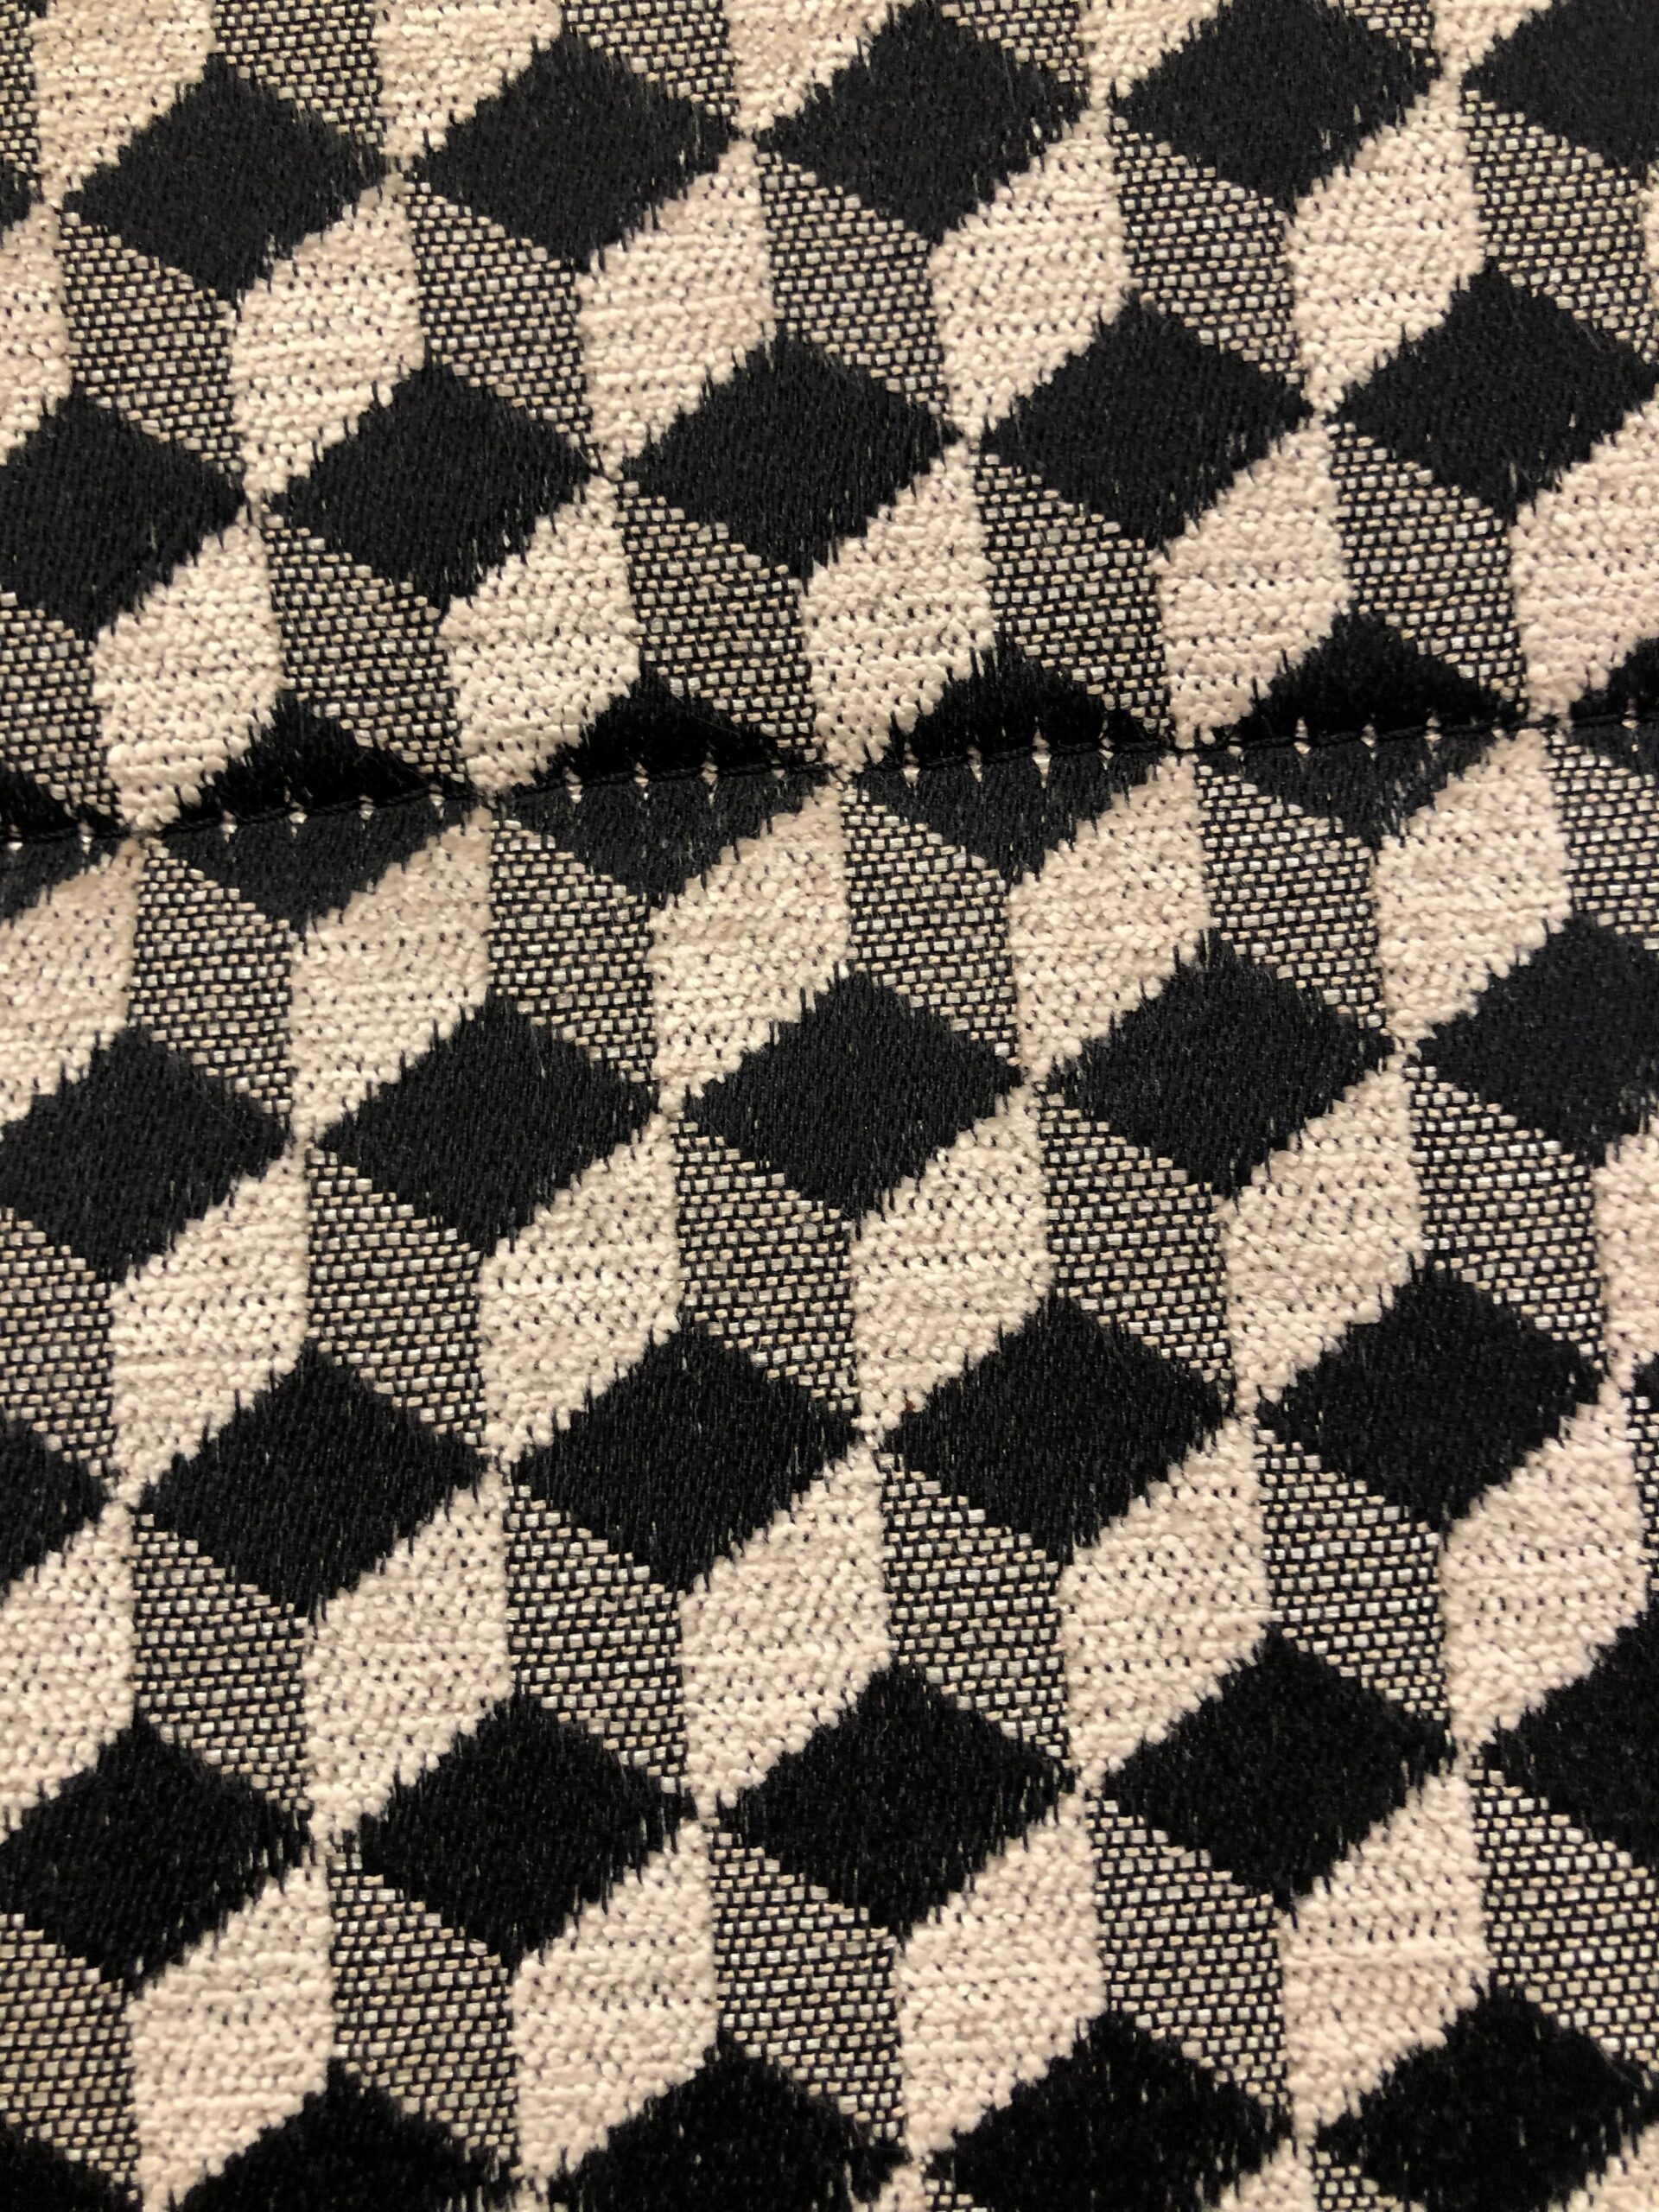
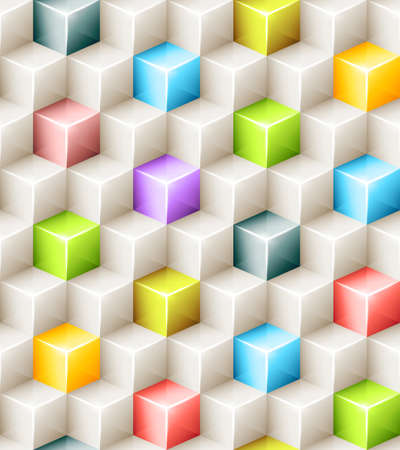
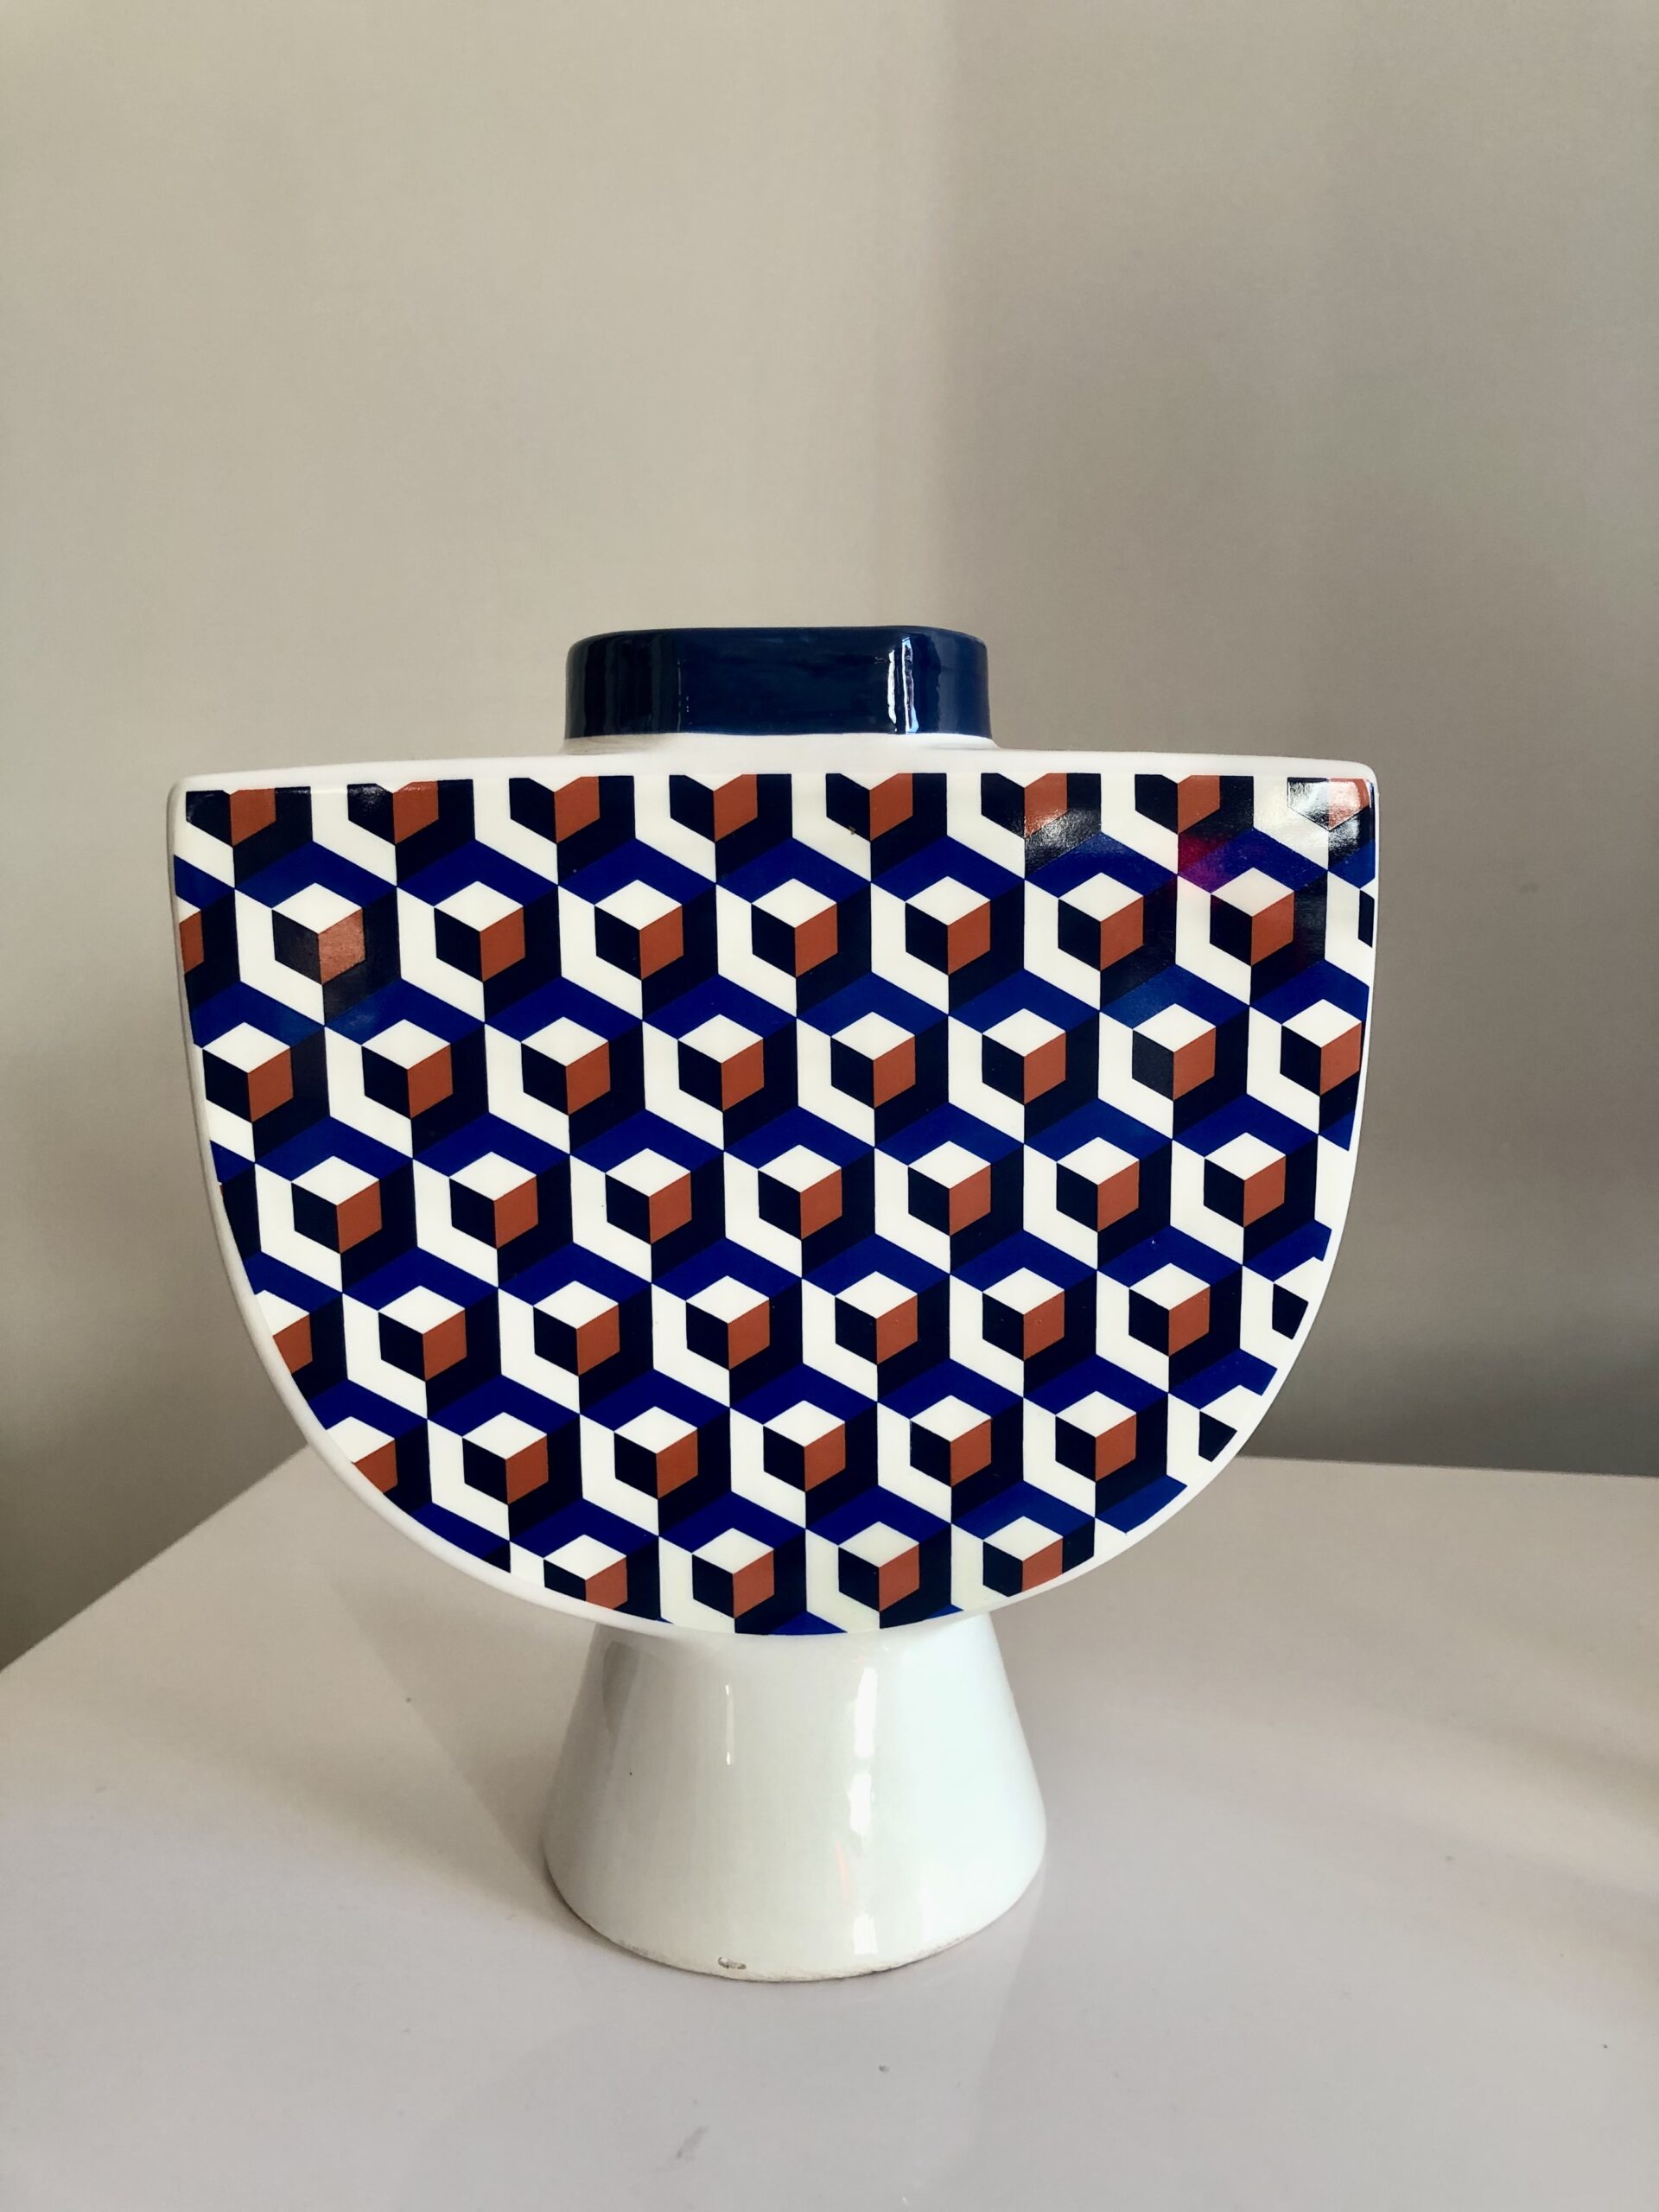
VARIATIONS
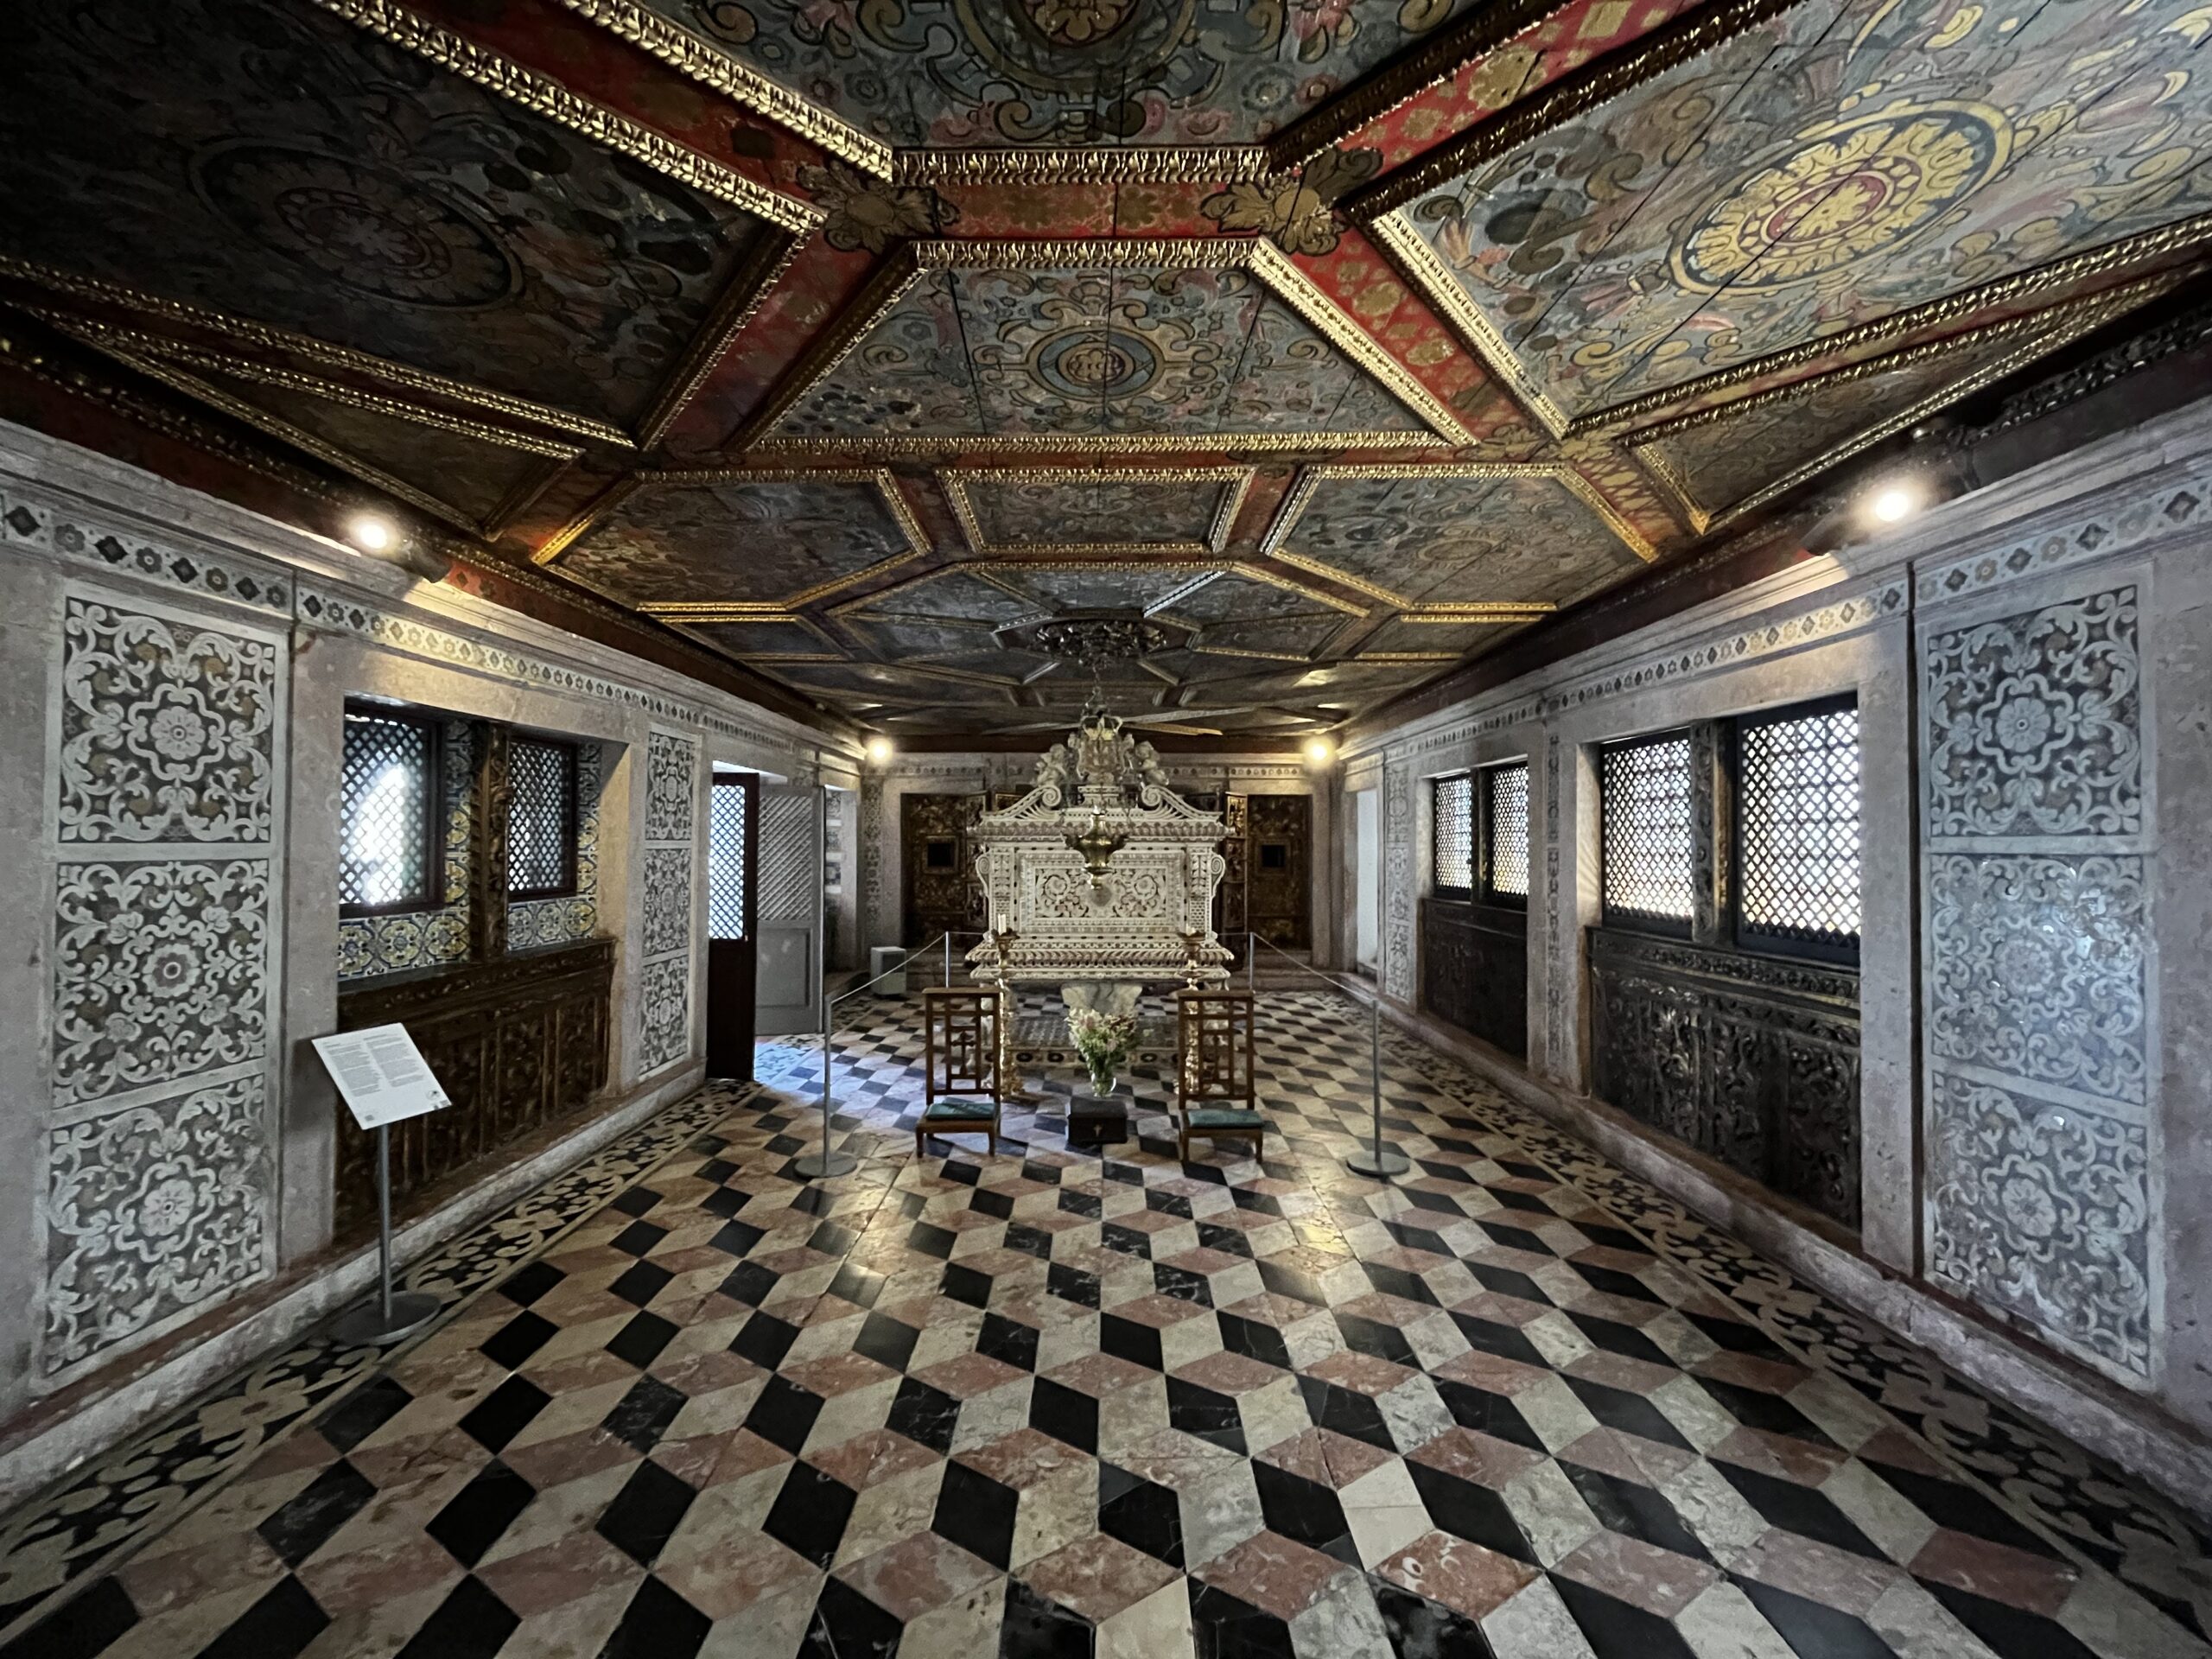
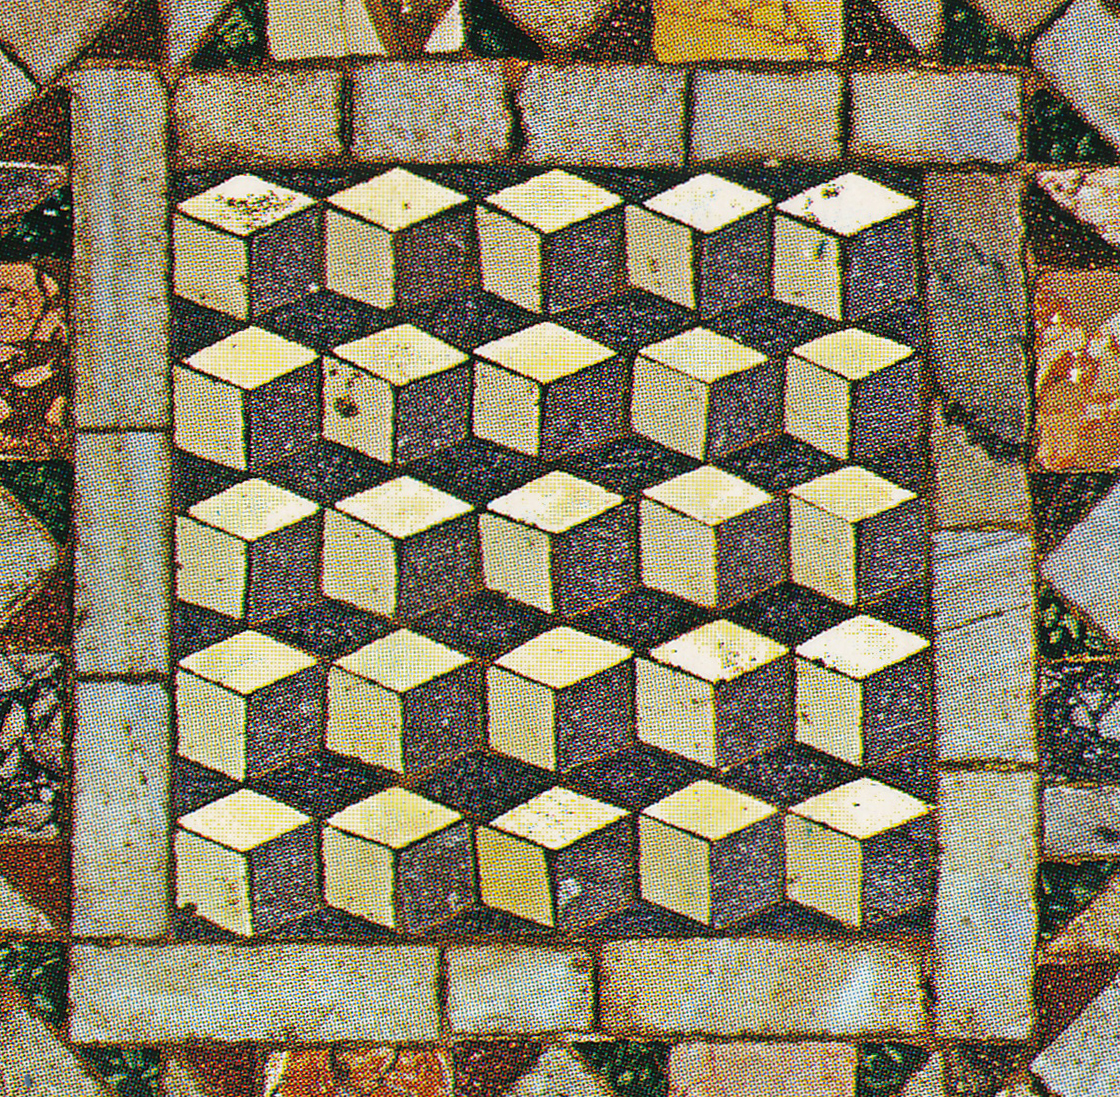
On the marble floor of the San Marco church in Venice the structure of the pattern is different: the rows of blocks with a light top are right below each other here. The black diamond-shaped space between the rows is at the same time the bottom of blocks that you see from below. So there are rows of blocks seen from above with a light top, and rows of blocks seen from below with a dark bottom. You can never see these two series simultaneously (try it, but it will only make you dizzy).
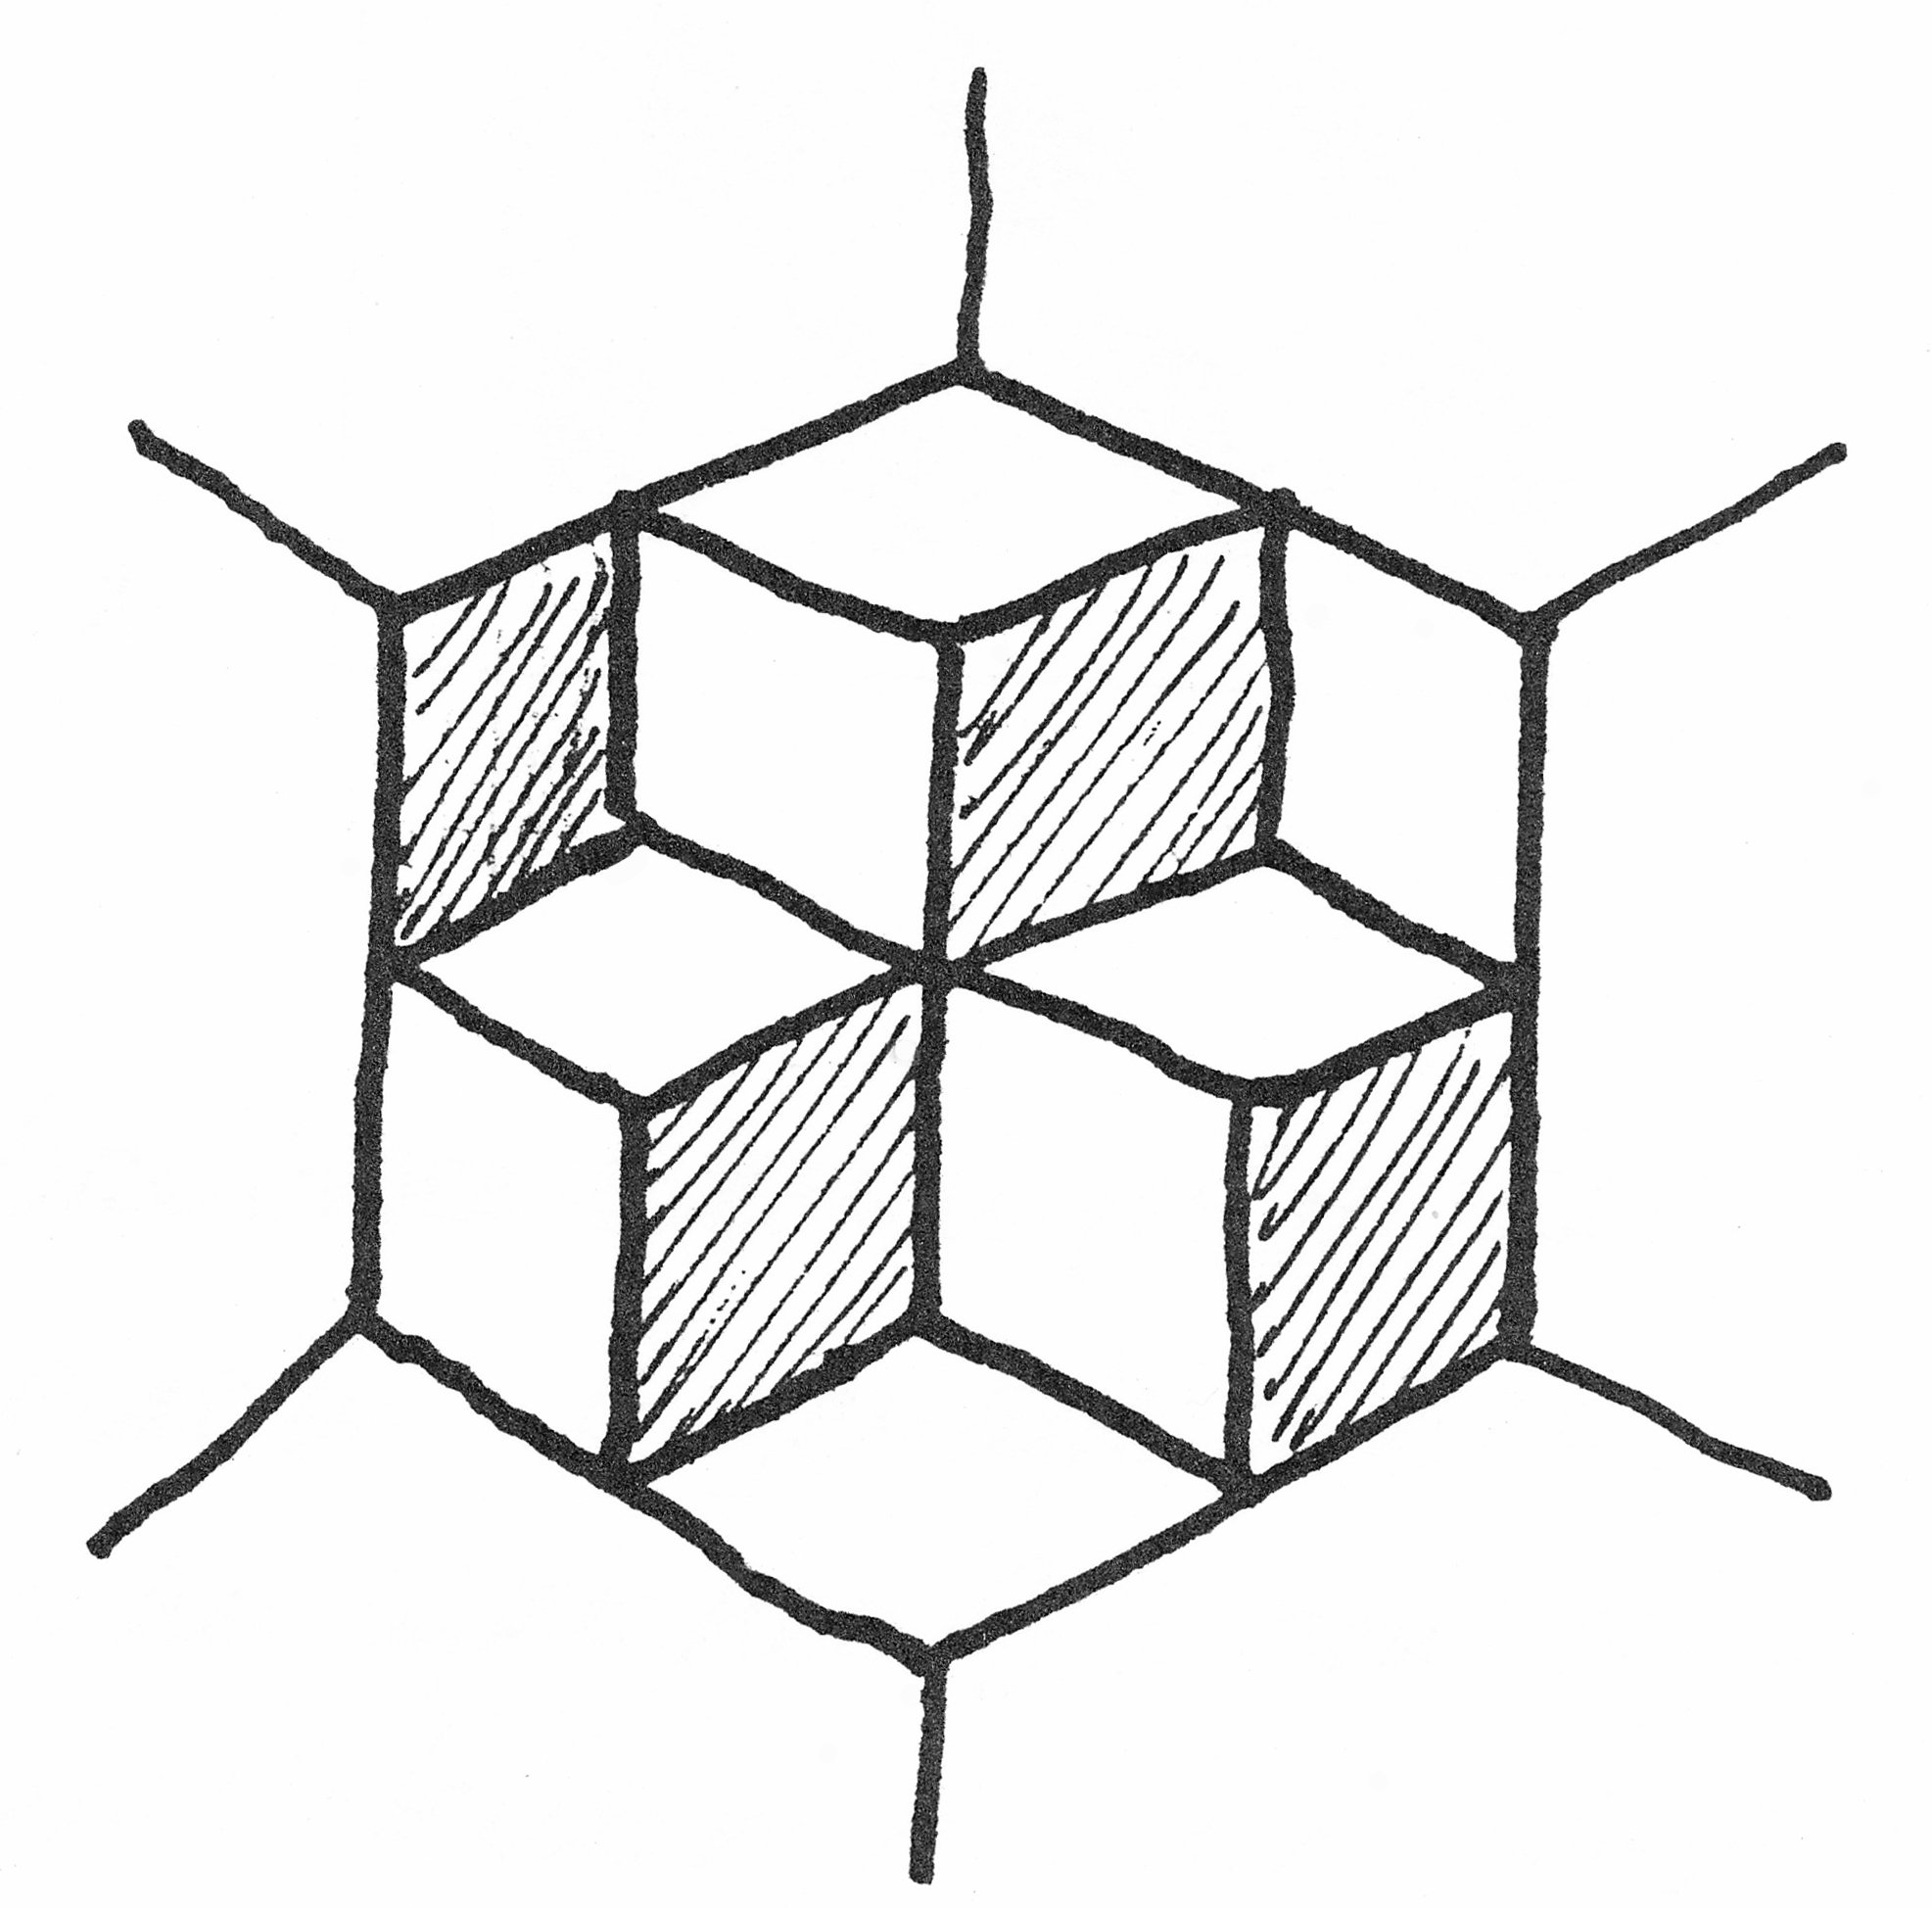
I once came across the blocks in groups of three in a hexagon. In such a geometric* pattern, all hexagons must also fit together perfectly.
*Geometric pattern = a pattern based on geometric shapes such as a circle, square, triangle, hexagon and rhombus.
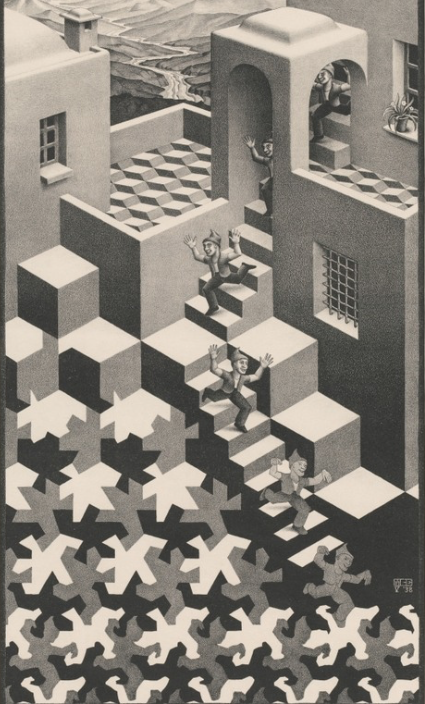
Finally, the artwork ‘Circulation‘ from 1938 by the world famous Dutch artist Mauritz Escher. Look for several blockpatterns in this image.
